Full-Stack Vue App With Node, Express, and MongoDB
We learn how to create full fledge application using this increasingly popular tech stack that takes advantage of the upstart Vue.js.
Join the DZone community and get the full member experience.
Join For FreeMuch of application development, including web applications, has to do with CRUD – creating, reading, updating, and deleting data. Today, we will be building a full stack Vue note-taking application and showing you how to perform the aforementioned processes, using Node.js running the Express.js framework for the backend, and MongoDB to store our data.
Below is a preview of the application we will be building:

Configuring the Development Environment
For this tutorial, I will be using the Eclipse IDE with the CodeMix plugin installed.
- Download the Eclipse IDE here.
- CodeMix can be installed from the Eclipse marketplace or via genuitec.com.
- Install the Vue pack using the CodeMix extension browser.
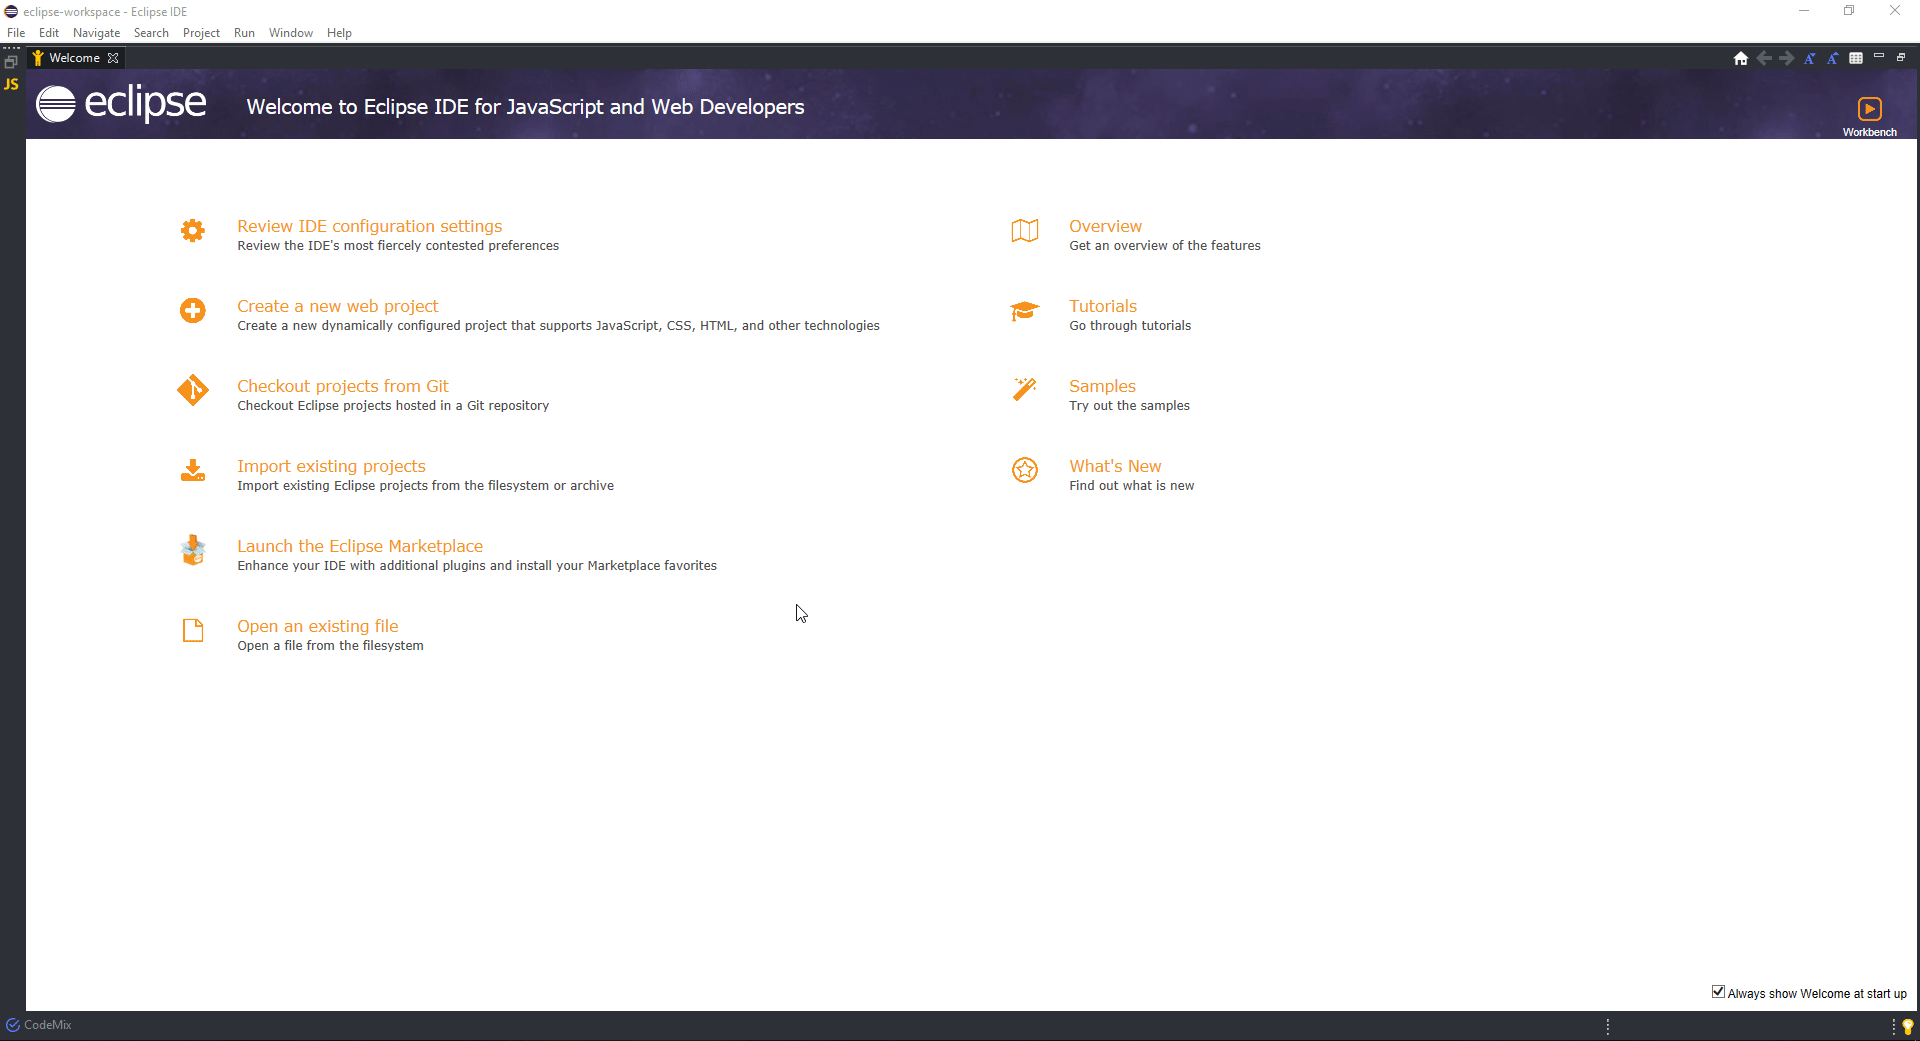
Getting Started
Now we can create our project using the Eclipse IDE, by navigating to File > New > Project. Select the Vue option under the CodeMix list of projects, name the application, and click Next to proceed (make sure to be connected to the Internet to enable CodeMix, to get the newest Vue.js template and folder structure for the application), as shown below:
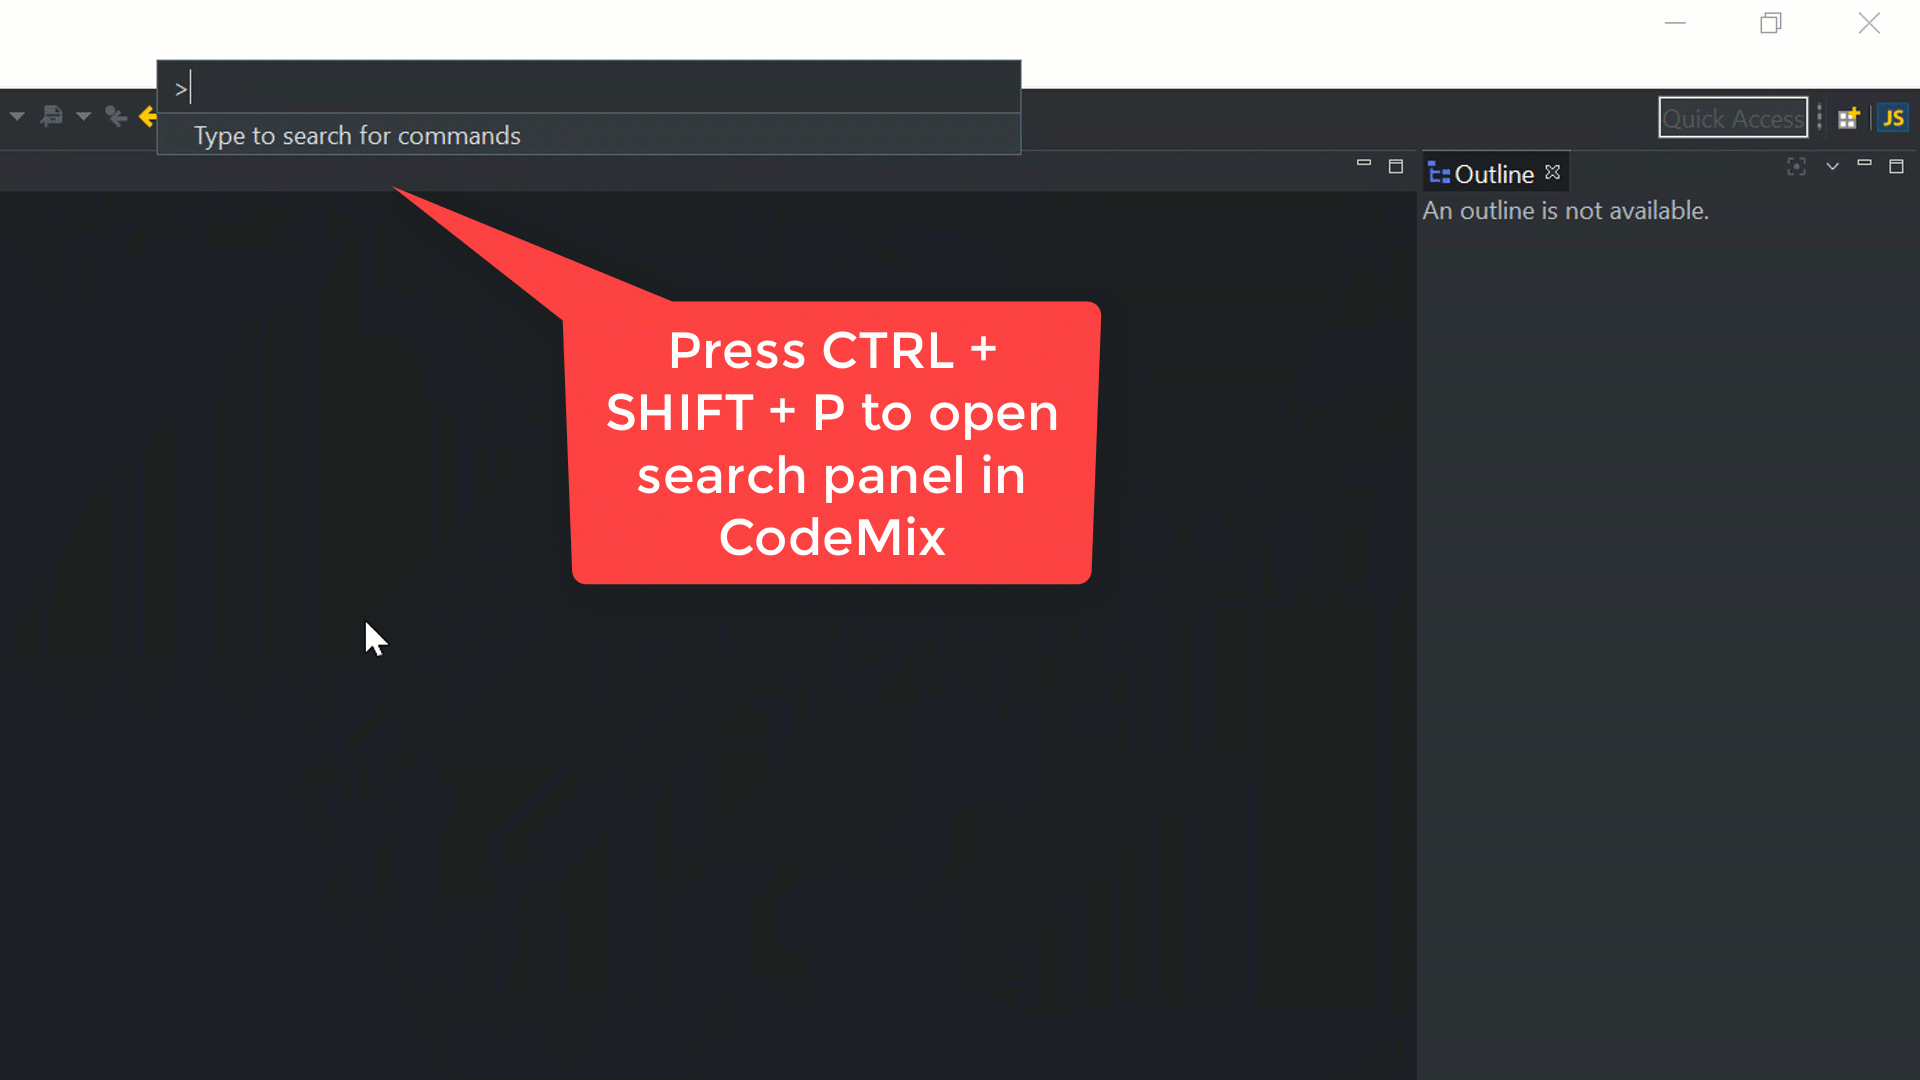
Open the integrated Terminal+ in CodeMix 2.0. Alternatively, it can be opened using the command Ctrl + Shift + P, as shown below:
After that has been completed, we make some changes in the folder structure. First, we add an API folder in the root folder of our project. This folder would contain the Express backend (which includes the server.js file). In the terminal, we run the following commands to install the required modules for the application:
npm install
npm install --save axios body-parser cors express mongoose moment
Axios – a promise-based HTTP client that we will use to communicate with the Node server.
Body-parser – a Node.js middleware for parsing request inputs.
CORS – middleware that is used to enable Cross-Origin Resource Sharing.
Mongoose – an Object Data Modeling (ODM) library for MongoDB.
Moment – a library used to parse and format dates.
Next, we add the following line in the scripts object in the package.json file:
...
  "scripts": {
    "serve": "vue-cli-service serve",
    "build": "vue-cli-service build",
    "lint": "vue-cli-service lint",
    "api": "node api/server.js"
  }
...
Running Our Backend and Front-End
Wait, already? Isn’t it too early to run these applications before writing any code? Actually, it isn’t – with the following scripts running, your code will be watched for changes, and the running backend and front-end applications will be automatically updated when necessary.
We can start the Vue.js application using this command in the terminal:
npm run serve Your browser will automatically open to http://localhost:3000, where you can see the Vue app slowly take shape as we add more code.
And let’s start the back end by using the command below in a different terminal (simply use the +button in the Terminal+ view to open a new terminal tab for the same project):
npm run apiBuilding the Backend With Node.js and Express.js
Creating the Note Model
Before setting up the actual server, let’s create the Note model, which is the only model for this application. A model is an object representation of the data in a database. Here, using Mongoose we can specify a schema of data as well; this helps with the validation of the data. In the folder, we create a new Note.js file that will contain the code below:
const mongoose = require('mongoose');
const Schema = mongoose.Schema;
const NoteSchema = Schema(
    {
        title: {type: String, required: true},
        body: {type: String, required: true},
    },
    { timestamps: true }
);
const Note = mongoose.model("Note", NoteSchema);
module.exports = Note;
The first parameter object describes the fields, their types, and constraints. The second parameter object of the schema constructor helps create a timestamp, i.e. two auto fields: createdAt which is set at data creation, and updatedAt which is set every time the data is modified.
Creating the Node.js Server
Next up, we create a server.js file in the API folder. This file will contain the Node.js configurations, as well as the routes we will be using in the application. The file will contain the code below:
'use strict';
const express = require('express');
const app = express();
const mongoose = require('mongoose');
const cors = require('cors');
const bodyParser = require('body-parser');
const bcrypt = require('bcrypt');

//models
const Note = require('./Note');

//connect server to mongoDB

+mongoose.connect(
  'mongodb://localhost:27017/simple_blog',
  { useNewUrlParser: true, useCreateIndex: true, }
);
mongoose.connection.on('error', console.error.bind(console, 'connection error:'));

app.use(bodyParser.json());
app.use(bodyParser.urlencoded({ extended: true }));
app.use(cors());

// retrieves all the notes
app.get('/api/note/list', (req, res) => {
  Note.find({}).sort({updatedAt: 'descending'}).exec((err, notes) => {
    if (err) return res.status(404).send('Error while getting notes!');
    return res.send({notes});
  });
});

// create a new note
app.post('/api/note/create', (req, res) => {
  const note = new Note({body: req.body.body, title: req.body.title});
  note.save( (err) => {
    if (err) return res.status(404).send({message: err.message});
    return res.send({ note });
  });
});

// update an existing note with the given object id
app.post('/api/note/update/:id', (req, res) => {
let options = { new: true };
  Note.findByIdAndUpdate(req.params.id, req.body.data , options, (err, note) => {
    if (err) return res.status(404).send({message: err.message});
    return res.send({ message: 'note updated!', note });
  });
});

// delete an existing note with the given object id
app.post('/api/note/delete/:id', (req,res) => {
  Note.findByIdAndRemove(req.params.id, (err) => {
    if (err) return res.status(404).send({message: err.message});
    return res.send({ message: 'note deleted!' });
  });
});

const PORT = 5000;
app.listen(PORT);
console.log('api runnging on port ' + PORT + ': ');
The server.js module helps set up a simple connection to MongoDB using a Mongoose method, while also listening for an error event on connecting to the database (which can be caused by improper installation or unavailability of MongoDB on the computer). The server.js also applies the necessary middlewares to the Express server and provides four routes. The first route fetches all the notes in the database using the note model. The second route will allow the creation of a new note. The third route updates a note of a given ID which is passed as the route parameter; it also returns the updated note which, as a result of the options object, is passed to the findByIdAndUpdate method. The last route deletes a note with the ID passed in the parameter of the route.
Building the Front-End With Vue.js
Web Service Calls With Axios
After we have completed the server part of the application, we can proceed to create the repository.js file in the src folder. This file will contain all the server calls we would be making from the Vue.js application using the Axios module. The file code is below:
import axios from 'axios';
const BASE_URL = 'http://localhost:5000';

export function getNotes() {
        return axios.get(`${BASE_URL}/api/note/list`)
                .then(response => response.data);
}

export function deleteNote(id){
        return axios.post(`${BASE_URL}/api/note/delete/${id}`)
                .then(response => response.data)
                .catch(err => Promise.reject(err.message));
}
export function createNote(data) {
        return axios.post(`${BASE_URL}/api/note/create`,
        { title: data.title, body: data.body }
        )      .then(response => {
                        return response.data
                })
                .catch(err => Promise.reject(err.message));
}

export function updateNote(data, id) {
        return axios.post(`${BASE_URL}/api/note/update/${id}`, { data })
                .then(response => {
                        return response.data
                })
                .catch(err => Promise.reject(err.message));
}
The application is styled using the Bulma CSS framework that is added to the public/index.html file in the head tag, as written below:
<link rel="stylesheet" type="text/css" href="https://cdnjs.cloudflare.com/ajax/libs/bulma/0.7.2/css/bulma.css">Creating the Root Component
Next, we proceed to edit the App component, which is the entry component for the Vue.js application. In this file, we add the application header and render a couple of components that we will be building later in this article. The src/App.vue component also provides some methods which manage the application data. This component also loads the list of available notes in the database when the component has been mounted (loaded); it does this using the getNotes function provided in the repository.js module.
If you use CodeMix, you can see below how you will be able to edit the .vue files – these files allow you to keep the HTML, JavaScript, and styles of a component in a single place, and the editor provides content assist and validation corresponding to the section you are in. Have a look at these quick GIFs to see the .vue editor in action.
This App.vue file contains the code below:
<template>
  <div id="app">
    <nav class="navbar is-light" role="navigation" aria-label="main navigation">
      <div class="container">
        <div class="navbar-brand">
          <a class="navbar-item" href="#">
            <span class="title is-size-1">NoteTaker</span>
          </a>
        </div>
      </div>
    </nav>
    <br><br>
    <div  class="container">
      <div v-if="notes">
        <CreateNoteModal @createNote="createNote"/>
        <br>
        <div>
          <noteItem v-for="(note, index) in notes" :note="note" :key="index" @deleteNote="deleteNote" @updateNote="updateNote"/>
        </div>
      </div>
    </div>
  </div>
</template>

<script>
import NoteItem  from './components/NoteItem.vue'
import CreateNoteModal  from './components/CreateNoteModal.vue'
import { getNotes }  from './repository'

export default {
  name: 'app',
  components: { NoteItem, CreateNoteModal  },
  data(){
    return {
      notes: []
    }
  },
  methods: {
    deleteNote(id){
      let notes = this.notes.filter(note => note._id != id)
      this.notes = notes;
    },
    updateNote(note){
      this.deleteNote(note._id);
      this.createNote(note);
    },
    createNote(note){
        this.notes = [note, ...this.notes];
    },
  },
  mounted(){
    getNotes()
      .then(data => this.notes = data.notes)
      .catch((err =>alert(err)));
  }
}
</script>
Creating Components
Next, we create the CreateNoteModal component in the src/components/CreateNoteModal.vue, which contains the code below:
<template>
  <div>
    <div class="modal" :class="{ 'is-active': isActive }">
      <div class="modal-background"></div>
      <div class="modal-card">
        <header class="modal-card-head">
          Add Note
        </header>
        <section class="modal-card-body">
          <div class="field">
            <div class="control">
              <input v-model="title" class="input" type="text" placeholder="title">
            </div>
          </div>
          <div class="field">
            <div class="control">
              <textarea v-model="body" class="textarea"  placeholder="enter content">
                </textarea>
            </div>
          </div>
          <button @click="create" class="button is-primary is-pulled-right">Post</button>
        </section>
      </div>
      <button @click="toggle" class="modal-close is-large" aria-label="close"></button>
    </div>
    <button @click="toggle" class="button is-primary is-pulled-right">Create Note</button>
    <br>
  </div>
</template>

<script>
import { createNote }  from '../repository'
export default {
  name: 'CreateNoteModal',
  data(){
    return {
      title: '',
      body: '',
      isActive: false
    }
  },
  methods: {
    create(){
      let data = { title: this.title, body: this.body }
      createNote(data)
        .then(data => {
          this.$emit('createNote', data.note);
          this.title = this.body = '';
          this.toggle();
        })
        .catch(err => alert(err.message));
    },
    toggle(){
      this.isActive = !this.isActive;
    },
  },
}
</script>
This component is a form in a modal with both input in the form, title, and body, bound to the component’s data with corresponding names. The submit button calls the create method which makes the server call, passing the data to the createNote function from the repository.js module. Upon a successful server request, this method emits a custom event that is handled by the parent component (which in this case is the App.vue component). It also clears the form and closes the modal.
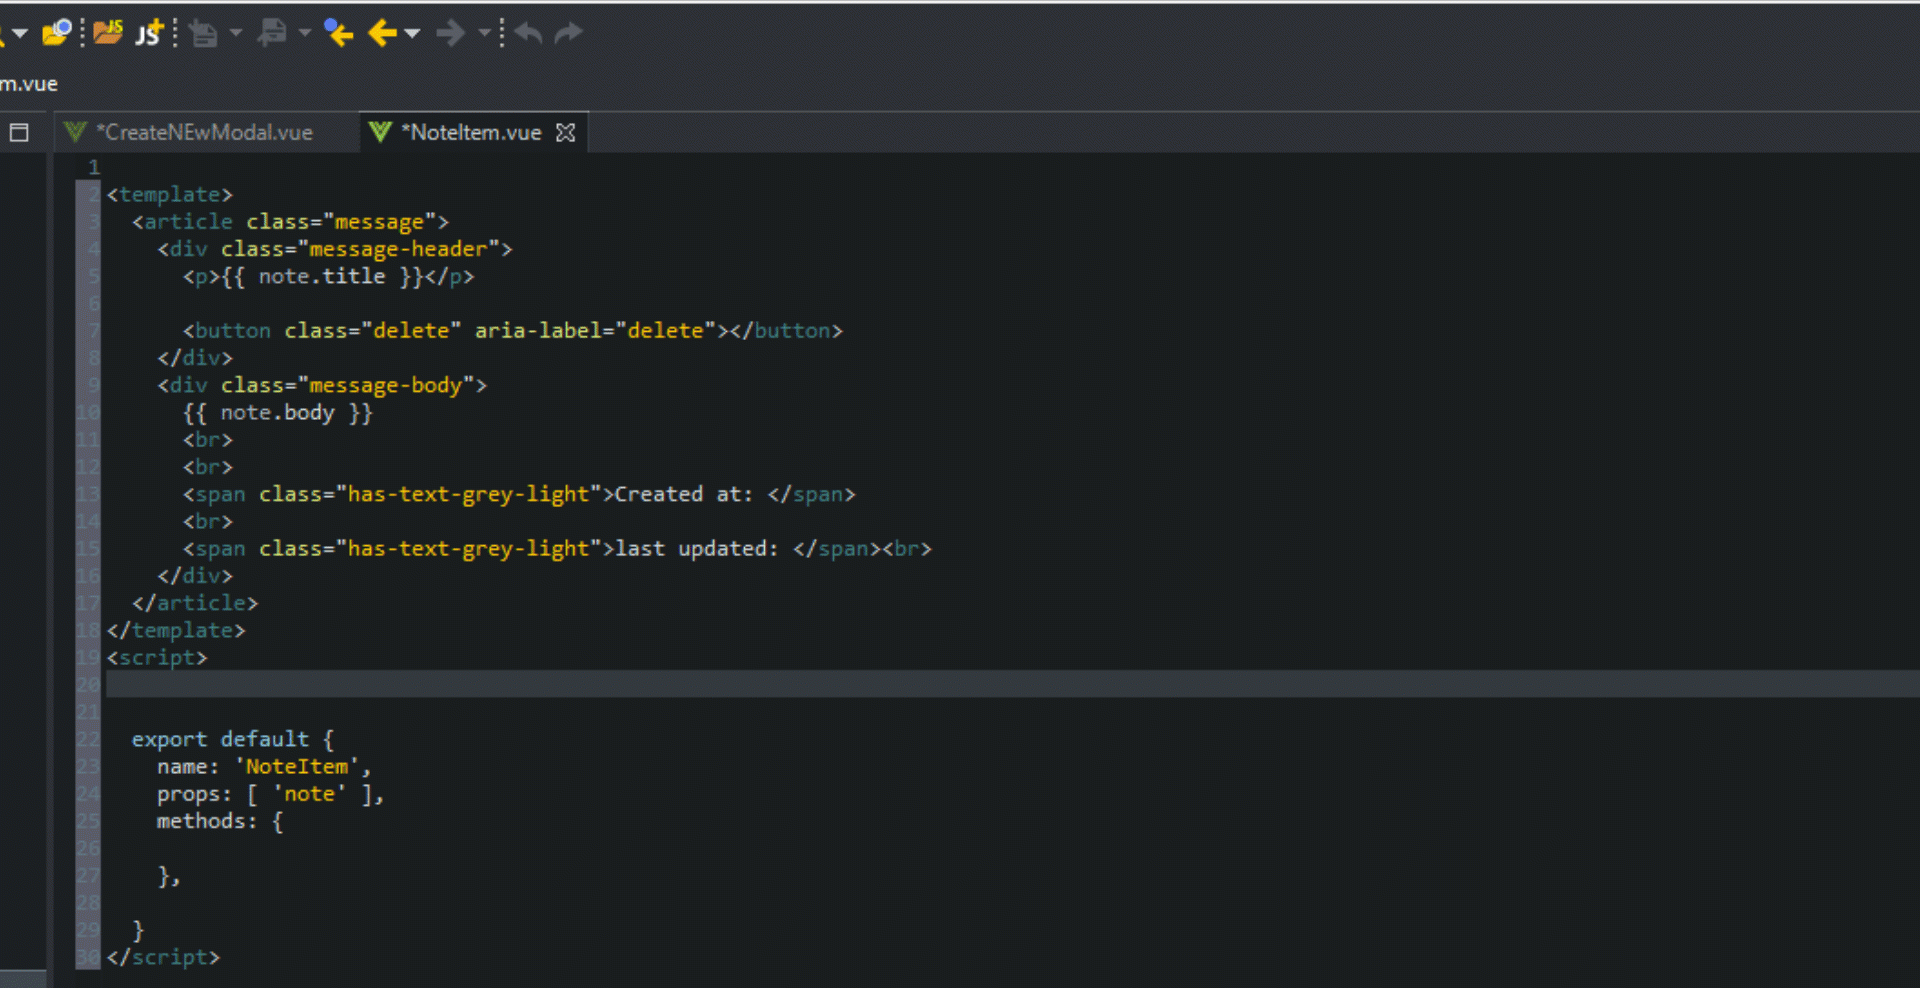
Next up, we create the NoteItem component in the src/components/NoteItem.vue, which contains the code below:
<template>
  <article class="message">
    <div class="message-header">
      <p>{{ note.title }}</p>

      <button @click="deleteNote" class="delete" aria-label="delete"></button>
    </div>
    <div class="message-body">
      {{ note.body }}
      <br>
      <br>
      <span class="has-text-grey-light">Created at: {{ note.createdAt | moment }}</span>
      <br>
      <span class="has-text-grey-light">last updated: {{ note.updatedAt | moment }}</span><br>
      <UpdateNoteModal :note="note" @updateNote="updateNote" :key="note._id"/>
    </div>
  </article>
</template>
<script>
  import { deleteNote } from '../repository'
  import UpdateNoteModal from './UpdateNoteModal'
  import Moment from 'moment'

  export default {
    name: 'NoteItem',
    props: [ 'note' ],
    components: { UpdateNoteModal },
    methods: {
      deleteNote(e){
        e.preventDefault();
        deleteNote(this.note._id)
          .then(() => this.$emit('deleteNote', this.note._id))
          .catch(err => alert(err))
      },
      updateNote(note){
        this.$emit('updateNote', note)
      }
    },
    filters: {
      moment(date) {
        return Moment(date).format('MMMM Do YYYY, h:mm:ss a');
      }
    }
  }
</script>
This module renders each note, which is passed to it by its parent component (App.vue). It also provides two methods, the first of which is the deleteNote, which deletes the given note using the deleteNote function from the repository.js by passing the note ID to it. Upon success, it emits a custom deleteNote event to the parent component, which deletes the note from the array of notes.
The second method, updateNode, emits an updateNode event in response to the same event name, emitted by its child component, UpdateNoteModal, which we will create next. It also provides a moment date-time filter using the Moment module to format the date for the component.
Finally, we create the UpdateNoteModal component in the src/components/UpdateNoteModal.vue, which contains the code below:
<template>
  <div>
    <div class="modal" :class="{ 'is-active': isActive }">
      <div class="modal-background"></div>
      <div class="modal-card">
        <header class="modal-card-head">
          Update Note
        </header>
        <section class="modal-card-body">
          <div class="field">
            <div class="control">
              <input v-model="title" class="input" type="text" placeholder="title">
            </div>
          </div>
          <div class="field">
            <div class="control">
              <textarea v-model="body" class="textarea"  placeholder="enter content"></textarea>
            </div>
          </div>
          <button @click="update" class="button is-primary is-pulled-right">Post</button>
        </section>
      </div>
      <button @click="toggle" class="modal-close is-large" aria-label="close"></button>
    </div>
    <button @click="toggle" class="button is-small is-pulled-right">Update</button>
  </div>
</template>

<script>
import { updateNote }  from '../repository'
export default {
  name: 'UpdateNoteModal',
  data(){
    return {
      title: this.note.title,
      body: this.note.body,
      isActive: false
    }
  },
  props: ['note'],
  methods: {
    update(){
      let data = { title: this.title, body: this.body }
      updateNote(data, this.note._id)
        .then(data => {
          this.$emit('updateNote', data.note);
          this.toggle();
        })
        .catch(err => alert(err.message));
    },
    toggle(){
      this.isActive = !this.isActive;
    },
  },
}
</script>
This, much like the CreateNoteModal, is a Bulma styled modal, which has two inputs whose values are bound to the component data, which is initialized using the note passed through to the component as a property. It also provides an update method, which is called when the post button is clicked. This method uses the updateNote function from the repository.js module to update the note. Upon a successful request, it emits an event – the updateNote event, which is handled by the parent component (i.e. the NoteItem component, which further passes it to the App component).
We did it, our note taking app is complete! Remember, if you haven’t already run your backend and front-end applications, please scroll back to the Running our Backend and Front-End sections for instructions.
Next Steps
To keep focused on the concepts being demonstrated, we’ve developed a simplified application. Here are some additional steps that would take our application to the next level:
- Add authentication – Although the application performs the basic functions of a note-taking application and the four fundamental CRUD operations, it does not perform any form of authentication.
- Folder structure – The folder structure is not suitable for larger applications, for example, the routes are usually in a separate file from the server configuration, and the models are usually grouped in a folder.
- Vuex – Better stage management is possible by using a framework like Vuex.
The code for this application can be downloaded here.
Published at DZone with permission of George Anderson. See the original article here.
Opinions expressed by DZone contributors are their own.
Comments