Getting Started with Active Directory Lightweight Directory Services
Join the DZone community and get the full member experience.
Join For Freeintroduction
in preparation for some upcoming posts related to linq (what else?), windows powershell and rx, i had to set up a local ldap-capable directory service. (hint: it will pay off to read till the very end of the post if you’re wondering what i’m up to...) in this post i’ll walk the reader through the installation, configuration and use of active directory lightweight directory services (lds) , formerly known as active directory application mode (adam). having used the technology several years ago, in relation to the linq to active directory project (which as an extension to this blog series will receive an update), it was a warm and welcome reencounter.
what’s lightweight directory services anyway?
use of hierarchical storage and auxiliary services provided by technologies like active directory often has advantages over alternative designs, e.g. using a relational database. for example, user accounts may be stored in a directory service for an application to make use of. while active directory seems the natural habitat to store (and replicate, secure, etc.) additional user information, it admins will likely point you – the poor developer – at the door when asking to extend the schema. that’s one of the places where lds comes in, offering the ability to take advantage of the programming model of directory services while keeping your hands off “the one and only ad schema”.
the lds website quotes other use cases, which i’ll just copy here verbatim:
active directory lightweight directory service (ad lds), formerly known as active directory application mode, can be used to provide directory services for directory-enabled applications. instead of using your organization’s ad ds database to store the directory-enabled application data, ad lds can be used to store the data. ad lds can be used in conjunction with ad ds so that you can have a central location for security accounts (ad ds) and another location to support the application configuration and directory data (ad lds). using ad lds, you can reduce the overhead associated with active directory replication, you do not have to extend the active directory schema to support the application, and you can partition the directory structure so that the ad lds service is only deployed to the servers that need to support the directory-enabled application.
install from media generation. the ability to create installation media for ad lds by using ntdsutil.exe or dsdbutil.exe.
auditing. auditing of changed values within the directory service.
database mounting tool. gives you the ability to view data within snapshots of the database files.
active directory sites and services support. gives you the ability to use active directory sites and services to manage the replication of the ad lds data changes.
dynamic list of ldif files. with this feature, you can associate custom ldif files with the existing default ldif files used for setup of ad lds on a server.
recursive linked-attribute queries. ldap queries can follow nested attribute links to determine additional attribute properties, such as group memberships.
obviously that last bullet point grabs my attention through i will retain myself from digressing here.
getting started
if you’re running windows 7, the following explanation is the right one for you. for older versions of the operating system, things are pretty similar though different downloads will have to be used. for windows server 2008, a server role exists for lds. so, assuming you’re on windows 7, start by downloading the installation media over here . after installing this, you should find an entry “active directory lightweight directory services setup wizard” under the “administrative tools” section in “control panel”:
lds allows you to install multiple instances of directory services on the same machine, just like sql server allows multiple server instances to co-exist. each instance has a name and listens on certain ports using the ldp protocol. starting this wizard – which lives under %systemroot%\adam\adaminstall.exe, revealing the former product name – brings us here:
after clicking next, we need to decide whether we create a new unique instance that hasn’t any ties with existing instances, or whether we want to create a replicate of an existing instance. for our purposes, the first option is what we need:
next, we’re asked for an instance name. the instance name will be used for the creation of a windows service, as well as to store some settings. each instance will get its own windows service. in our sample, we’ll create a directory for the northwind employees tables, which we’ll use to create accounts further on.
we’re almost there with the baseline configuration. the next question is to specify a port number, both for plain tcp and for ssl-encrypted traffic. the default ports, 389 and 636, are fine for us. later we’ll be able to connect to the instance by connecting to ldp over port 389, e.g. using the system.directoryservices namespace functionality in .net. notice every instance of lds should have its own port number, so only one can be using the default port numbers.
now that we have completed the “physical administration”, the wizard moves on to a bit of “logical administration”. more specifically, we’re given the option to create a directory partition for the application. here we choose to create such a partition, though in many concrete deployment scenarios you’ll want the application’s setup to create this at runtime. our partition’s distinguished name will mimic a “northwind.local” domain containing a partition called “employees”:
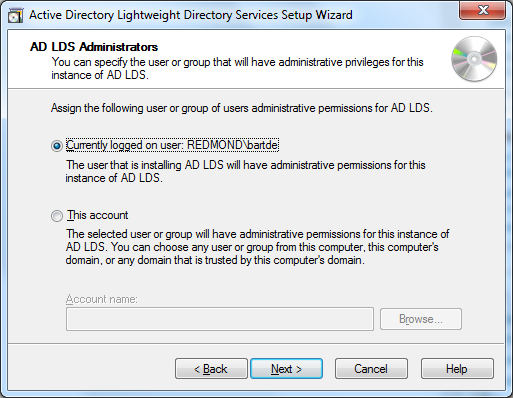
after this bit of logical administration, some more physical configuration has to be carried out, specifying the data files location and the account to run the services under. for both, the default settings are fine. also the administrative account assigned to manage the lds instance can be kept as the currently logged in user, unless you feel the need to change this in your scenario:
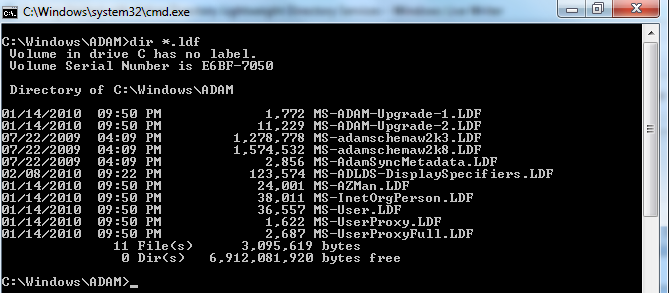
finally, we’ve arrived at an interesting step where we’re given the option to import ldif files. and ldif file, with extension .ldf, contains the definition of a class that can be added to a directory service’s schema. basically those contain things like attributes and their types. under the %systemroot%\adam folder, a set of out-of-the-box .ldf files can be found:
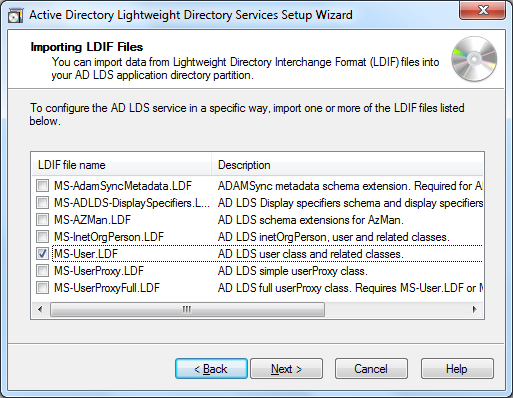
instead of having to run the ldifde.exe tool, the wizard gives us the option to import ldif files directly. those classes are documented in various places, such as rfc2798 for inetorgperson . on technet, information is presented in a more structured manner, e.g revealing that inetorgperson is a subclass of user . custom classes can be defined and imported after setup has completed. in this post, we won’t extend the schema ourselves but we will simply be using the built-in user class so let’s tick that one:
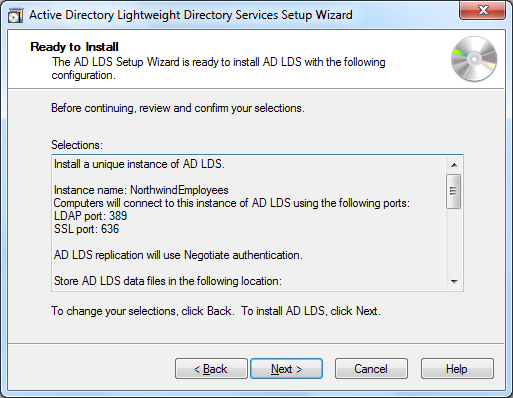
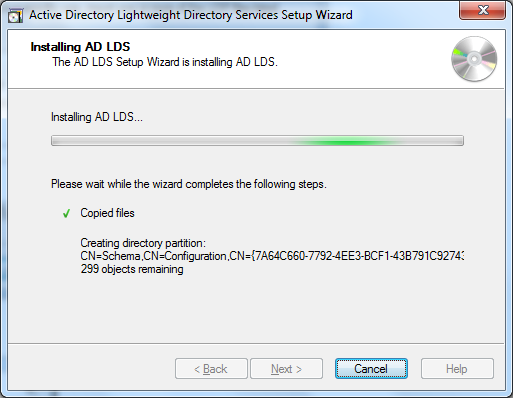
after clicking next, we get a last chance to revisit our settings or can confirm the installation. at this point, the wizard will create the instance – setting up the service – and import the ldif files.
congratulations! your first lds instance has materialized. if everything went alright, the northwindemployees service should show up:
inspecting the directory
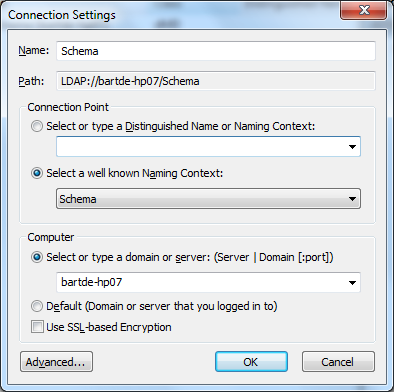
to inspect the newly created directory instance, a bunch of tools exist. one is adsi edit which you could already see in the administrative tools. to set it up, open the mmc-based tool and go to action, connect to… in the dialog that appears, specify the server name and choose schema as the naming context.
for example, if you want to inspect the user class, simply navigate to the schema node in the tree and show the properties of the user entry.
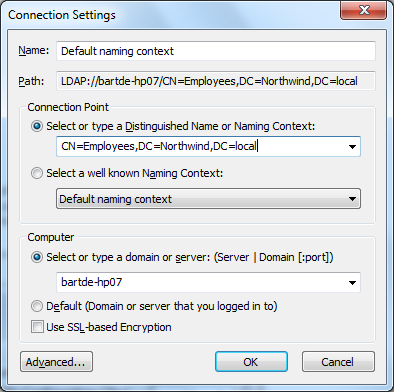
to visualize the objects in the application partition, connect using the distinguished name specified during the installation:
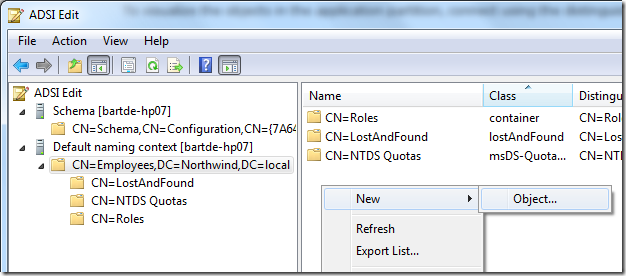
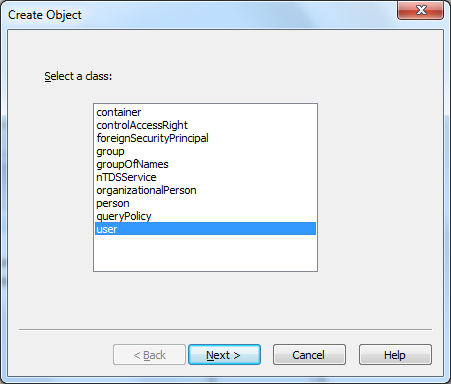
now it’s possible to create a new object in the directory using the context menu in the content pane:
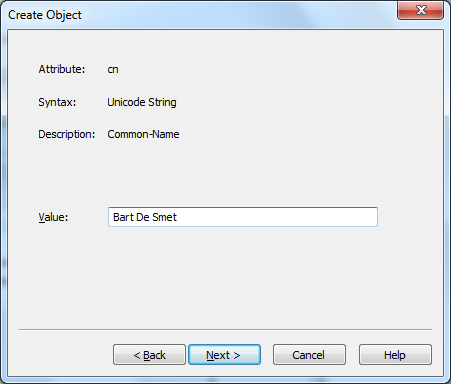
after specifying the class, we get to specify the “cn” name (for common name) of the object. in this case, i’ll use my full name:
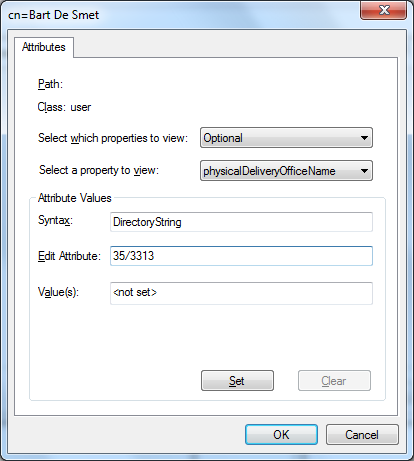
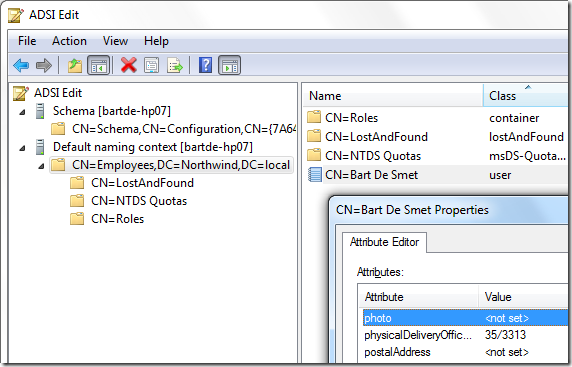
we can also set additional attributes, as shown below (using the “physicaldeliveryofficename” to specify the office number of the user):
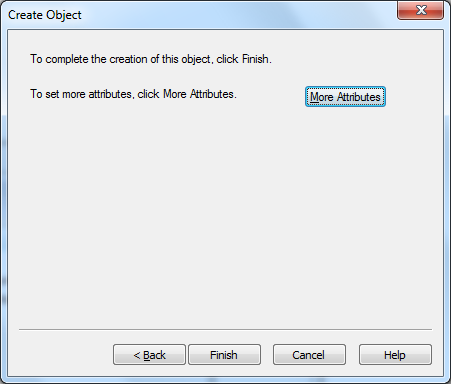
after clicking set, closing the attributes dialog and clicking finish to create the object, we see it pop up in the items view of the adsi editor snap-in:
programmatic population of the directory
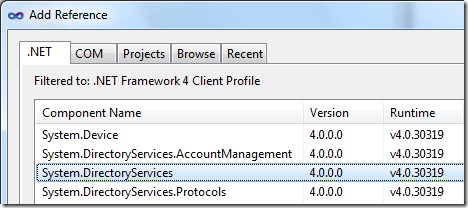
obviously we’re much more interested in a programmatic way to program directory services. .net supports the use of directory services and related protocols (ldap in particular) through the system.directoryservices namespace. in a plain new console application, add a reference to the assembly with the same name (don’t both about other assemblies that deal with account management and protocol stuff):
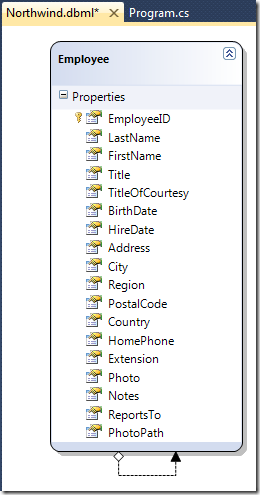
for this sample, i’ll also assume the reader got a northwind sql database sitting somewhere and knows how to get data out of its employees table as rich objects. below is how things look when using the linq to sql designer:
we’ll just import a few details about the users; it’s left to the reader to map other properties onto attributes using the documentation about the user directory services class . just a few lines of code suffice to accomplish the task (assuming the system.directoryservices namespace is imported):
static void main()
{
var path = "ldap://bartde-hp07/cn=employees,dc=northwind,dc=local";
var root = new directoryentry(path);


var ctx = new northwinddatacontext();
foreach (var e in ctx.employees)
{
var cn = "cn=" + e.firstname + e.lastname;


var u = root.children.add(cn, "user");
u.properties["employeeid"].value = e.employeeid;
u.properties["sn"].value = e.lastname;
u.properties["givenname"].value = e.firstname;
u.properties["comment"].value = e.notes;
u.properties["homephone"].value = e.homephone;
u.properties["photo"].value = e.photo.toarray();
u.commitchanges();
}
}
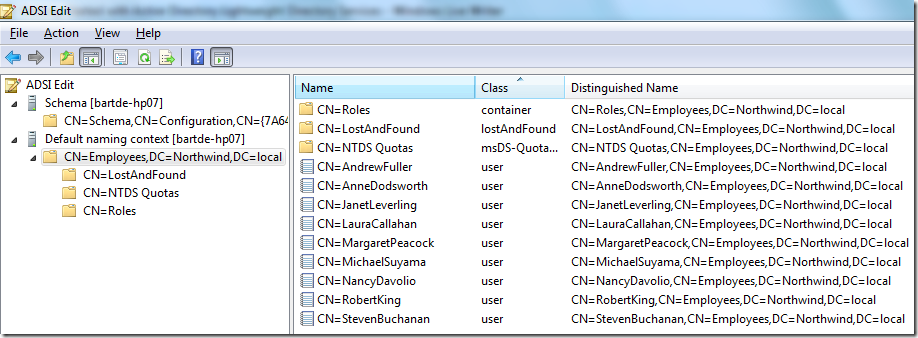
after running this code – obviously changing the ldap path to reflect your setup – you should see the following in adsi edit (after hitting refresh):
now it’s just plain easy to write an application that visualizes the employees with their data. we’ll leave that to the ui-savvy reader (just to tease that segment of my audience, i’ve also imported the employee’s photo as a byte-array).
a small preview of what’s coming up
to whet the reader’s appetite about next episodes on this blog, below is a single screenshot illustrating something – imho – rather cool (use of linq to active directory is just an implementation detail below):
note: what’s shown here is the result of a very early experiment done as part of my current job on “linq to anything” here in the “cloud data programmability team”. please don’t fantasize about it as being a vnext feature of any product involved whatsoever. the core intent of those experiments is to emphasize the omnipresence of linq (and more widely, monads) in today’s (and tomorrow’s) world. while we’re not ready to reveal the “linq to anything” mission in all its glory (rather think of it as “linq to the unimaginable”), we can drop some hints.
stay tuned for more!
Published at DZone with permission of Bart De Smet, DZone MVB. See the original article here.
Opinions expressed by DZone contributors are their own.





Comments