Getting Started With Node.JS and Socket.io
With a little JavaScript know-how, you can learn how to get started with Socket.io and Node.JS to create a chat app with this tutorial.
Join the DZone community and get the full member experience.
Join For FreeCreate your first Node and Socket.io chat app using Express.
Requirements
2. A little JavaScript experience.
Creating the App
1. Go to your project directory. It must be empty!
2. Open your terminal there and run this command:
npm init
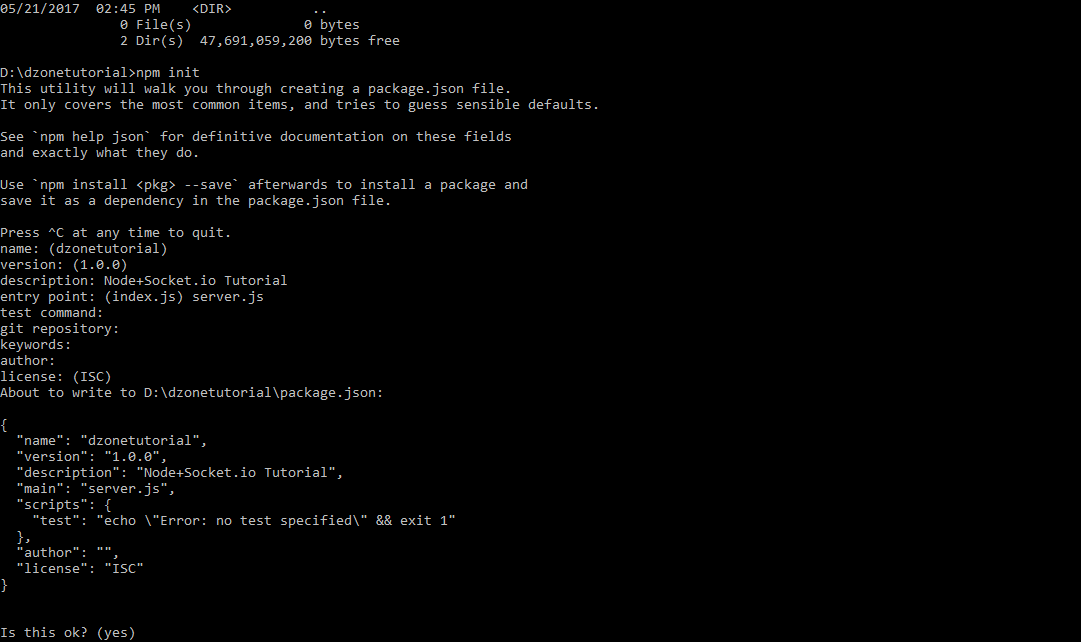
Make sure to specify: entry-point: server.js.
Installing All Required Modules
- Express:
npminstallexpress--save - Socket.io:
npm install socket.io --save
Run: npm install
Make sure that there are no errors.
Let's Start Coding
Create a server.jsfile.
Creating and Deploying a Basic Express Server
server.js:
var express = require('express');//Importing Express
var app = express();//Getting App From Express
const port = 8080;//Creating A Constant For Providing The Port
app.listen(port);//Telling Express App To Listen To Port
//Routing Request : http://localhost:port/
app.get('/',function(request,response){
  //Telling Browser That The File Provided Is A HTML File
  response.writeHead(200,{"Content-Type":"text/html"});
  //Passing HTML To Browser
  response.write("The Server Is <strong>Working</strong>!");
  //Ending Response
  response.end();

})
console.log("Server Running At:localhost:"+port);
Deploy the Server
Run:npm start
Your console will show you this:
D:\dzonetutorial>npm start

 > [email protected] start D:\dzonetutorial

 > node server.js
 Server Running At:localhost:8080
Now check if it is working:
Open Chrome and navigate to localhost:8080.
If you see something like this: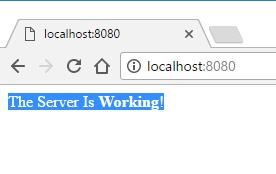 Then your server is working perfectly!
If you get an error that says "site not found," "access denied," or you do not see the message above, then it may be an issue with your firewall. The node may not have access to open ports. Here is how to fix that.
Loading an HTML File Through the Server
For simplicity, I am not using Jade, EJS or any View Engine.
server.js:
var express = require('express');//Importing Express
var app = express();//Getting App From Express
var fs = require('fs');//Importing File System Module To Access Files
const port = 8080;//Creating A Constant For Providing The Port
app.listen(port);//Telling Express App To Listen To Port
//Routing Request : http://localhost:port/
app.get('/',function(request,response){
  //Telling Browser That The File Provided Is A HTML File
  response.writeHead(200,{"Content-Type":"text/html"});
  //Passing HTML To Browser
  response.write(fs.readFileSync("./public/index.html"));
  //Ending Response
  response.end();

})
//Routing To Public Folder For Any Static Context
app.use(express.static(__dirname + '/public'));
console.log("Server Running At:localhost:"+port);
Now create a folder named Public in the root directory, and inside it, create a file named index.html.
index.html:
<!DOCTYPE html>
 <html>
    <head>
        <meta charset="utf-8">
        <title>Test Page</title>
        <meta name="description" content="">
        <meta name="viewport" content="width=device-width, initial-scale=1">
    </head>
    <body>
        Hello Node Server Routing Is Working.
    </body>
</html>
Stop the execution of the previous server by pressing Ctrl+C in your console.
Deploy this new server: npm start
When you open http://localhost:8080 you should see that public/index.html is loaded.
Now Let's Start Using Socket.io
First we have to start the Socket.io sub-server on the main server.
In server.js:
Replace: app.listen(port);
with: var io = require('socket.io').listen(app.listen(port));
This gives Socket.io access to the server so that it can serve the socket.io.js to the public/index.html.
Information on Socket.io
In order to enable realtime fast communication with the server and frontend, Socket.io is used, which passes requests from the client side to the server side.
In socket.io, there are two scripts, one running on the client side and the other on the server side. Both are similar, but run on different platforms; client side socket.io can control the appearance and the GUI, whereas the server side one can control all server side tasks.
The transfer of data is handled through events which are triggered by the emit function in the Socket.io core. These events are recieved through the on function, which has a callback function to which the data sent through emit is passed.
Before the transfer of data starts the client side has to connect to this Socket.io sub-server built on top of the express server. When the client side connects to the server, the 'connection' event is triggered for the Socket.io running at the server. It is the same with the 'disconnect' event.
Example:
//For Tracking When User Connects:
io.sockets.on("connection",function(socket){
//var socket is the socket for the client who has connected.
})
//For Tracking When User Disconnects:
io.sockets.on("disconnect",function(socket){
//var socket is the socket for the client who has disconnected.
})
This is how a 'connection' event and a 'disconnect' event are recieved by the server.
How An Event Is Triggered:
io.sockets.emit("EVENT_NAME",EVENT_DATA);
//EVENT_DATA Can Be Anything That Is To Be Sent To The Server
How An Event Is Handled:
io.sockets.on("EVENT_NAME",function(data){
//data = EVENT_DATA Passed From The emit Method
})
This will give you a small idea about Socket.io and its powers.
Using Socket.io on the Client Side
index.html:
<!DOCTYPE html>
 <html>
    <head>
        <meta charset="utf-8">
        <title>Test Page</title>
        <meta name="description" content="">
        <meta name="viewport" content="width=device-width, initial-scale=1">
    </head>
    <body>
        <!--socket.io.js is automatically added by node-->
        <script src="socket.io/socket.io.js"></script>
        <!--jQuery Used For Some Frontend Tasks-->
        <script src="https://code.jquery.com/jquery-3.2.1.min.js"></script>
        <script>
            //Connecting To socket.io
            var socket = io.connect(window.location.host);
            socket.on("Start_Chat",function(){
                alert("Ready!");
            })
        </script>
    </body>
</html>
server.js:
var express = require('express');//Importing Express
var app = express();//Getting App From Express
var fs = require('fs');//Importing File System Module To Access Files
const port = 8080;//Creating A Constant For Providing The Port
//Routing Request : http://localhost:port/
app.get('/',function(request,response){
  //Telling Browser That The File Provided Is A HTML File
  response.writeHead(200,{"Content-Type":"text/html"});
  //Passing HTML To Browser
  response.write(fs.readFileSync("./public/index.html"));
  //Ending Response
  response.end();

})
//Routing To Public Folder For Any Static Context
app.use(express.static(__dirname + '/public'));
console.log("Server Running At:localhost:"+port);
var io = require('socket.io').listen(app.listen(port));//Telling Express+Socket.io App To Listen To Port
io.sockets.on("connection",function(socket){
    socket.emit("Start_Chat");
})
Instead of io.sockets.emit(...) , socket.emit(...) is used because the 'Start_Chat' event must only be triggered to the client who just connected.
Stop the execution of the previous server by pressing Ctrl+C in your console and deploy this new server: npm start
Output:
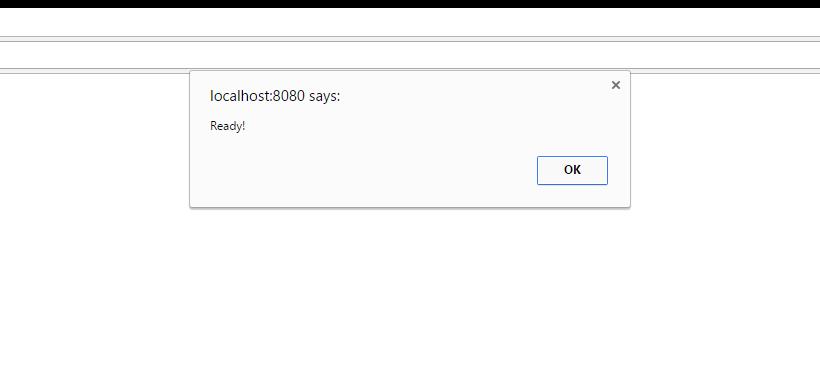
An alert of 'Ready!' should be given to prove that socket.io is working.
Designing a Chat UI in Raw HTML
index.html:
<!DOCTYPE html>
 <html>
    <head>
        <meta charset="utf-8">
        <title>Chat Page</title>
        <meta name="description" content="">
        <meta name="viewport" content="width=device-width, initial-scale=1">
    </head>
    <body>
        <!--socket.io.js is automatically added by node-->
        <script src="socket.io/socket.io.js"></script>
        <!--jQuery Used For Some Frontend Tasks-->
        <script src="https://code.jquery.com/jquery-3.2.1.min.js"></script>
       <p id="stat"><strong>Status:</strong>Not Connected</p>
       <h2>Socket.io Chat Tutorial:</h2>
       <ul>

       </ul>
       <input id="field" placeholder="Wait..." type="text"><input type="button" value="Go" id="btn">
        <script>
            //Connecting To socket.io
            var socket = io.connect(window.location.host);
            socket.on("Start_Chat",function(){
                //Setting Message On Connection..
                $("#stat").html("<strong>Status:</strong>Connected");
            })
            socket.on("disconnect",function(){
                //Setting Message On Disconnection
                $("#stat").html("<strong>Status:</strong>Disconnected From Server Refresh!");
            })
        </script>
    </body>
</html>
Now let's modify server.js to send data from one socket to another.
server.js:
var express = require('express');//Importing Express
var app = express();//Getting App From Express
var fs = require('fs');//Importing File System Module To Access Files
const port = 8080;//Creating A Constant For Providing The Port
//Routing Request : http://localhost:port/
app.get('/',function(request,response){
  //Telling Browser That The File Provided Is A HTML File
  response.writeHead(200,{"Content-Type":"text/html"});
  //Passing HTML To Browser
  response.write(fs.readFileSync("./public/index.html"));
  //Ending Response
  response.end();

})
//Routing To Public Folder For Any Static Context
app.use(express.static(__dirname + '/public'));
console.log("Server Running At:localhost:"+port);
var io = require('socket.io').listen(app.listen(port));//Telling Express+Socket.io App To Listen To Port
io.sockets.on("connection",function(socket){
    socket.emit("Start_Chat");
    //On Event Registar_Name
    socket.on("Register_Name",function(data){
       io.sockets.emit("r_name","<strong>"+data+"</strong> Has Joined The Chat");
       //Now Listening To A Chat Message
       socket.on("Send_msg",function(data){
       io.sockets.emit("msg",data);
       //Now Listening To A Chat Message

    })
    })
})
Finally, we are finished with the Node.Js side of the tutorial; now it's the client side:
index.html:
<!DOCTYPE html>
 <html>
    <head>
        <meta charset="utf-8">
        <title>Chat Page</title>
        <meta name="description" content="">
        <meta name="viewport" content="width=device-width, initial-scale=1">
    </head>
    <body>
        <!--socket.io.js is automatically added by node-->
        <script src="socket.io/socket.io.js"></script>
        <!--jQuery Used For Some Frontend Tasks-->
        <script src="https://code.jquery.com/jquery-3.2.1.min.js"></script>
       <p id="stat"><strong>Status:</strong>Not Connected</p>
       <h2>Socket.io Chat Tutorial:</h2>
       <ul></ul>
       <input id="field" placeholder="Wait..." type="text"><input type="button" value="Go" id="btn">
        <script>
            //Connecting To socket.io
            var socket = io.connect(window.location.host);
            socket.on("Start_Chat",function(){
                //Setting Message On Connection..
                $("#stat").html("<strong>Status:</strong>Connected");
                $("#field").attr("placeholder","Your Name..");
                $("#field").focus();
            })
            socket.on("disconnect",function(){
                //Setting Message On Disconnection
                $("#stat").html("<strong>Status:</strong>Disconnected From Server Refresh!");
            })
            $("#btn").click(function(){
                if($("#field").attr("placeholder") ==="Your Name.."){
                     socket.emit("Register_Name",$("#field").val());
                     $("#field").val("");
                     $("#field").attr("placeholder","Your Text..");
                } else if($("#field").attr("placeholder") == "Your Text.."){
                     socket.emit("Send_msg",$("#field").val());
                     $("#field").val("");
                     $("#field").focus();
                }else alert("Wait...");
            })
            socket.on("r_name",function(data){
                $("ul").append("<li>"+data+"</li>");
            })
            socket.on("msg",function(data){
                $("ul").append("<li>"+data+"</li>");
            })
        </script>
    </body>
</html>
Stop the execution of the previous server by pressing Ctrl+C in your console to deploy this new server: npm start
Output:
Opinions expressed by DZone contributors are their own.
Comments