GitLab CI/CD Pipelines Integrated Workflow, OCI, Kubernetes, and Registry
Join the DZone community and get the full member experience.
Join For FreeOracle’s public cloud embraces open source technologies and the communities that support them. With the strong shift to cloud native technologies and DevOps methodologies, we’ve heard from many organizations that they want a high-performance, high-reliability cloud that avoids cloud lock-in and allows them to run what they want, whether or not it's built by the cloud provider. Running GitLab on Oracle Cloud Infrastructure gives customers a choice in their DevOps platform as one application for the entire DevOps lifecycle.
GitLab CI/CD and Oracle Cloud
GitLab is a complete open source DevOps platform, delivered as a single application. It fundamentally changes the way Dev, Security, and Ops teams collaborate and build software. When you combine the GitLab CI/CD Pipelines Auto DevOps features with Oracle Cloud Infrastructure Container Engine for Kubernetes, you have a reliable and scalable integrated workflow platform to build, test, deploy, and monitor your code in the cloud.
Container Engine for Kubernetes is a service that helps you deploy, manage, and scale Kubernetes clusters in the cloud. With it, organizations can build dynamic containerized applications by incorporating Kubernetes with services running on their Oracle Cloud Infrastructure.
CI/CD Workflow
Continuous integration (CI) integrates your team’s code in a shared repository. Developers use a pull request to share new code, and the request triggers a pipeline to build, test, and validate the code before it’s merged in the repository. CI helps you catch errors early in the development cycle, reduces integration issues, and avoid compounding problems.
Continuous delivery (CD) ensures that CI-validated code is delivered to your application through a structured deployment pipeline. CD ensures that every change is releasable, lowers the risk for each release, delivers more value frequently, and enables you to get faster and more frequent feedback from customers.
Together, CI and CD enable your team to build quickly and effectively, and they are critical for ensuring an optimized development practice.
Getting Started
First, let’s explore the components needed to build and deploy GitLab CI/CD services in Container Engine for Kubernetes. To install GitLab on Container Engine for Kubernetes, you must have a desktop (cloud VM or on premises) with the Oracle Cloud Infrastructure (oci) and kubectl command lines installed and configured.
Then, the following components are required before proceeding:
- Kubernetes version 1.14.8 or later
- Helm/Tiller version 2.14 or later
- Subnet CIDR and ports for Kubernetes pods and worker nodes open in the local virtual cloud network (VCN) security list
Deployment Process
To deploy GitLab on Oracle Contain Engine for Kubernetes, review the Deployment Guide and follow these steps.
Run the following commands. Change example.com to your own DNS. If you want Helm to install the GitLab resources in a different namespace, add --namespace NEW_NAME_SPACE after the --install option.
Shell
xxxxxxxxxx1
1helm repo add gitlab https://charts.gitlab.io/2helm repo update3helm upgrade --install gitlab gitlab/gitlab --set externalUrl=http://gitlab.example.com \4--timeout 600s \5--set global.hosts.domain=example.com \6--set certmanager-issuer.email=[email protected]
After the provisioning process is done, run the following command to identify the external IP address assigned to GitLab:
Shell
xxxxxxxxxx1
1kubectl get services gitlab-nginx-ingress-controller
Point the DNS entry from step 1 (for example, gitlab.example.com) to GitLab. Use your own DNS zone management service to update the DNS record entry. Otherwise, you will get a "default backend - 404" error message in step 5. If you get the 404 error message, fix the DNS entry and re-create the gitlab-runner pod.
After the DNS zone record has been created, use the following command to get the base64 root password, which you need to connect in the dashboard.
Shell
xxxxxxxxxx1
1kubectl get secret <name>-gitlab-initial-root-password -ojsonpath='{.data.password}' | base64 --decode ; echo "
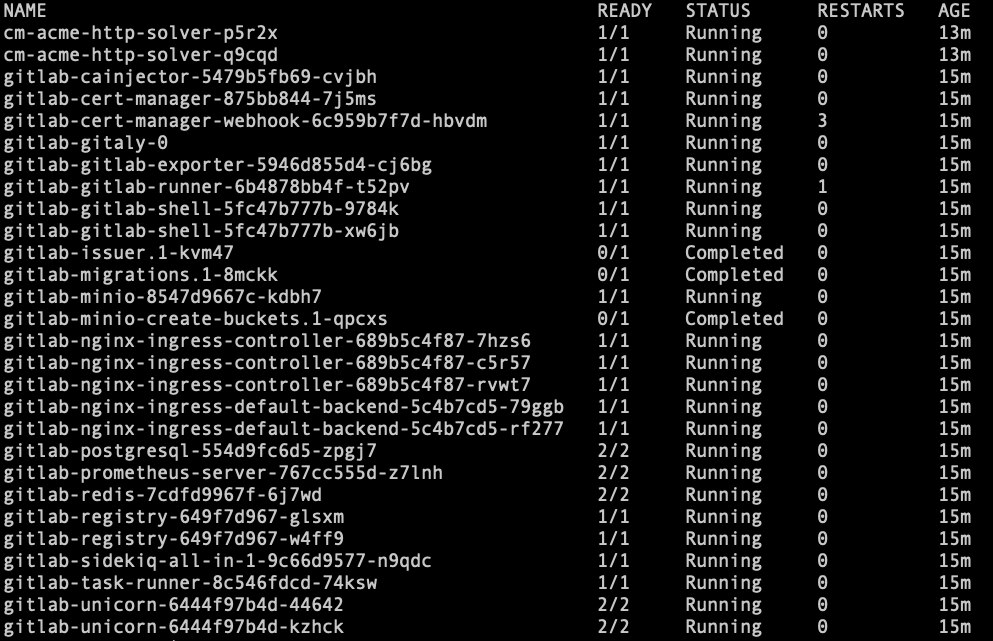
Wait for all the pods to be up and running before proceeding. The following screenshot shows a list of the pods that will be installed through Helm.
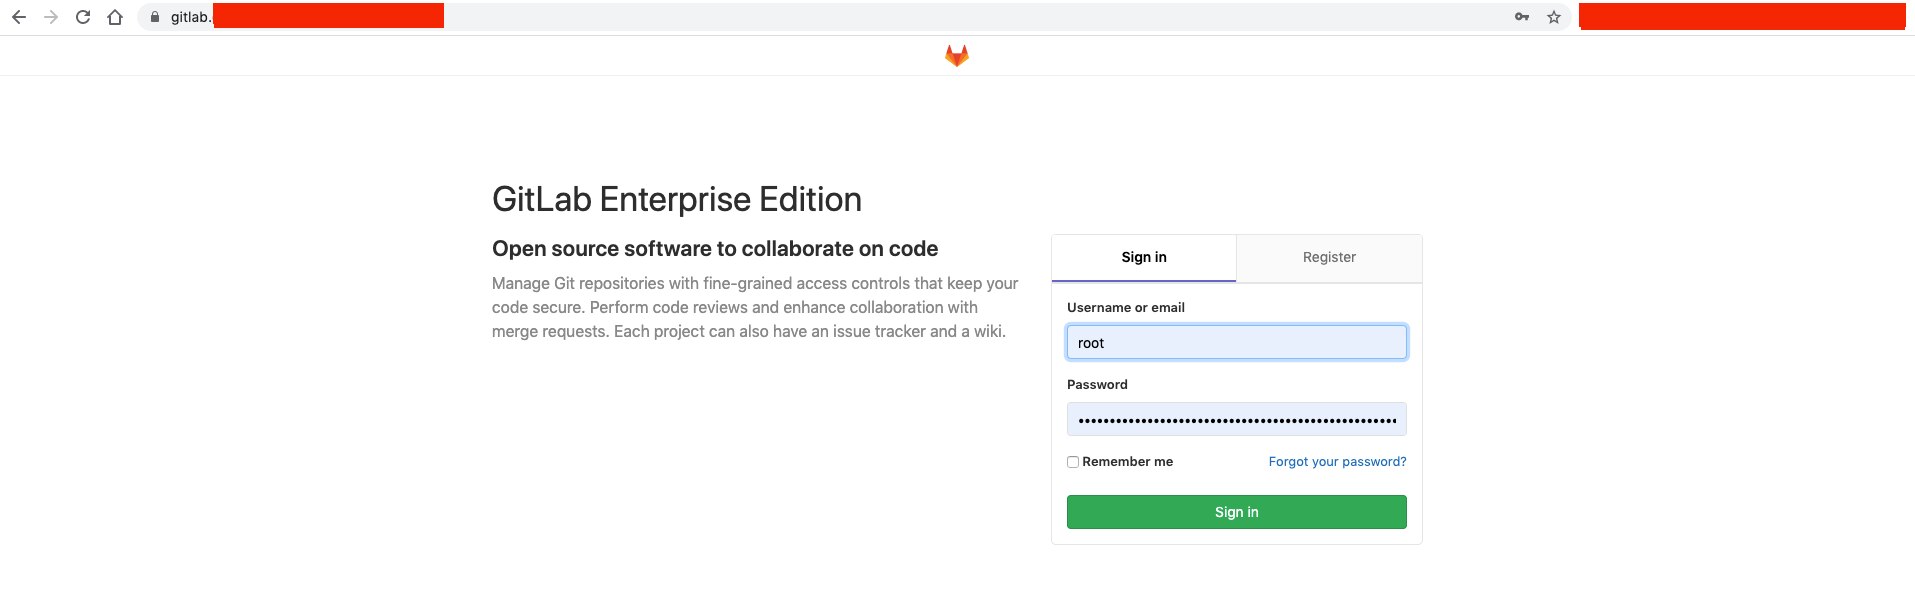
Open a browser, type the DNS address, and then use the root username with the base64 password.
Add your existing Container Engine for Kubernetes cluster information in GitLab. Select Kubernetes in the Admin Area menu, click Add Kubernetes cluster, click the Add existing cluster tab, and enter the following information:
Name: Your cluster’s name, available in the ~/.kube/config file.
Environment scope: Enter * .
API URL: Get the API URL by running this command:
Shell
xxxxxxxxxx1
1kubectl cluster-info | grep 'Kubernetes master' | awk '/http/ {print $NF}'
CA Certificate: Run kubectl get secrets. One of the secrets listed should be named similar to default-token-xxxxx. Copy that token name and use it in the following command. Get the certificate by running this command:
Shell
xxxxxxxxxx1
1kubectl get secret <secret name> -o jsonpath="{['data']['ca\.crt']}" | base64 --decode
Token: GitLab authenticates against Kubernetes by using service tokens, which are scoped to a particular namespace. The token used should belong to a service account with cluster-admin privileges. Follow these steps to create this service account:
Create a file called gitlab-admin-service-account.yaml with the following contents:
YAML
xxxxxxxxxx118
1apiVersionv12kindServiceAccount3metadata4namegitlab-admin5namespacekube-system6---7apiVersionrbac.authorization.k8s.io/v1beta18kindClusterRoleBinding9metadata10namegitlab-admin11roleRef12apiGrouprbac.authorization.k8s.io13kindClusterRole14namecluster-admin15subjects16kindServiceAccount17namegitlab-admin18namespacekube-system
Run the following command to apply the service account and cluster role binding to your cluster:
Shell
xxxxxxxxxx1
1kubectl apply -f gitlab-admin-service-account.yaml
Output:
Plain Text
xxxxxxxxxx1
1serviceaccount "gitlab-admin" created2clusterrolebinding "gitlab-admin" created
Retrieve the token for the gitlab-admin service account:
Shell
xxxxxxxxxx1
1kubectl -n kube-system describe secret $(kubectl -n kube-system get secret | grep gitlab-admin | awk '{print $1}')
Click Add Kubernetes Cluster. An instance cluster is added.
In the Instance Cluster, install the following components:
- Helm Tiller
- Ingress
- Cert-Manager
- Prometheus
- GitLab Runner
After you install Ingress, a new public Oracle Cloud Infrastructure load balancer is provisioned.
Change the base domain to the load balancer public IP address as suggested in the UI (for example, OCI_Public_IP.nip.io), and then click Save Changes. Additional details are available in the GitLab documentation.
That's it! The GitLab CI/CD Pipelines installation and integration with Container Engine for Kubernetes is done. Now, it's time to test your GitLab CI/CD workflow.
Using GitLab CI/CD Pipelines with Oracle Cloud Infrastructure Registry
This example demonstrates how to use the GitLab CI/CD workflow to pull an image from a private Oracle Cloud Infrastructure Registry repo, rebuild it, and push it back into the Registry using a new build name.
If you have a private image available in your Registry repo, skip to the next step. If you don’t have a private image available, build a Docker image, upload it to a private Registry repo, and create a Kubernetes secret (use your Registry username and password for the secret info). The following tutorials explain these steps.
Add the following variables to GitLab. Navigate to Settings > CI/CD, expand Variables, and add the following variable keys and values:
- OKE_REGISTRY: Your Registry region endpoint (for example, iad.ocir.io)
- OKE_REGISTRY_IMAGE: Your Registry image (for example, iad.ocir.io/tenancy_name/imagename:build)
- OKE_REGISTRY_NEW_IMAGE: Your new Registry image build version that will be pushed into Registry after the build process (for example, iad.ocir.io/tenancy_name/imagename:new_image)
- OKE_REGISTRY_PASSWORD: Your Oracle Cloud Infrastructure auth token. For more information, see the documentation.
- OKE_REGISTRY_USER: Oracle_Cloud_Infrastructure_tenancy_name/usernam
Create an internal blank project (for example, gitlab-docker-ocir-oke).
Create two new files, Dockerfile and .gitla-ci.yml. These are just basic examples to get GitLab working with Container Engine for Kubernetes and Registry. Modify them to match your requirements.
.gitlab-ci.yml
YAML
xxxxxxxxxx139
1docker-build-master2# Official docker image.3imagedockerlatest4stagebuild5services6namedocker19.03.0-dind7entrypoint"env" "-u" "DOCKER_HOST"8command"dockerd-entrypoint.sh"9variables10#CI_DEBUG_TRACE: "true"11DOCKER_HOSTtcp//localhost2375/12DOCKER_DRIVERoverlay213DOCKER_TLS_CERTDIR""14before_script15docker login -u "$OKE_REGISTRY_USER" -p "$OKE_REGISTRY_PASSWORD" $OKE_REGISTRY16script17docker info18docker build --pull -t "$OKE_REGISTRY_IMAGE" .19docker tag "$OKE_REGISTRY_IMAGE" "$OKE_REGISTRY_NEW_IMAGE"20docker push "$OKE_REGISTRY_NEW_IMAGE"21only22master2324docker-build25# Official docker image.26imagedockerlatest27stagebuild28services29docker:19.03.0-dind30before_script31docker login -u "$OKE_REGISTRY_USER" -p "$OKE_REGISTRY_PASSWORD" $OKE_REGISTRY32script33docker info34docker build --pull -t "$OKE_REGISTRY_IMAGE" .35docker tag "$OKE_REGISTRY_IMAGE" "$OKE_REGISTRY_NEW_IMAGE"36docker push "$OKE_REGISTRY_NEW_IMAGE"37except38master39
Dockerfile
-
Dockerfile
x
1FROM nginx2VOLUME /usr/share/nginx/html
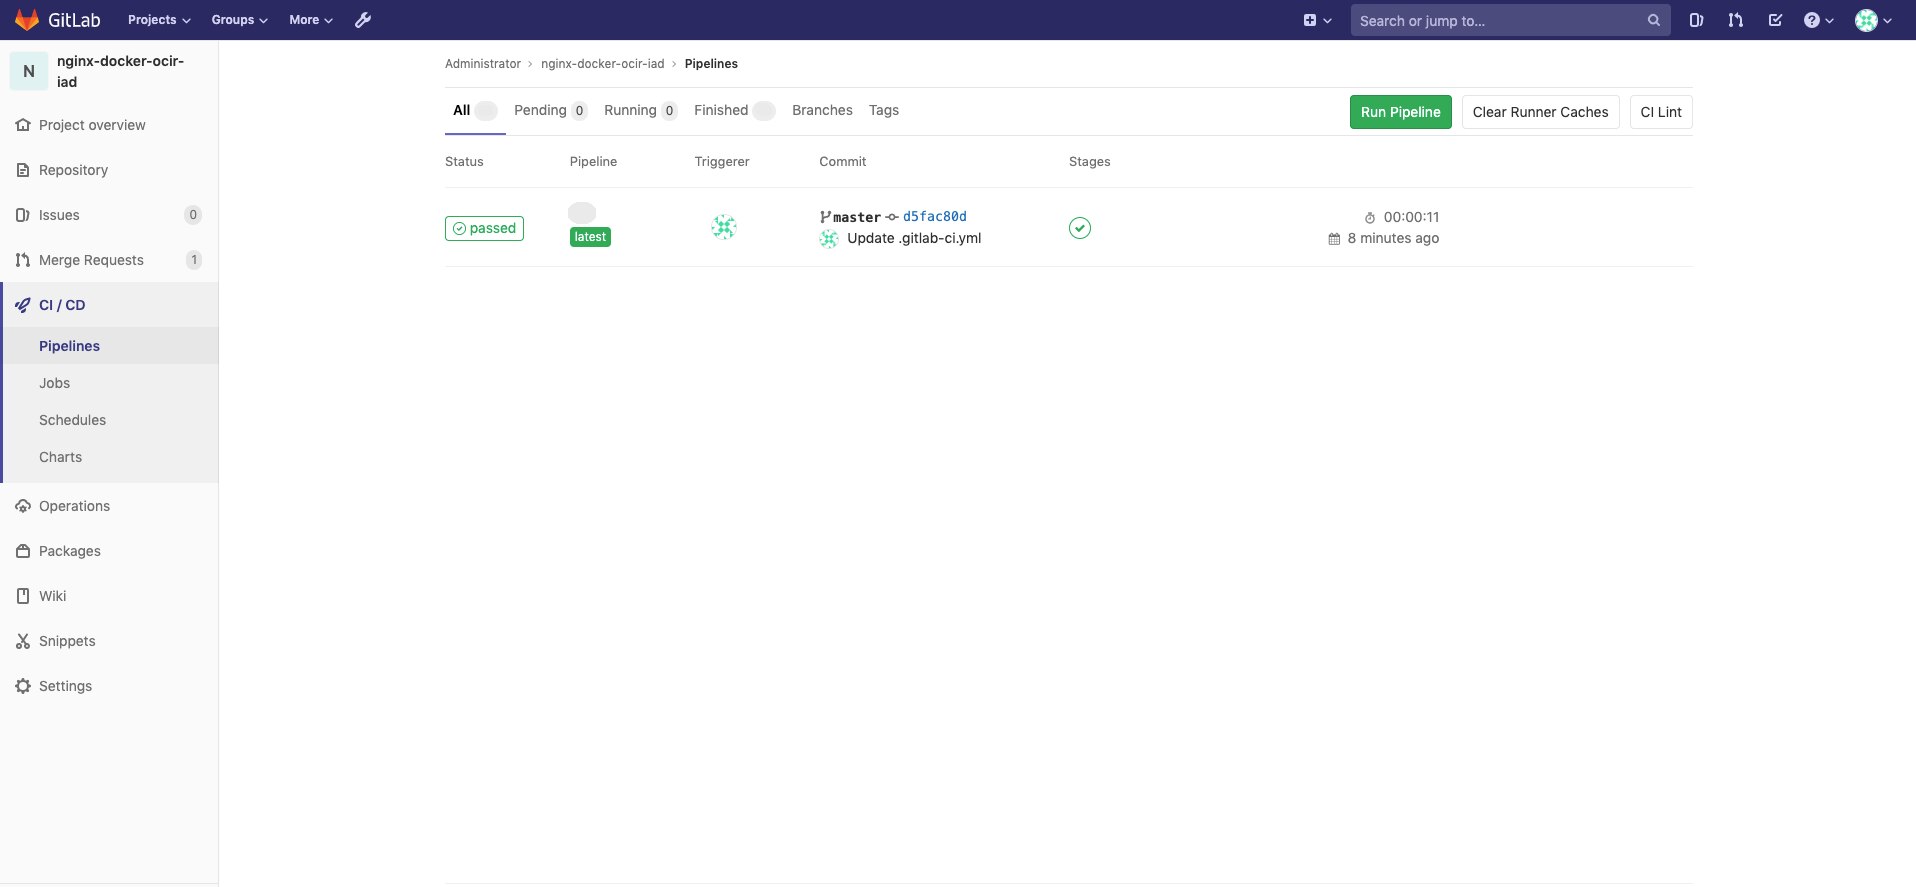
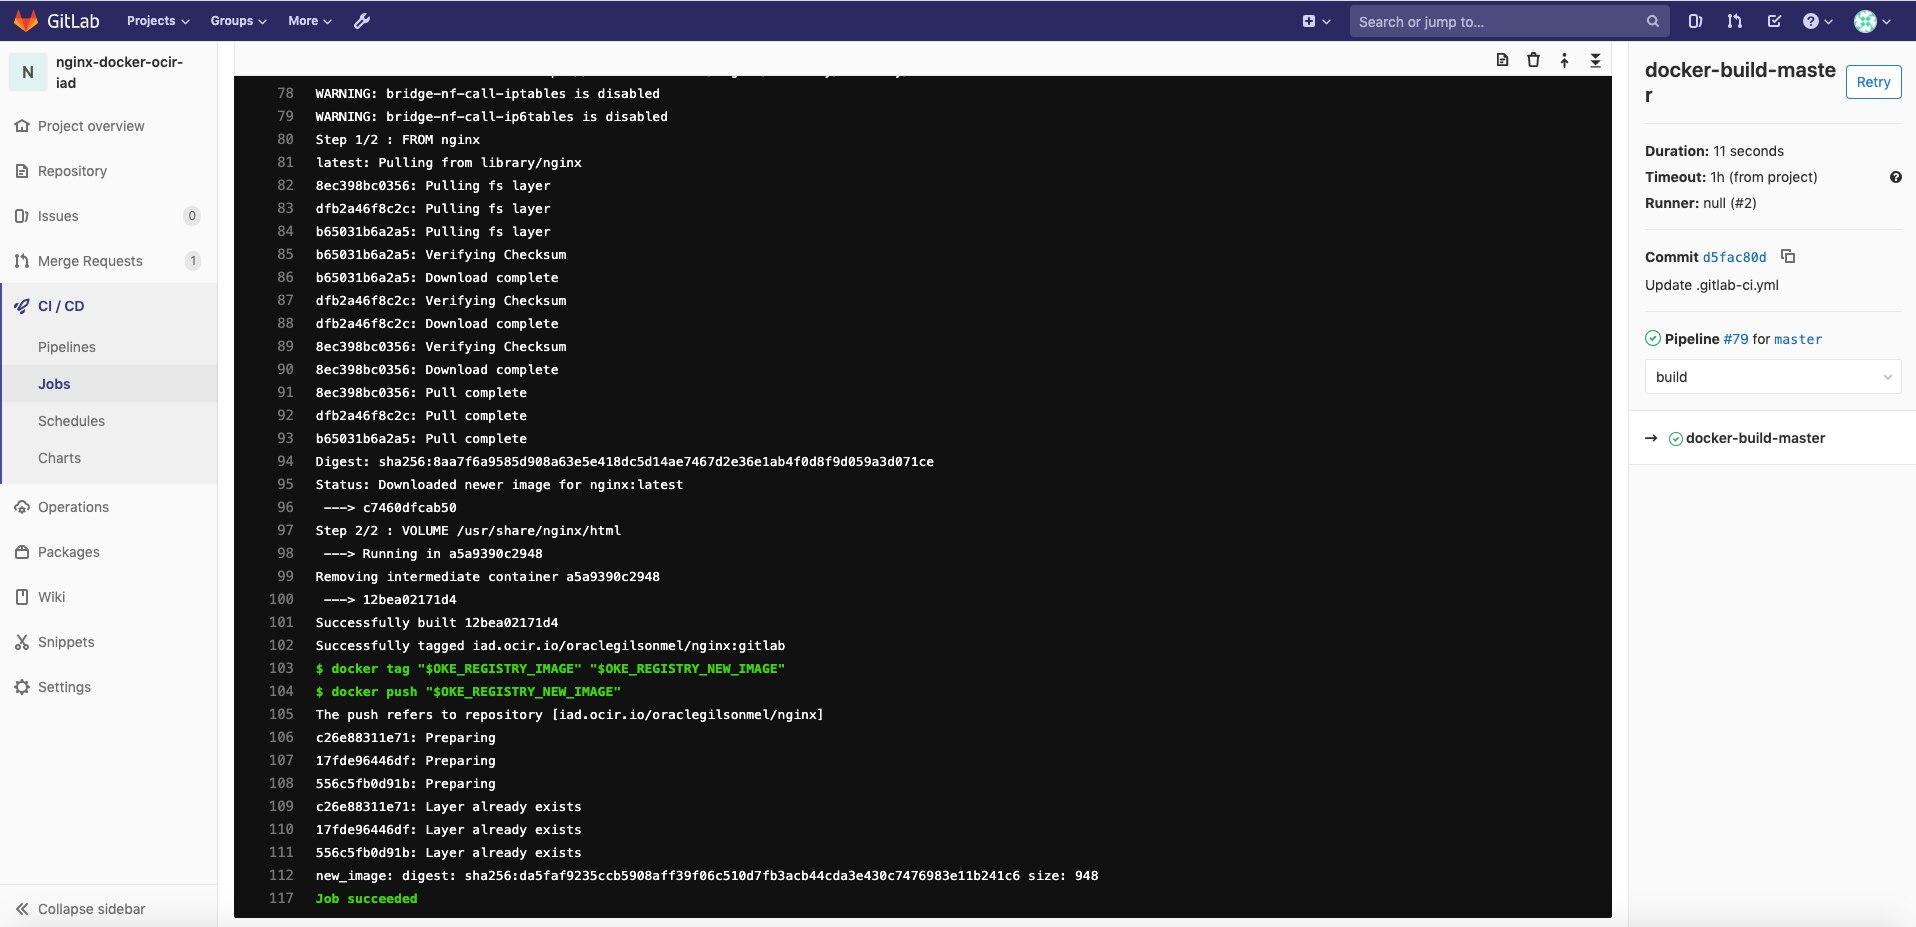
After these files have been created and saved, GitLab Auto DevOps triggers Pipelines. Then, it pulls your Registry image, builds a new one, tags it using the $OKE_REGISTRY_NEW_IMAGE name, and pushes it into Registry.
5. Refresh the Registry dashboard, and a new image appears.
Your setup and tests are done! GitLab CI/CD Pipelines has been deployed and integrated with Container Engine for Kubernetes and Registry.
Conclusion
Combining Container Engine for Kubernetes with the GitLab CI/CD integrated workflow capabilities gives you a robust and scalable DevOps platform that’s production ready. For more information, see the Container Engine for Kubernetes documentation and the Gitlab website. If you want to experience Gitlab on Container Engine for Kubernetes for yourself, sign up for an Oracle Cloud Infrastructure account and start testing today!
Published at DZone with permission of Gilson Melo. See the original article here.
Opinions expressed by DZone contributors are their own.
Comments