Hardware Reset for ARM Cortex-M With Segger J-Link and Kinetis Design Studio
The reset and signal line of a microcontroller is probably the most important signal to a microcontroller. And, if things go wrong, then the first thing to check is the reset line. So, having control over reset is an important aspect for embedded development. Read on to learn more.
Join the DZone community and get the full member experience.
Join For FreeThe reset and signal line of a microcontroller is probably the most important signal to a microcontroller. And, if things go wrong, then the first thing to check is the reset line. So, having control over reset is an important aspect for embedded development. You would think that if you download a program to a microcontroller, the debug probe would put the device into reset at the start with a short pulse like this:
Reset Signal in Logic Analyzer
But actually, this might not be the case because the debug probe can put the device into reset using the ARM SYSRESETREQ bit of the core. This does a reset, but without the external Reset pin. So, if my hardware depends on that reset signal, I have a problem. The SYSRESETREQ way used by default with using GDB e.g. with the NXP/Freescale Kinetis Design Studio and the Segger J-Link.
A check of the Segger J-Link user manual shows that it supports multiple reset strategies, where type 0 is used normally. But, what I would need is type 2:
Cortex-M Reset Strategies (Source: Segger)
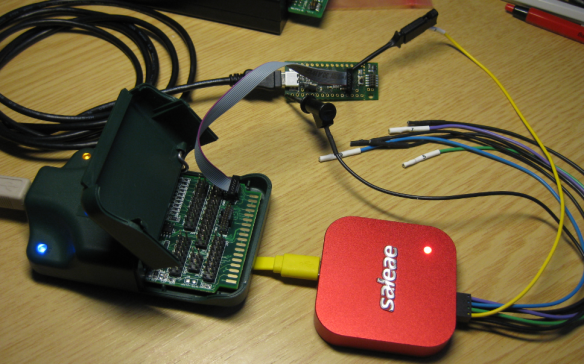
For a project with the tinyK20 (ARM Cortex M4 from NXP/Freescale), I have to make sure that the reset line is used to reset the hardware. For this, I hooked up a logic analyzer to check what happens if I download/debug the firmware:
Reset Line Monitoring
And indeed: the reset line is kept high and not touched when I download/debug the firmware with Kinetis Design Studio, GDB, and Segger J-Link:
Reset Line HIGH
So, how to have the reset line toggled? The above chapter "Reset Strategies" in the Segger J-Link manual says that I could use strategy type 2. But how to use it with the GNU Debugger (gdb) in Eclipse?
The Segger GDB manual has the important hint how to select a reset strategy:
GDB Reset Types (Source: Segger)
So, I need to use:
monitor reset 2This allows me to use strategy 2 which should toggle the RESET line. So, I have added this to the debugger startup settings:
Monitor Reset Command in Launch Configuration
And indeed, now RESET is used when I download the application to the board:
Reset Signal in Logic Analyzer
And, to my surprise, it works as well for the restart button:
Restart Command
And, actually with the latest GNU ARM Eclipse plugins for Segger there is even a setting to specify the reset type. So, I only have to specify the reset type number:
Type of Reset Specified
Even easier!
P&E Universal Multilink
And, what if I'm using the P&E Multilink Universal? I have not found a GDB setting to choose from different reset strategies. So, I made a quick test with the same setup:
Reset Probing with P&E Multilink
P&E Reset Signal
So, obviously the P&E Multilink Universal probe does always reset pin toggling.
Summary
By default, the reset line is not needed for SWD/JTAG debugging. But, if I need to have the reset line toggled for debugging, I can specify the reset type 2 for ARM Cortex-M in the GNU ARM Eclipse Segger J-Link debug plugins. The approach discussed here works with command line GDB debugging and with any Eclipse GDB debug solution using the GNU ARM Eclipse plugins, for example the NXP Kinetis Design Studio.
I have not looked yet into ways how to do the same with other debug connections like P&E or OpenOCD. That might or might not be possible, maybe someone can comment?
Happy resetting!
Published at DZone with permission of Erich Styger, DZone MVB. See the original article here.
Opinions expressed by DZone contributors are their own.


Comments