

How I Finally Got All My CI/CD in One Place: Getting My CI/CD Act Together With Heroku Flow
If you want to go all in on Heroku, you can use a series of solutions called Heroku Flow to configure all your CI/CD without any third parties.

 CORE
·
CORE
·
Join the DZone community and get the full member experience.
Join For FreeThe Heroku team has long been an advocate of CI/CD. Their platform integrates with many third-party solutions like GitLab CI/CD or GitHub Actions.
In a previous article, I demonstrated how you can configure your Heroku app with GitLab CI/CD to automatically deploy your app to production. In a follow-up article, I walked you through a slightly more nuanced setup involving both a staging environment and a production environment.
But if you want to go all in on Heroku, you can use a series of solutions called Heroku Flow to configure all your CI/CD without any third parties. Heroku Flow brings together Heroku pipelines, Heroku CI, Heroku review apps, a GitHub integration, and a release phase.
In this article, I’ll show you how to set this up for your own projects.
Getting Started
Before we begin, if you’d like to follow along, you’ll need a Heroku account and a GitHub account. You can create a Heroku account here, and you can create a GitHub account here.
The demo app shown in this article is deployed to Heroku, and the code is hosted on GitHub.
Running Our App Locally
You can run the app locally by forking the repo in GitHub, installing dependencies, and running the start command. In your terminal, do the following after forking the repo:
$ cd heroku-flow-demo
$ npm install
$ npm start
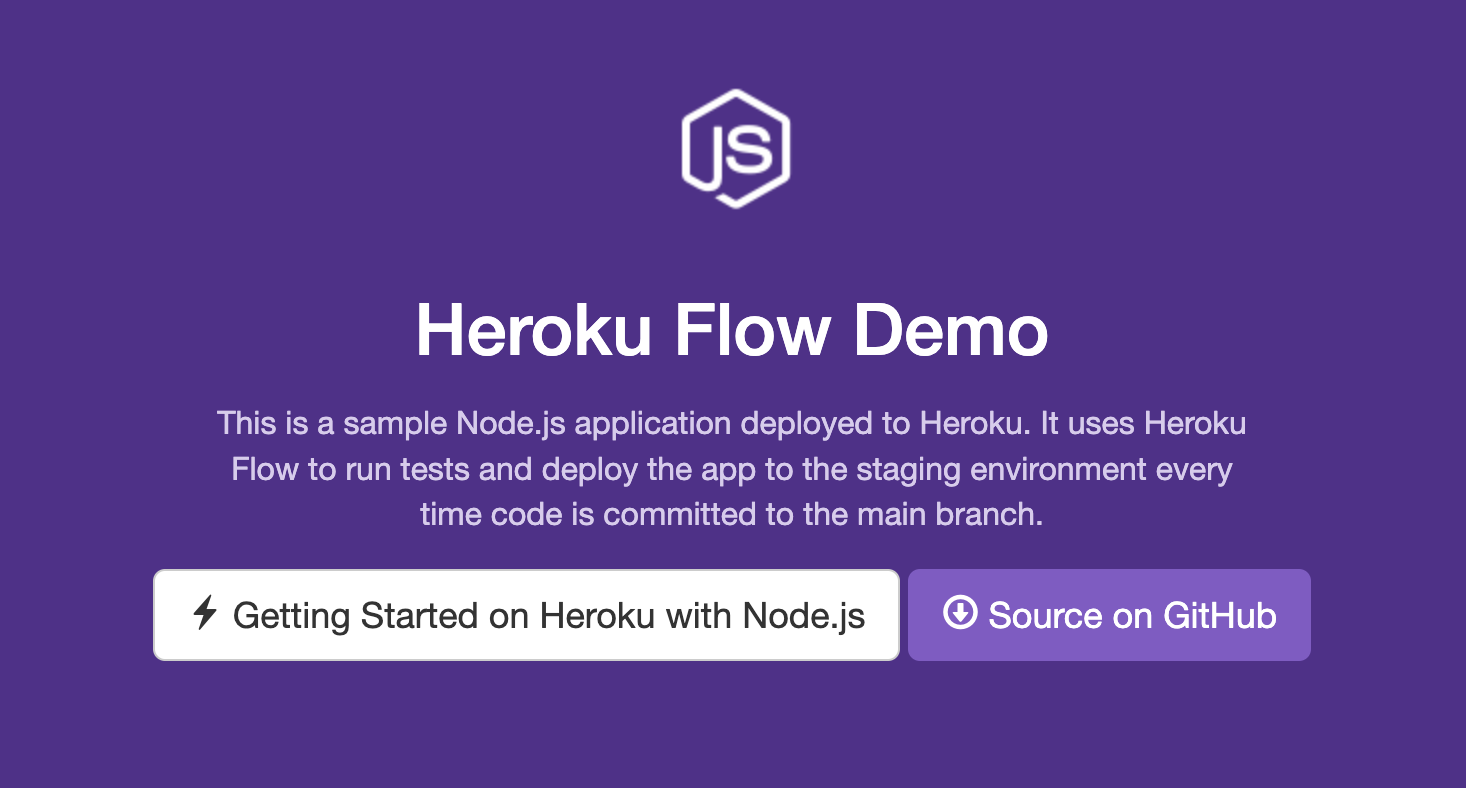
After starting the app, visit http://localhost:5001/ in your browser, and you’ll see the app running locally:
Creating Our Heroku Pipeline
Now that we have the app running locally, let’s get it deployed to Heroku so that it can be accessed anywhere, not just on your machine.
We’ll create a Heroku pipeline that includes a staging app and a production app.
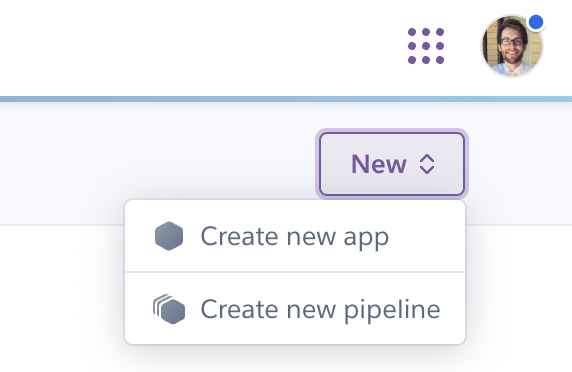
To create a new Heroku pipeline, navigate to your Heroku dashboard, click the “New” button in the top-right corner of the screen, and then choose “Create new pipeline” from the menu.
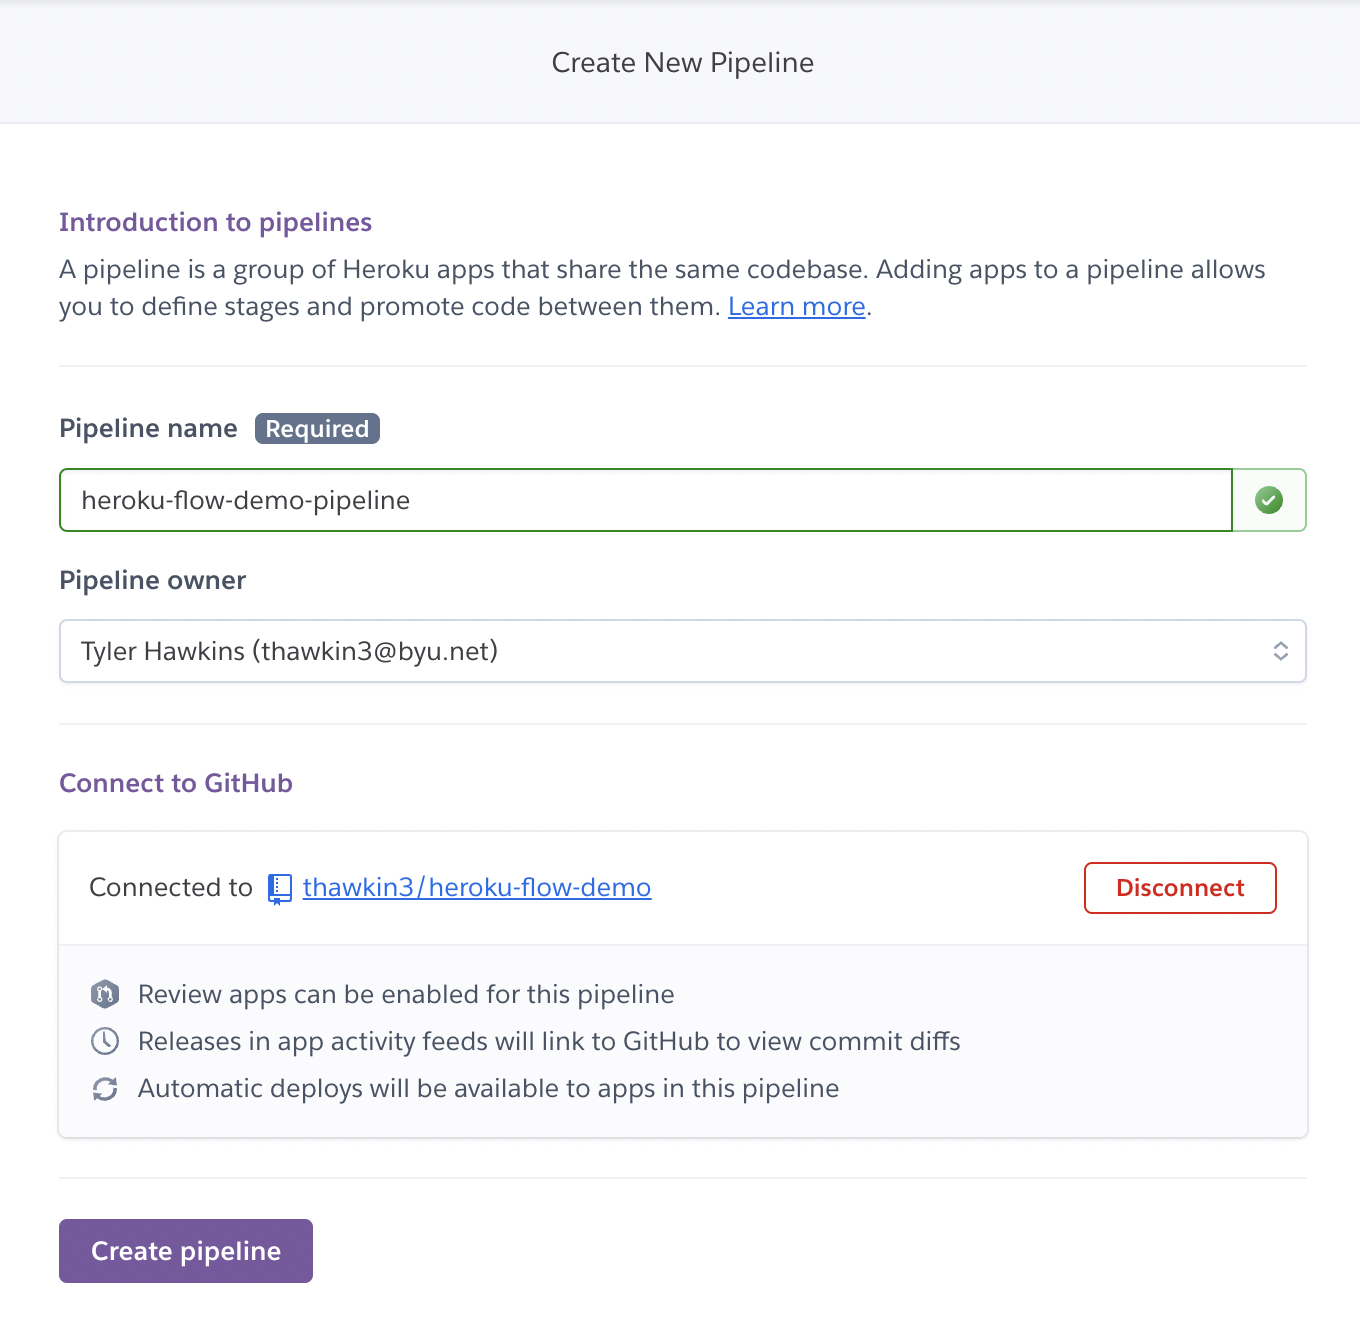
In the dialog that appears, give your pipeline a name, choose an owner (yourself), and connect your GitHub repo. If this is your first time connecting your GitHub account to Heroku, a second popup will appear in which you can confirm giving Heroku access to GitHub.
After connecting to GitHub, click “Create pipeline” to finish the process.
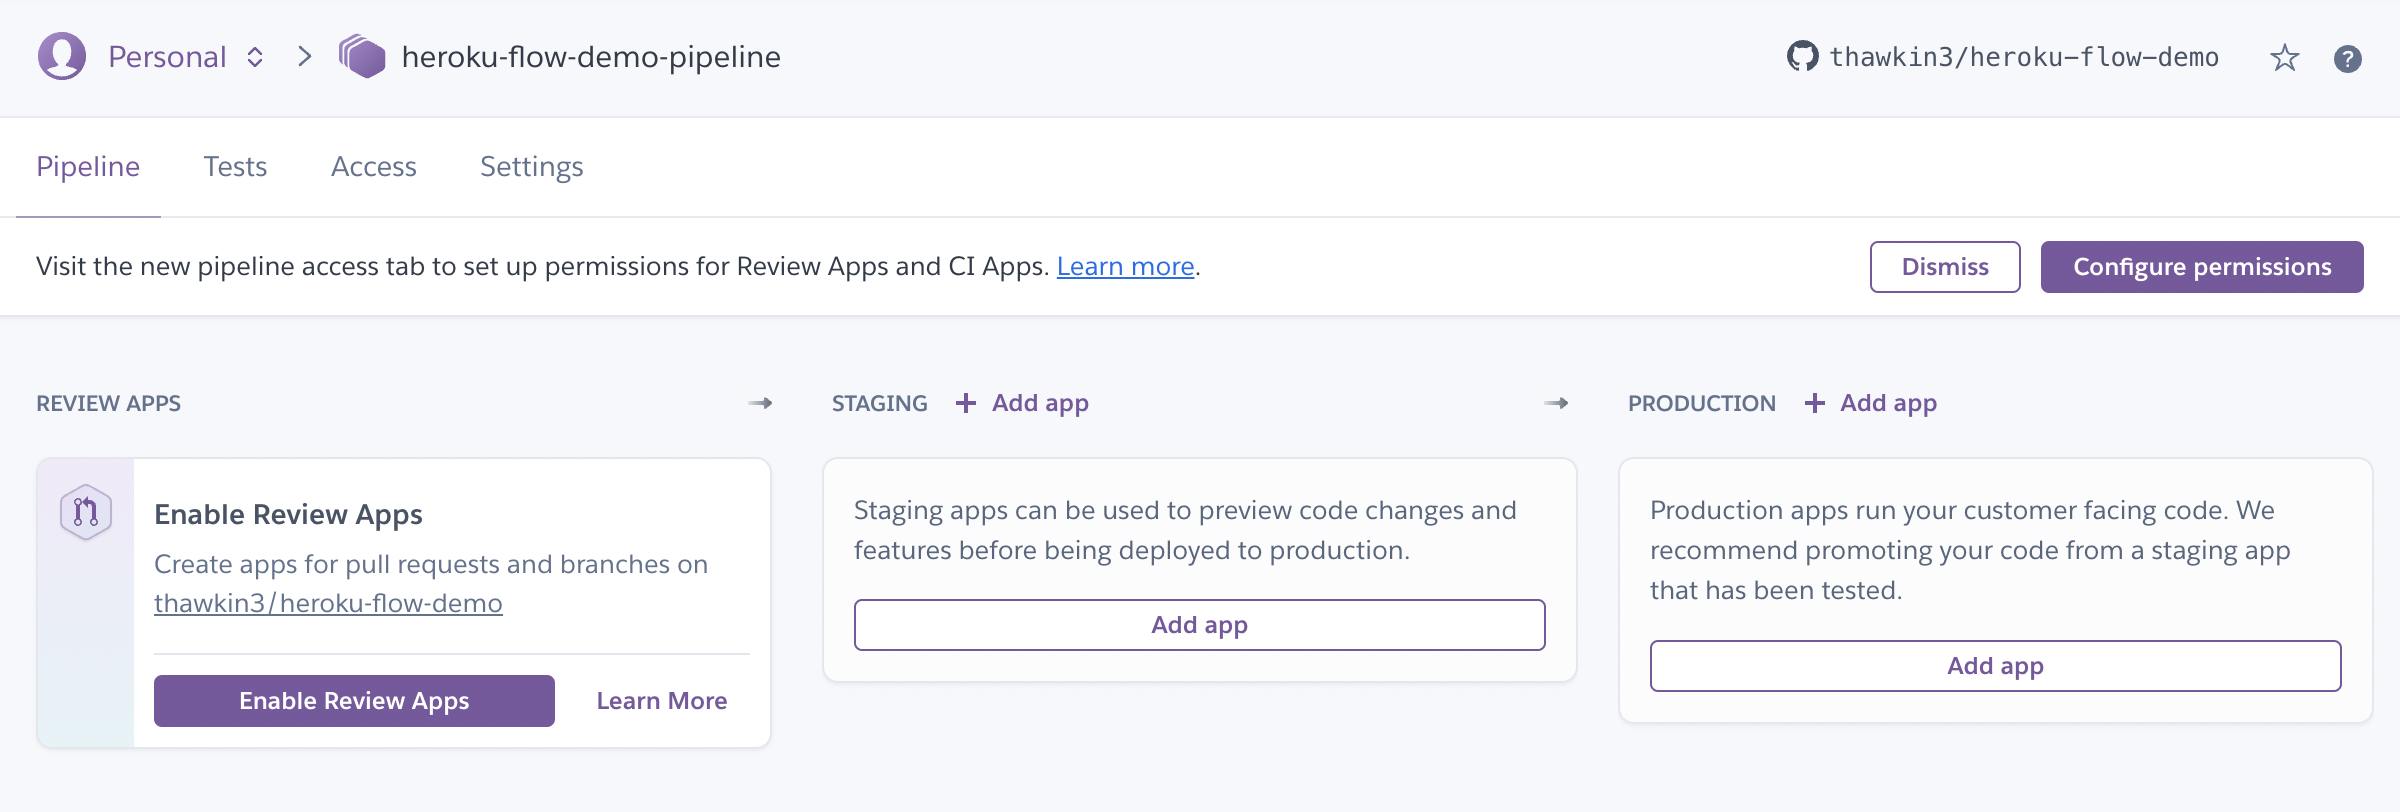
With that, you’ve created a Heroku pipeline. Well done!
Creating Our Staging and Production Apps
Most engineering organizations use at least two environments: a staging environment and a production environment. The staging environment is where code is deployed for acceptance testing and any additional QA. Code in the staging environment is then promoted to the production environment to be released to actual users.
Let’s add a staging app and a production app to our pipeline. Both of these apps will be based on the same GitHub repo.
To add a staging app, click the “Add app” button in the “Staging” section. Next, click “Create new app” to open a side panel.
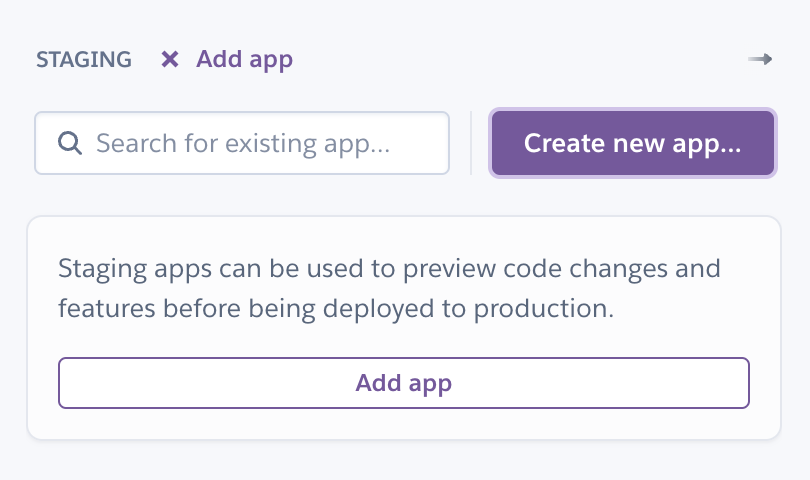
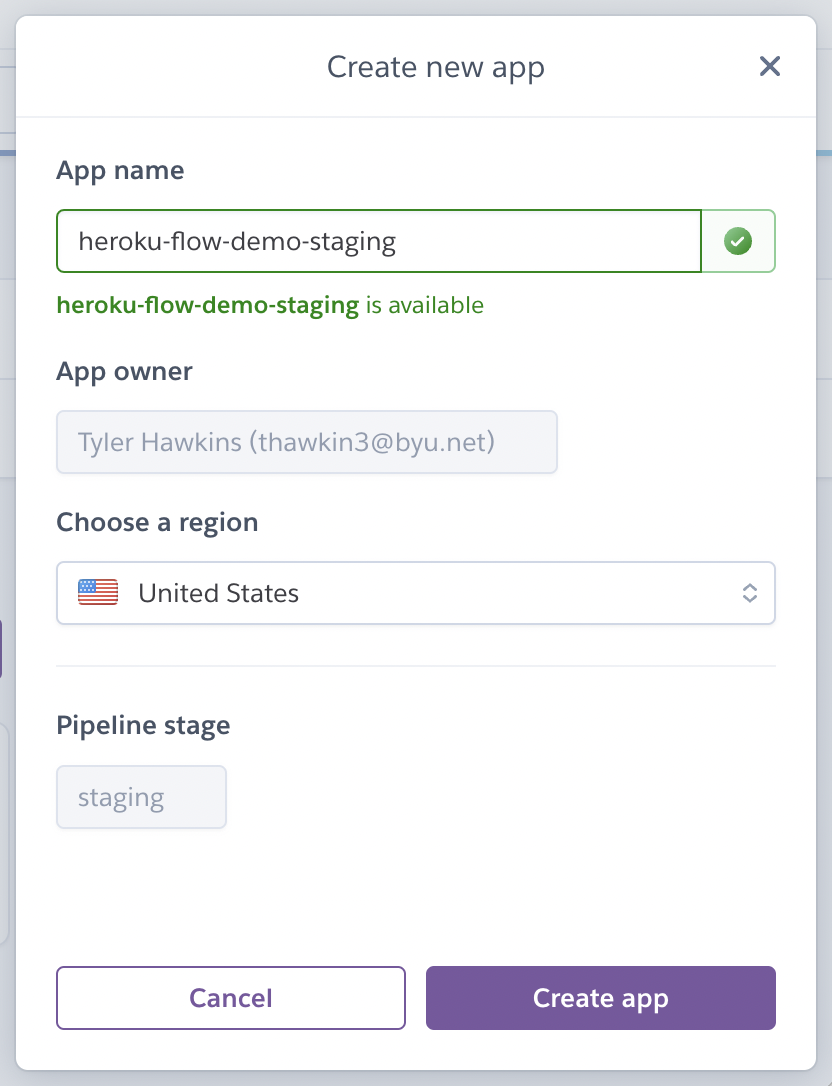
In the side panel, give your app a name, choose an owner (yourself), and choose a region (I left mine in the United States). Then click “Create app” to confirm your changes.
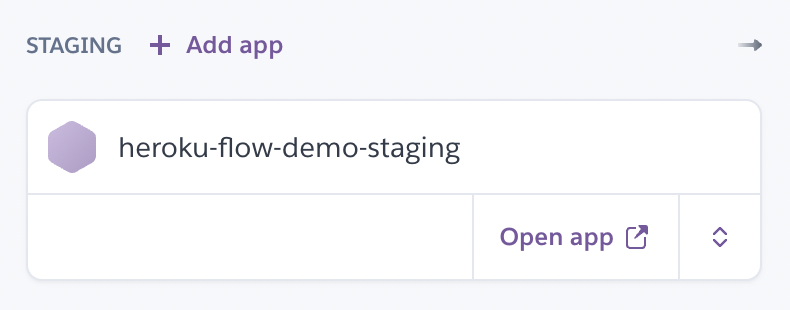
Congrats, you’ve just created a staging app!
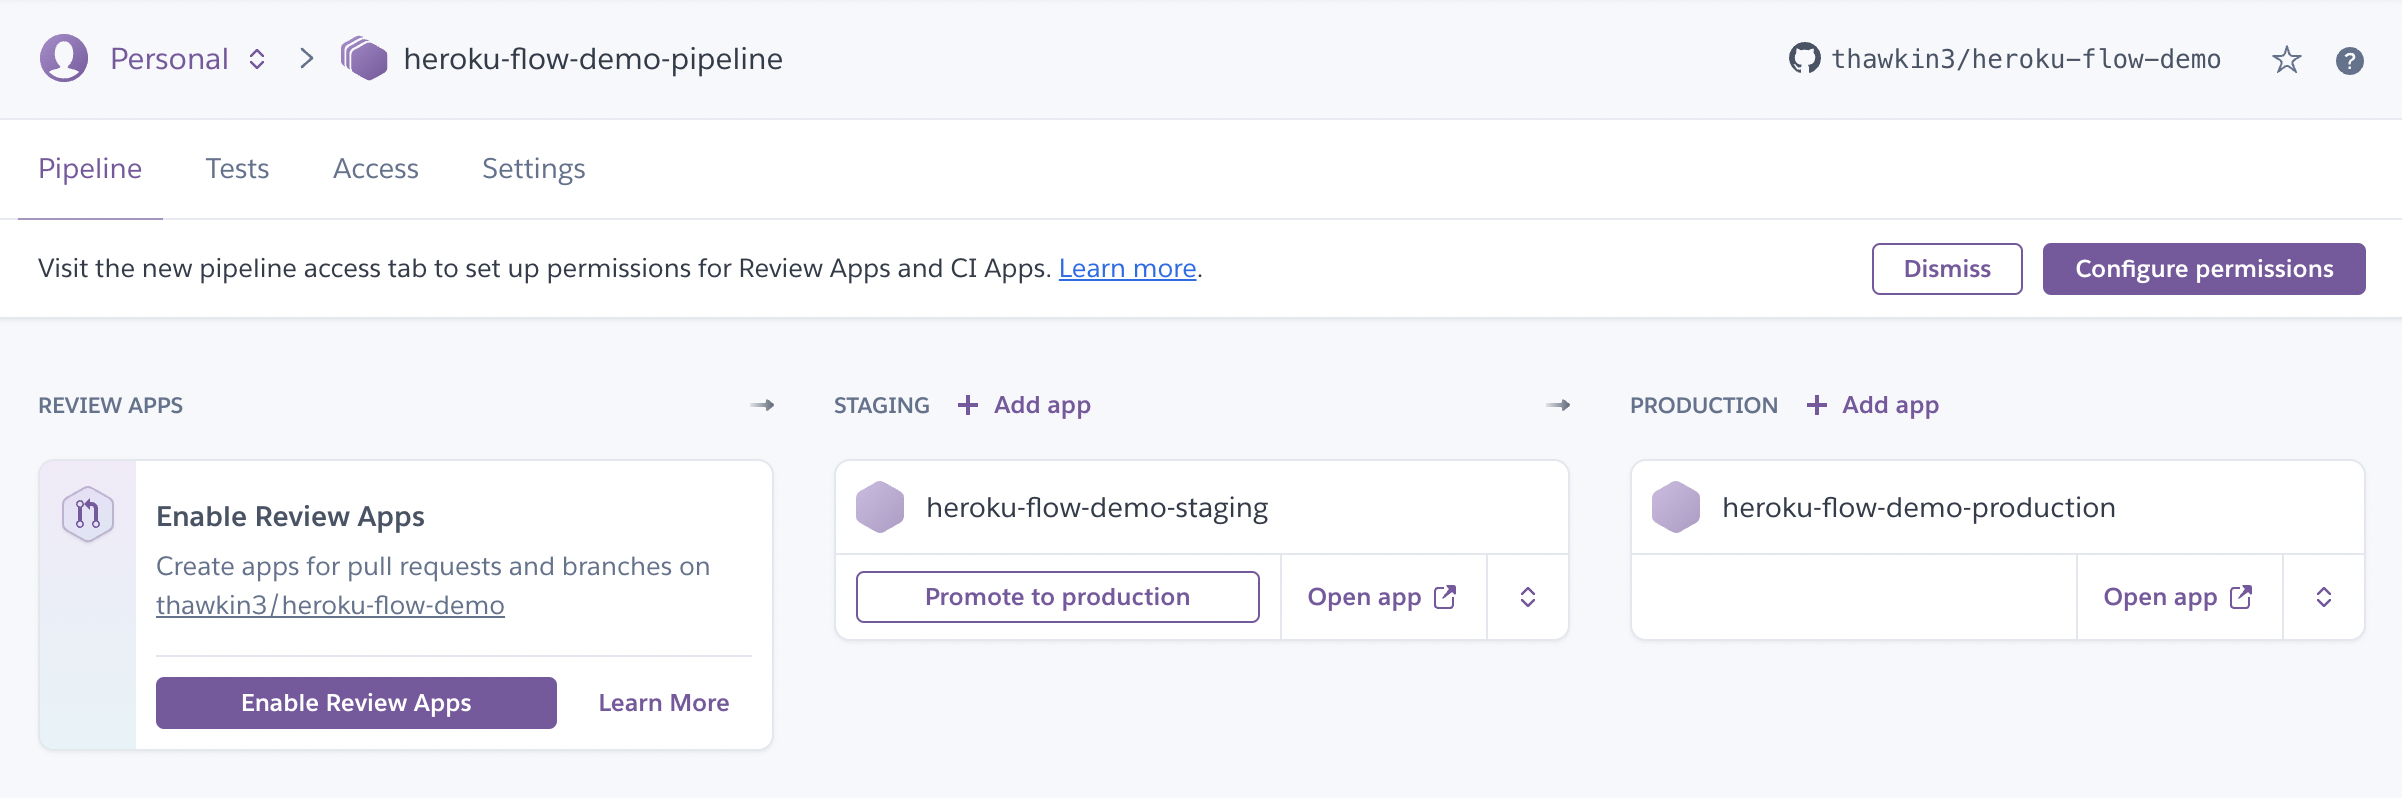
Now let’s do the same thing, but this time for our production app. When you’re done configuring your production app, you should see both apps in your pipeline:
Configuring Automatic Deploys
We want our app to be deployed to our staging environment any time we commit to our repo’s main branch. To do this, click the dropdown button for the staging app and choose “Configure automatic deploys” from the menu.
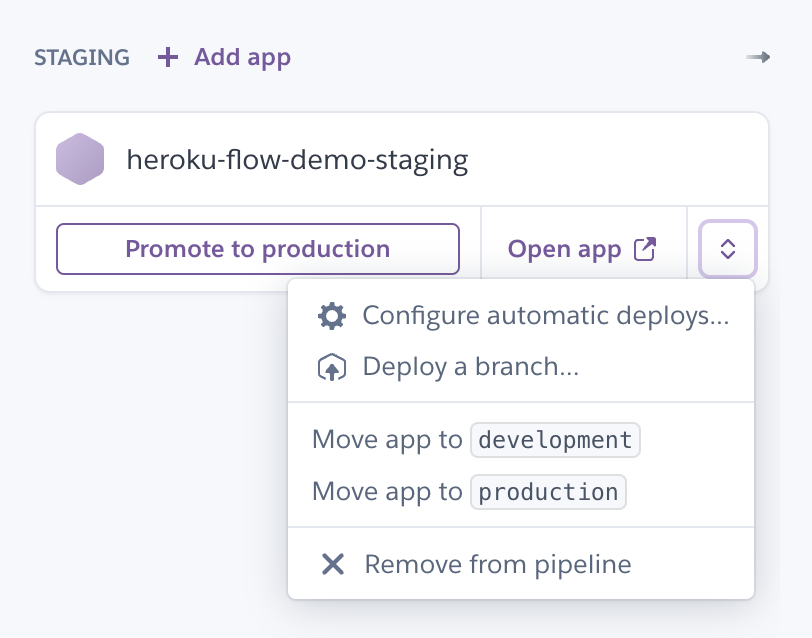 Configure automatic deploys
In the dialog that appears, make sure the main branch is targeted, and check the box to “Wait for CI to pass before deploy.” In our next step, we’ll configure Heroku CI so that we can run tests in a CI pipeline. We don’t want to deploy our app to our staging environment unless CI is passing.
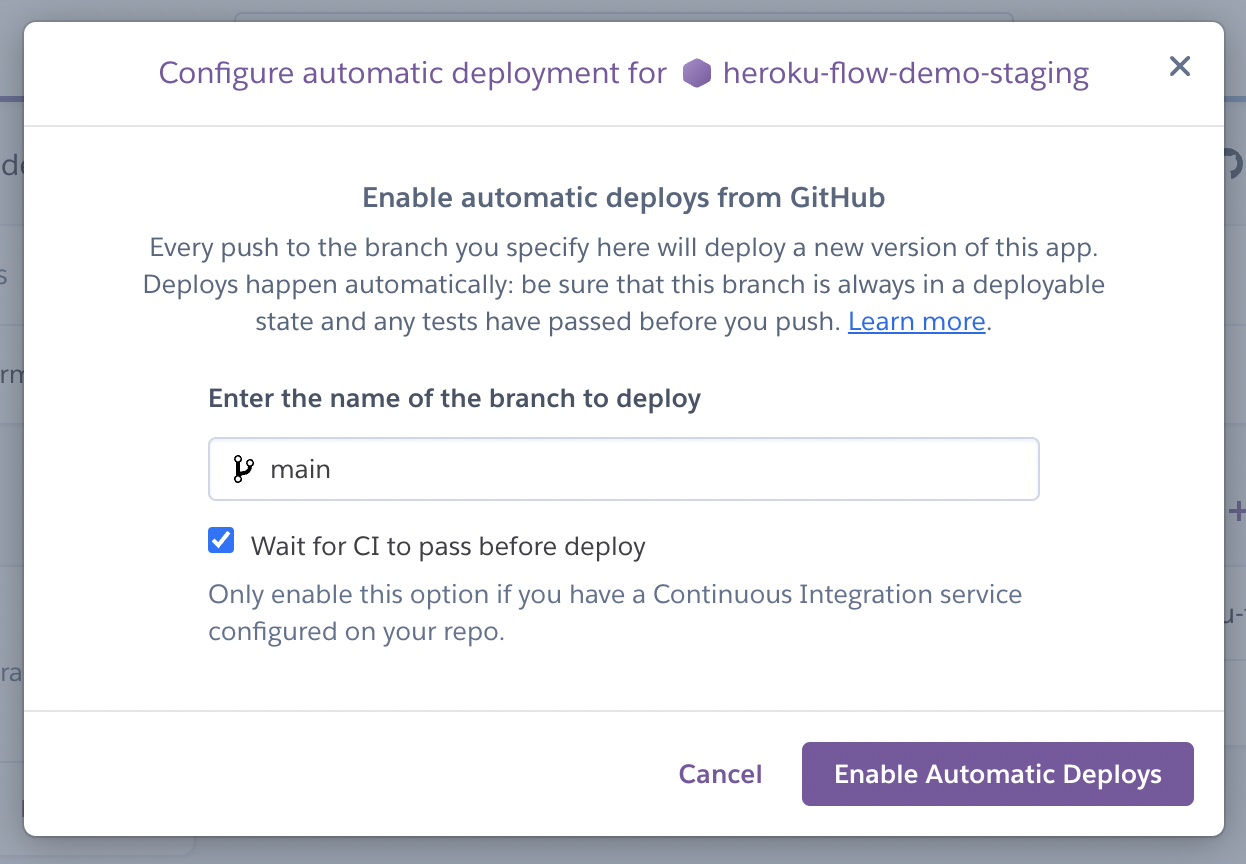 Deploy the main branch to the staging app after CI passes
Enabling Heroku CI
If we’re going to require CI to pass, we better have something configured for CI! Navigate to the “Tests” tab and then click the “Enable Heroku CI” button.
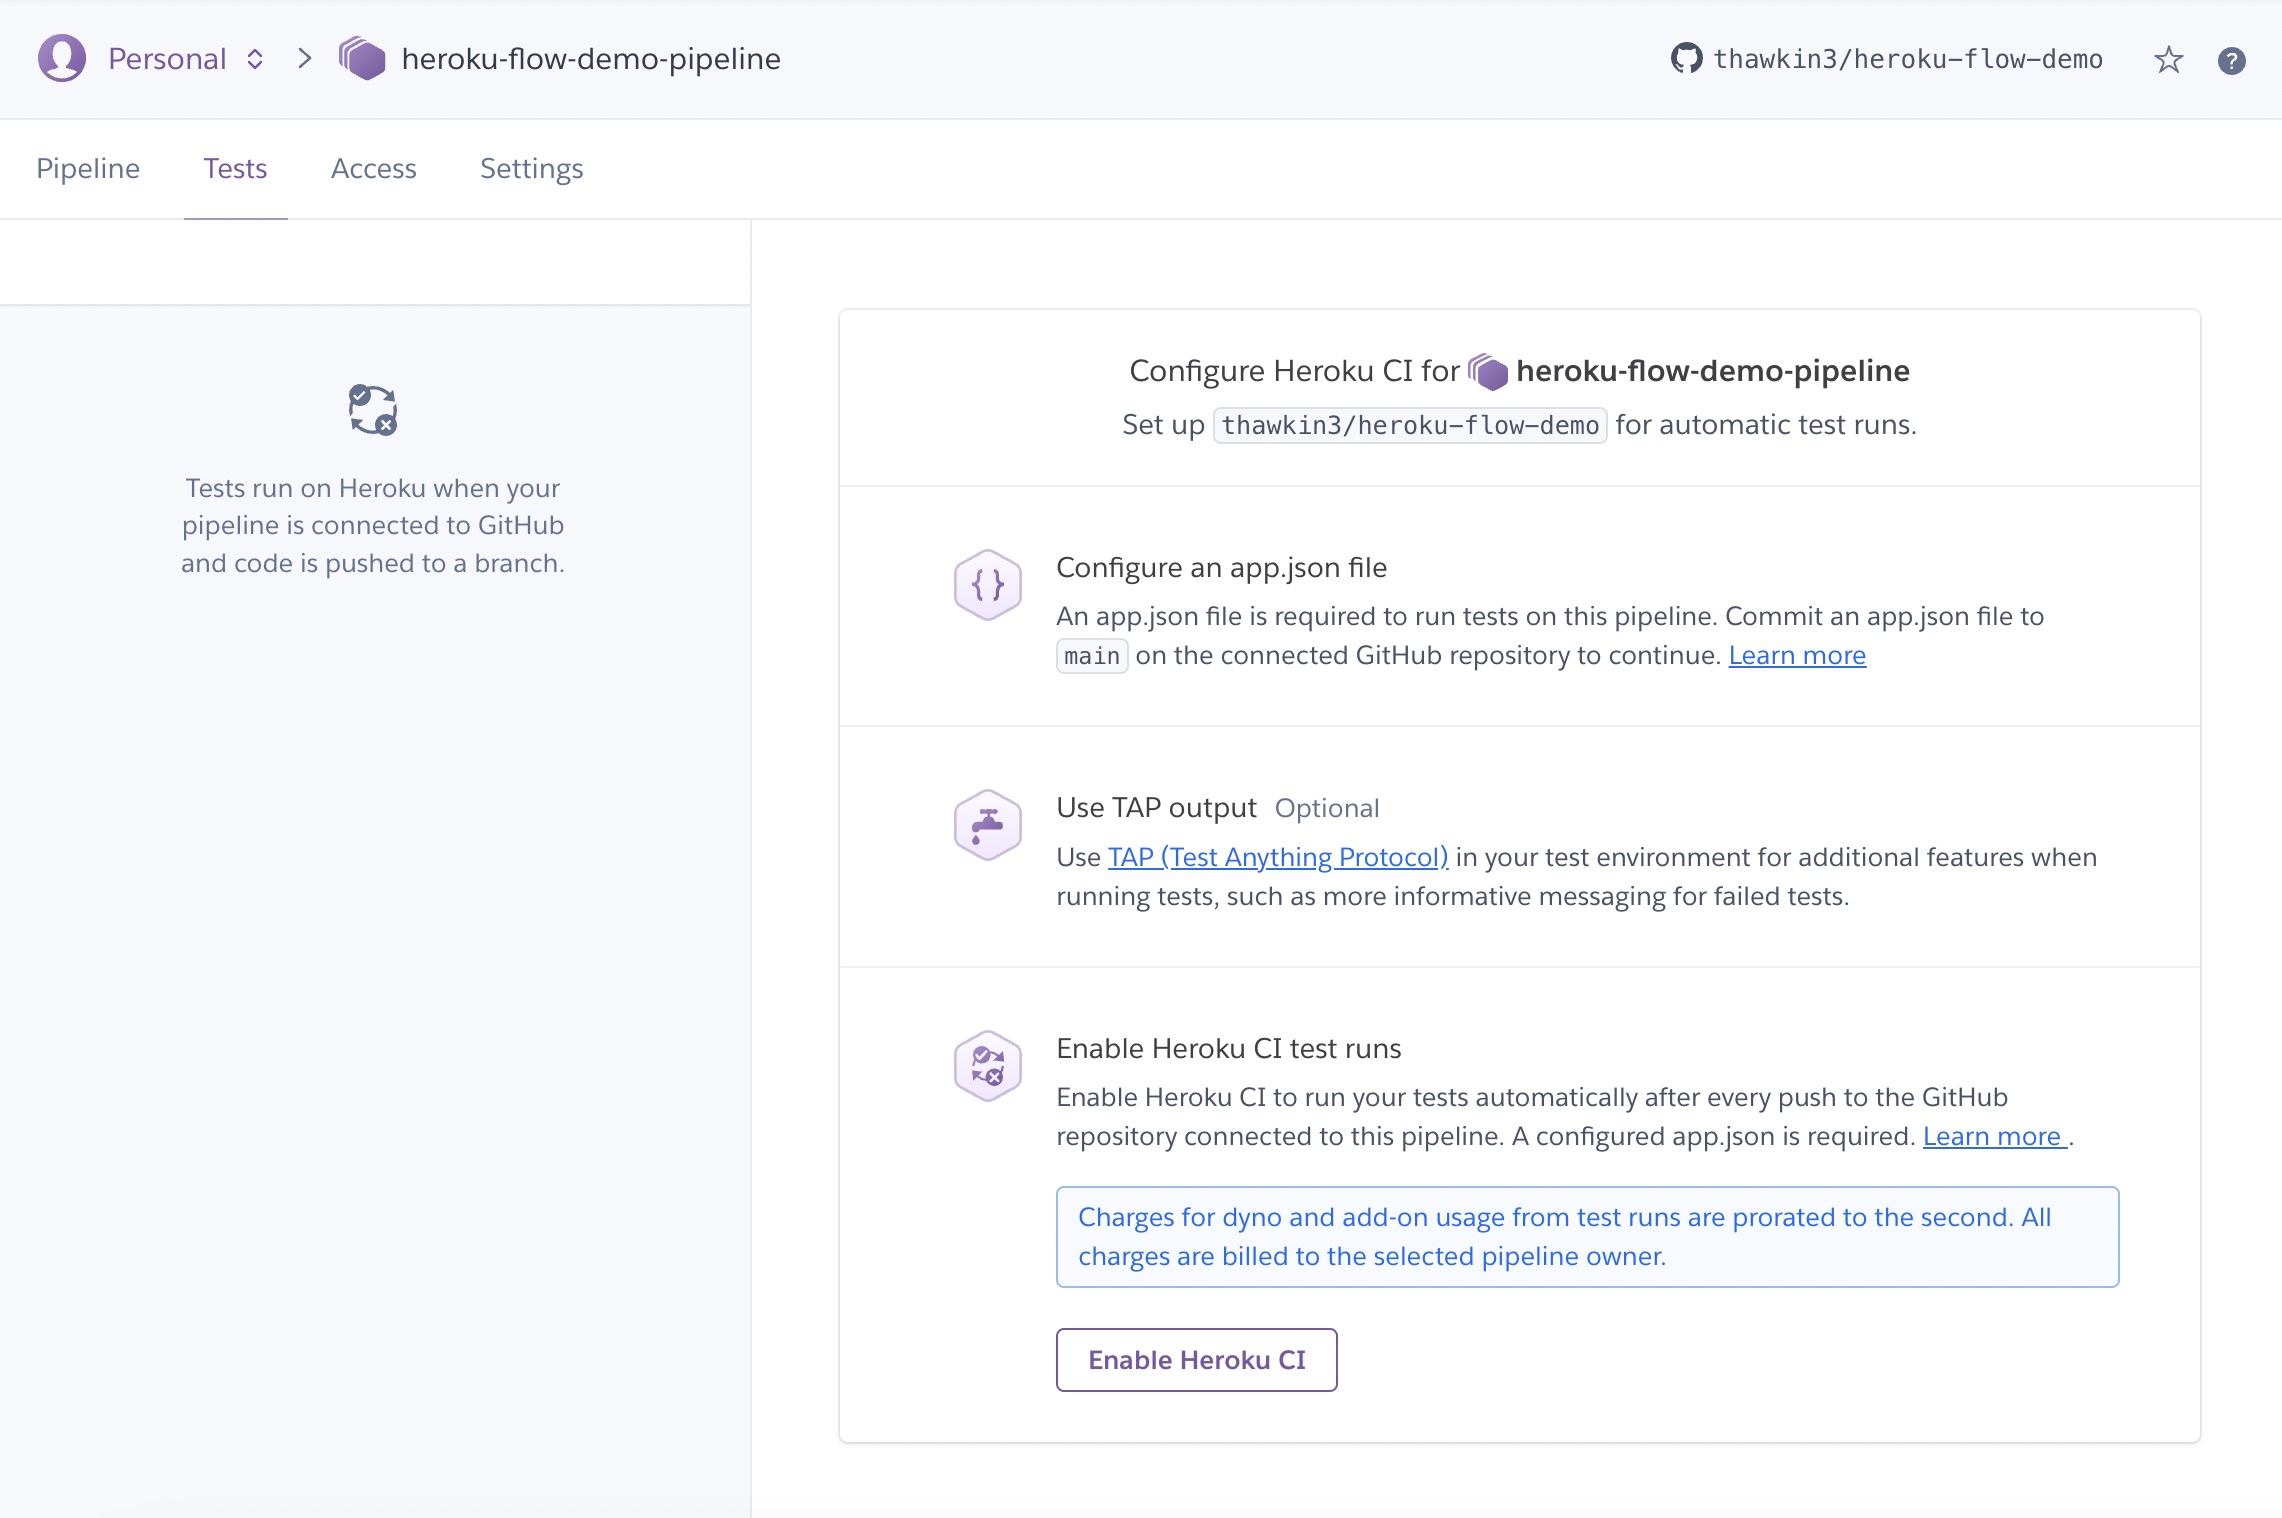 Enable Heroku CI
Our demo app is built with Node and runs unit tests with Jest. The tests are run through the npm test script. Heroku CI allows you to configure more complicated CI setups using an app.json file, but in our case, because the test setup is fairly basic, Heroku CI can figure out which command to run without any additional configuration on our part. Pretty neat!
Enabling Review Apps
For the last part of our pipeline setup, let’s enable review apps. Review apps are temporary apps that get deployed for every pull request (PR) created in GitHub. They’re incredibly helpful when you want your code reviewer to review your changes manually. With a review app in place, the reviewer can simply open the review app rather than having to pull down the code onto their machine and run the app locally.
To enable review apps, click the “Enable Review Apps” button on the pipeline page.
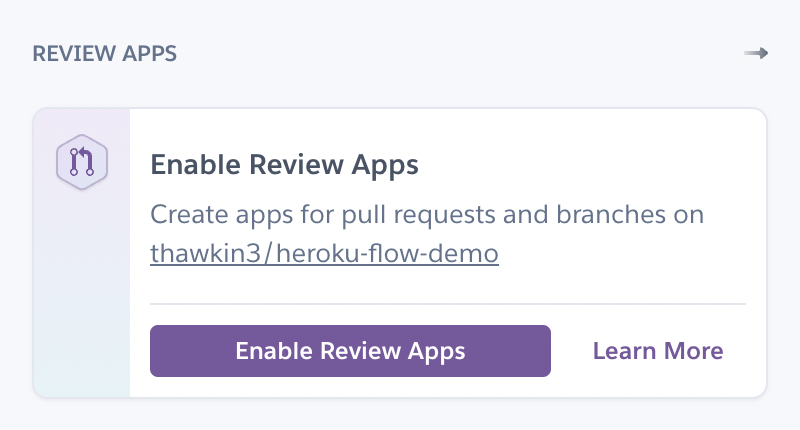 Enable Review Apps
In the dialog that appears, check all three boxes.
- The first box enables the automatic creation of review apps for each PR.
- The second box ensures that CI must pass before the review app can be created.
- The third box sets a time limit on how long a stale review app should exist until it is destroyed. Review apps use Heroku resources just like your regular apps, so you don’t want these temporary apps sitting around unused and costing you or your company more money.
When you’re done with your configuration, click “Enable Review Apps” to finalize your changes.
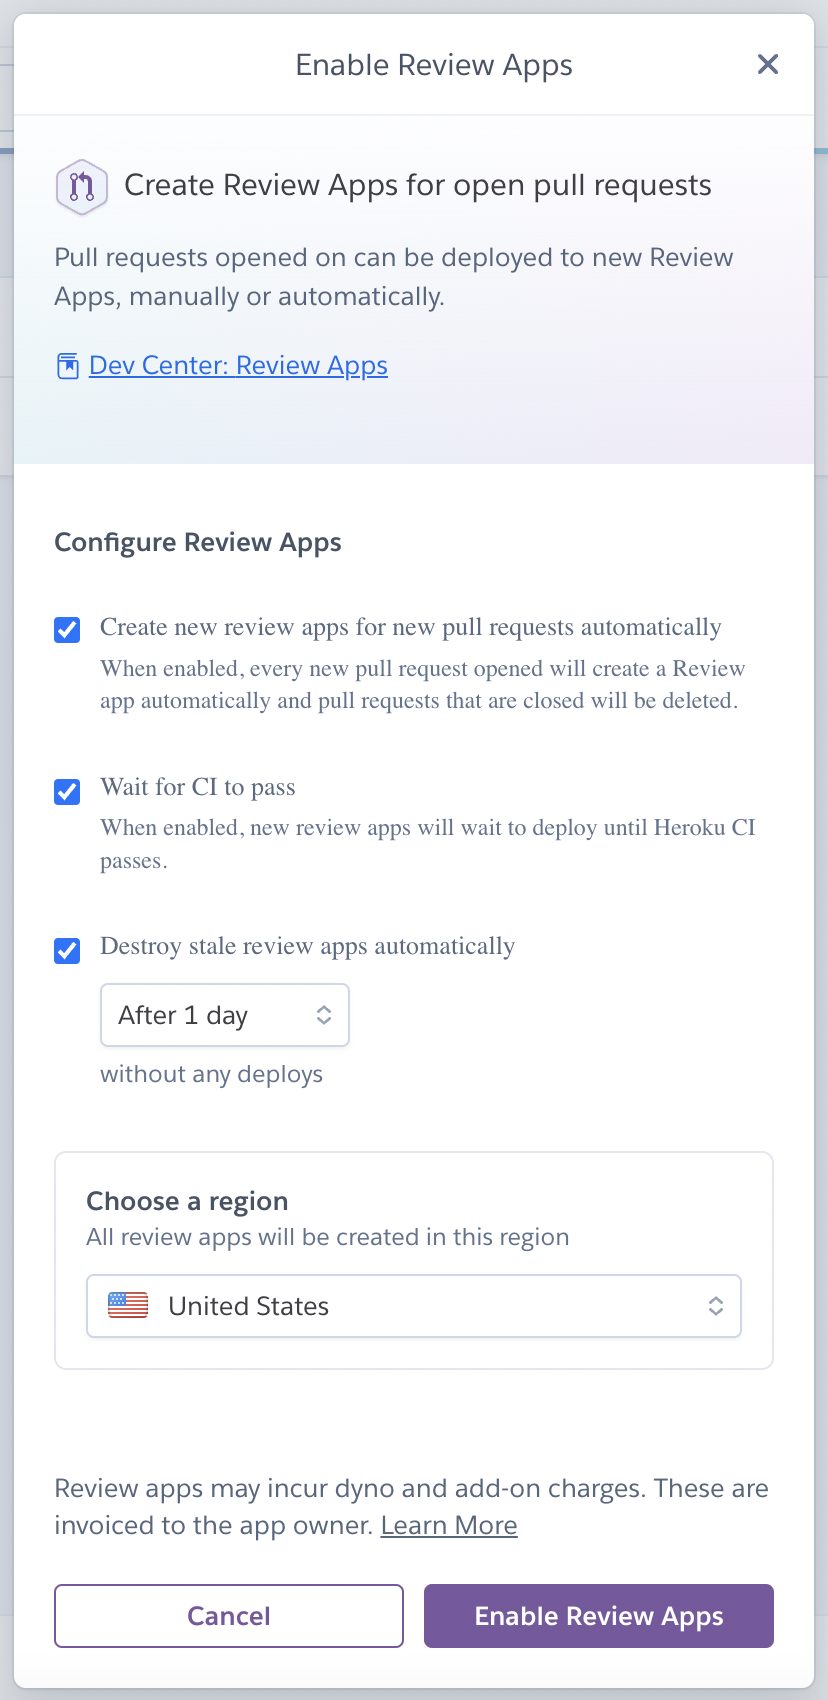 Configure your review apps
Seeing It All in Action
Alright, you made it! Let’s review what we’ve done so far.
- We created a Heroku pipeline.
- We created a staging app and a production app for that pipeline.
- We enabled automatic deploys for our staging app.
- We enabled Heroku CI to run tests for every PR.
- We enabled Heroku review apps to be created for every PR.
Now let’s see it all in action.
Create a PR in GitHub with any code change you’d like. I made a very minor UI change, updating the heading text from “Heroku Flow Demo” to “Heroku Flow Rules!”
Right after the PR is created, you’ll note that a new “check” gets created in GitHub for the Heroku CI pipeline.
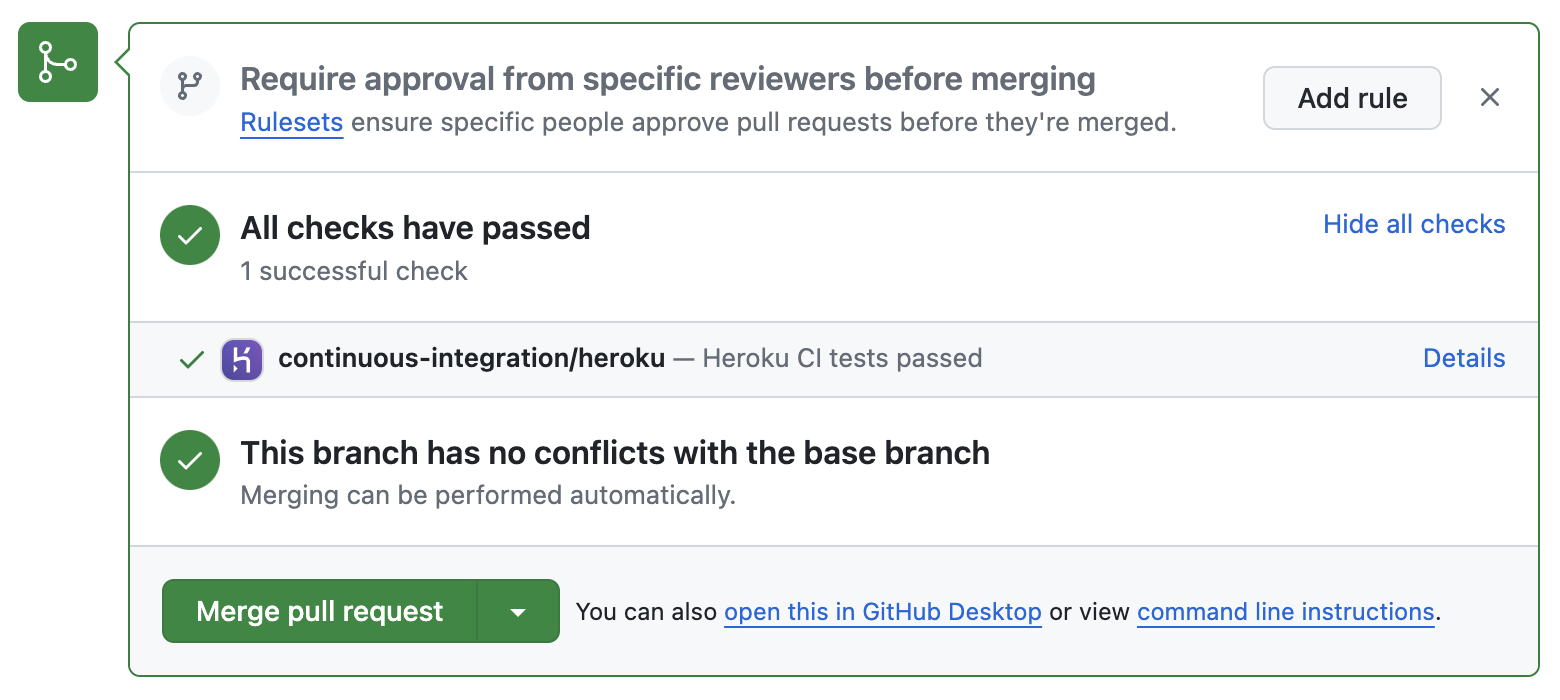 GitHub PR check for the Heroku CI pipeline
You can view the test output back in Heroku on your “Tests” tab:
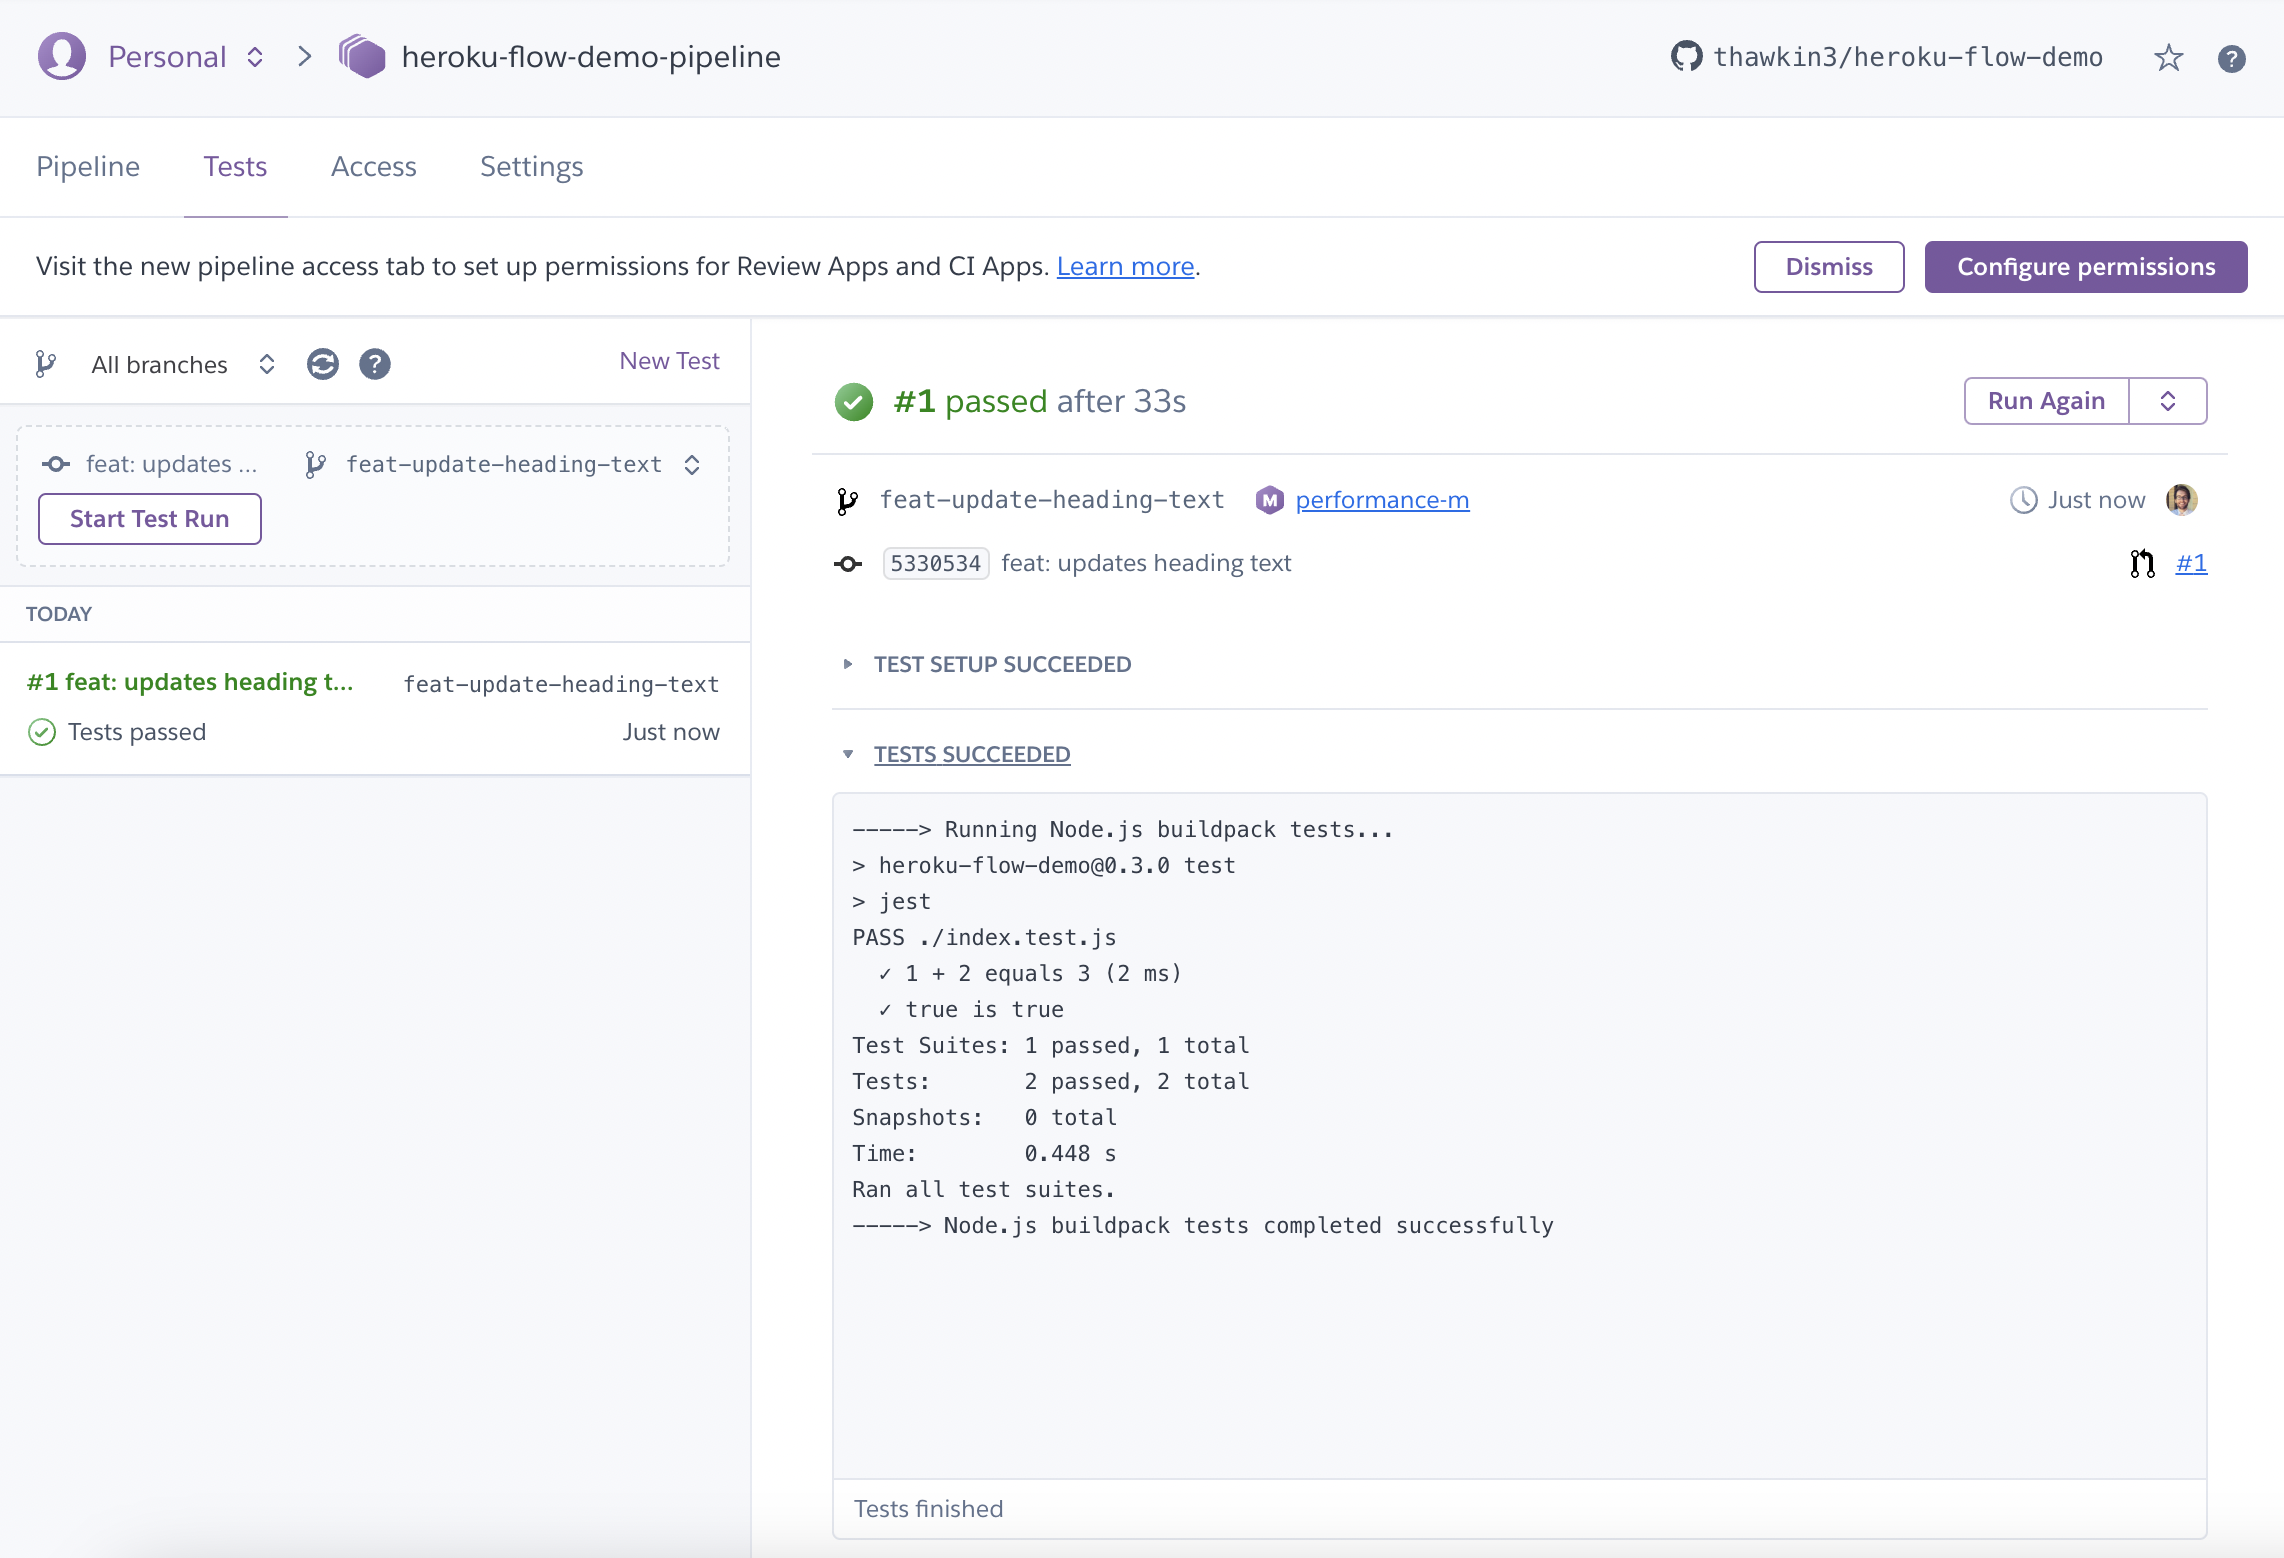 CI pipeline test output
After the CI pipeline passes, you’ll note another piece of info gets appended to your PR in GitHub. The review app gets deployed, and GitHub shows a link to the review app. Click the “View deployment” button, and you’ll see a temporary Heroku app with your code changes in it.
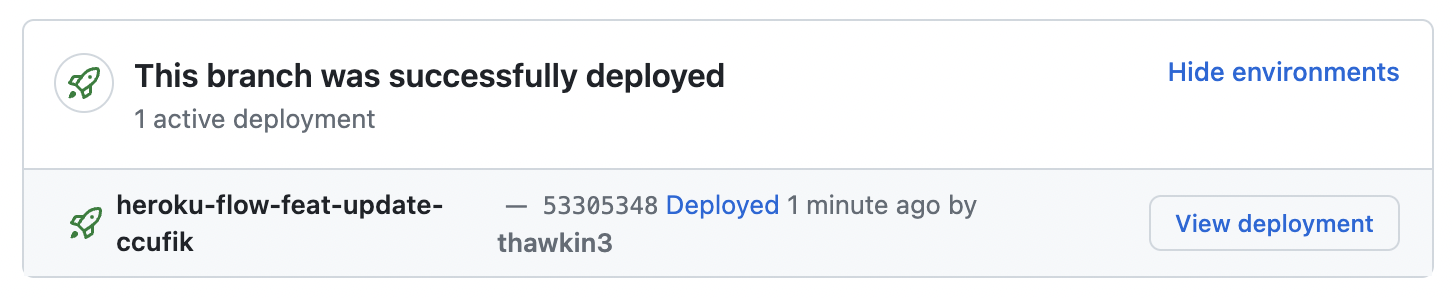 View deployment to see the review app
You can also find a link to the review app in your Heroku pipeline:
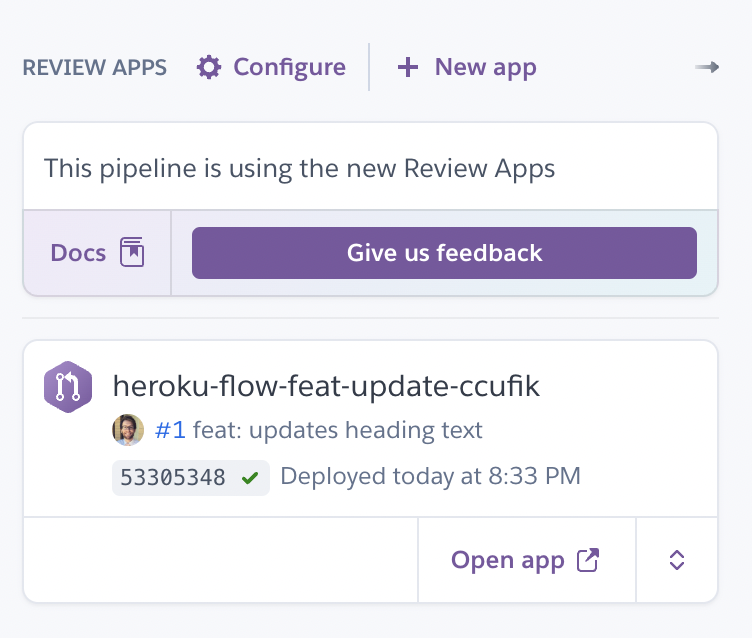 Review app found in the Heroku pipeline
Let’s assume that you’ve gotten a code review and that everything looks good. It’s time to merge your PR.
After you’ve merged your PR, look back at the Heroku pipeline. You’ll see that the staging app was automatically deployed since the new code was committed to the main branch.
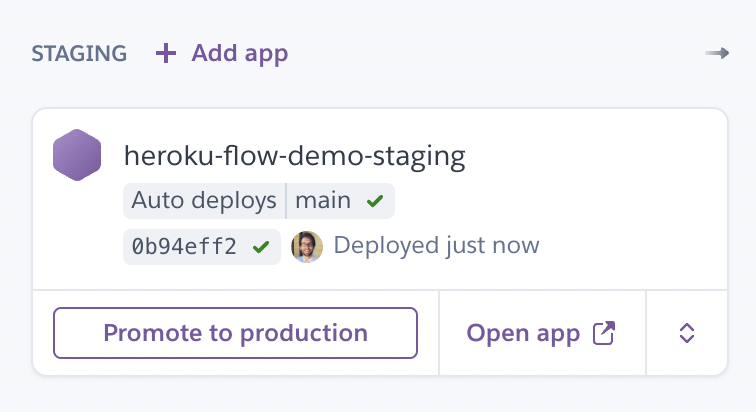 Staging app was automatically deployed
At this point in the software development lifecycle, there might be some final QA or acceptance testing of the app in the staging environment. Let’s assume that everything still looks good and that you’re ready to release this change to your users.
Click the “Promote to production” button on the staging app. This will open a dialog for you to confirm your action. Click “Promote” to confirm your changes.
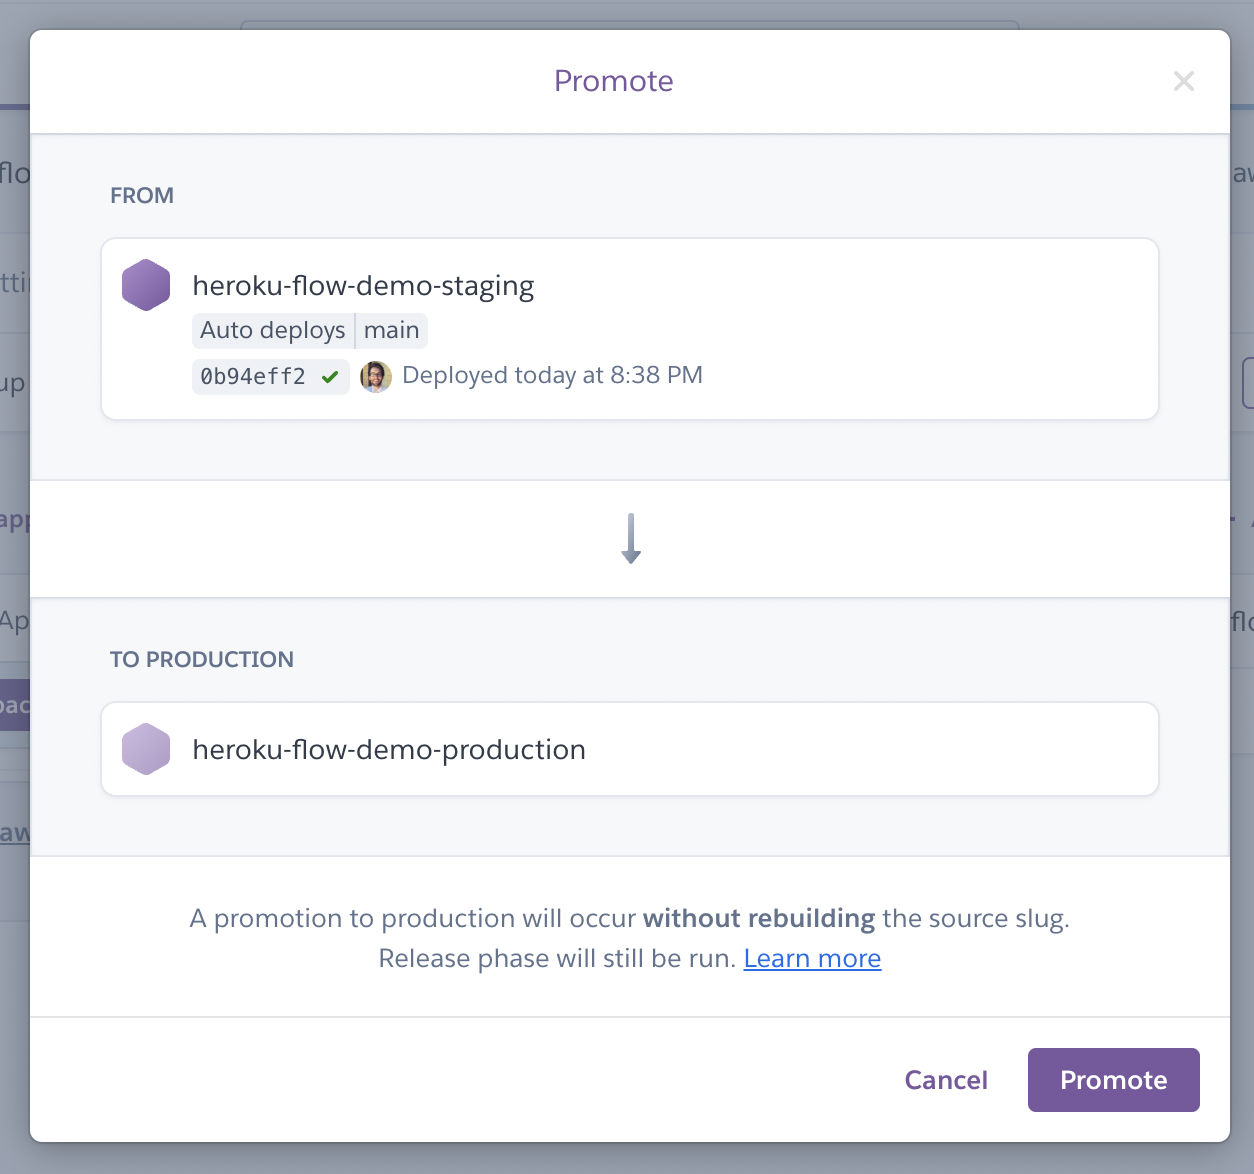 Promote to production
After promoting the code, you’ll see the production app being deployed.
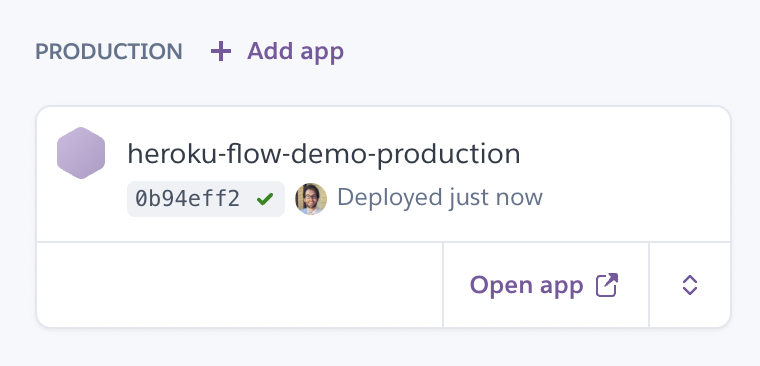 Production app was deployed
And with that, your changes are now in production for all of your users to enjoy. Nice work!
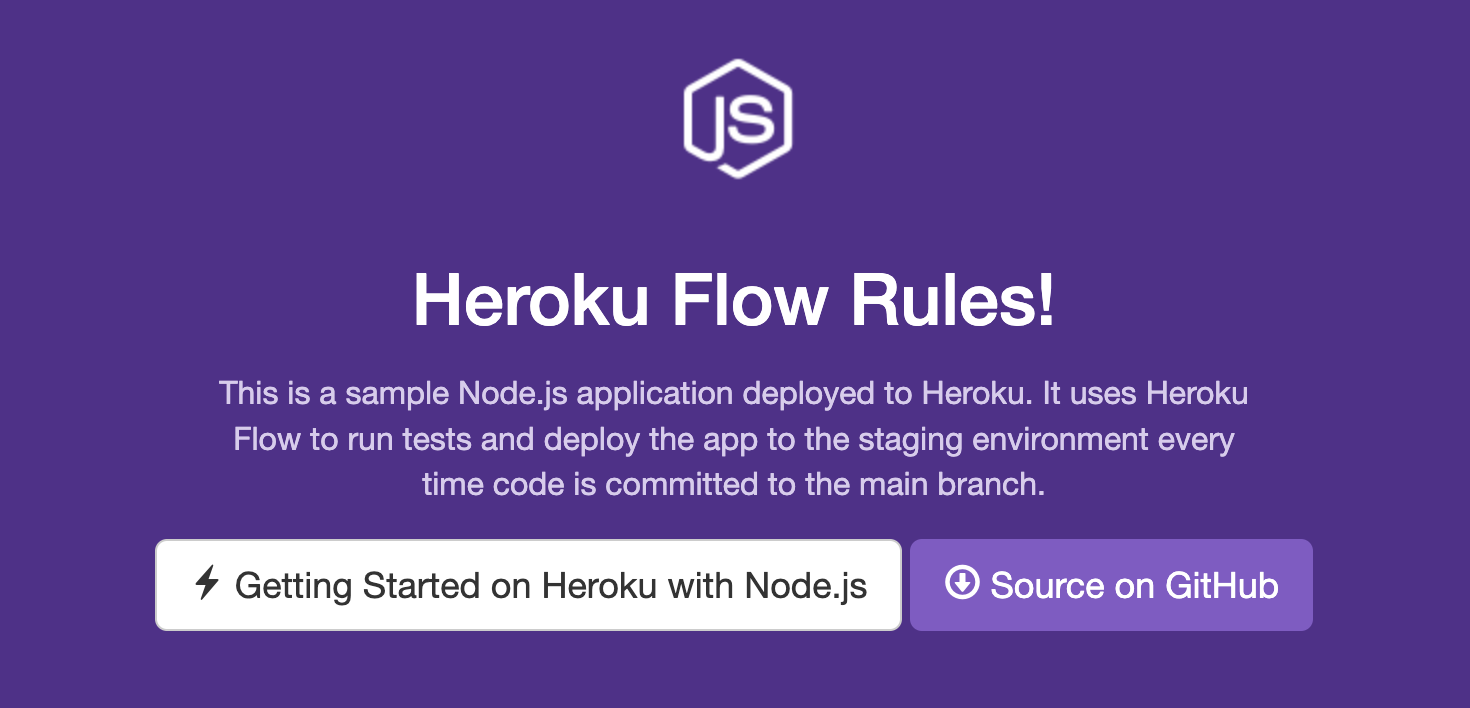 Updated demo app with new changes in production
Conclusion
What a journey we’ve been through! In this short time together, we’ve configured everything we need for an enterprise-ready CI/CD solution.
If you’d like to use a different CI/CD tool like GitLab CI/CD, GitHub Actions — or whatever else you may prefer — Heroku supports that as well.
But if you don’t want to reach for a third-party CI/CD provider, now you can use Heroku with Heroku Flow.
Published at DZone with permission of Tyler Hawkins. See the original article here.
Opinions expressed by DZone contributors are their own.
Comments