Navigation in a React Native Web Application
Join the DZone community and get the full member experience.
Join For Free“React Native for Web” makes it possible to run React Native components and APIs on the web using React DOM.
Setting up navigation in react–native–web is challenging as the navigation system works quite differently in apps vs browser. In this article, we’ll set up the most popular react-navigation on to react-native-web.
Using React Navigation in React Native Web
React navigation is the most famous library for navigation in react–native. In this section, we’ll try to integrate react-navigation in react–native–web.
Prerequisite
For this setup, we’ll be using expo as the platform on which we’ll be building our React Native app, which will run on Android, iOS, and the web. Make sure you have expo-cli installed already.
To set up your codebase using expo, check this GitHub link [master branch]. Simply clone the branch and run expo start.
If you are looking for a quick code, then you can check this GitHub link (note: the branch is react–navigation–setup and not master).
You may also like: A Look at React Native and React.js.
Installation
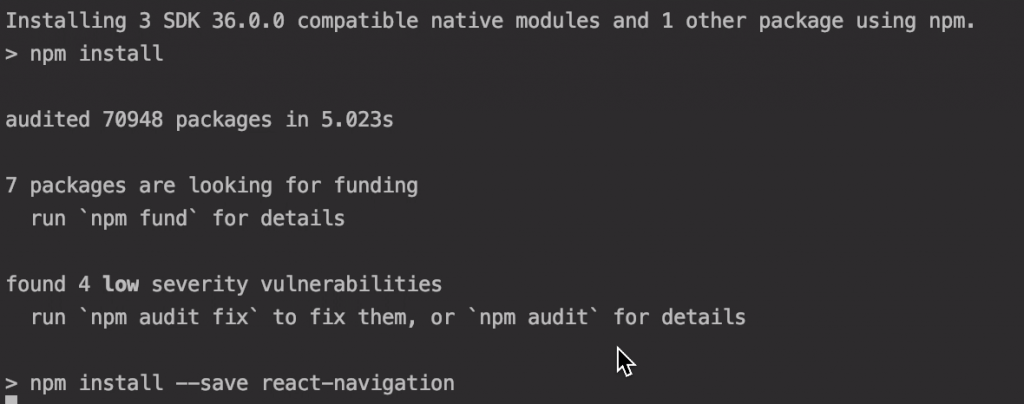
Run the following command to install react– navigation along with other necessary packages, including react-navigation-stack.
expo install react-navigation react-native-gesture-handler react-native-reanimated react-native-screens
npm i react-navigation-stack
npm i @react-navigation/web
Check your package.json files to ensure all of the above packages are installed. Make sure react–navigation is version 4+. If you are wondering, "why did we use expo instead of NPM/yarn while installing react–navigation," then the reason is that expo would look for the correct version of the react–navigation libraries that’d work with the expo version that’s installed in your project.
If you look into the printed console, it uses NPM underneath.
Create a Few Screens
Now, let’s set up a few screens to test our navigation flow:
- Profile screen
- Post screen
xxxxxxxxxx
// feed screen
import React from 'react';
import {View, Text, StyleSheet, Button, Platform} from 'react-native';
export default class Feed extends React.Component {
render() {
return <View style={styles.container}>
<Text>This is the feed screen</Text>
<Button
title="Go to Profile"
onPress={() => this.props.navigation.navigate('Profile')}
/>
</View>
}
}
const styles = StyleSheet.create({
container: {
flex: 1,
justifyContent: 'center',
alignItems: 'center',
}
})
The above is the code for FeedScreen, which is simple text and a button. The button when clicked should go directly to the profile screen.
xxxxxxxxxx
// Profile screen
import React from 'react';
import {View, Text, StyleSheet, Button, Platform} from 'react-native';
export default class Profile extends React.Component {
render() {
return <View style={styles.container}>
<Text>This is the profile screen</Text>
<Button
title="Go to Feed"
onPress={() => this.props.navigation.navigate('Feed')}
/>
</View>
}
}
const styles = StyleSheet.create({
container: {
flex: 1,
justifyContent: 'center',
alignItems: 'center',
}
})
The Profile screen is the same as the Feed screen. Both the screens have a button which takes to the other screen.
Let’s also create stack navigation to connect these two screens together:
xxxxxxxxxx
// Home.js, just a name of the stack navigation
import {createStackNavigator} from 'react-navigation-stack';
import {createAppContainer} from 'react-navigation';
import Feed from "../screens/Feed";
import Profile from "../screens/Profile";
const Home = createStackNavigator(
{
Profile: Profile,
Feed: Feed,
},
{
navigationOptions: {
headerTintColor: '#fff',
headerStyle: {
backgroundColor: '#000',
},
},
}
);
const container = createAppContainer(Home);
export default container;
Since the object that’s passed to CreateStackNavigator Profile comes first, the Profile screen is the default screen of this stack navigator.
Now, in the App.js file, simply render the Home Navigation.
xxxxxxxxxx
// App.js
export default function App() {
return (
<View style={styles.outer}>
<Home></Home>
</View>
);
}
Just run the app using command, expo start, and it should launch the expo bundler for you.
If you press i to launch the Expo app in the iOS simulator in the terminal, the following screen comes up on the display, assuming everything goes well.
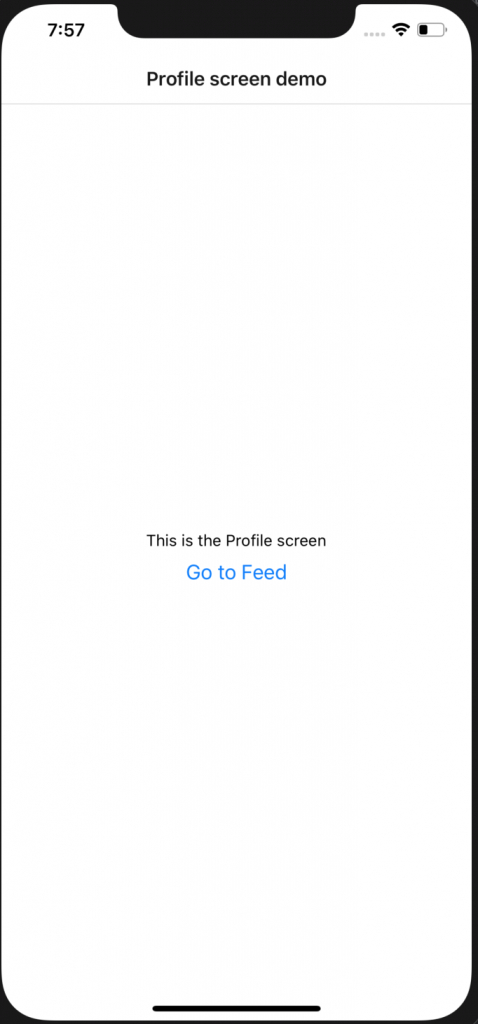
When you click on the Go to Feed button, it should take you to the feed screen.
To run the same setup on to the web, simply press w in your terminal. It will launch the web app in your default browser.

The click functionality also works on the web as well. The top border is for the screen title, you can add it by adding navigationOptions to the feed and profile screen like this:
xxxxxxxxxx
export default class Feed extends React.Component {
static navigationOptions = {
title: "Feed"
}
But, there is one problem with the web navigation, the URL doesn’t change when you go from the profile to the feed screen. In the web navigation, it is extremely important to have the change in page reflecting in the URL as well.
In the app, there is no way a user can directly jump to a screen other than the default screen, but in the browser, it is possible; a user can enter a URL.
The good part of react–navigation is that it supports URL updates when the screen changes. The way navigationOptions is added inside the screen class, you can also add a title.
xxxxxxxxxx
export default class Feed extends React.Component {
static navigationOptions = {
title: "Feed"
}
static path = "feed";
render() {
For the profile screen, you can keep the path as empty static path = "".
When you go to http://localhost:19006/feed, the web app would understand that you want to go to the feed screen and will render that for you. Try going to http://localhost:19006/feed directly, and it should render the feed page for you. But when you click on the Go to Feed button, the URL won’t change.
There are a few other things that we need to do to make this work:@react-navigation/web also provides a Link module that gets converted into an a tag on to the web.
This module doesn’t work when you try to run the app. So, we use Platform module provided by react–native to differentiate between web and app.
xxxxxxxxxx
// feed screen
import React from 'react';
import {View, Text, StyleSheet, Button, Platform} from 'react-native';
import {Link} from "@react-navigation/web";
const isWeb = Platform.OS === 'web';
export default class Feed extends React.Component {
static navigationOptions = {
title: "Feed"
}
static path = "feed";
render() {
return <View style={styles.container}>
<Text>This is the feed screen</Text>
{
!isWeb ? <Button
title="Go to Profile"
onPress={() => this.props.navigation.navigate('Profile')}
/>: <Link routeName="Profile">Go Profile</Link>
}
</View>
}
}
const styles = StyleSheet.create({
container: {
flex: 1,
justifyContent: 'center',
alignItems: 'center',
}
})
Here, we are conditionally rendering the Link and the Button.
You need to do similar changes for the Profile screen as well. Also, in the navigation container, instead of createAppContainer, you need to use createBrowserApp for the web.
Here is the code for the navigation:
xxxxxxxxxx
// Home.js, just a name of the stack navigation
import {createStackNavigator} from 'react-navigation-stack';
import {createAppContainer} from 'react-navigation';
import {createBrowserApp} from '@react-navigation/web';
import Feed from "../screens/Feed";
import Profile from "../screens/Profile";
import {Platform} from "react-native";
const isWeb = Platform.OS === 'web';
const Home = createStackNavigator(
{
Profile: Profile,
Feed: Feed,
},
{
navigationOptions: {
headerTintColor: '#fff',
headerStyle: {
backgroundColor: '#000',
},
},
}
);
const container = isWeb ? createBrowserApp(Home): createAppContainer(Home);
export default container;
Try running the app in the browser. The Go to feed button click should change the URL to http://localhost:19006/feed.
Also, the app should be running fine on the simulators as well.
Further Reading
Opinions expressed by DZone contributors are their own.
Comments