How To Set up a Local Airflow Installation With Kubernetes
At the end of this guided and insightful installation, you will unlock new skills in setting up a local Airflow installation running in Kubernetes.
Join the DZone community and get the full member experience.
Join For FreeApache Airflow is a platform to programmatically author, schedule, and monitor workflows. This definition was provided by Airbnb when the platform was developed at the startup. In 2014, it was used to manage complex data engineering pipelines, and since then, it has been widely adopted. Some companies using Apache Airflow include Slack, Zoom, eBay, and Adobe, among others.
In this article, we dive into the intricacies of setting up a local airflow installation running in Kubernetes.
At the end of this guided and insightful installation, you will unlock new skills in setting up a local Airflow installation running in Kubernetes. These skills are necessary to accelerate your Airflow development and stay ahead in today's competitive tech landscape.
Don’t be discouraged by the intricacies of the installation, you can install locally by choosing your favorite OS flavor, Windows or Mac!
The statistics speak!
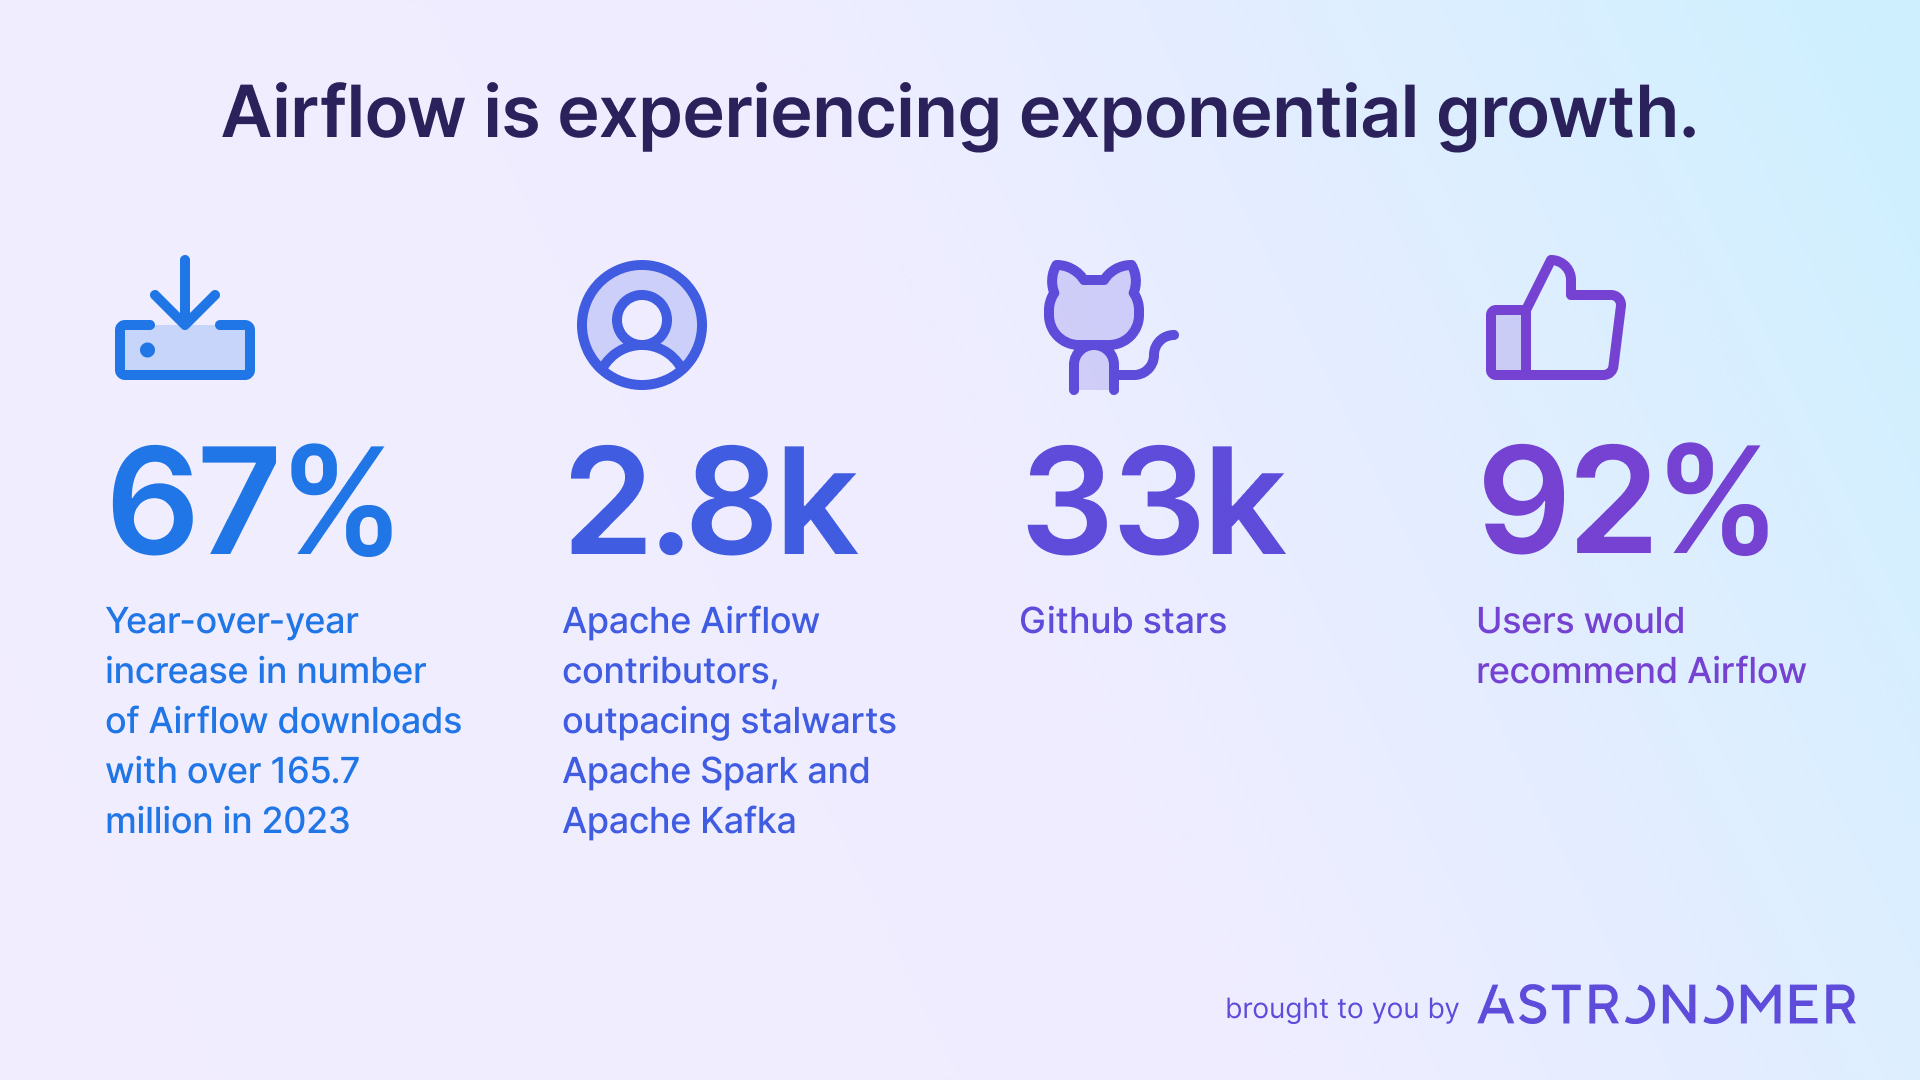
Credit: Astronomer
Are you ready to learn?
Let's dive in for an insightful installation!
1. Installation Prerequisites
Please make sure that the following prerequisites are installed on your local machine:
If you are on Mac you should check the following tools
- I use brew on my Mac but installing these tools should be easy enough on other operating systems.
- kubectl: the Kubernetes command line tool, is a precious CLI designed to manage Kubernetes objects and clusters.
- helm: It is a valuable package manager for Kubernetes, enabling developers and operators to package, configure, and deploy applications and services on Kubernetes clusters.
- k3d: It's a small program designed to run a Kubernetes cluster in Docker.
- yq: manipulates yaml files and simplifies editing them from the command line.
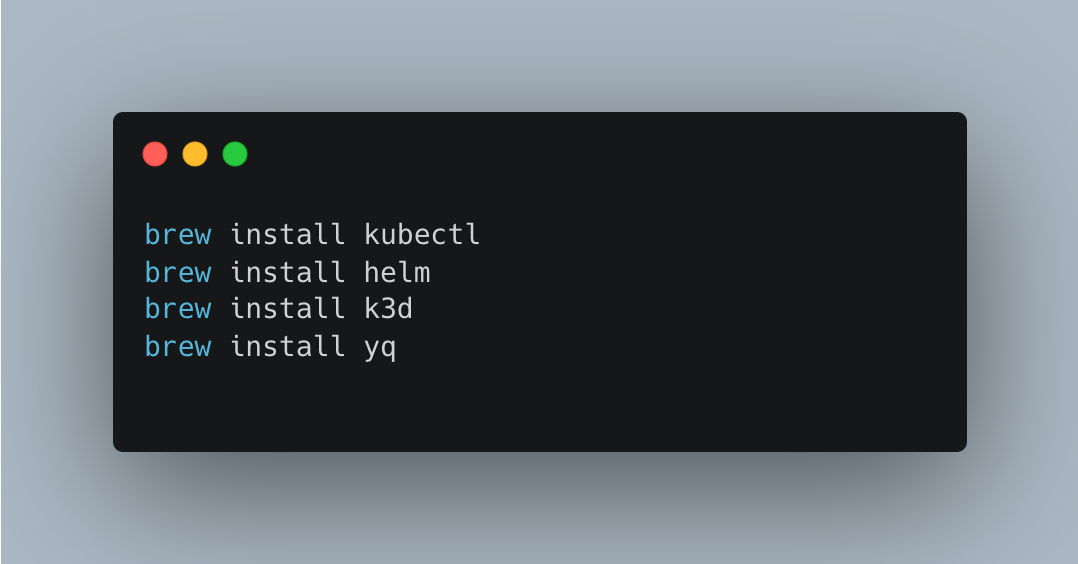
If you are on Windows you should visit the same tools with guided documentation for a particular setup:
- For Kubernetes tools
- For Helm
- For k3d
- For yq: Using Chocolatey
choco install yq
2. Building the Airflow Image With DockerFile
Docker remains the de facto standard for containerization in the industry, below is the DockerFile.
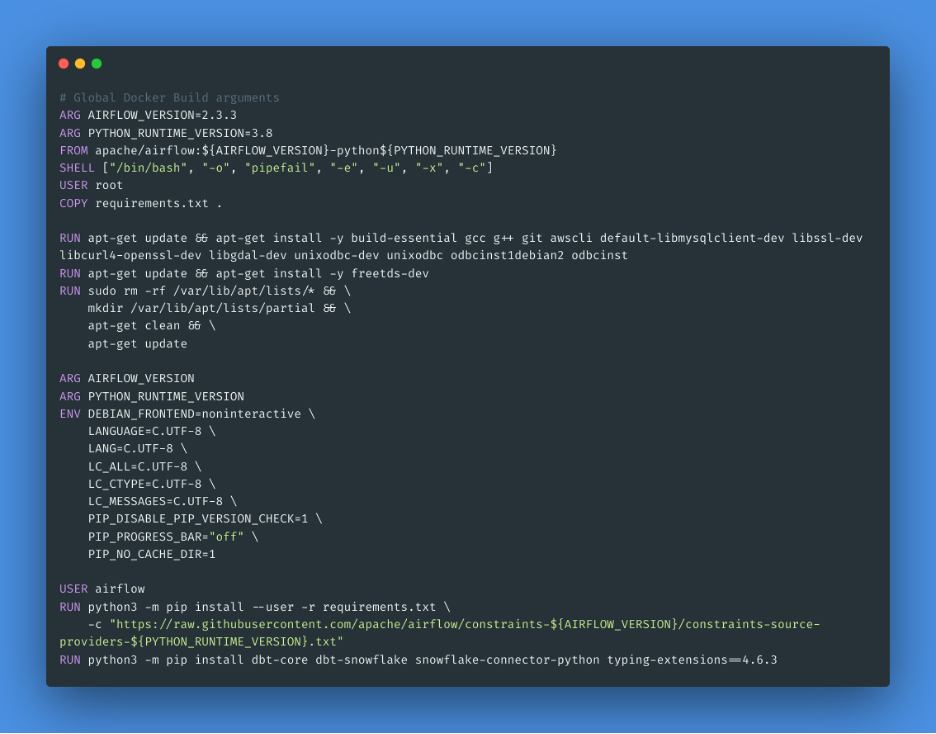
Here we build an image named Apache/airflow with the version tag/tag 2.3.3.

3. Setup a Local Image Registry to Load Airflow Image
The below command is used to create a local container registry named "myregistry.localhost" with a specified port number of 12345. This local registry allows for storing and accessing Docker images within the Kubernetes cluster managed by k3d. It provides a convenient way to manage and distribute container images locally without the need for an external registry service.
4. Upload the Airflow Image to a Local Image Registry
5. Add Registry at /Etc/Hosts
The below entry is added to the /etc/hosts file which maps the hostname to the IP address, which is the localhost. It is often used in development environments where services are running locally, and this hostname needs to be resolved to the localhost IP address.
6. Create the Kubernetes Cluster
Set configuration for mounting the local DAGs folder to the Kubernetes cluster.
The below command sets up the mounting of the DAGs folder to each of the Kubernetes nodes. This is important for connecting the local filesystem directly to each Kubernetes pod that will be running as a part of the Airflow cluster.
k3d.yaml contains the mounts from Mac to k3d container.
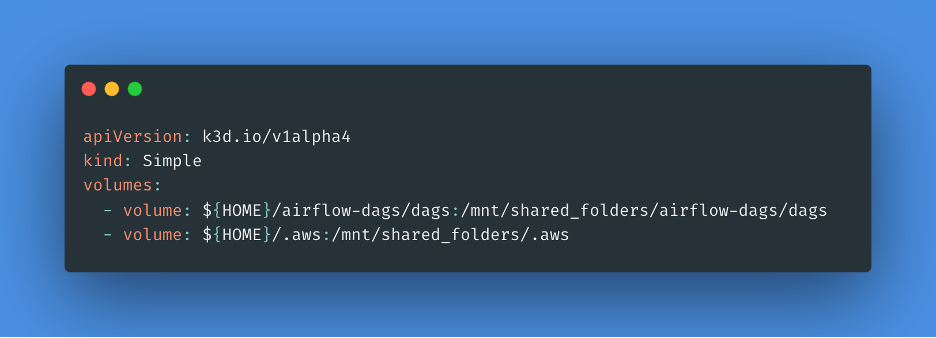
We need a Kubernetes cluster on which to run Airflow and k3d makes that very simple.

7. Test Airflow Image Creation Over Kubernetes
The command creates a new container named airflow-test using the specified Docker image and then starts an interactive Bash shell inside the container.

8. Deploy the Kubernetes Dashboard
#service-account.yaml
Applies the Configuration in the YAML file service-account.yaml to the Kubernetes cluster.
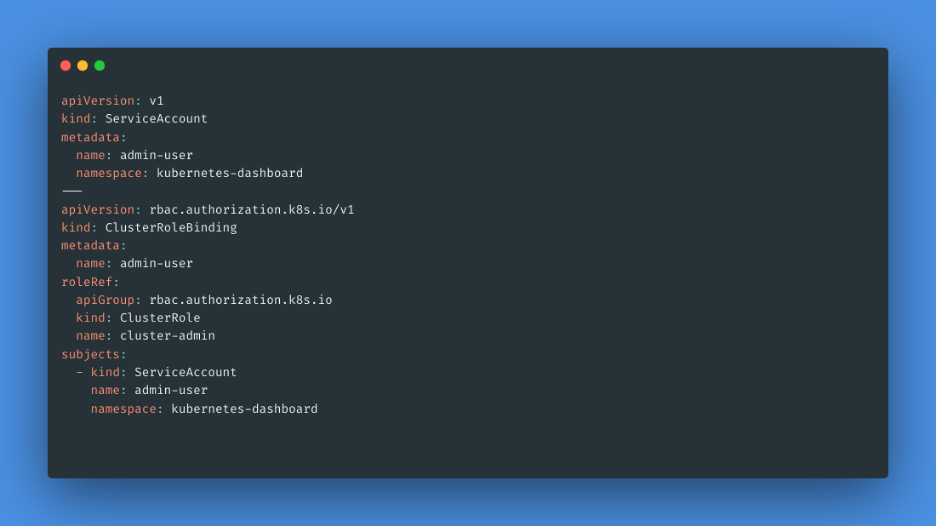
This step deploys the Kubernetes dashboard to the cluster. It applies the required configuration from the official Kubernetes dashboard repository.

9. Kubernetes Dashboard URL
Sign in with the token from the above step.

10. Instantiate Airflow Over Kubernetes
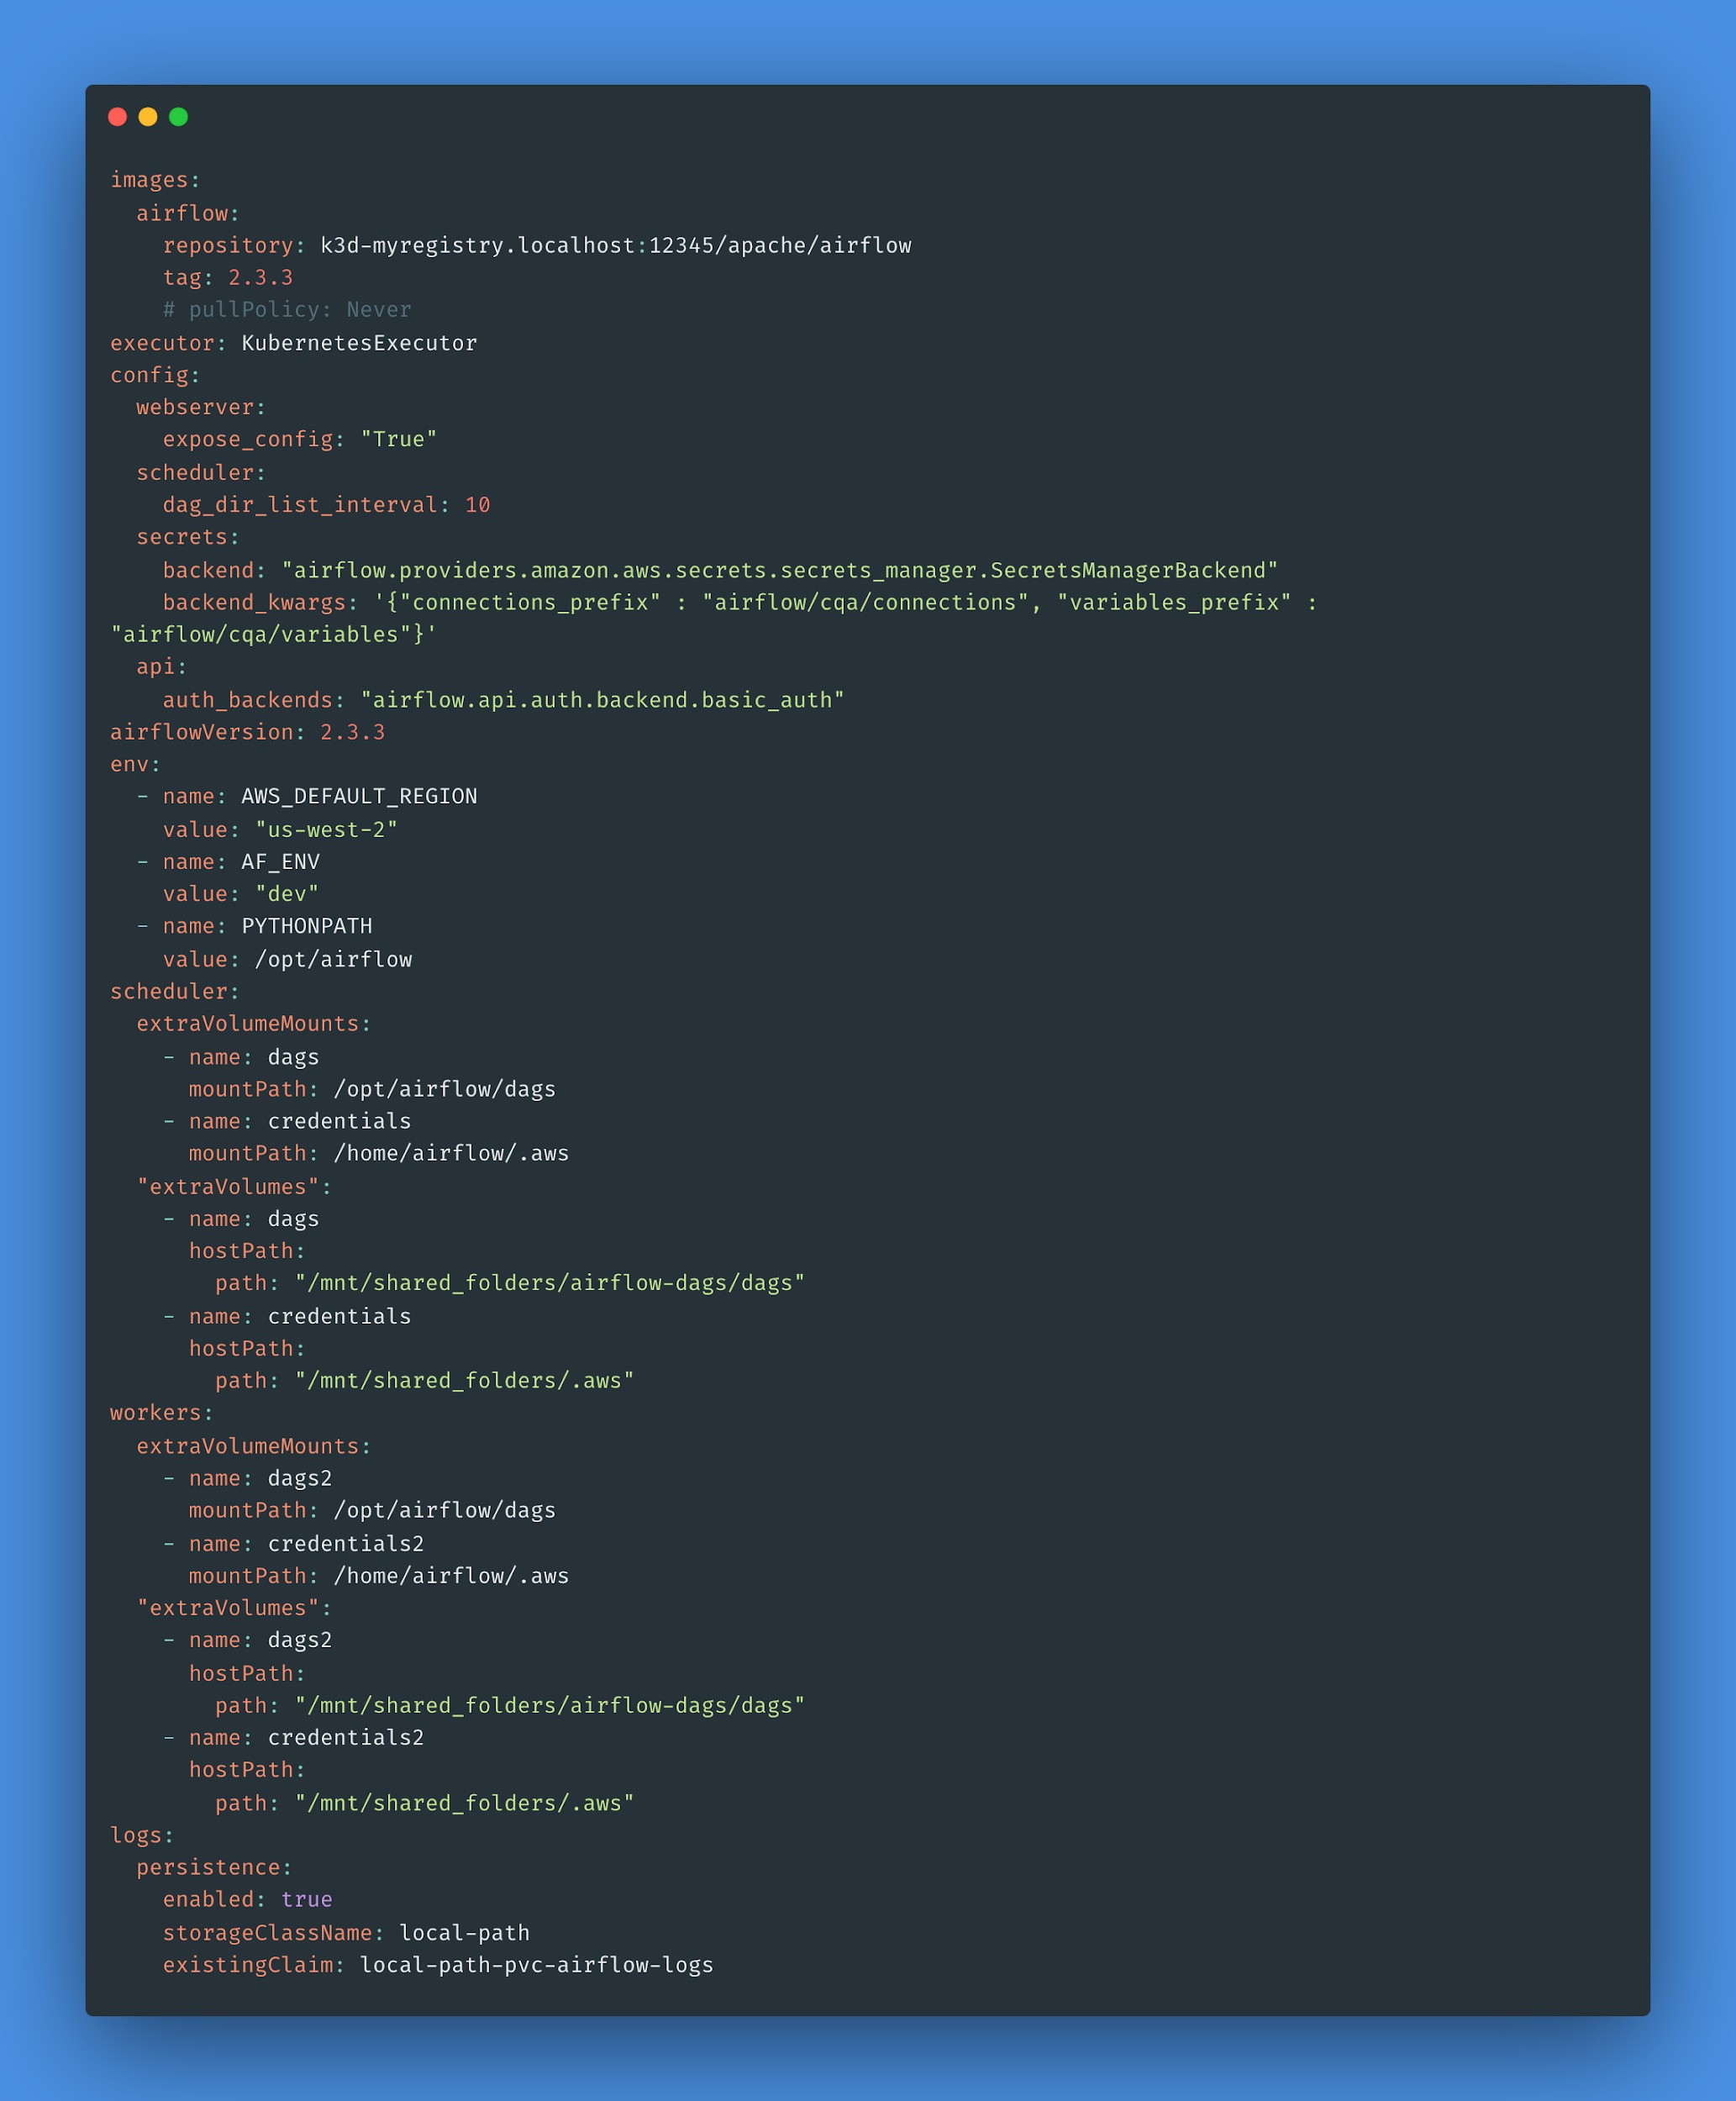
override-values.yaml values contain the mount points from the k3d container to the airflow scheduler and workers.
The Kubernetes Executor allows you to run all the Airflow tasks on Kubernetes as separate Pods.
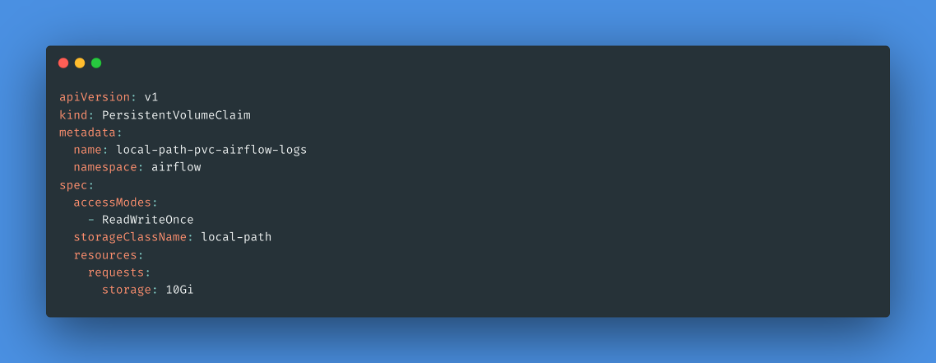
pvc-claim.yaml Persistent Volume Claim is a request for storage resources from a cluster.
Helm command to install airflow in Kubernetes.

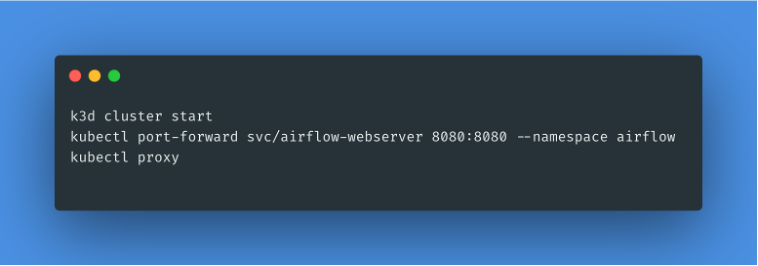
11. Forward Airflow UI From the k3d Container to the Local
This command sets up port forwarding from a local port (8080) to the port (8080) of the service named airflow-webserver within the airflow namespace in Kubernetes. This allows the browser to access the web server of the Airflow application running in the Kubernetes cluster locally on your machine.

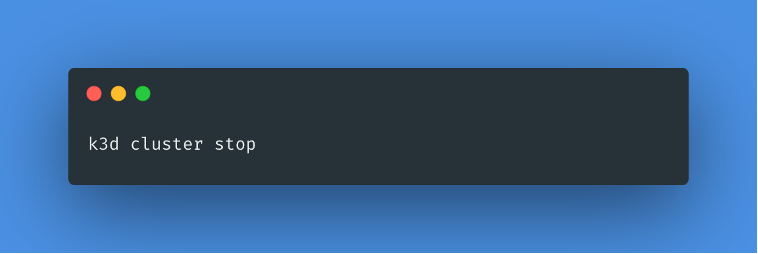
12. Stop the Cluster
The below command is used to stop the Kubernetes cluster created using k3d.
13. Start the Cluster
The below command is used to re-create the Kubernetes cluster using k3d.
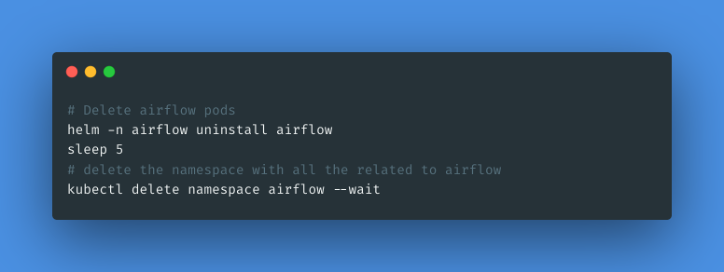
14. Delete the Airflow Instance
Never run this unless you want to completely delete the airflow setup and create a new setup.
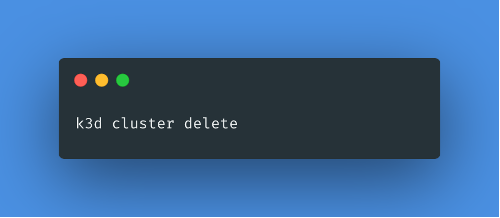
15. Delete the Cluster
Conclusion
Here are the steps to locally install Apache Airflow in Kubernetes. Widely adopted in the industry, Airflow is crucial for developers, DevOps engineers, machine learning engineers, and so many job roles, as data is ubiquitous, knowing how to work with different workflows provides significant value to companies in this competitive tech economy.
Opinions expressed by DZone contributors are their own.


Comments