How to Easily Track Time Spent on GitHub Issues
As a developer, you probably spend a lot of time on GitHub. Learn how you can track just how much time you spend working on solutions with this tool.
Join the DZone community and get the full member experience.
Join For FreeWe all know that time equals money. And, with the plethora of time management tools out there, our productivity woes should all but have disappeared. Right? Accept that, staying productive is still about the hardest thing there is.
For some reason or the other, some problem manages to creep up on us that throws our entire design out of whack. Freelance software developers know this better than anyone. You can barely go through a project without it needing constant revisions, which of course, cost time which in turn is often hard to track. Since most, if not all of us bill our clients by the hour, suffice it to say, any slips on that front can mean money left on the table.
In my hunt for the perfect time tracking tool, I stumbled across a simple realization. The problem wasn’t so much the availability of a great tool as much as how I interacted with it. Going back and forth to make entries is time-consuming, and when you are busy trying to beat a deadline, it’s all too easy to forget logging activities in your time tracker. Not to mention, third party time trackers don’t exactly track off-time very well for obvious reasons.
These problems, however, disappear if said tool could simply integrate within whatever environment you work in. I decided to try out Tmetric time tracker integration for GitHub which seemed intriguing and after having fiddled with it a bit, I found it to be a good GitHub issue tracker. Here’s how it works:
Tmetric Features
One click installation.
Timer button is automatically integrated into each GitHub issue.
All time entries to Tmetric are backlinked to GitHub.
Time reports can be sorted individually or team-wide.
Reports can be exported and used for creating invoices.
Using Tmetric With GitHub
There’s hardly anything to using Tmetric and the entire process pretty much works in the background, never interfering with your work. So, let’s say you are working on an issue in GitHub. After having installed the Tmetric time tracking extension, you will immediately see the “Start timer” button on the top right-hand corner of it. Whenever you’re ready to start working on the issue, click the button and it will begin logging your time. The time spent is displayed as a timer in the button itself.

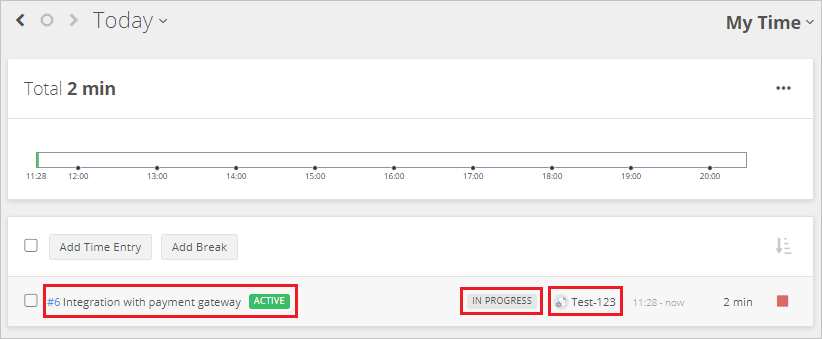
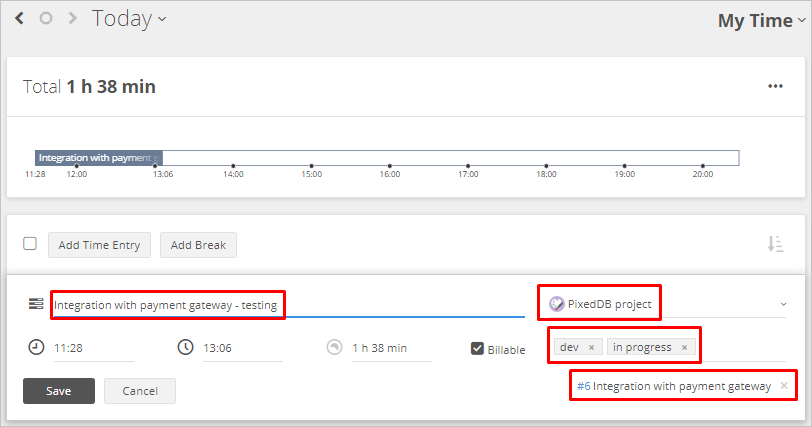
So far so simple, however, things get interesting when you look under the hood. The tracker can automatically pull project details such as issue name, ID, and labels from your GitHub account and add them to your Tmetric account. Progress is displayed in Tmetric and if you wish to go back to the task, then you may do so by clicking on the link below.

All time entries can be edited as well. You can change label, task, and project names.

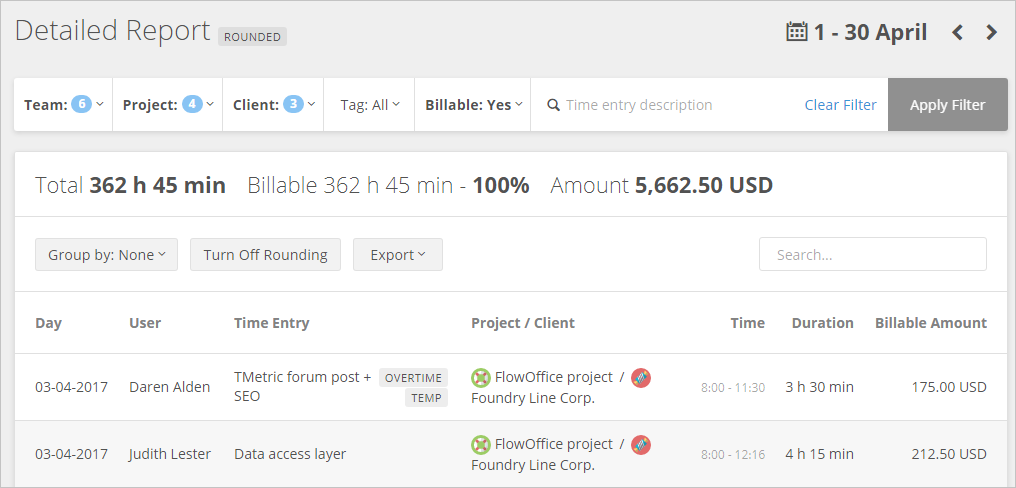
Time reports are where I found Tmetric to be particularly useful. Four types of reports are available: project summaries, task summaries, team summaries, and detailed reports. You can get a complete snapshot of how you have spent your time, both on projects that have been worked on outside of Tmetric (such as GitHub) and within it.

Reports can be exported in PDF or CSV formats and can be sent with invoices to clients.
There are a lot of time tracking tools out there, many with far more powerful features. But, at the end of the day, a tool that gets the job done without getting in the way is powerful in its own right. The ease with which Tmetric can integrate with GitHub and the fact that it gets the basics of time management right make it a good choice. Most of the useful features are available for free, if you are a power user, then you can go in for one of their two paid subscriptions that are available at $4 and $6 per month.
Opinions expressed by DZone contributors are their own.

Comments