How to Use JavaScriptExecutor in Selenium
This tutorial blog provides a detailed explanation and code example to use JavaScriptExecutor in Selenium WebDriver with Java.
Join the DZone community and get the full member experience.
Join For FreeSelenium is an open-source suite of tools and libraries that allows you to interact with browsers to perform various operations like sending text, clicking on a button, selecting drop-downs, etc.
However, there are scenarios where the actual Selenium WebDriver commands do not work as expected, as Selenium can’t interact with the WebElements directly. This is where JavaScriptExecutor comes into the picture.
In this blog, we discuss JavaScriptExecutor in Selenium and how to get started with practical use cases and examples.
What Is JavaScriptExecutor in Selenium?
JavaScriptExecutor is an interface provided by Selenium that helps in executing JavaScript commands. This interface provides methods to run JavaScript on the selected window or the current web page. It is available for all the language bindings supported by Selenium.
The JavaScriptExecutor in Selenium can be used directly by importing the following package in the automation test scripts:
org.openqa.selenium.JavascriptExecutorJavaScriptExecutor in Selenium provides two methods to interact with the WebElements:
executeScript()– This method executes JavaScript in the context of the currently selected window or frame in Selenium. The script will be executed as the body of an anonymous function.executeAsyncScript()– This method executes an asynchronous snippet of JavaScript in the context of the currently selected window or frame in Selenium. The script will be executed as the body of an anonymous function.
Note: The major difference between executeScript() and executeAsyncScript() methods is that the script invoked using the executeAsyncScript() has to signal about the completion of execution using the callback() function.
Invoking methods using executeAsyncScript() are majorly used when sleep has to be performed in the browser under test or when tests have to be synchronized within an AJAX application.
Why Use JavaScriptExecutor in Selenium?
There are scenarios where some WebDriver commands do not work as expected due to multiple reasons, as follows:
- Selenium not interacting with the WebElements directly
- Performing actions like scrolling into view, clicking on the WebElements that are hidden behind the overlay, or setting values in the readonly fields
- Performing browser-specific behaviours like modifying the DOM dynamically
In these cases, we take the help of JavaScriptExecutor in Selenium.
Traditionally, we use Selenium locators such as ID, Name, CSS Selector, XPath, etc., to locate a WebElement. If these locators do not work, or you are handling a tricky XPath, in such cases, JavaScriptExecutor helps to locate the desired WebElement.
There are cases where the click() method may not work on all the web browsers, or the web controls might behave differently on different browsers. To overcome such situations, the JavaScriptExecutor should be used to perform a click action.
As we know, browsers have JavaScript implementation inside them and can understand JavaScript commands. Hence, understanding JavaScriptExecutor in Selenium will enable us to perform a range of operations more efficiently.
Basics of JavaScriptExecutor in Selenium
The purpose of this section is to provide a high-level idea about the implementation steps of the JavaScriptExecutor in Selenium. For the demonstration, we will be using Java as the preferred programming language.
Let’s take a look at the key steps.
1. Import the package associated with JavaScriptExecutor:
import org.openqa.selenium.JavascriptExecutor;2. Use JavaScriptExecutor, create a reference for the interface, and assign it to the WebDriver instance by type-casting it:
JavascriptExecutor js = (JavascriptExecutor) driver;3. Call the executeAsyncScript() or executeScript() methods. For example, the syntax for executeScript() is given below:
js.executeScript(java.lang.String script, java.lang.Object... args)Demo: Using JavaScriptExecutor in Selenium
Before we look at how to use JavaScriptExecuter in Selenium, follow these prerequisites:
- Create a new Maven project using IntelliJ IDE
- Add latest Selenium WebDriver dependency in the pom.xml
- Add latest TestNG dependency in pom.xml
We would be using the LambdaTest eCommerce Playground website to demo the working of the JavaScriptExecutor in Selenium by running the tests on the Local Chrome browser.
Test Scenario 1
Our objective is to write a simple code to illustrate an example using the executeScript() method using the following test scenario.
- Navigate to the Account Login page of the LambdaTest eCommerce Playground website.
- Enter valid login credentials and click on the Login button by highlighting the field with a red border.
- Print the page title and domain name.
- Assert that the page header “My Account” is displayed on a successful login.
Implementation
Create a new TestJavaScriptExecutor class for implementing the test scenario. We would first create two methods in this test class that would allow us to set up and gracefully quit the Selenium WebDriver sessions.
Let’s declare the WebDriver at class level as we would need it in both of the methods, i.e, setup() method, to start the driver session and the tearDown() method, to gracefully quit the session.
public class TestJavaScriptExecutor {

    private WebDriver driver;
    //...
}
Let’s create a new setup() method that will instantiate an instance of the WebDriver class and accordingly set the configuration for running the tests on the local Chrome browser.
@BeforeTest
    public void setup () {
        driver = new ChromeDriver ();
        driver.manage ()
            .window ()
            .maximize ();
        driver.manage ()
            .timeouts ()
            .implicitlyWait (Duration.ofSeconds (30));
    }
This method will open the Chrome browser, maximize its window, and also apply an implicit wait of 30 seconds. This implicit wait will allow all the website contents to get loaded successfully before the test execution starts.

@AfterTest
    public void tearDown () {
        driver.quit ();
    }
Finally, when the test is executed, the tearDown() method will be called, which will close the RemoteWebDriver session gracefully.
Let’s now add a testJavaScriptExecutorCommand() method in the same test class to implement the test scenario we discussed.
@Test
    public void testJavaScriptExecutorCommand () {
        driver.get ("https://ecommerce-playground.lambdatest.io/index.php?route=account/login");

        JavascriptExecutor js = (JavascriptExecutor) driver;
        //....
      }
The code navigates to the Login page of the LambdaTest eCommerce Playground website. The next line casts the WebDriver instance to JavascriptExecutor so that JavaScript commands can be executed in the browser.
WebElement emailAddressField = driver.findElement (By.id ("input-email"));
js.executeScript ("arguments[0].style.border='3px solid red'", emailAddressField);
emailAddressField.sendKeys ("davidjacob@demo.com");
js.executeScript ("arguments[0].style.border='2px solid #ced4da'", emailAddressField);
Next, it locates the emailAddressField using the id locator strategy. Then, it uses the JavaScriptExecutor command to highlight the border of the e-mail address field in red color.
WebElement passwordField = driver.findElement (By.id ("input-password"));
js.executeScript ("arguments[0].style.border='3px solid red'", passwordField);
passwordField.sendKeys ("Password123");
js.executeScript ("arguments[0].style.border='2px solid #ced4da'", passwordField);
Next, the password field is located and highlighted with a red border. This highlight helps in knowing what steps are getting executed at the time of automation test execution.
WebElement loginBtn = driver.findElement (By.cssSelector ("input.btn"));
js.executeScript ("arguments[0].style.border='3px solid red'", loginBtn);
js.executeScript ("arguments[0].click();", loginBtn);
Likewise, the Login button is located using the CSS Selector strategy and is highlighted as well.
String titleText = js.executeScript ("return document.title;").toString ();
System.out.println ("Page Title is: " + titleText);

String domainName = js.executeScript ("return document.domain;").toString ();
System.out.println ("Domain is: " + domainName);
The page title and domain name are located next using the JavaScriptExecutor and printed on the console.
String myAccountHeader = driver.findElement (By.cssSelector ("#content h2")).getText ();
assertEquals (myAccountHeader, "My Account");
Finally, the page header of the My Account page, which is displayed after a successful login, is located, and an assertion is performed to check that it displays the text "My Account."
Here is the full code from the TestJavaScriptExecutor class:
public class TestJavaScriptExecutor {
private WebDriver driver;
@BeforeTest
public void setup () {
driver = new ChromeDriver ();
driver.manage ()
.window ()
.maximize ();
driver.manage ()
.timeouts ()
.implicitlyWait (Duration.ofSeconds (30));
}
@AfterTest
public void tearDown () {
driver.quit ();
}
@Test
public void testJavaScriptExecutorCommand () {
driver.get ("https://ecommerce-playground.lambdatest.io/index.php?route=account/login");
JavascriptExecutor js = (JavascriptExecutor) driver;
WebElement emailAddressField = driver.findElement (By.id ("input-email"));
js.executeScript ("arguments[0].style.border='3px solid red'", emailAddressField);
emailAddressField.sendKeys ("davidjacob@demo.com");
js.executeScript ("arguments[0].style.border='2px solid #ced4da'", emailAddressField);
WebElement passwordField = driver.findElement (By.id ("input-password"));
js.executeScript ("arguments[0].style.border='3px solid red'", passwordField);
passwordField.sendKeys ("Password123");
js.executeScript ("arguments[0].style.border='2px solid #ced4da'", passwordField);
WebElement loginBtn = driver.findElement (By.cssSelector ("input.btn"));
js.executeScript ("arguments[0].style.border='3px solid red'", loginBtn);
js.executeScript ("arguments[0].click();", loginBtn);
String titleText = js.executeScript ("return document.title;")
.toString ();
System.out.println ("Page Title is: " + titleText);
String domainName = js.executeScript ("return document.domain;")
.toString ();
System.out.println ("Domain is: " + domainName);
String myAccountHeader = driver.findElement (By.cssSelector ("#content h2"))
.getText ();
assertEquals (myAccountHeader, "My Account");
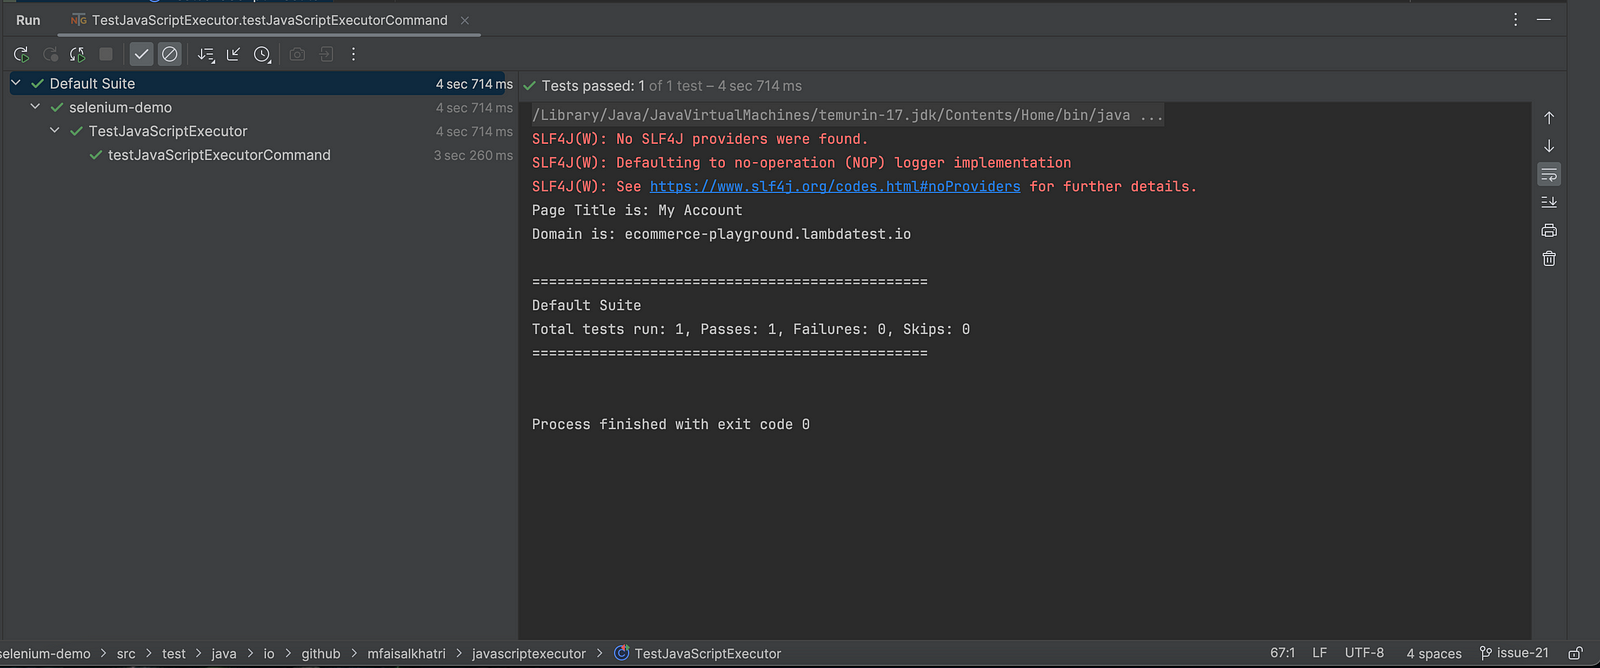
}Test Execution
The following screenshot from the IntelliJ IDE shows that the test was executed successfully.
Test Scenario 2
Our objective is to write a simple code to illustrate an example using the executeAsyncScript() method using the following test scenario.
- Navigate to the LambdaTest eCommerce Playground website.
- Scroll down to the bottom of the home page.
- Assert that the text "FROM THE BLOG" is displayed in the lower section of the page.
Implementation:
Create a new testExecuteAsyncScript() method in the existing text class TestJavaScriptExecutor.
@Test
    public void testExecuteAsyncScript() {
        driver.get("https://ecommerce-playground.lambdatest.io");
        JavascriptExecutor js = (JavascriptExecutor) driver;
        js.executeAsyncScript("var callback = arguments[arguments.length - 1];" + "window.scrollBy(0,document.body.scrollHeight); + callback()");

        String fromTheBlogText = driver.findElement(By.cssSelector("#entry_217991 > h3")).getText();
        assertEquals(fromTheBlogText, "FROM THE BLOG");
    }
The code will navigate to the homepage of the LambdaTest eCommerce Playground website. The executeAsyncScript() method of the JavaScriptExecutor will be called next, where it will perform the action to scroll the window.
In the executeAsyncScript() method, the scripts executed need to explicitly signal that they are finished by invoking the provided callback() method.
JavascriptExecutor js = (JavascriptExecutor) driver;
 js.executeAsyncScript("var callback = arguments[arguments.length - 1];"
+ "window.scrollBy(0,document.body.scrollHeight); + callback()");
After scrolling to the bottom of the window, the text "FROM THE BLOG" will be located, and an assertion will be performed on it.
String fromTheBlogText = driver.findElement(By.cssSelector("#entry_217991 > h3")).getText();
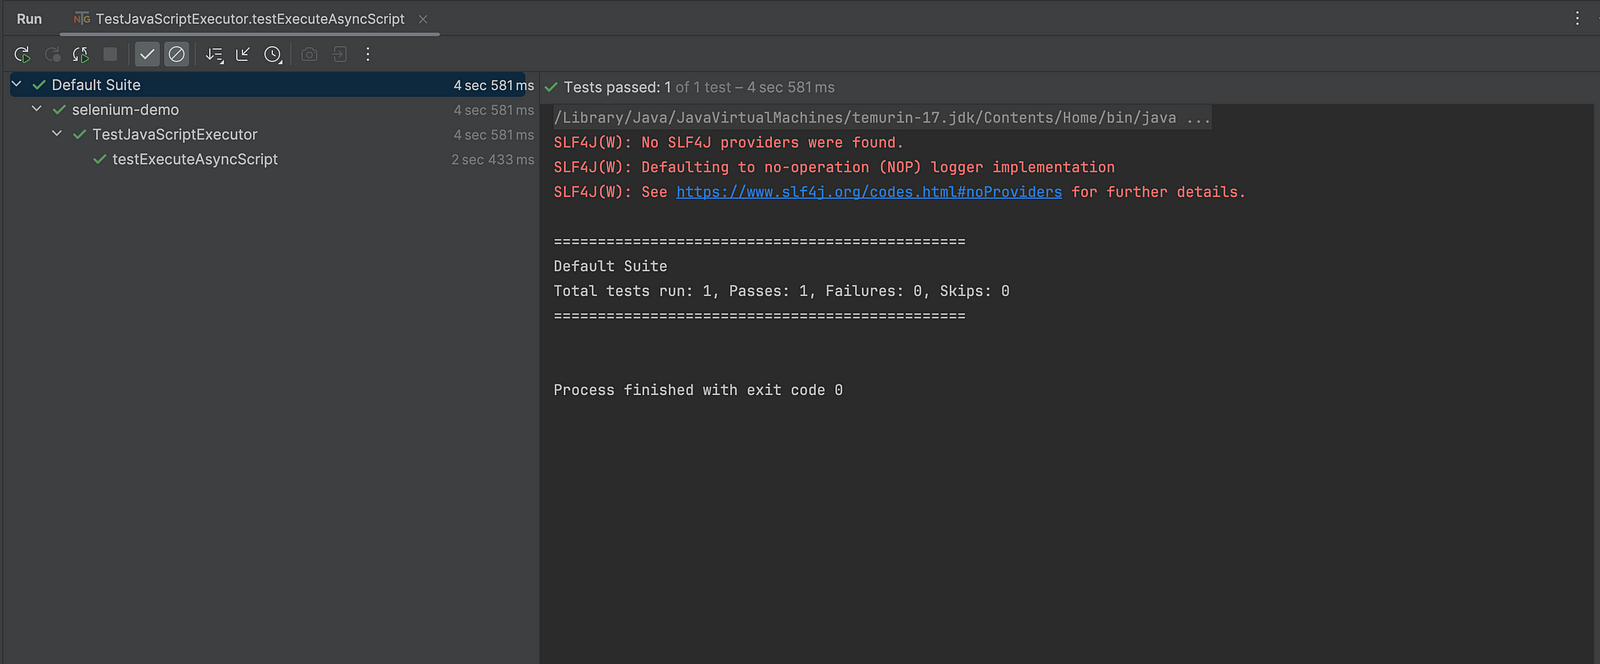
assertEquals(fromTheBlogText, "FROM THE BLOG");Test Execution
The following screenshot shows that the test was executed successfully.
Commands for Using JavaScriptExecutor in Selenium
Let’s examine some scenarios we could handle using JavaScriptExecutor Interface for Selenium test automation.
To click on a button:
js.executeScript("document.getElementById('enter element id').click();");
//or
js.executeScript("arguments[0].click();", okButton);
To type text in a text box without using the sendKeys() method:
js.executeScript("document.getElementById(id').value='someValue';");
js.executeScript("document.getElementById('Email').value='SeleniumTesting.com';");
To handle the checkbox by passing the value as true or false:
js.executeScript("document.getElementById('enter element id').checked=false;");To generate an alert pop window in Selenium WebDriver:
js.executeScript("alert('Welcome To Selenium Testing');");To refresh the browser window using JavaScript:
js.executeScript("history.go(0)");To get the innertext of the entire webpage in Selenium:
String innerText = js.executeScript(" return document.documentElement.innerText;").toString();
System.out.println(innerText);
To get the title of the web page:
String titleText =  js.executeScript("return document.title;").toString();
System.out.println(titleText);
To get the domain name:
String domainName=  js.executeScript("return document.domain;").toString();
System.out.println(domainName);
To get the URL of a web page:
String url=  js.executeScript("return document.URL;").toString();
System.out.println(url);
To get the height and width of a web page:
js.executeScript(“return window.innerHeight;”).toString();
js.executeScript(“return window.innerWidth;”).toString();
To navigate to a different page using JavaScript:
js.executeScript("window.location = 'https://www.google.com");To perform scroll on an application using Selenium:
- To scroll the page vertically for 500px:
Java
js.executeScript(“window.scrollBy(0,500)”);
- To scroll the page vertically till the end:
Java
js.executeScript(“window.scrollBy(0,document.body.scrollHeight)”);
Adding an element in the Document Object Model (DOM):
js.executeScript("var btn=document.createElement('newButton');"
+ "document.body.appendChild(btn);");
To get the shadow root in the DOM:
WebElement element = driver.findElement(By.id("shadowroot"));
js.executeScript("return arguments[0].shadowRoot", element);
Conclusion
Selenium has an interface called JavaScriptExecutor that is utilized when WebDriver commands don’t behave as intended. With the help of JavaScriptExecutor, we can use WebDriver to execute JavaScript code on the website, allowing us to handle a variety of tasks in an elegant and effective manner that would otherwise be impossible using only Java.
In this blog, we explored how to use JavaScriptExecutor in Selenium and its different methods. Further, we covered various scenarios to attain an effective solution using different methods along with practical examples.
Published at DZone with permission of Faisal Khatri. See the original article here.
Opinions expressed by DZone contributors are their own.
Comments