How to Use JMS ActiveMQ With Mule 4: Part 2
In this blog, we will see how to use JMS with Mulesoft. We will see how we can use the Mulesoft JMS connector to perform different JMS operations on Queue.
Join the DZone community and get the full member experience.
Join For FreeThis is the second part of the JMS ActiveMQ with Mule4 series. You can read the previous part here: Part 1. In this blog, we will learn about JMS queue operations and how to use them with Mulesoft.
JMS in Mulesoft
Anypoint Connector for JMS (JMS Connector) enables our app to do messaging using the JMS implementation. Its main features include:
- Pub/Sub pattern support on any given destination.
- Listen/Reply pattern support on any given destination.
- Publish-Consume pattern support on any given destination, with fixed or temporary reply Queue.
- Fully compliant with JMS 2.0, 1.1, and 1.0.2 specifications.
JMS Connector Provided Operations
Publish: used to publish messages into JMS.
Consume: used to consume the published message from Queue
On New Message: JMS Subscriber for Destinations, allows to listen for incoming Messages
Publish Consume: Operation that allows the user to send a message to a JMS Destination and waits for a response either to the provided ReplyTo destination or to a temporary Destination created dynamically.
Ack: used to perform an ACK when the AckMode#MANUAL mode is elected while consuming the Message.
Recover session: Used to perform a session recovery when the AckMode#MANUAL mode is elected while consuming the Message.
Let's try to understand the Queue mechanism in Mulesoft:
1. Publish
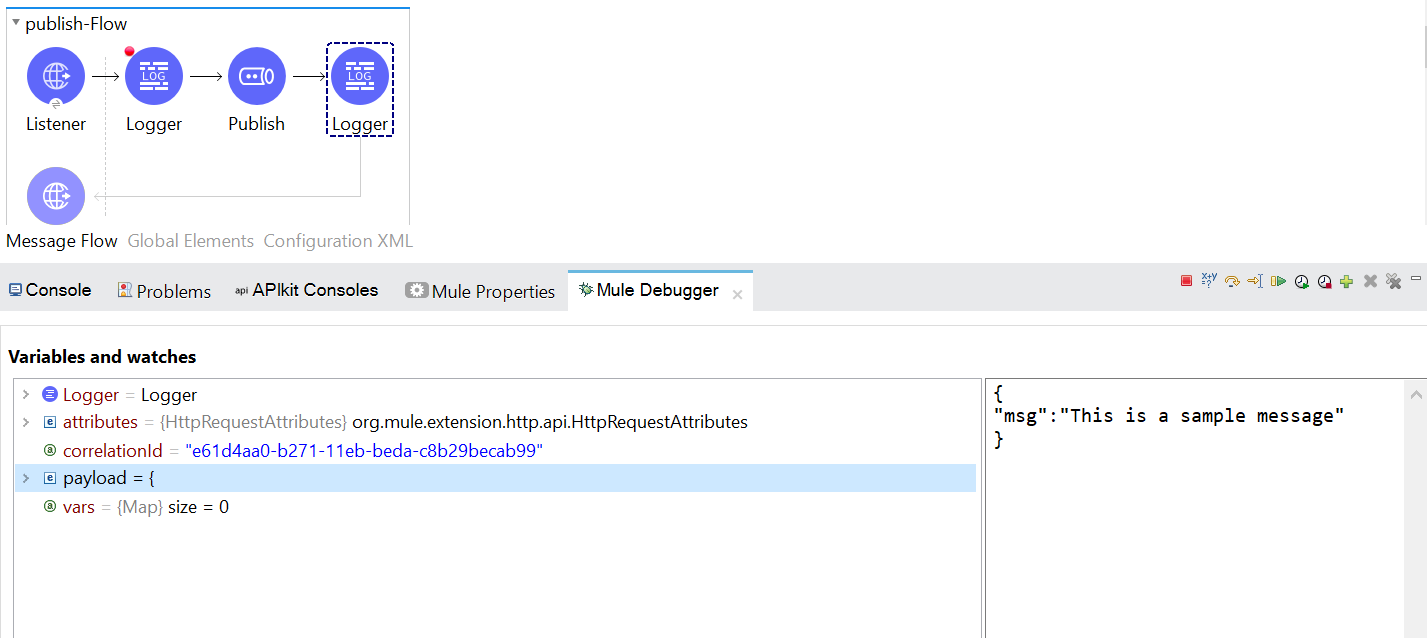
We will create a simple flow as shown in the below image. Here we are using an HTTP listener, a logger that displays the incoming message, a JMS Publish operation that will publish the message into the JMS queue (testQueue1), and in the end, a logger to print that the given message is published to ActiveMQ.

When we drag and drop the JMS connector from the palette we need to do the configuration. For this, we will click on the plus (+) icon, and the configuration window for the JMS connector will open.

Firstly in the configuration, we need to add the required libraries for JMS. For this, we will click on Configure Button next to each dependency. And select Add recommended libraries.

On clicking Add recommended libraries option, a pop-up will appear on the screen that gives info about the library going to be added to the project. We will click on OK.
 Once the pop-up is closed, we can see that the required library is successfully added for the JMS ActiveMQ Client, we can confirm this by looking at the Green Tick symbol just next to the library name.

Similarly, we will add a dependency for ActiveMQ Broker.
Note: In the above image, we can see that ActiveMQ Broker and ActiveMQ KahaBD are described as optional dependencies.
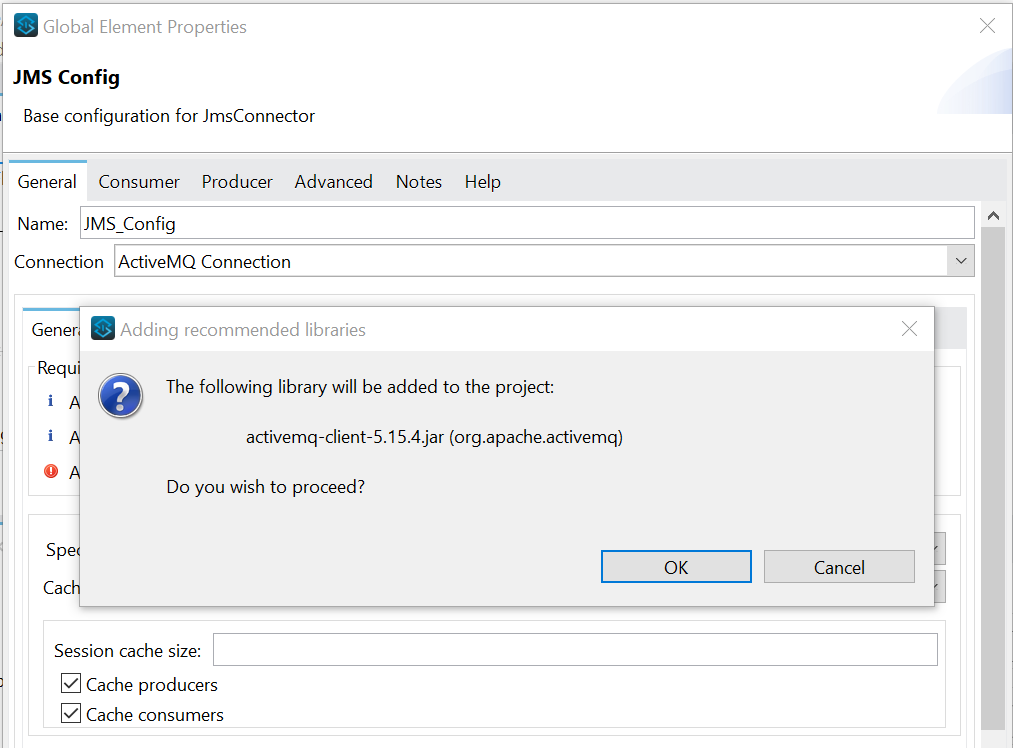 Once these libraries are added we will give the details like Username, Password, and Broker url. As we are connecting with localhost for this demo so username and password is admin and the Broker url is tcp://localhost:61616

After adding all the required values in the configuration we will try to test the connection. If all the configuration is correct we will get Test Connection Successful as shown below.
Note: ActiveMQ would be in running/active condition while testing for connection.

After all the configuration is done, the publish operation will look like below.
 Note: Publish operation will create a new queue in the JMS if the queue with the name provided in the mule publish operation is not exist in the JMS.
Let's have a look at the queue before hitting the service, we can notice here:
The number of Pending Messages is 0 which means there is no message in the queue currently.
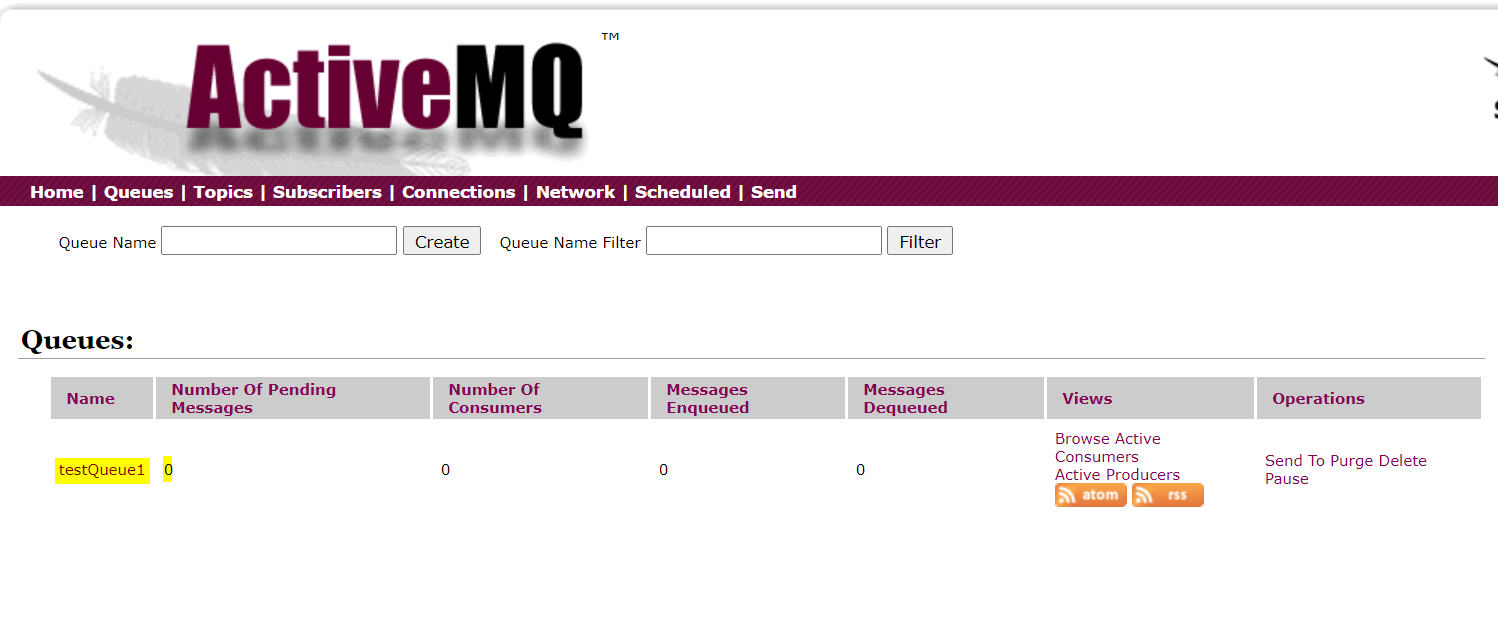 We will try to hit the Mule API from Postman:
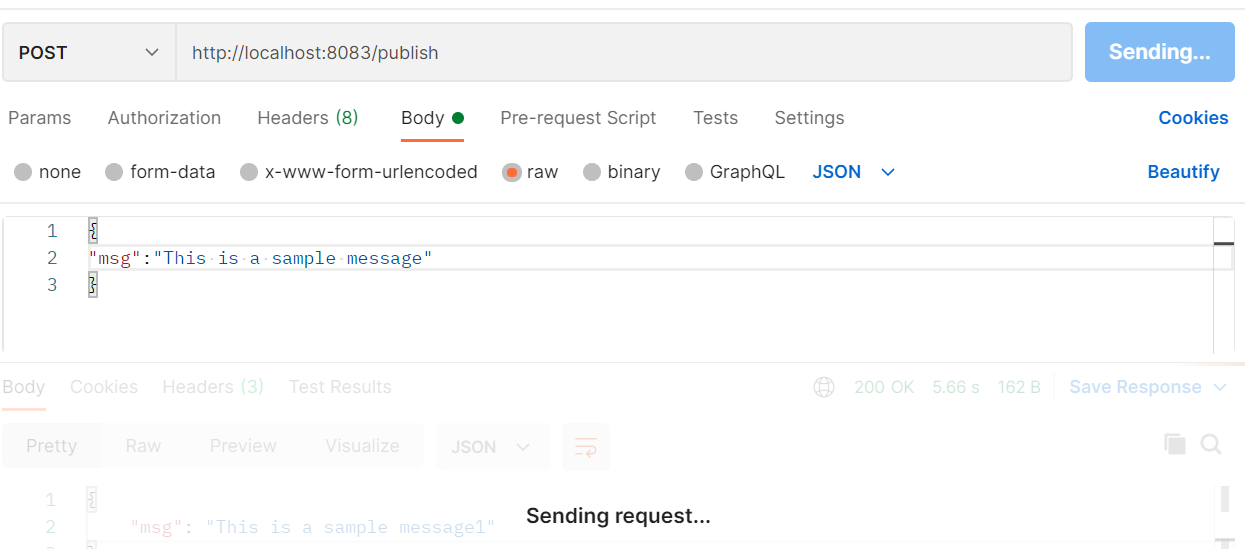
On hitting the Mule endpoint from Postman we can see the message triggered is received by the publish-Flow and as we are running the application in debug mode we can see that it is the same message.
Now we will try to have a look into the MQ and we can see that there is 1 message present in the queue testQueue1.
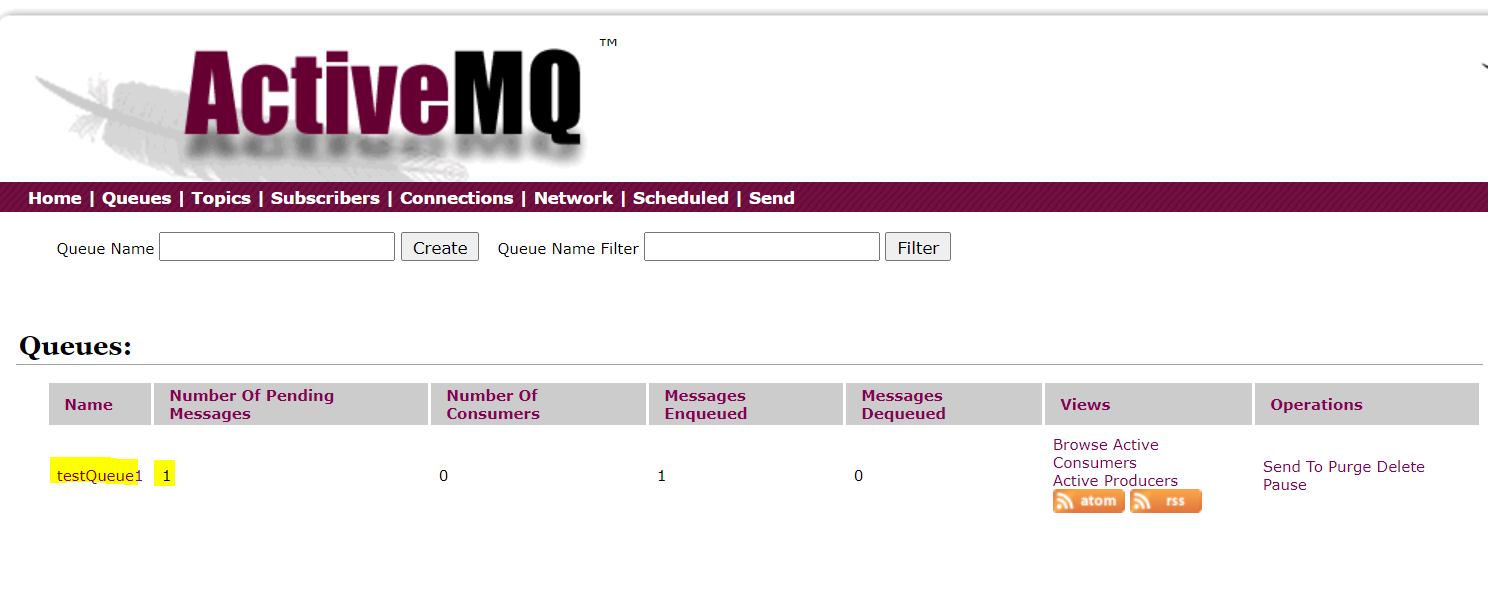 On clicking Queue we can see that message in the queue is the same that we just published using Mule flow.

In the Mule logs also we can verify this:
INFO 2021-05-11 21:31:39,986 [[MuleRuntime].uber.02: [jms-demo].publish-Flow.CPU_LITE @4bd8e475] [processor: publish-Flow/processors/0; event: e61d4aa0-b271-11eb-beda-c8b29becab99] org.mule.runtime.core.internal.processor.LoggerMessageProcessor: " Message received is " { "msg":"This is a sample message" } INFO 2021-05-11 21:33:10,462 [[MuleRuntime].uber.02: [jms-demo].publish-Flow.CPU_LITE @4bd8e475] [processor: publish-Flow/processors/2; event: e61d4aa0-b271-11eb-beda-c8b29becab99] org.mule.runtime.core.internal.processor.LoggerMessageProcessor: "Message Published in JMS Queue" |
In this way, we can publish the message into the ActiveMQ queue.
Note: If we want to publish the message into the topic then the steps would be the same as above, we only need to select the topic in the publish configuration instead of the queue and we need to give the name of the topic where we want to publish the message.
2. Consume
Consume is used to pick/receive a message from the JMS queue in between a Mule flow.
Now we try to consume the message that we just published into the MQ. And for this, we are going to create a Mule flow as shown below. Here we have one HTTP listener, a JMS Consume Operation, and a logger.
 Configuration of JMS consume operation is shown in the above image. Here we are providing the Destination which is the name of the queue from which we want to consume/receive the message, content-type of the message to be consumed.
We can also set a time for Maximum wait. If the message is not received from the specified destination within this mentioned time then we get a JMS:TIMEOUT error. The default value for Maximum Wait is 10000 milliseconds (10 seconds). To prevent JMS:TIMEOUT error we can set the Maximum wait field to -1 which allows waiting indefinitely for a message to arrive. If we don’t want to wait for a message and just want to pick the available message from the destination, then for this, we can set the Maximum wait field to 0 which means no waiting occurs. So the Consume operation will give output as |
Once the configuration is done, we will run the Mule app in debug mode and trigger the below endpoint from Postman.
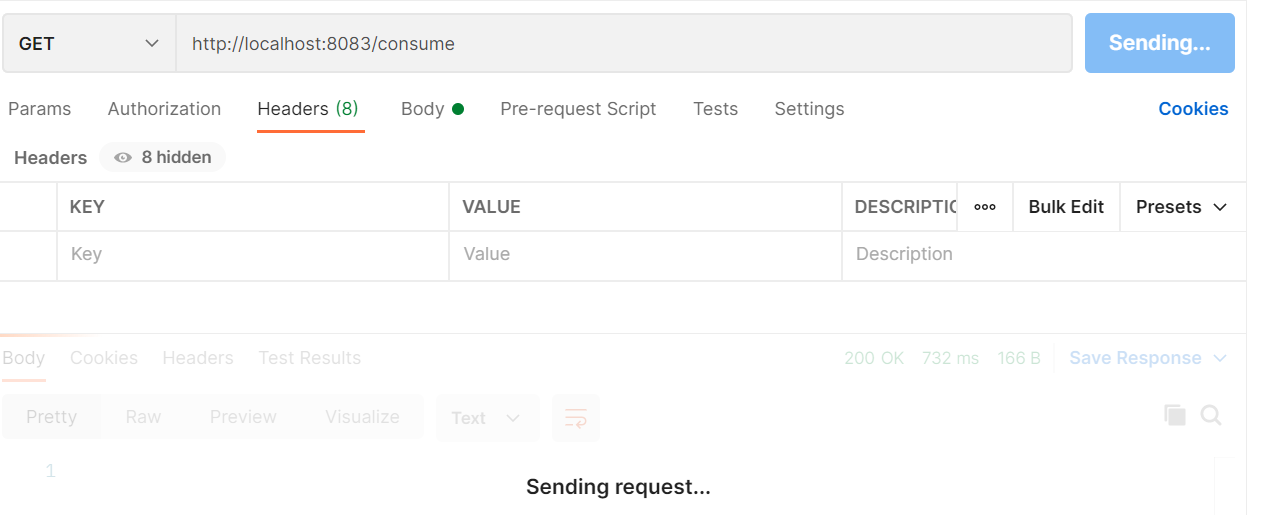 We can see in our Mule flow that the consume operation has been completed successfully and we are having the same message as the payload that we published in MQ.
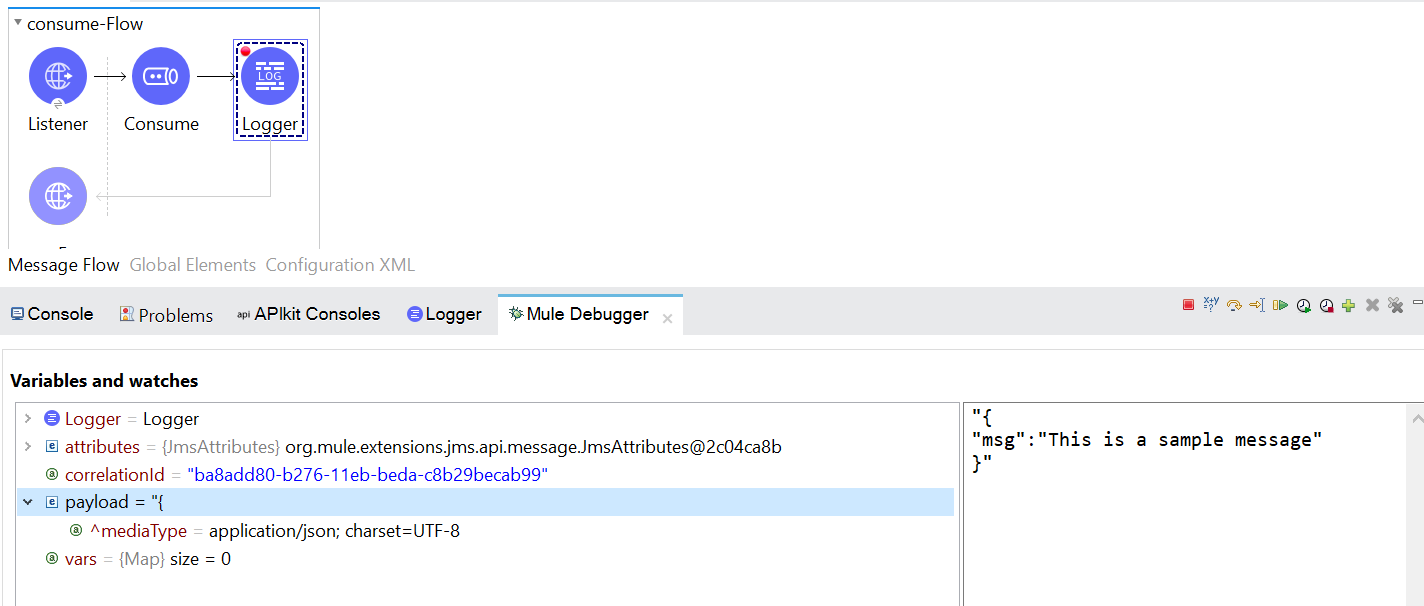 We can see the below details in the Mule console logs:
INFO 2021-05-11 22:05:24,047 [[MuleRuntime].uber.02: [jms-demo].consume-Flow.CPU_LITE @519f3195] [processor: consume-Flow/processors/1; event: ba8add80-b276-11eb-beda-c8b29becab99] org.mule.runtime.core.internal.processor.LoggerMessageProcessor: Message received from Queue is { "msg":"This is a sample message" } |
After Consume Operation if we have a look on the Active MQ console we can see that there are 0 Messages are pending in the queue.

On returning back to the Postman we can see the same consumed message as the output.

This is how we can use consume operation of JMS.
3. On New Message
The On New Message update is a Listener/Source component that is used to pick the published message from the JMS.
This component actively listens to the JMS destination (Queue/Topic) and as soon as a new message is published, it picks that newly published message.
For a demonstration of this, we can use the below flow where we have the On New Message component and then a logger component. We are setting the below configuration of On New Message and we provide Destination Queue Name (Queue name from which we want to receive the message) and content type of the message. In the logger component, we are displaying the message received from the queue.

We will run the API and first publish a message in the queue and then we can see that the same message is picked up by on new message source component. We can check the message payload and it is the same.
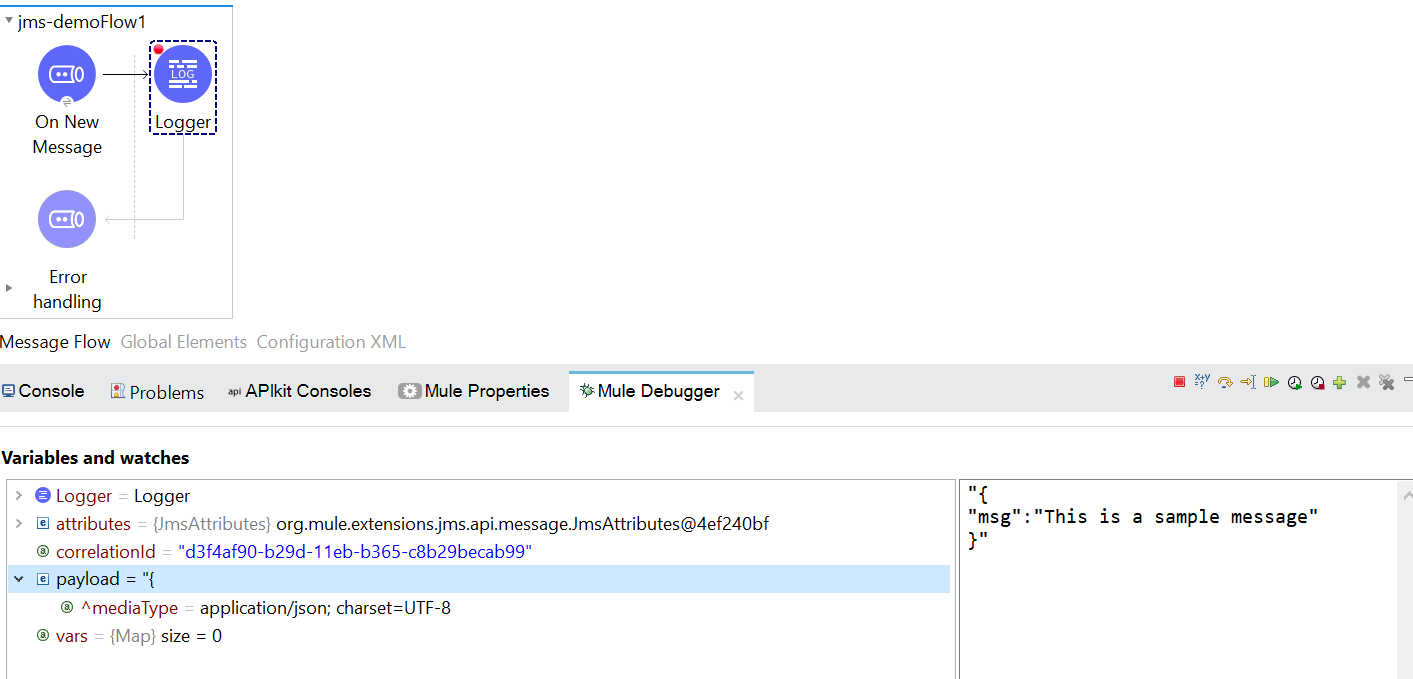
We can see the same details in the Mule console logs:
INFO 2021-05-12 12:44:10,469 [[MuleRuntime].uber.04: [jms-demo].publish-Flow.CPU_LITE @739096ef] [processor: publish-Flow/processors/0; event: d3f4af90-b29d-11eb-b365-c8b29becab99] org.mule.runtime.core.internal.processor.LoggerMessageProcessor: " Message received is " { "msg":"This is a sample message" } INFO 2021-05-12 12:44:11,029 [[MuleRuntime].uber.04: [jms-demo].publish-Flow.CPU_LITE @739096ef] [processor: publish-Flow/processors/2; event: d3f4af90-b29d-11eb-b365-c8b29becab99] org.mule.runtime.core.internal.processor.LoggerMessageProcessor: "Message Published in JMS Queue" INFO 2021-05-12 12:47:10,347 [[MuleRuntime].uber.04: [jms-demo].jms-demoFlow1.CPU_LITE @6db707cc] [processor: jms-demoFlow1/processors/0; event: d3f4af90-b29d-11eb-b365-c8b29becab99] org.mule.runtime.core.internal.processor.LoggerMessageProcessor: Message Received from JMS { "msg":"This is a sample message" } |
Note: If there are more than ONE On-New Message components pointing to the same queue then anyone of the On-New Message component will consume the message.
Conclusion
All the above operations we saw are for the JMS queue, for one-to-one communication.
This is how we can use the Mule JMS connector to use JMS operations in mule API for Queue. In the next blog, we will see how we can use these same JMS operations in the case of Topics.
Opinions expressed by DZone contributors are their own.

Comments