Data-Driven API Testing in Java With REST Assured and TestNG: Part 2
Learn how to perform data-driven API automation testing with REST Assured using Iterator and TestNG's @DataProvider annotation.
Join the DZone community and get the full member experience.
Join For FreeIn the previous article, we explored how to implement data-driven testing using Object arrays and TestNG’s @DataProvider annotation. While this approach works well for small to medium-sized datasets, it is not ideal for handling large volumes of data. To address this limitation, TestNG also supports the use of Iterators, which provide a more efficient way to manage large and dynamic datasets.
This article focuses on how to perform data-driven API automation testing using an Iterator with a DataProvider annotation of TestNG.
Data-Driven Testing Using @DataProvider and Iterator
The setup and configuration remain the same as discussed in the earlier tutorial. No additional dependencies or project configurations are required.
We will be using the same POST /addOrder API from the RESTful e-commerce demo application.
The following is the schema of the request body of the POST /addOrder API:
[
  {
    "user_id": "string",
    "product_id": "string",
    "product_name": "string",
    "product_amount": 0,
    "qty": 0,
    "tax_amt": 0,
    "total_amt": 0
  }
]
Creating a POJO Class
Let’s create a POJO class for the Order object, which will be used in the data provider method.
@Getter
@Setter
@AllArgsConstructor
@ToString (exclude = "expectedStatus")
public class Order {
    @JsonProperty ("user_id")
    private String userId;
    @JsonProperty ("product_id")
    private String productId;
    @JsonProperty ("product_name")
    private String productName;
    @JsonProperty ("product_amount")
    private int    productAmount;
    private int    qty;
    @JsonProperty ("tax_amt")
    private int    taxAmt;
    @JsonProperty ("total_amt")
    private int    totalAmt;
    private int    expectedStatus;
}
Code Walkthrough
- The
@Getterand@Setterannotations automatically generate getter and setter methods for all fields at compile time. - The
@AllArgsConstructorannotation creates a constructor that accepts all fields as parameters, making it easier to define test data using the Order object. - The
@ToStringannotation automatically generates atoString()method, excluding the expectedStatus field. This ensures that the values provided in the Order object are printed correctly after test execution. - The
@JsonPropertyannotation instructs Jackson on how to map JSON field names to their corresponding Java variables. - The variables defined in this POJO represent the fields of the
Orderobject. - An additional field,
expectedStatus, is included to verify the status code during testing. This helps in validating both valid and invalid test cases by allowing flexible input and comparison against the expected status code.
Creating a Data Provider Method
Let’s define a data provider method that returns the test data using an Iterator:
@DataProvider (name = "orderData")
    public Iterator<Order> getOrderData () {
        List<Order> orderList = new ArrayList<> ();
        orderList.add (new Order ("1", "79", "IPhone 17 Pro", 6999, 1, 699, 7698, 201));
        orderList.add (new Order ("2", "81", "Samsung Galaxy S25", 7999, 1, 799, 8798, 201));
        orderList.add (new Order ("2", "87", "iPad SE", 4550, 1, 455, 5005, 201));
        orderList.add (new Order ("4", "13", "Macbook Pro", 9999, 1, 999, 10098, 201));
        orderList.add (new Order ("5", "19", "Macbook Air", 8999, 1, 899, 9898, 201));

        return orderList.iterator ();
    }
Code Walkthrough
This code supports data-driven testing by storing multiple order objects in an ArrayList, where each object represents a separate test case.
- The
@DataProviderannotation over thegetOrderData()method tells TestNG that this method provides test data. The name"orderData"is used to link this data provider to a test method. - The
getOrderData()method returns anIterator<Order>, which TestNG uses to retrieve one order object at a time, with each object representing a separate test case. - The test data for the order details are stored in an
ArrayList, which allows flexible storage, easy modification, and efficient iteration over multiple test cases during execution.
Writing the API Automation Tests
Using REST Assured, let’s write the API automation tests and pass the dataProvider parameter to the @Test annotation to instruct TestNG to retrieve the required data set from it.
@Test (dataProvider = "orderData")
    public void testCreateOrder (Order order) {
        List<Order> orderList = List.of (order);
        given ().contentType (ContentType.JSON)
            .when ()
            .log ()
            .all ()
            .body (orderList)
            .post ("http://localhost:3004/addOrder")
            .then ()
            .log ()
            .all ()
            .statusCode (order.getExpectedStatus ())
            .and ()
            .assertThat ()
            .body ("message", equalTo ("Orders added successfully!"));
    }
Code Walkthrough
This testCreateOrder() method implements data-driven testing using the orderData DataProvider, allowing the same test to run multiple times with different order objects.
Since the API endpoint expects a list of orders in the request body, each order is wrapped in a List<Order> using List.of(order) before sending the POST request.
The test then validates the response by checking the expected status code and asserting that the success message “Orders added successfully” is returned.
Check out my earlier article on how to perform response verification in REST Assured with Java for a detailed understanding of validating status codes and response bodies using robust assertion techniques.
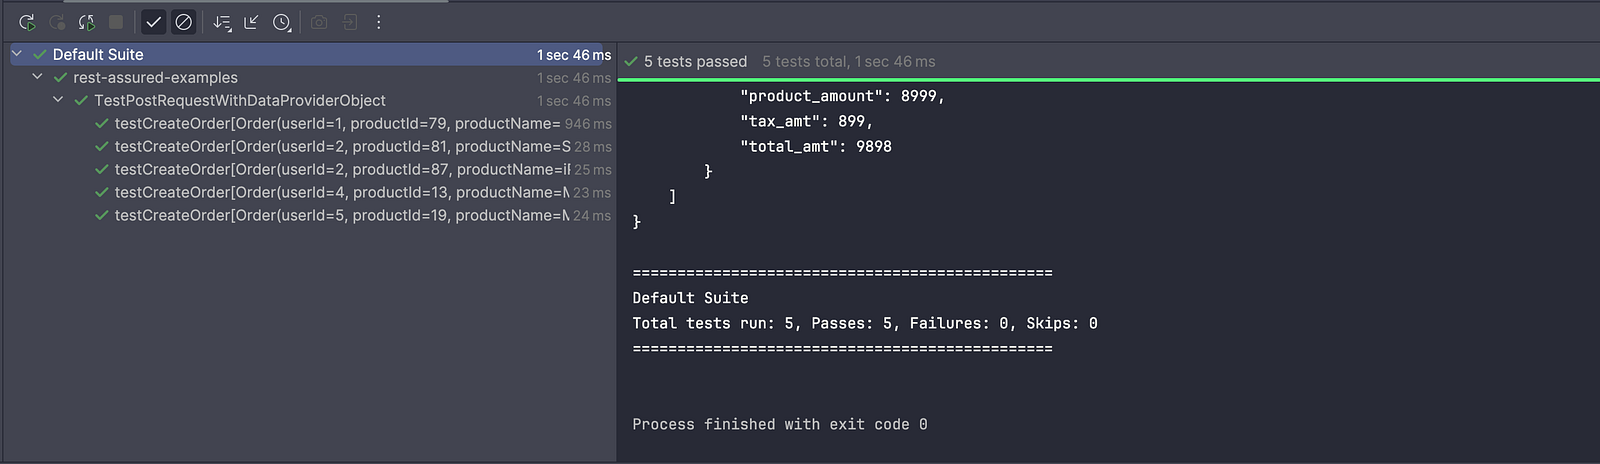
Test Execution
When the test runs, TestNG automatically executes the testCreateOrder() method multiple times, each time using a different set of data from the orderData DataProvider. This makes it easy to check that the API handles various inputs correctly.
Summary
Using an Iterator in a TestNG DataProvider allows efficient handling of large or dynamic datasets, as it supplies one test case at a time without loading the entire dataset into memory.
This makes tests more memory-friendly and scalable compared to using an Object array. Additionally, it provides flexibility for generating data on the fly or reading from external sources such as files or databases.
Happy testing!
Published at DZone with permission of Faisal Khatri. See the original article here.
Opinions expressed by DZone contributors are their own.
Comments