Learn What Schematics Are and How To Use Them With Your React Apps
Use Schematics with your React framework.
Join the DZone community and get the full member experience.
Join For FreeDevelopers love to create streamlined processes and programs that help us achieve efficiency. I've done a lot of live demos, and, over the years, I’ve noticed that my demos have a lot of instructions. Instead of writing everything down in scripts, I’ve started using automation tools powered by Schematics.
Schematics is a project that was released by the Angular team. In short, it provides an API that allows you to manipulate files and add new dependencies to any project that has apackage.json file. It can also work in non-Angular projects.
Today, I’ll show you how you can use a Schematic to add authentication using Okta to a React app. You’ll need Node.js 10+ installed; then run:
npx create-react-app rs --typescript
While that process completes, create an OIDC app in Okta.
Create an OIDC App on Okta
Log in to your Okta Developer account (or sign up if you don’t have an account) and navigate to Applications > Add Application. Click Single-Page App and click Next. Give the app a name you’ll remember, change the port from 8080 to 3000, and click Done.
The next screen should look similar to the following:

Go back to the terminal window where you created the rs app. Navigate into the directory and run the app to make sure it starts on port 3000.
cd rs
npm start
Stop the process (Ctrl+C) and add OIDC authentication to your app with the following commands:
npm i @oktadev/schematics
schematics @oktadev/schematics:add-auth
When prompted, enter your issuer (it can be found in Okta’s dashboard under API > Authorization Servers) and client ID. When the installation completes, run npm start, and marvel at your React app with OIDC authentication!

Click login, enter the credentials you used to signup with Okta, and you’ll be redirected back to your app. This time, a logout button will be displayed.
Create a React Schematic
It’s neat to see a Schematic in action, and it’s fun to write them too! Now, I’ll show you how to use Schematics to modify a project created with Create React App.
Why React? Because it’s popular and fun to write apps with (in my experience). Also, Eric Elliot predicts “React Continues to Dominate in 2019” in his "Top JavaScript Frameworks and Topics to Learn in 2019."
Bootstrap is a popular CSS framework, and React has support for it via reactstrap. In this tutorial, you’ll learn how to create a schematic that integrates reactstrap. It’s a straightforward example, and I’ll include unit and integrating testing tips.
Schematics: Manipulate Files and Dependencies With Code
Angular DevKit is part of the Angular CLI project on GitHub. DevKit provides libraries that can be used to manage, develop, deploy, and analyze your code. DevKit has a schematics-cli command line tool that you can use to create your own Schematics.
To create a Schematics project, first install the Schematics CLI:
npm i -g @angular-devkit/[email protected]Then, run schematics to create a new empty project. Name it rsi, as an abbreviation for ReactStrap Installer.
schematics blank --name=rsiThis will create a rsi directory and install the project’s dependencies. There’s a rsi/package.json that handles your project’s dependencies. There’s also a src/collection.json that defines the metadata for your schematics.
{
  "$schema": "../node_modules/@angular-devkit/schematics/collection-schema.json",
  "schematics": {
    "rsi": {
      "description": "A blank schematic.",
      "factory": "./rsi/index#rsi"
    }
  }
}
You can see that the rsi schematic points to a function in src/rsi/index.ts. Open that file and you’ll see the following:
import { Rule, SchematicContext, Tree } from '@angular-devkit/schematics';

export function rsi(_options: any): Rule {
  return (tree: Tree, _context: SchematicContext) => {
    return tree;
  };
}
It’s tested by src/rsi/index_spec.ts.
import { Tree } from '@angular-devkit/schematics';
import { SchematicTestRunner } from '@angular-devkit/schematics/testing';
import * as path from 'path';

const collectionPath = path.join(__dirname, '../collection.json');

describe('rsi', () => {
  it('works', () => {
    const runner = new SchematicTestRunner('schematics', collectionPath);
    const tree = runner.runSchematic('rsi', {}, Tree.empty());

    expect(tree.files).toEqual([]);
  });
});
One neat thing about Schematics is they don’t perform any direct actions on your file system. Instead, you specify actions against a Tree. The Tree is a data structure with a set of files that already exists and a staging area (of files that contain new/updated code).
Schematics With React
If you’re familiar with Schematics, you’ve probably seen them used to manipulate Angular projects. Schematics has excellent support for Angular, but they can run on any project. Instead of looking for Angular-specifics, you can just look for package.json and a common file structure. CLI tools, like Create React App, that generate projects make this a lot easier to do because you know where files will be created.
Add Dependencies to Your React App With Schematics
The reactstrap docs provide installation instructions. These are the steps you will automate with the rsischematic.
npm i bootstrap reactstrap- Import Bootstrap’s CSS
- Import and use reactstrap components
You can use Schematics Utilities to automate adding dependencies. Start by opening a terminal window and installing schematic-utilities in the rsi project you created.
npm i [email protected]Change src/rsi/index.ts to add bootstrap and reactstrap as dependencies with an addDependencies() function. Call this method from the main rsi() function.
import { Rule, SchematicContext, Tree } from '@angular-devkit/schematics';
import { addPackageJsonDependency, NodeDependency, NodeDependencyType } from 'schematics-utilities';

function addDependencies(host: Tree): Tree {
  const dependencies: NodeDependency[] = [
    { type: NodeDependencyType.Default, version: '4.3.1', name: 'bootstrap' },
    { type: NodeDependencyType.Default, version: '7.1.0', name: 'reactstrap' }
  ];
  dependencies.forEach(dependency => addPackageJsonDependency(host, dependency));
  return host;
}

export function rsi(_options: any): Rule {
  return (tree: Tree, _context: SchematicContext) => {
    addDependencies(tree);
    return tree;
  };
}
Create, Copy, and Update React Files
Create a src/rsi/templates/src directory. You’ll create templates in this directory that already have the necessary reactstrap imports and usage.
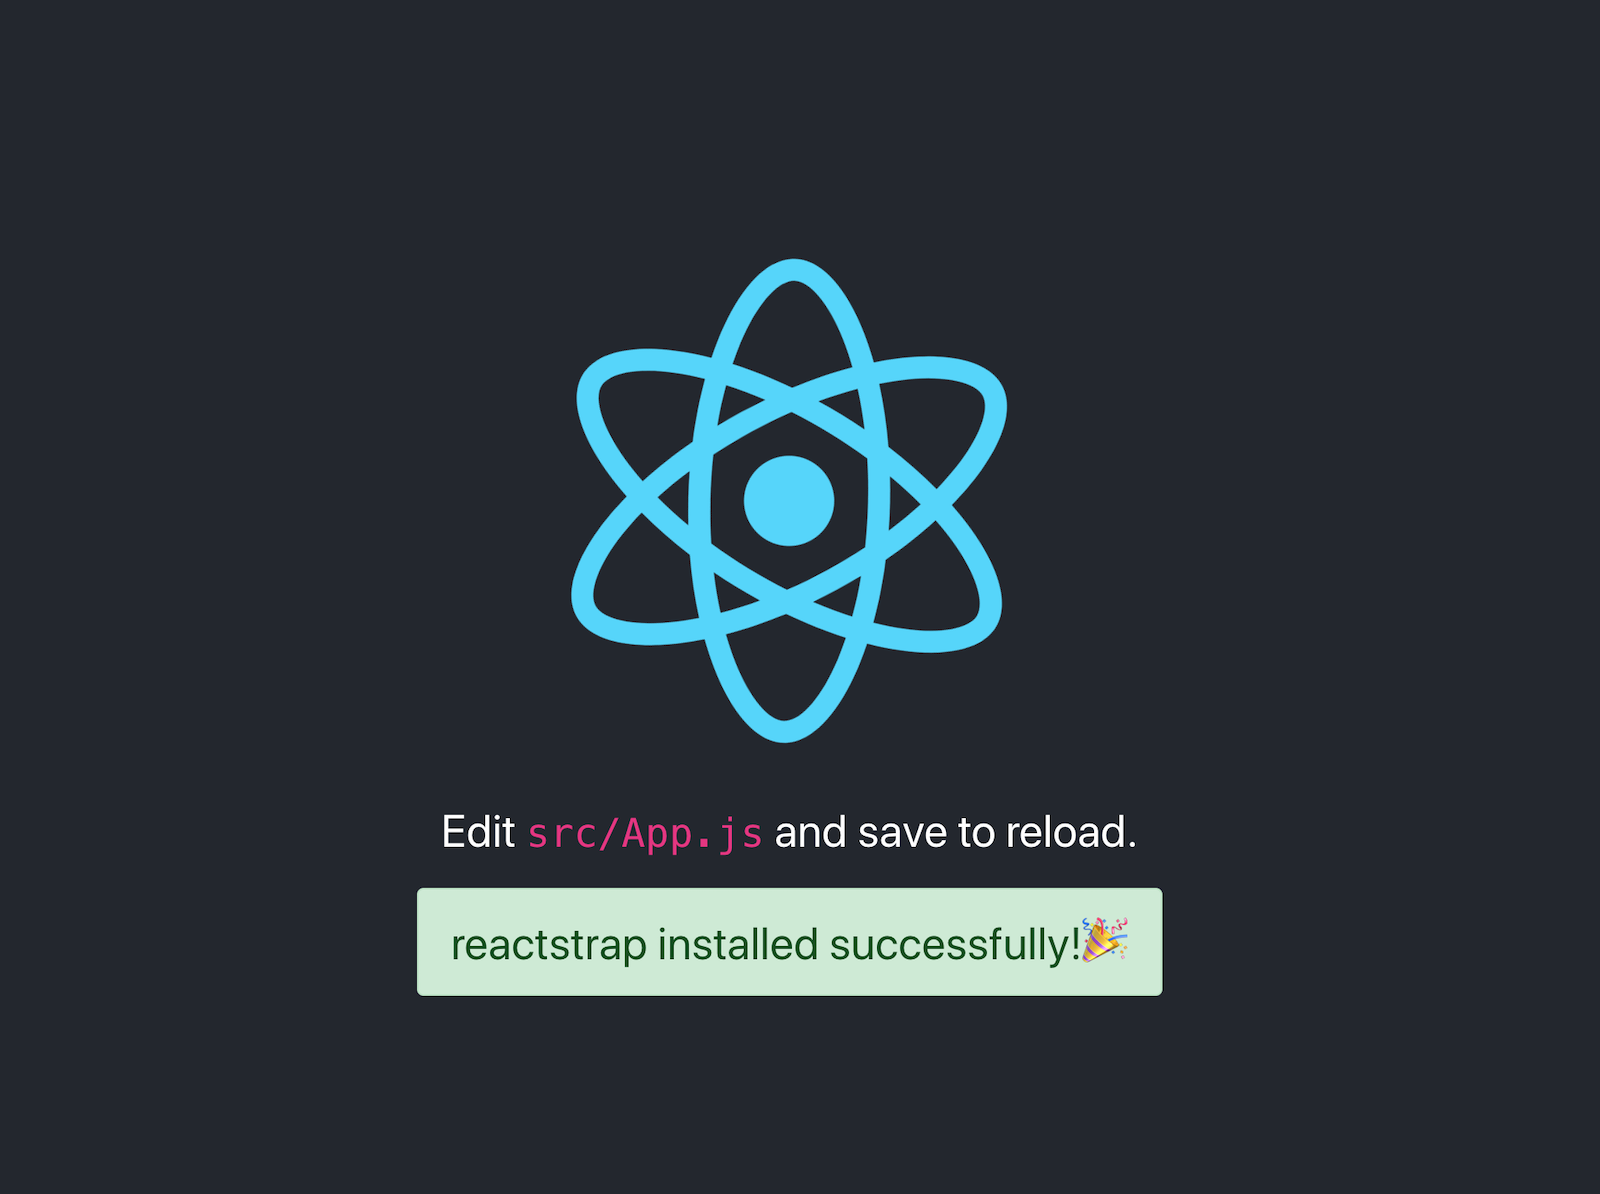
Add an App.js template and put the following Bootstrap-ified code in it.
import React, { Component } from 'react';
import logo from './logo.svg';
import './App.css';
import { Alert } from 'reactstrap';

class App extends Component {
  render() {
    return (
      <div className="App">
        <header className="App-header">
          <img src={logo} className="App-logo" alt="logo" />
          <p>
            Edit <code>src/App.js</code> and save to reload.
          </p>
          <Alert color="success">reactstrap installed successfully!
            <span role="img" aria-label="hooray">��</span>
            </Alert>
        </header>
      </div>
    );
  }
}

export default App;
Create an index.js file in the same directory to add the Bootstrap CSS import.
import React from 'react';
import ReactDOM from 'react-dom';
import './index.css';
import App from './App';
import * as serviceWorker from './serviceWorker';
import 'bootstrap/dist/css/bootstrap.min.css';

ReactDOM.render(<App />, document.getElementById('root'));

serviceWorker.unregister();
Modify the rsi() function in src/rsi/index.ts to copy these templates and overwrite existing files.
import { Rule, SchematicContext, Tree, apply, url, template, move, forEach, FileEntry, mergeWith, MergeStrategy } from '@angular-devkit/schematics';
import { addPackageJsonDependency, NodeDependency, NodeDependencyType } from 'schematics-utilities';
import { normalize } from 'path';

function addDependencies(host: Tree): Tree {
  const dependencies: NodeDependency[] = [
    { type: NodeDependencyType.Default, version: '4.3.1', name: 'bootstrap' },
    { type: NodeDependencyType.Default, version: '7.1.0', name: 'reactstrap' }
  ];
  dependencies.forEach(dependency => addPackageJsonDependency(host, dependency));
  return host;
}

export function rsi(_options: any): Rule {
  return (tree: Tree, _context: SchematicContext) => {
    addDependencies(tree);

    const movePath = normalize('./src');
    const templateSource = apply(url('./templates/src'), [
      template({..._options}),
      move(movePath),
      // fix for https://github.com/angular/angular-cli/issues/11337
      forEach((fileEntry: FileEntry) => {
        if (tree.exists(fileEntry.path)) {
          tree.overwrite(fileEntry.path, fileEntry.content);
        }
        return fileEntry;
      }),
    ]);
    const rule = mergeWith(templateSource, MergeStrategy.Overwrite);
    return rule(tree, _context);
  };
}
Test Your Reactstrap Installer Schematic
In order to add dependencies to package.json, you have to provide one in your tests. Luckily, TypeScript 2.9 added JSON imports, so you can create a testable version of package.json (as generated by Create React App) and add it to Tree before you run the test.
In the rsi/tsconfig.json file, under compiler options, add these two lines:
{
  "compilerOptions": {
    ...
    "resolveJsonModule": true,
    "esModuleInterop": true
  }
}
Create react-pkg.json in the same directory as index_spec.ts.
{
  "name": "rsi-test",
  "version": "0.1.0",
  "private": true,
  "dependencies": {
    "react": "^16.8.3",
    "react-dom": "^16.8.3",
    "react-scripts": "2.1.5"
  }
}
Now you can import this file in your test and add it to a testable tree. This allows you to verify the files are created, as well as their contents. Modify src/rsi/index_spec.ts to match the code below.
import { HostTree } from '@angular-devkit/schematics';
import { SchematicTestRunner, UnitTestTree } from '@angular-devkit/schematics/testing';
import * as path from 'path';
import packageJson from './react-pkg.json';

const collectionPath = path.join(__dirname, '../collection.json');

describe('rsi', () => {
  it('works', () => {
    const tree = new UnitTestTree(new HostTree);
    tree.create('/package.json', JSON.stringify(packageJson));

    const runner = new SchematicTestRunner('schematics', collectionPath);
    runner.runSchematic('rsi', {}, tree);

    expect(tree.files.length).toEqual(3);
    expect(tree.files.sort()).toEqual(['/package.json', '/src/App.js', '/src/index.js']);

    const mainContent = tree.readContent('/src/index.js');
    expect(mainContent).toContain(`import 'bootstrap/dist/css/bootstrap.min.css'`);
  });
});
Run npm test and rejoice when everything passes!
Verify Your React Schematic Works
You can verify your schematic works by creating a new React project with Create React App’s defaults, installing your schematic, and running it.
npx create-react-app testRun npm link /path/to/rsi to install your reactstrap installer. You might need to adjust the rsi project’s path to fit your system.
cd test
npm link ../rsi
Run schematics rsi:rsi and you should see files being updated.
UPDATE /package.json (530 bytes)
UPDATE /src/App.js (620 bytes)
UPDATE /src/index.js (294 bytes)
Run npm install followed by npm start and bask in the glory of your React app with Bootstrap installed!
Schematics With Angular
Angular CLI is based on Schematics, as are its PWA and Angular Material modules. I won’t go into Angular-specific Schematics here, you can read Use Angular Schematics to Simplify Your Life for that.
This tutorial includes information on how to add prompts, how to publish your Schematic, and it references the OktaDev Schematics project that I helped develop. This project’s continuous integration uses a test-app.sh script that creates projects with each framework’s respective CLI. For example, here’s the script that tests creating a new Create React App’s project, and installing the schematic.
elif [ "$1" == "react" ] || [ "$1" == "r" ]
then
  npx create-react-app react-app
  cd react-app
  npm install ../../oktadev*.tgz
  schematics @oktadev/schematics:add-auth --issuer=$issuer --clientId=$clientId
  CI=true npm test
This project has support for TypeScript-enabled React projects as well.
Published at DZone with permission of Matt Raible. See the original article here.
Opinions expressed by DZone contributors are their own.
Comments