

Login Flow With Google Identity Services and Firebase
Most apps have some sort of authentication. For this post, we will see how this flow works using Google’s One Tap sign-in, Firebase, and Amity.
 ·
·
Join the DZone community and get the full member experience.
Join For FreeMost apps have some sort of authentication. For this post, we will see how this flow works using Google’s One Tap sign-in, Firebase, and Amity.
The tech stack we will be using is:
- Kotlin script (KTS) for our Gradle
- Jetpack Compose for our UI
- MVVM architecture
- Hilt for dependency injection
- Amity’s Social SDK
- Google’s OneTap authentication
- Firebase authentication
The flow is as follows: first, we’ll check if Amity’s session is valid; if it is, we’ll continue to our main flow; if not, we will redirect our users to our log-in screen. There we will first try to log our users in using Google. If they’ve logged in to our app before, this will succeed, and then we can log in using Firebase. If not, we first need to sign up our users to our app and then continue with Firebase.
Configuration
Alright, let’s begin! First, to configure our project, we’ll use the official guide. Since we don’t use Groovy, the dependencies are added, as shown below.
plugins {
    ...
    id("com.google.gms.google-services") version "4.3.14"
}

dependencies {
    ...
    implementation("com.google.android.gms:play-services-auth:20.4.0")
}

apply(plugin = "com.google.gms.google-services")
*While you should use the provided libs.versions file (versions catalog), for the sake of code readability, in this post, we’ll add the versions like this.
Since we’re here, we’ll also add the Amity and Firebase dependencies that we’ll need later. Adding Firebase dependencies in the template, unfortunately, cannot be done yet via the Android Studio’s Assistant without throwing exceptions, so we’ll add those manually.
dependencies {
    ...

    // Amity
    implementation("com.github.AmityCo.Amity-Social-Cloud-SDK-Android:amity-sdk:5.33.2")
    implementation("org.jetbrains.kotlinx:kotlinx-coroutines-rx2:1.6.4")

    // Firebase
    implementation(platform("com.google.firebase:firebase-bom:31.1.1"))
    implementation("com.google.firebase:firebase-analytics-ktx")
    implementation("com.google.firebase:firebase-auth-ktx")
    implementation("com.google.android.gms:play-services-auth:20.4.0")
    implementation("com.google.firebase:firebase-firestore-ktx")
}
Our last step is to configure our Firebase console. Per the official documentation:
To use an authentication provider, you need to enable it in the Firebase console. Go to the Sign-in Method page in the Firebase Authentication section to enable Email/Password sign-in and any other identity providers you want for your app.
We’ll, of course, enable the Google sign-in. Then we’ll navigate to the project settings and add our SHA certificate fingerprint.
Now we’re ready to start adding our login code! We first create the files we’ll need: MainNavigation, MainViewModel, LoginScreen, LoginViewModel, AuthRepository.
Authentication Status Observation
Our first Composable to be called is the MainNavigation. To constantly check Amity’s session validity this is where we’ll monitor its state. Since we want our app’s state to reflect the session’s state, we will map it to a StateFlow.
StateFlow is a state-holder observable flow that emits the current and new state updates to its collectors. The current state value can also be read through its value property. In Android, StateFlow is a great fit for classes that need to maintain an observable mutable state.
We initiate and get the SessionState in the AuthRepository , then in our MainViewModel we convert our flow to a StateFlow, and finally, in our MainNavigation we observe it.
override val amitySession = flow {
        emit(AmityCoreClient.currentSessionState)
        AmityCoreClient.observeSessionState().asFlow()
}val uiState: StateFlow<MainUiState> = authRepository
.amitySession.map {
when(it) {
SessionState.NotLoggedIn,
SessionState.Establishing -> MainUiState.LoggedOut
SessionState.Established,
SessionState.TokenExpired -> MainUiState.LoggedIn
is SessionState.Terminated -> MainUiState.Banned
}
}
.catch { Error(it) }
.stateIn(viewModelScope, SharingStarted.WhileSubscribed(5000), MainUiState.Loading) LaunchedEffect(lifecycleOwner) {
viewModel.uiState.collect { state ->
when(state) {
MainUiState.Banned -> {} //TODO snackbar
is MainUiState.Error -> {} //TODO snackbar
MainUiState.Loading -> { /* no-op */ }
MainUiState.LoggedIn -> navController.navigate("main") { popUpTo(0) }
MainUiState.LoggedOut -> navController.navigate("login") { popUpTo(0) }
}
}
}LaunchedEffect(lifecycleOwner) {
viewModel.uiState.collect { state ->
when(state) {
MainUiState.Banned -> showSnackbar(scope, snackbarHostState, userBannedText)
is MainUiState.Error -> showSnackbar(scope, snackbarHostState, userErrorText)
MainUiState.Loading -> { /* no-op */ }
MainUiState.LoggedIn -> navController.navigate(Route.UsersList.route) { popUpTo(0) }
MainUiState.LoggedOut -> navController.navigate(Route.Login.route) { popUpTo(0) }
}
}
}Cool, now we can observe our users' state!
Google OneTap Sign-in
Our users now see our shiny login page, which really, for now, is just the following:
@Composable
fun LoginScreen(
    modifier: Modifier = Modifier,
    navigateToUsers: () -> Unit,
    viewModel: LoginViewModel = hiltViewModel()
) {
    Column(modifier) {
        Button(onClick = { /* TODO */ }) {
            Text(text = stringResource(R.string.login_google_bt))
        }
    }
}
Not that shiny, after all.
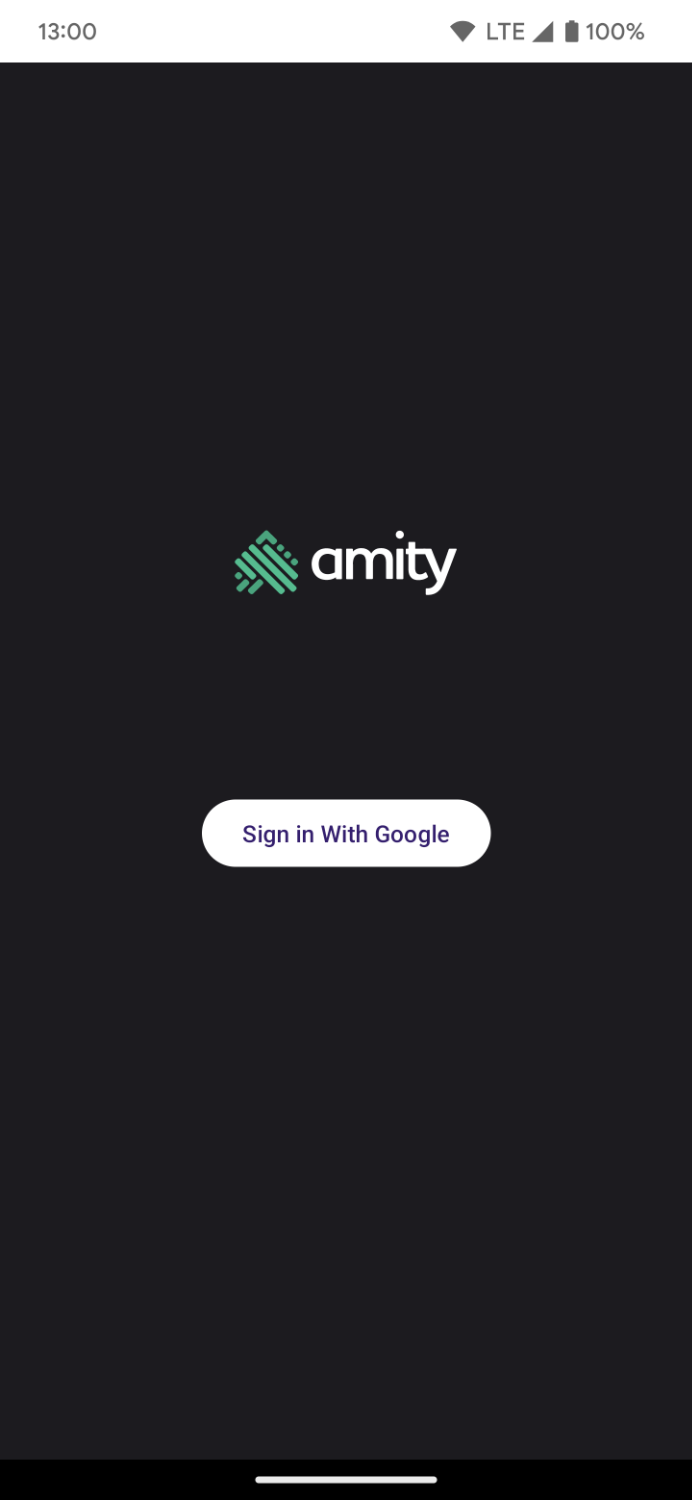
To begin, we need our sign-in call in our AuthRepository. *
* :
We’re using an interface to encapsulate our AuthRepository ‘s functions. This will be specifically useful for creating a mock AuthRepository for our tests in the future.
Our signInRequest, SignUpRequest as well as the Firebase and the Google clients are provided to our AuthRepository implementation during the dependency injection, as shown below:
@Module
@InstallIn(SingletonComponent::class)
class AuthModule {
    private val signInRequest = BeginSignInRequest.builder()
        .setGoogleIdTokenRequestOptions(
            BeginSignInRequest.GoogleIdTokenRequestOptions.builder()
                .setSupported(true)
                .setServerClientId(BuildConfig.SERVER_CLIENT_ID)
                // Only show accounts previously used to sign in.
                .setFilterByAuthorizedAccounts(true)
                .build())
        // Automatically sign in when exactly one credential is retrieved.
        .setAutoSelectEnabled(true)
        .build()

    private val signUpRequest = BeginSignInRequest.builder()
        .setGoogleIdTokenRequestOptions(
            BeginSignInRequest.GoogleIdTokenRequestOptions.builder()
                .setSupported(true)
                .setServerClientId(BuildConfig.SERVER_CLIENT_ID)
                .setFilterByAuthorizedAccounts(false)
                .build())
        .build()

    @Provides
    @Singleton
    fun provideAuthRepository(@ApplicationContext appContext: Context) : AuthRepository {
        return AuthRepositoryImp(
            Identity.getSignInClient(appContext),
            signInRequest,
            signUpRequest,
            Firebase.auth,
            Firebase.firestore
        )
    }
}
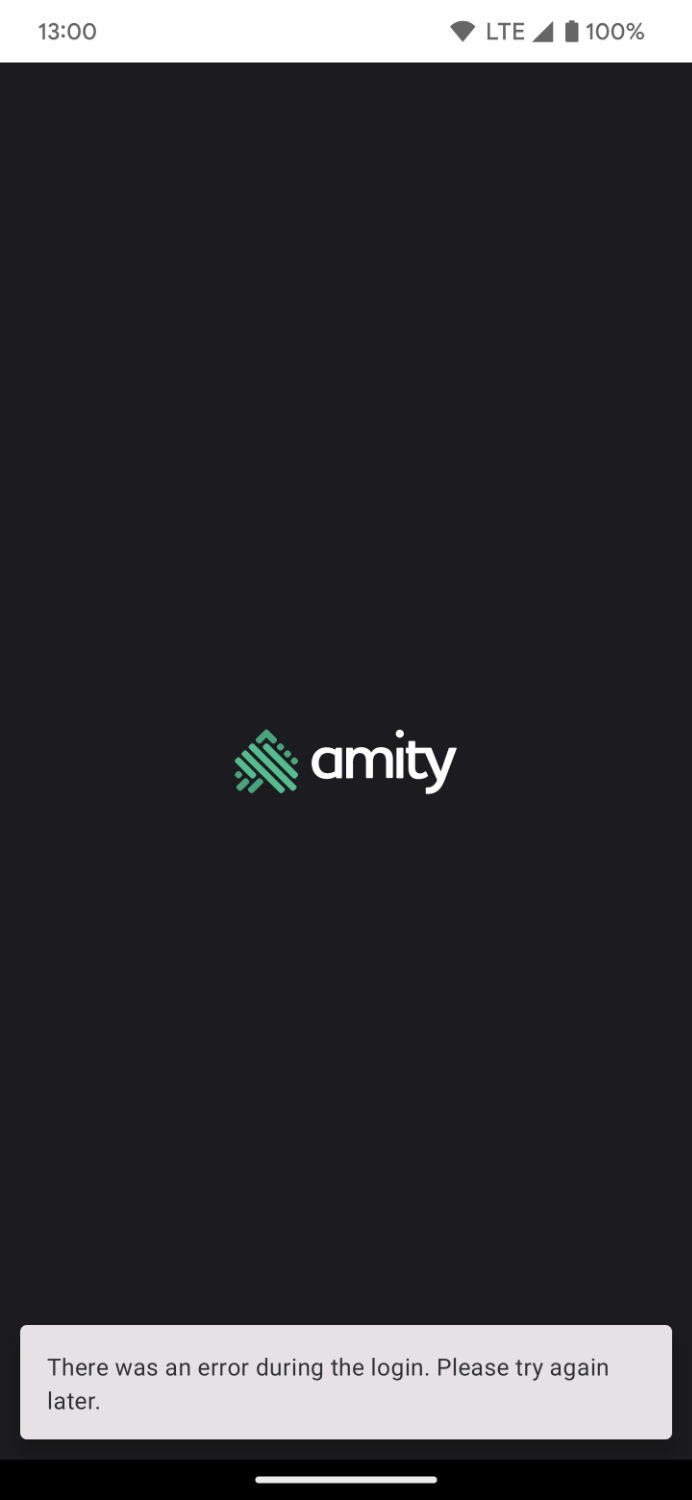
Back to our sign-in flow! As mentioned above, if it’s the first time our users trying to sign in with this account, this will throw an exception. To avoid showing false error messages to the user, when we get an exception in our sign-in method, we’ll try to sign up. If that’s successful, we move on; if not, we then handle the error.
//AuthRepositoryImpl.kt

override suspend fun signInWithGoogle(): OneTapResponse {
    return try {
        val result = oneTapClient.beginSignIn(signInRequest).await()
        ApiResponse.Success(result)
    } catch (e: Exception) {
        ApiResponse.Failure(e)
    }
}

override suspend fun signUpWithGoogle(): OneTapResponse {
    return try {
        val result = oneTapClient.beginSignIn(signUpRequest).await()
        ApiResponse.Success(result)
    } catch (e: Exception) {
        ApiResponse.Failure(e)
    }
}
//LoginViewModel

suspend fun googleSignIn(launcher: ManagedActivityResultLauncher<IntentSenderRequest, ActivityResult>) {
    when (val oneTapResponse: ApiResponse<BeginSignInResult> =
        authRepository.signInWithGoogle()) {
        is ApiResponse.Success -> {
            val result = oneTapResponse.data!!
            val intent = IntentSenderRequest.Builder(result.pendingIntent.intentSender).build()
            launcher.launch(intent)
        }
        is ApiResponse.Loading -> { /* no-op */ }
        else -> {
            // No saved credentials found. Launch the One Tap sign-up flow
            googleSignUp(launcher)
        }
    }
}

private suspend fun googleSignUp(launcher: ManagedActivityResultLauncher<IntentSenderRequest, ActivityResult>) {
    when(val oneTapResponse: ApiResponse<BeginSignInResult> = authRepository.signUpWithGoogle())  {
        is ApiResponse.Success -> {
            val result = oneTapResponse.data!!
            val intent = IntentSenderRequest.Builder(result.pendingIntent.intentSender).build()
            launcher.launch(intent)
        }
        is ApiResponse.Loading -> { /* no-op */ }
        else -> handleSignUpError()
    }
}
If we were using Views instead of Compose, we would handle the result of the intent in our onActivityForResult method. Instead, we will use the ManagedActivityResultLauncher in our LoginScreen. If our launcher comes back with a positive result, we’ll then get our user’s ID and move on with the Firebase sign-in.
@Composable
fun LoginScreen(
    modifier: Modifier = Modifier,
    viewModel: LoginViewModel = hiltViewModel()
) {

    val launcher = rememberFirebaseAuthLauncher(viewModel = viewModel)
    val scope = rememberCoroutineScope()

    Column(modifier) {
        Button(onClick = { scope.launch { viewModel.googleSignIn(launcher) } }) {
            Text(text = stringResource(R.string.login_google_bt))
        }
    }
}

@Composable
private fun rememberFirebaseAuthLauncher(viewModel: LoginViewModel): ManagedActivityResultLauncher<IntentSenderRequest, ActivityResult> {
    val scope = rememberCoroutineScope()
    val context = LocalContext.current

    return rememberLauncherForActivityResult(ActivityResultContracts.StartIntentSenderForResult()) { result ->
        result.data.let {
            try {
                scope.launch {
                    val credentials =
                        Identity.getSignInClient(context).getSignInCredentialFromIntent(result.data)
                    val googleIdToken = credentials.googleIdToken
                    val googleCredentials = getCredential(googleIdToken, null)
                    // TO-DO sign-in to Firebase
                }
            } catch (e: Exception) {
                Log.e("LOG", e.message.toString())
                // TO-DO show error to user.
            }
        }
    }
}
Firebase and Amity Sign-In
Oof, almost done!!!
Back to our AuthRepository first, we add our calls for Firebase and Amity.
override suspend fun firebaseSignInWithGoogle(googleCredential: AuthCredential): SignInToFirebaseResponse {
    return try {
        val authResult = auth.signInWithCredential(googleCredential).await()
        val isNewUser = authResult.additionalUserInfo?.isNewUser ?: false
        if (isNewUser) {
            addUserToFirestore()
        }
        ApiResponse.Success(true)
    } catch (e: Exception) {
        ApiResponse.Failure(e)
    }
}

override suspend fun amityLogIn() = login(userId = currentUserId)
    .build()
    .submit()
    .toSuspend()
If the user is new, we’ll also add it to Firestore as it’s needed for our chat app, but this is not mandatory. Then in our LoginViewModel, we call our suspend functions:
fun firebaseSignIn(authCredential: AuthCredential) {
    viewModelScope.launch {
        authRepository.firebaseSignInWithGoogle(authCredential)
            .also { authRepository.amityLogIn() }
    }
}
and replace our TO-DO with this call in our launcher.
Navigating Away Our Login

…or else observing our sign-in process state. Our last step, I promise!
We’ll start from our AuthRepository again and add our final call.
override val isSignedIn = callbackFlow {
    val authStateListener = FirebaseAuth.AuthStateListener { auth ->
        trySend(auth.currentUser != null)
    }
    auth.addAuthStateListener(authStateListener)
    awaitClose {
        auth.removeAuthStateListener(authStateListener)
    }
}
Since this is a callback, it means that every time the auth.currentUser value changes, we will get notified. Then in our LoginViewModel we map it to a UI state and, of course, observe it to our LoginScreen.
// LoginViewModel
val uiState: StateFlow<LoginUiState> = authRepository
    .isSignedIn.map {if (it) LoginUiState.Authorized else LoginUiState.Unauthorized()}
    .catch { LoginUiState.Unauthorized(it) }
.stateIn(viewModelScope, SharingStarted.WhileSubscribed(5000), LoginUiState.Loading)// LoginScreen
val authStatus by produceState<LoginUiState>(
initialValue = LoginUiState.Unauthorized(),
key1 = lifecycle,
key2 = viewModel.uiState
) {
lifecycle.repeatOnLifecycle(state = Lifecycle.State.STARTED) {
viewModel.uiState.collect { value = it }
}
}Access the full code for this tutorial here.
Published at DZone with permission of Eliza Camber. See the original article here.
Opinions expressed by DZone contributors are their own.
Comments