Guide To Setting up a Node.js Monorepo With Lerna
Learn the fundamental steps of building a monorepo using microservices. Create shared microservices and configure and integrate them using Lerna, Node.js, and JavaScript.
Join the DZone community and get the full member experience.
Join For FreeWhat Is Monorepo?
A monorepo is a single repository with multiple related services, projects, and components, which different teams can use to store code for related or unrelated projects. The term monorepo comes from mono, meaning single, and repo is short for the repository.
Benefits of Monorepo
Here are some key benefits of using monorepo:
- Code sharing: The projects share standard code, libraries, or utilities.
- Reusability: The components need to be reused across different projects.
- Easier code review: Code reviews are more efficient in monorepo since reviewers can easily see the context of changes across related projects, which can improve code quality and catch potential issues earlier.
- Simplify CI/CD processes: Releasing multiple projects simultaneously becomes more straightforward with a mono repo.
- Consistent dependency management: The projects share similar or overlapping dependencies, and you want to manage dependencies centrally.
- Team collaboration: Teams working on related projects can collaborate more effectively within a monorepo, sharing knowledge, insights, and resources.
- Microservices architecture: When dealing with a suite of closely related microservices, a monorepo can simplify code sharing, dependency management, and testing across services.
- Version consistency: When all projects can share a standard versioning schema, simplifying communication and understanding.
Libraries and Tools Specifically Designed To Manage Monorepos Using Node.js
- Lerna: A widely used tool for managing JavaScript projects with multiple packages.
- Nx: Focused on Angular but adaptable to other frameworks, Nx offers powerful development tools for monorepos, emphasizing efficient workflows, code reuse, and testing.
- Yarn Workspaces: Yarn's built-in monorepo feature allows managing multiple packages in a single codebase.
- Rush: A scalable monorepo manager developed by Microsoft, suitable for large codebases.
- Bolt: A monorepo management tool that focuses on performance and can be faster for certain operations than Lerna.
- Monorepo Manager: This tool simplifies the creation and maintenance of monorepos, offering a user-friendly interface for managing packages, dependencies, and scripts.
- pnpm: Like Yarn, pnpm also supports monorepo setups through its workspace feature, reducing duplication and improving disk space utilization with shared dependencies.
Each tool provides specific benefits and features, so the choice depends on your project's requirements and preferences.
Why Lerna?
Lerna is a tool designed for managing repositories that contain multiple npm packages. It simplifies handling dependencies, releases, and publishing packages within multi-package repositories housed in a single git repository. Lerna is specifically useful for monorepo, as it enables efficient code sharing and collaboration among developers working on different npm packages within the same repository. It allows developers to treat projects with multiple packages as a single entity, thereby improving the development lifecycle management.
Prerequisite Before Installing Lerna
- Git: Download and install Git
- Git Bash (Terminal): If you're using Windows, Git Bash is included with the Git installation; for macOS and Linux, use your system's terminal.
- Node.js: Download and install Node.js
- npm: npm is included with Node.js, so once Node.js is installed, npm is available in your terminal. Verify by opening your terminal and typing.
npm -v.
We're creating a monorepo that includes a payment service utilized by the backend server. Furthermore, the backend server and the payment service will share a logging service.
- Logging Service: Designed for efficient logging across various services.
- Payment Service: Responsible for handling payment-related functionalities.
- Backend Server: Executes payment processing and integrates logging service for seamless operations.

Let's now dive into implementing the Monorepo using Lerna.
Step 1: Make a Directory and Initialize Lerna
Navigate to your project's root directory and initialize Lerna:
mkdir monorepo # create a repo directory of the monorepo
cd monorepo
npx lerna@latest init # initalize the repo
The above npx command will create a new Lerna-managed repository.lerna.json : Configuration file contains settings for Lerna's behavior, such as versioning mode, package location, etc
package.json: The root package.json file for the entire repository.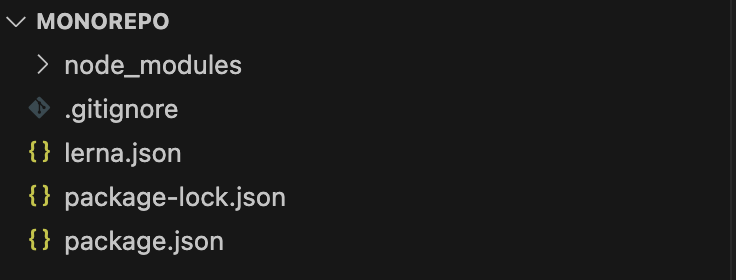
git config user.name ${username}
git config user.email ${email}
Step 2: Generate Back-End Package
Make sure you are on the root folder of the project.
Lerna command for creating package: npx lerna create #{packageName} #{directory}
Here, the directory is by default: packages
npx lerna create back-end
//or
//this will skip the questionnaire related to package
npx lerna create back-end -y
The above command, without -y will prompt you with various questions, such as overwriting the package name, adding a description, and more. However, these details are not crucial for this example, so press "Enter" for each.
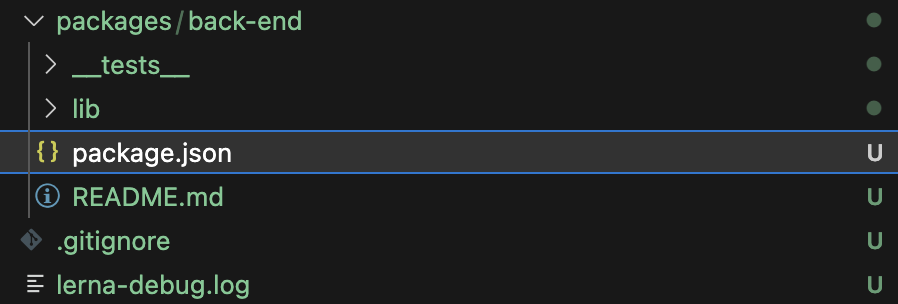
After running, the package back-end will look like the below:
Step 3: Generate Packages for Payment and Logging Services
Follow the same procedure again, but specify the directory of the service you want to create since we want the package to be located in the "services/" directory.
In the root package.json file, you must also inform Lerna about the packages in the services/ directory. Edit the package.json workspace configuration and add "services/*" to it. The configuration should resemble the following:
In the main package.json file at the root level, and you must inform Lerna about the packages within the services/ directory. Modify the workspace configuration package.json and include "services/*". The configuration should appear like this:
npx lerna create payment services -y
npx lerna create logging services -y
Step 4: Set Up Logging Service
Within the services/logging directory, set up the logging service using the Bunyan library with a simple configuration.
- Install the Buyan library within the logging service and Mocha as dev dependency in the root directory for testing all the services.
// root folder install test dependencies
npm install mocha --save-dev

//inside logging
cd services/logging
npm install bunyan
- Replace the content of the logging functionality file
services/logging/lib/logging.js
const bunyan = require('bunyan');

const logger = bunyan.createLogger({
  name: 'my-logging-service',
  level: 'info',
});

module.exports = logger;- Test cases for logging (testing logger):
- Replace the content of the test file
services/logging/__tests__/logging.test.js
const loggingService = require('../lib/logging'); // Import the logging service

describe('Logging Service', () => {
  it('should log messages', () => {
    loggingService.info('Test log message');
  });
});
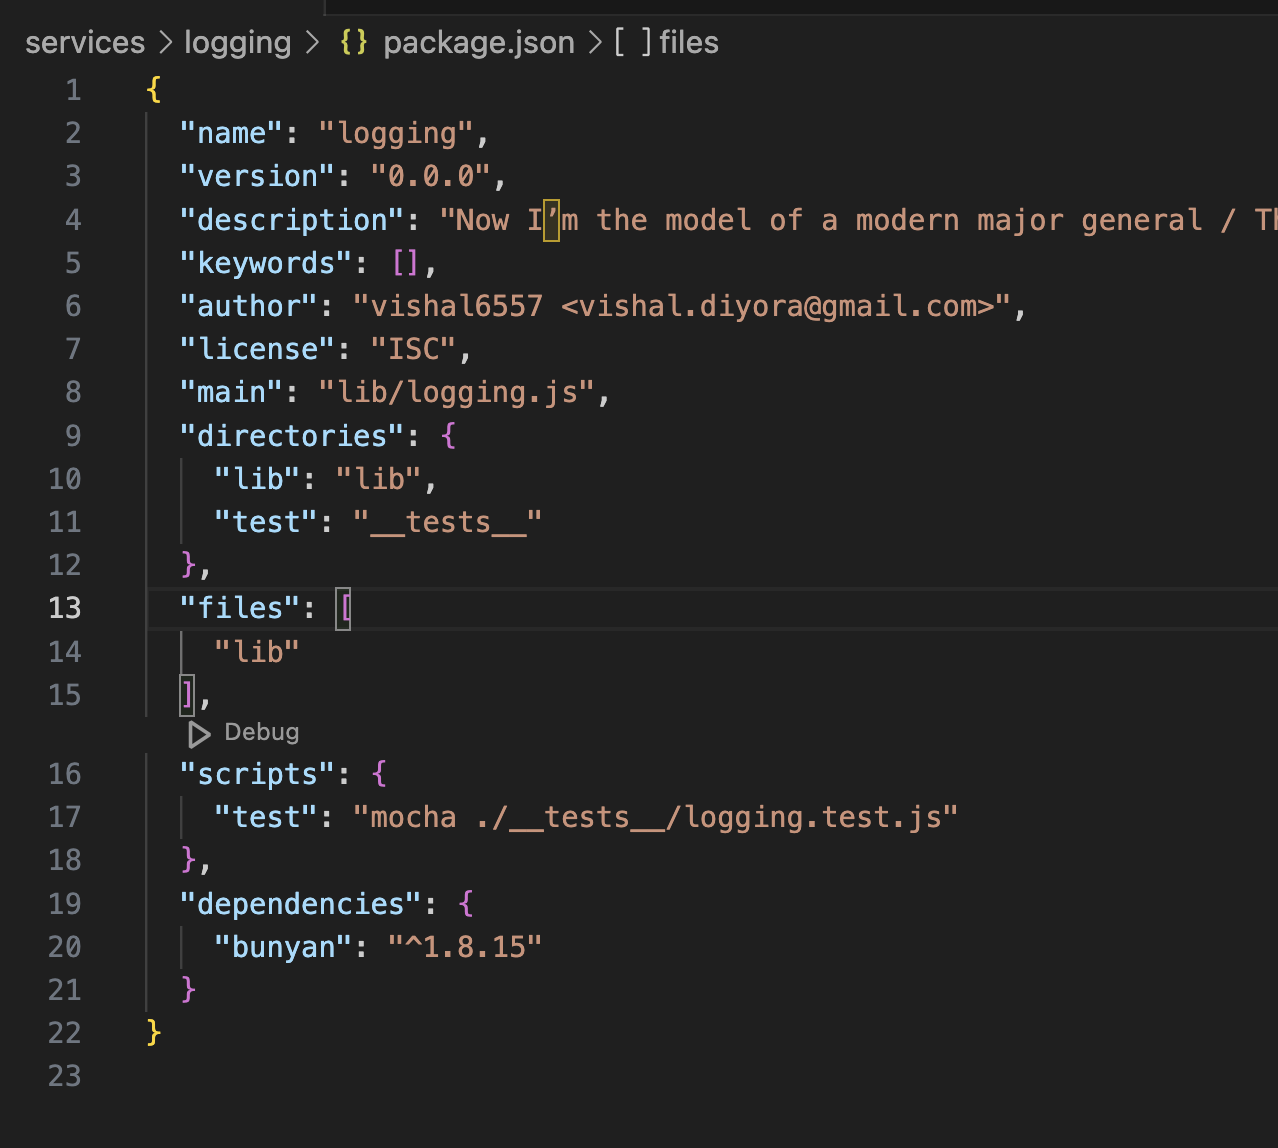
- Update the test script in package.json of services/logging.
"test": "mocha ./__tests__/logging.test.js"- package.json should look as the image attached.
![package.json]()
- It's time to run the test using lerna
npx lerna run test --scope="logging"

- With the logging service implementation now in place, let's develop the payment service.
Step 5: Set Up Payment Service
The Payment Service features a function called makePayment, which accepts a single argument as amount and utilizes the logger service to log the activity.
Within the services/payment directory, and set up the payment service with a simple function.
- Replace the existing scripts with mocha, the provided code snippet for testing purposes.
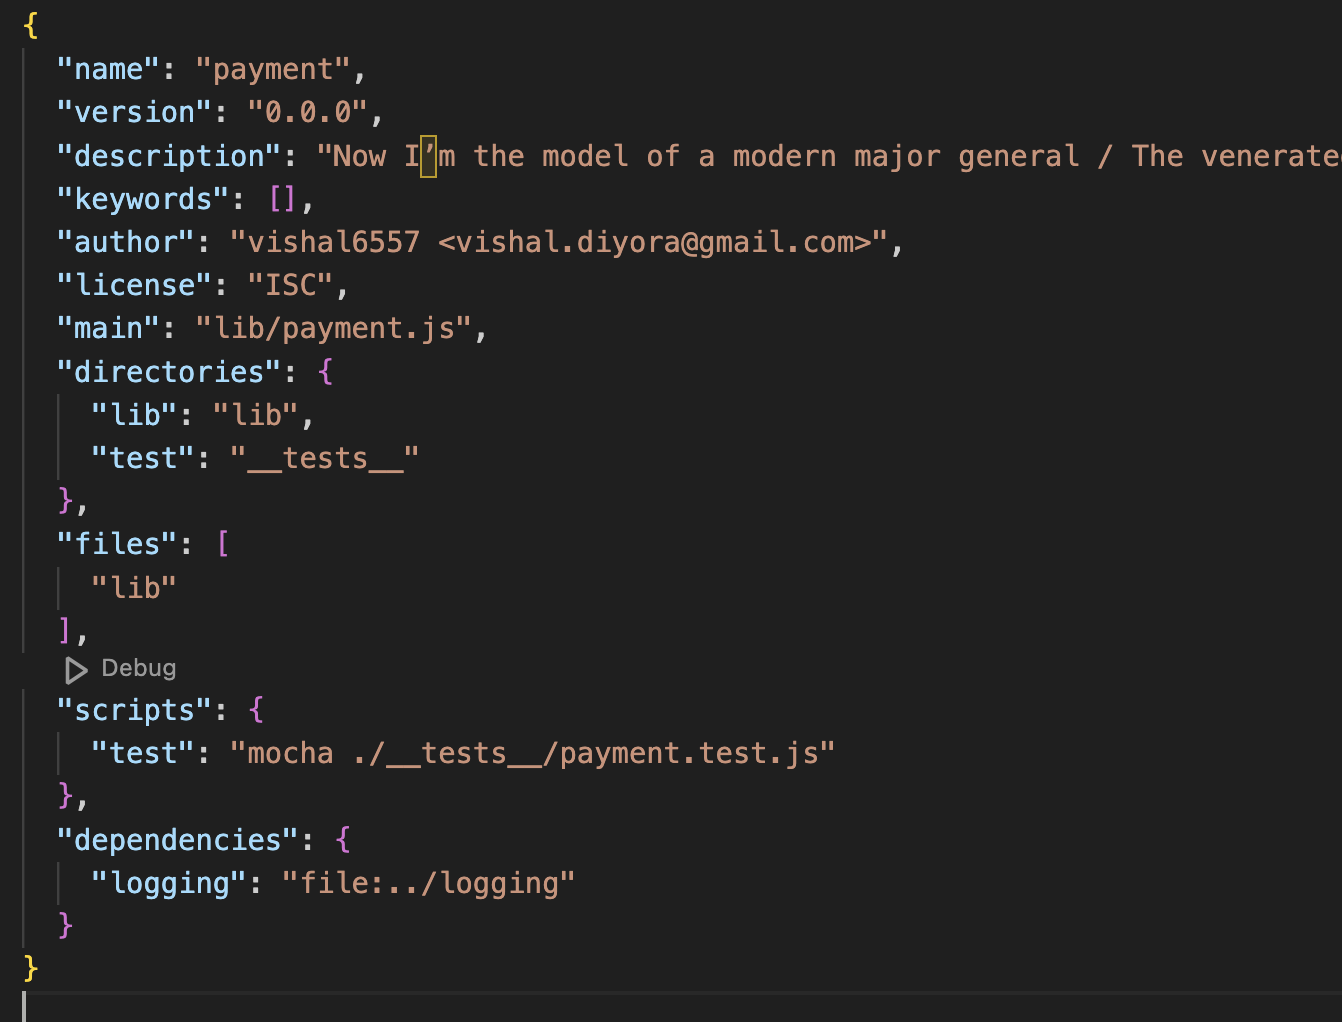
- To use the logging service in the payment service, add its dependency to the payment service's package.json, as mentioned below. Then, run
npm iin theservices/paymentdirectory to install it.
"scripts": {
    "test": "mocha ./__tests__/payment.test.js"
  },
  "dependencies": {
    "logging": "file:../logging"
}package.jsonshould look as the image attached![]()
-
Replace the content of the payment file. services/payment/lib/payment.js
const loggingService = require('logging');

const paymentService = {
  makePayment: (amount) => {
    loggingService.info('Payment processing initiated');
    // Implement payment logic here
    loggingService.info('Payment processed successfully');
    return `Payment of ${amount} processed successfully`;
  },
};

module.exports = paymentService;- Test cases for
makePaymentthe function of payment service. - Replace the content of the test file
services/payment/__tests__/payment.test.js
const chai = require('chai');
const paymentService = require('../lib/payment'); // Import the payment service

const expect = chai.expect;

describe('Payment Service', () => {
  it('should make a payment successfully', () => {
    const paymentResult = paymentService.makePayment(100);
    expect(paymentResult).to.equal('Payment of 100 processed successfully');
  });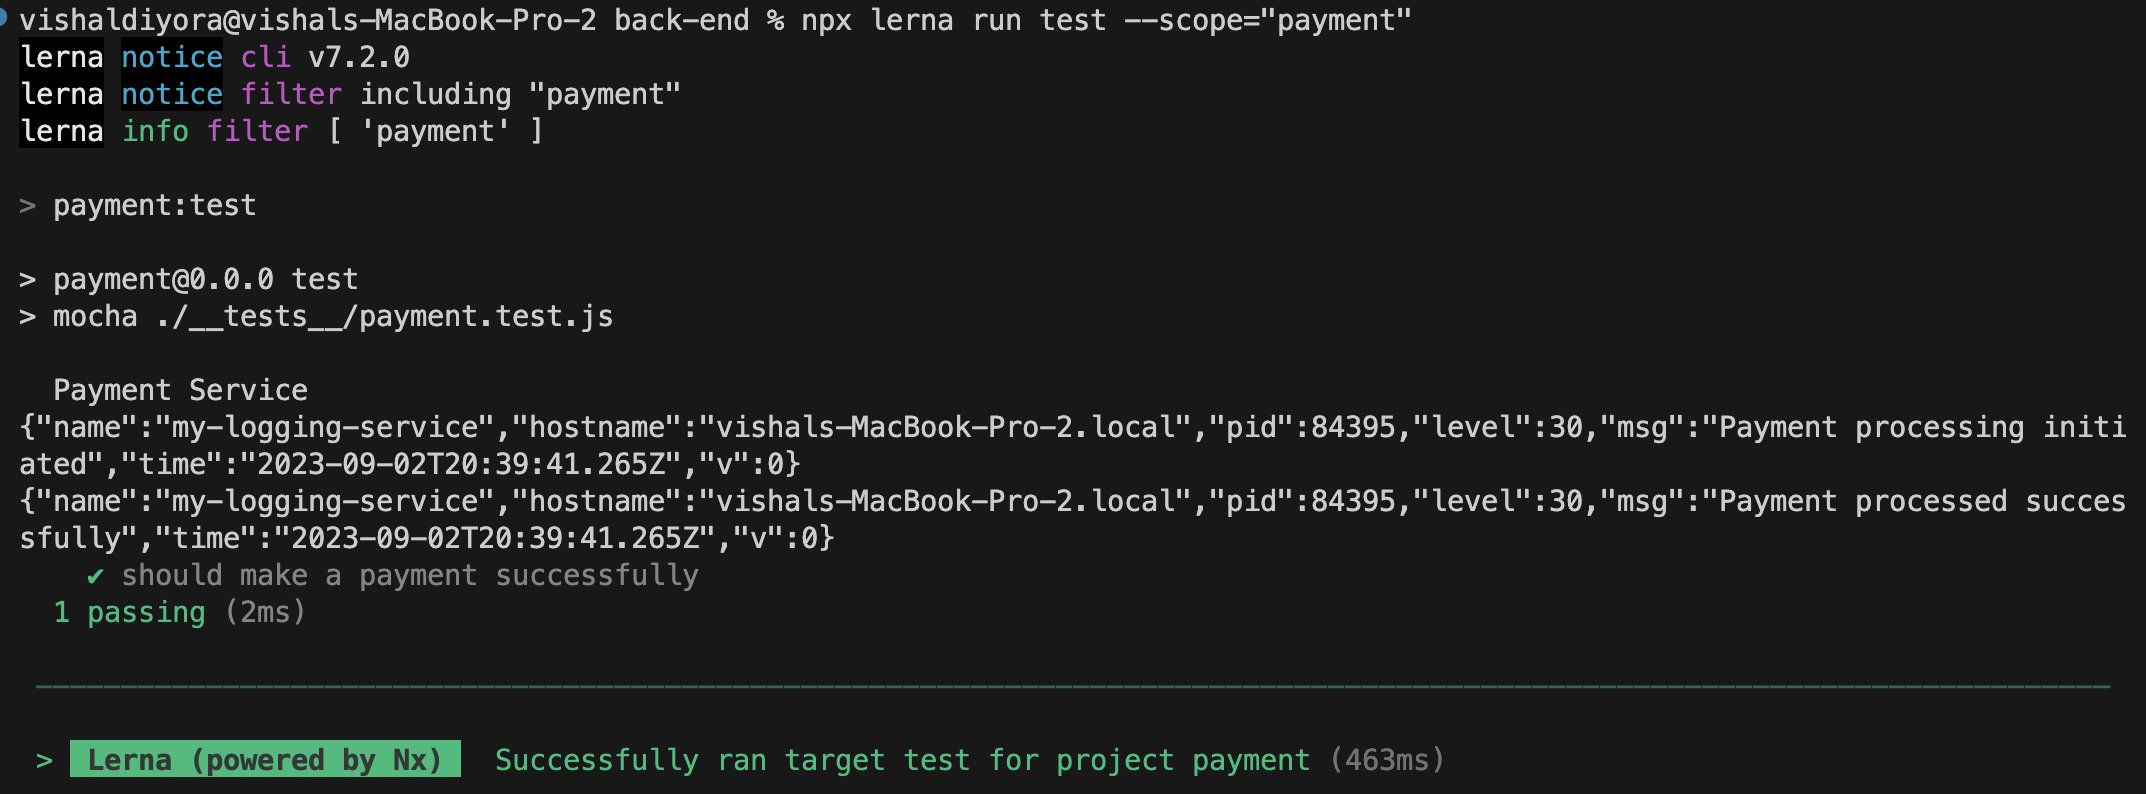
});- It's time to run the test using lerna
npx lerna run test --scope="payment"![run the test using lerna]()
- We have completed the implementation of the payment services. Now, let's move on to creating the back-end service.
Step 4: Set Up Backend Server
We will configure a server with a basic GET API that leverages both the logger and payment services. This setup will facilitate making payments and logging the corresponding activities.
- Install an Express server and implement functionality to use both services.
//from root
cd packages/back-end
npm install express- Replace the content of the logging functionality file
packages/back-end/lib/back-end.js - We want to use payment and logging service in the server, so let's add the following snippet in dependencies in
package.jsonofpackages/back-end
"logging": "file:../services/logging",
"payment": "file:../services/payment"
- Replace the scripts block to run the server and test as below:
"scripts": {
    "start": "node ./lib/back-end.js",
    "test": "mocha ./__tests__/back-end.test.js --exit"
}package.jsonshould look as the image attached

- Now, update the dependencies by executing
npm update. - Replace the content of
packages/back-end/lib/back-end.jswith the following code:- We will create a server with
get / APIon port3000and uses both logging and payment services.
- We will create a server with
const express = require('express');
const loggingService = require('logging');
const paymentService = require('payment');

const app = express();

app.get('/', (req, res) => {
  // Use of logging service
  loggingService.info('Backend server received a request');

  // Use the payment service
  const paymentResult = paymentService.makePayment(100);
  loggingService.info('Payment result:', paymentResult);

  res.send('Backend Server: Running!');
});

app.listen(3000, () => {
  console.log('Backend server is running on port 3000');
});- Install
chai-httpto unit-test the API on thepackages/back-enddirectory.-
npm i chai-http --save-dev
-
- Replace the content of the test file where we will test the API if it is working as expected.
const chai = require('chai');
const chaiHttp = require('chai-http');
const app = require('../lib/back-end'); // Import the Express app

// using request server as chaiHttp;
chai.use(chaiHttp);
const expect = chai.expect;

describe('Backend Server', () => {
  it('should log a request and process payment', (done) => {
    chai.request(app)
      .get('/')
      .end((err, res) => {
        expect(res).to.have.status(200);
        expect(res.text).to.equal('Backend Server: Running!');
        done();
      });
  });
});
- Congratulations! This concludes the concise and effective implementation of the three microservices within the monorepo.
Step 5: Running the App
- Great! Now, let's begin the server and observe how all the services come together and works.
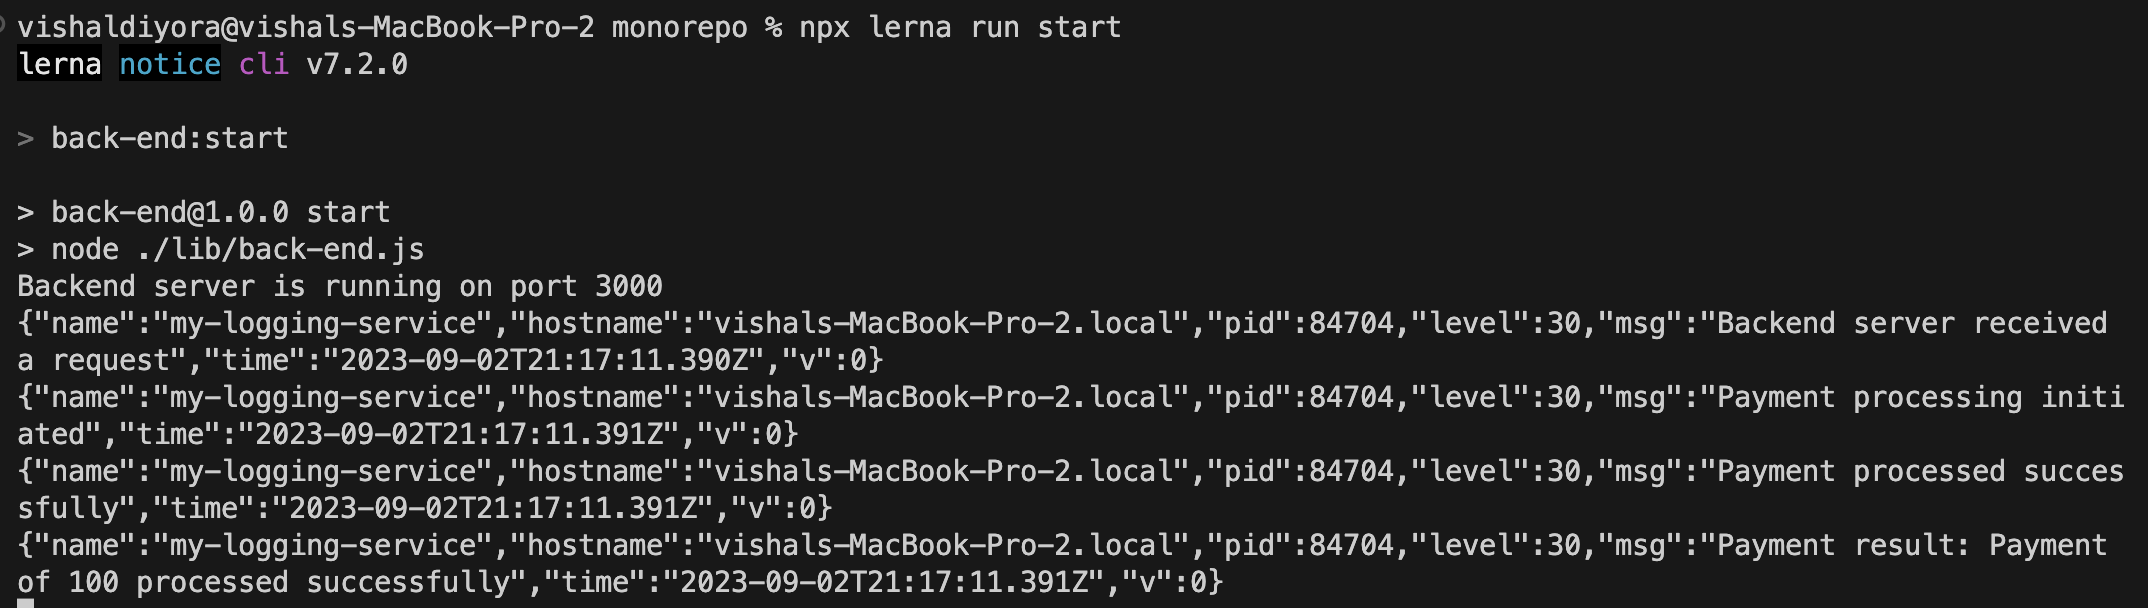
- Execute
lerna run startin the root folder. This will initiate the server on port 3000. Open your browser and navigate tolocalhost:3000/. You'll observe the output "Backend Server: Running!" displayed in the browser. - Inspect the logs in the terminal, and you'll encounter a result similar to what's illustrated in the image.
- Execute
lerna run test, this will run all tests in all microservices as all the microservices hastestcommand in the scripts.

Conclusion
Creating a monorepo with a backend server, payment service, and logging service highlights the benefits of a unified development approach. This setup facilitates efficient code management and sharing by consolidating related components in a single repository.
Integrating the logging service into both the payment service and backend server exemplifies the power of code reusability and consistent logging practices across services.
Adopting a monorepo architecture leads to an organized and collaborative development environment. Modularity streamlines development, improving efficiency and long-term maintenance. It provides a sturdy foundation for complex applications featuring transparent communication, code reusability, and effective testing.
Opinions expressed by DZone contributors are their own.
Comments