

Mule 4 HTTP Connector — Listener Configuration Explained
We will set up an HTTP connector and will work with the listener configurations to build a simple HTTP service to return a static message as the response.
Join the DZone community and get the full member experience.
Join For FreeIn this article, we will set up an HTTP connector and will work with the listener configurations to build a simple HTTP service to return a static message as the response. The Anypoint studio version used will be version 7.6 and the mule run time version will be 4.3 for this demonstration and better to use the same version of Anypoint studio and mule run time if in case you are planning to try out to build the project.
Setting up a simple HTTP service:
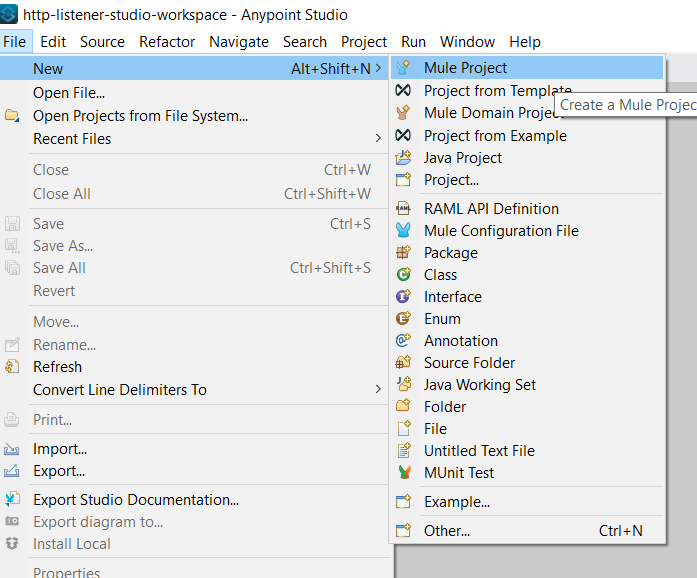
launch the Anypoint studio application and create a new mule project by traversing the below path
File -> New -> Mule project
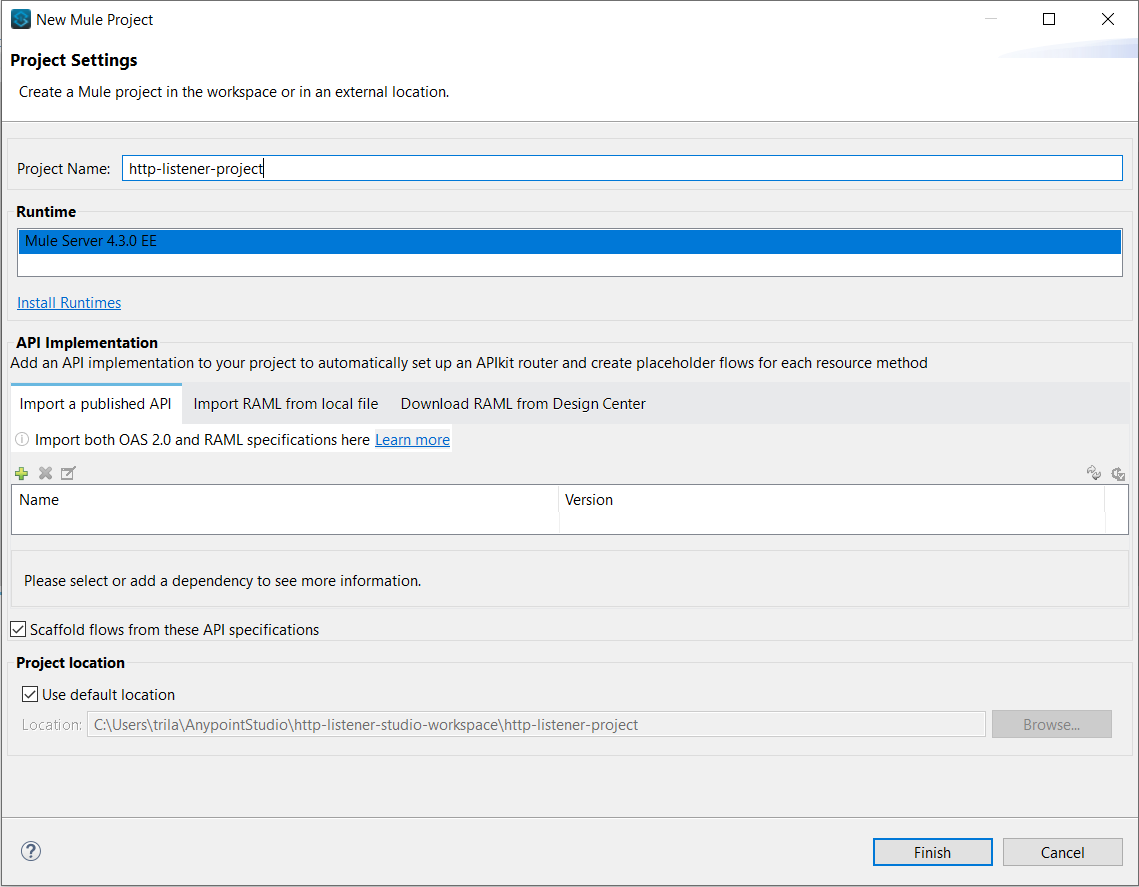
Enter the project name as "HTTP-listener-project" and select the run time version of the mule as 4.3 (Please note, in my current setup I have only the run time version 4.3 installed. If in case multiple run time versions are installed please make sure to select version 4.3). Please click the finish button to continue.
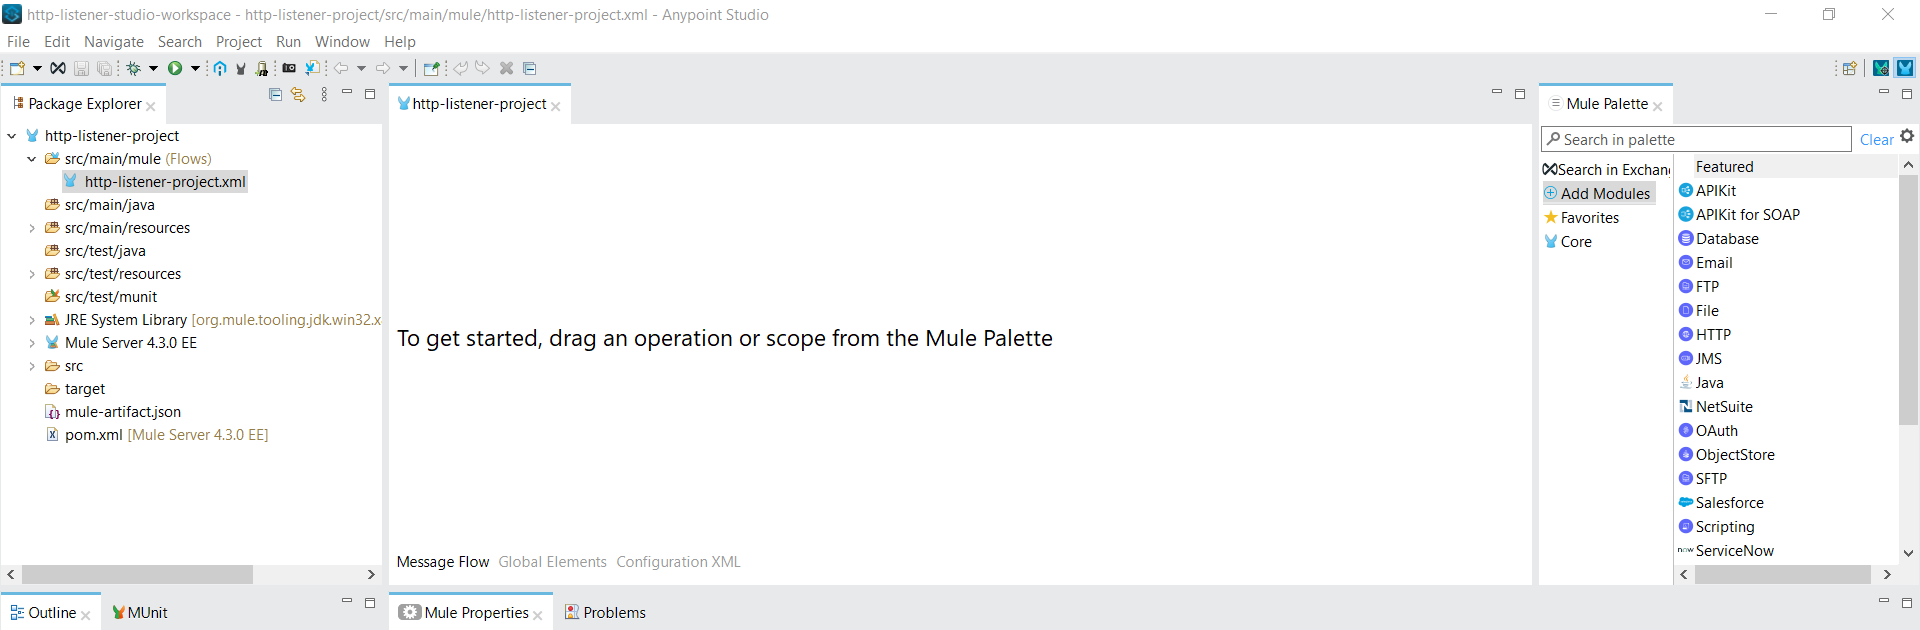
The new project is created and from the Mule palette on the right side, use the "add module" option to add the HTTP connector to the palette by dragging the HTTP connector.

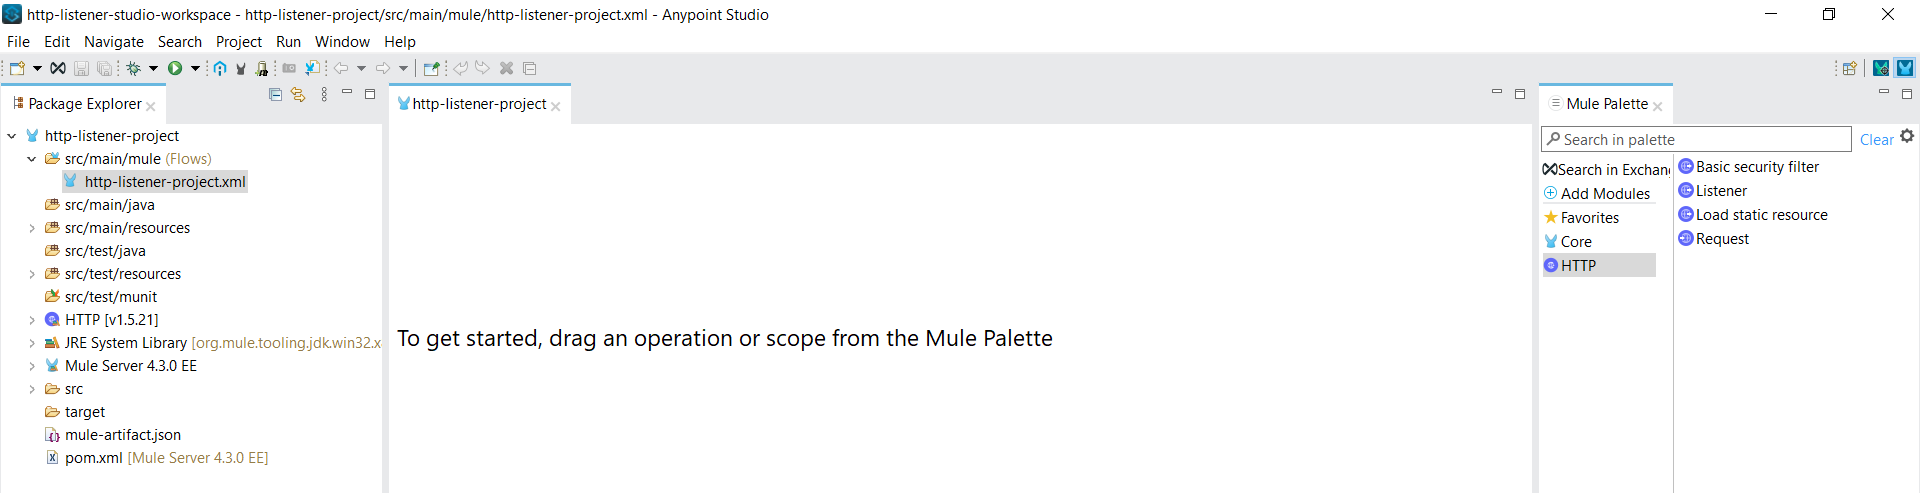
When the HTTP connector in the Mule palette is clicked, the four components of the HTTP connector is displayed
- Basic Security Filter
- Listener
- Load Static resource
- Request
In this demonstration, the configuration setup of the Listener component will be explained so drag the listener component to the canvas
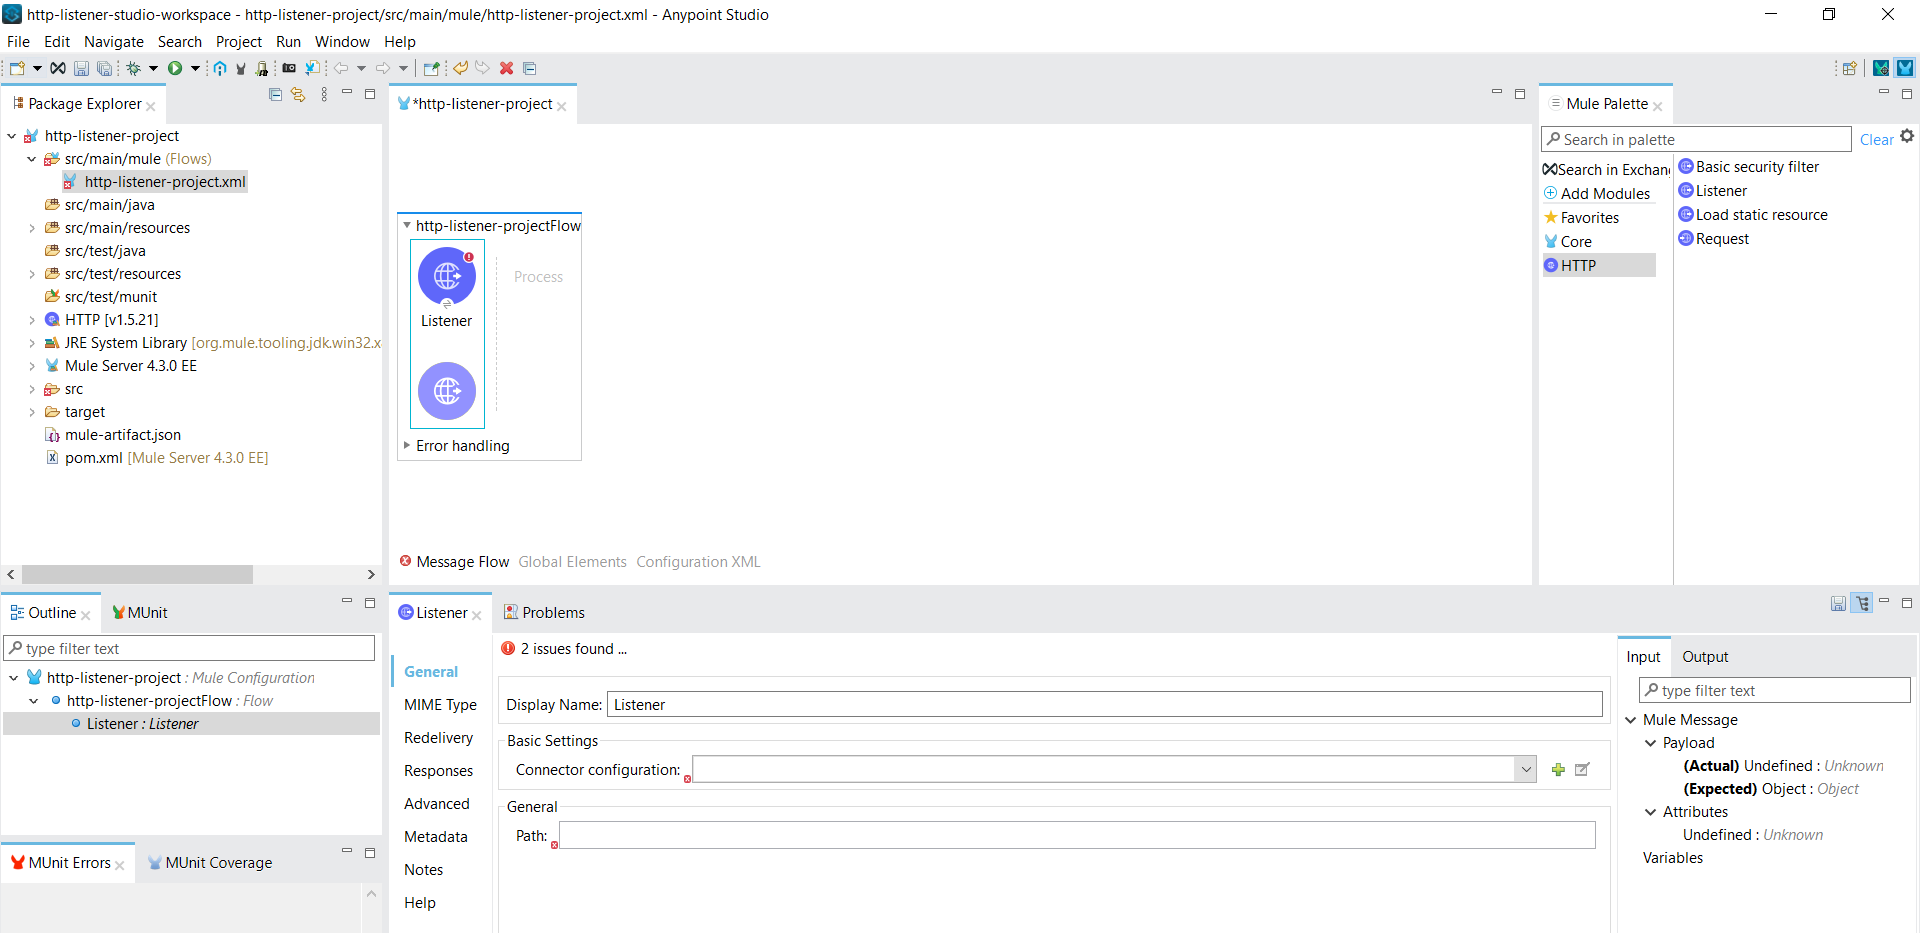
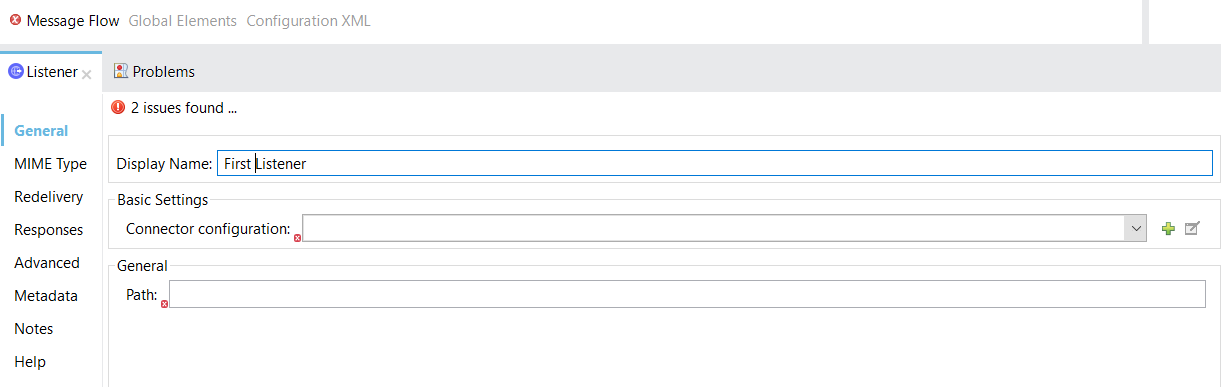
First, let us change the display name of the listener component from the default name of "Listener" to "First Listener" and also set up the "Connector Configuration" under the General -> Basic Settings by clicking the "+" symbol
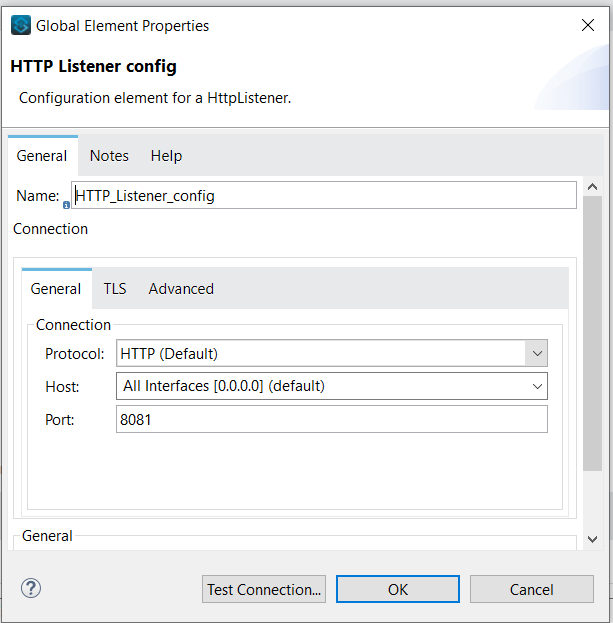
Now let's change the name of the connector configuration from the default name of "HTTP_Listener_config" to "First_HTTP_Listener_config" and also change the configuration for "Host" as "Localhost" from the default value "All Interfaces [0.0.0.0] (default)". Let us use the default port of "8081".
Note: We will discuss in detail the difference between using the host as "Localhost" and "All Interfaces [0.0.0.0] (default)" in another post. Also, any available port can be used and not necessarily requires port "8081" to be used.
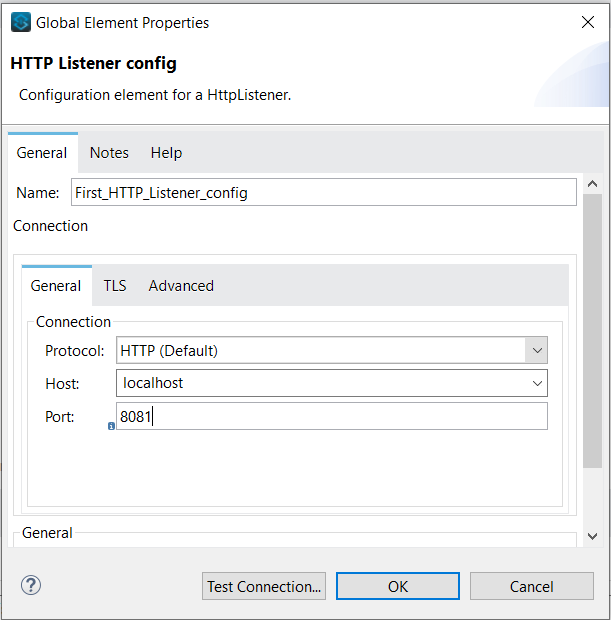
Before clicking the "Ok" button use the "Test Connection" button to check if the configuration works fine. If the port is available for connection and all the other configurations are working fine we will receive a success response as below.
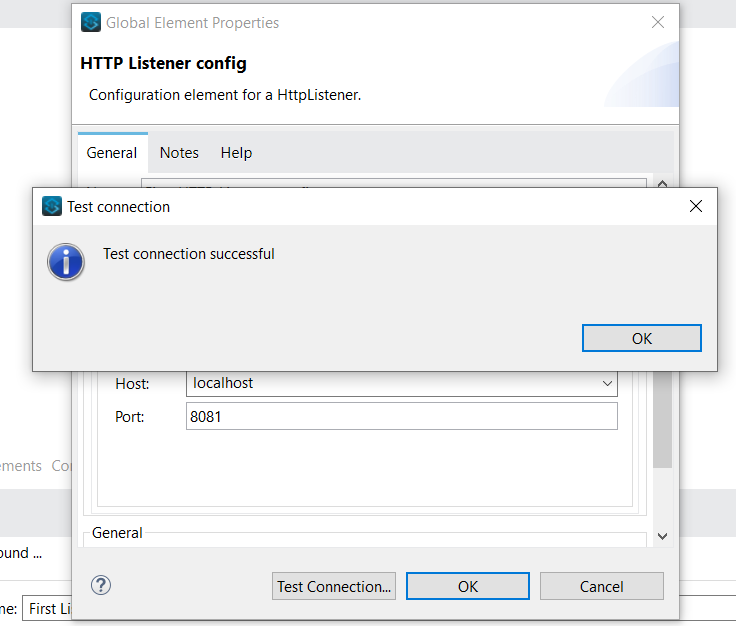
If in case the port is being used by any other application then we will receive an error message as below and the same can be rectified by using a different port number or by stopping the application which is using the port "8081". For simplicity, we will go for a new port in this example as port "8082"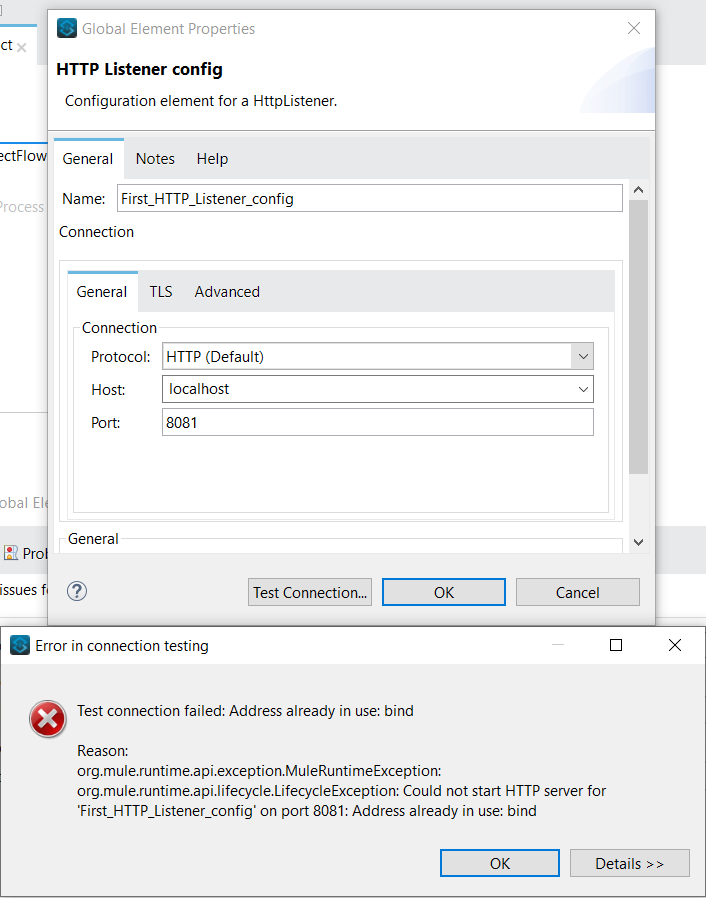
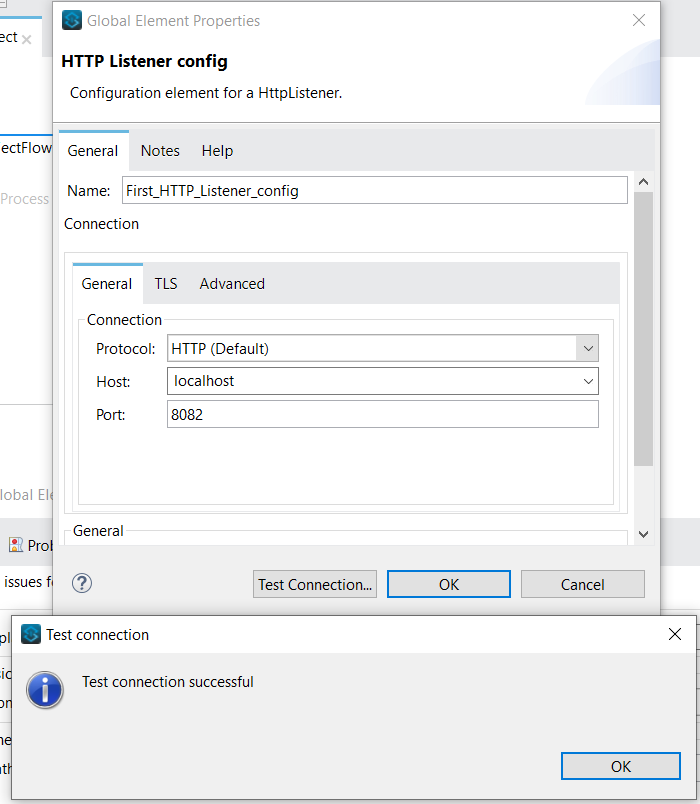
Note: To illustrate the error message another application was build to use port "8081" and changed to "8082". We will continue to use 8081 for our demonstration
Next, let us define the "path" parameter as "/test"
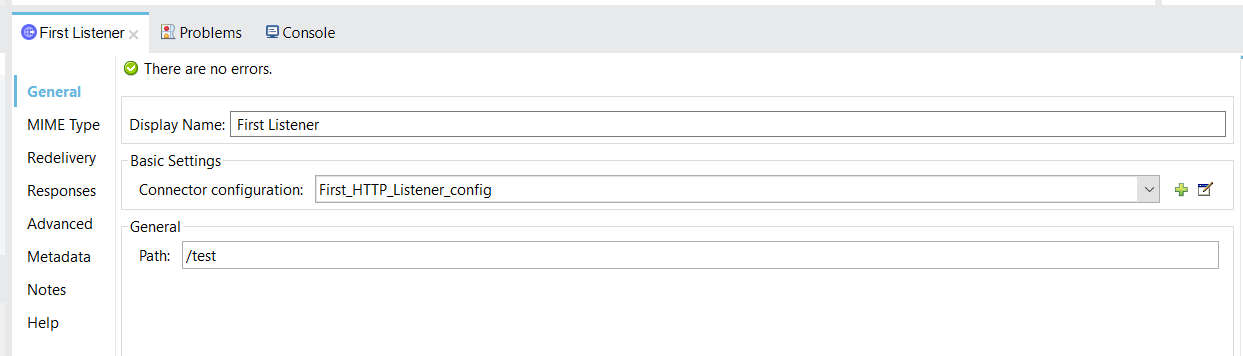
Note: If we need to allow specific HTTP methods, you can navigate to the "Advanced" option and provide the HTTP methods which should be allowed. If no value is provided, then all HTTP methods are allowed for use. In our example let us leave as blank to accept any HTTP method
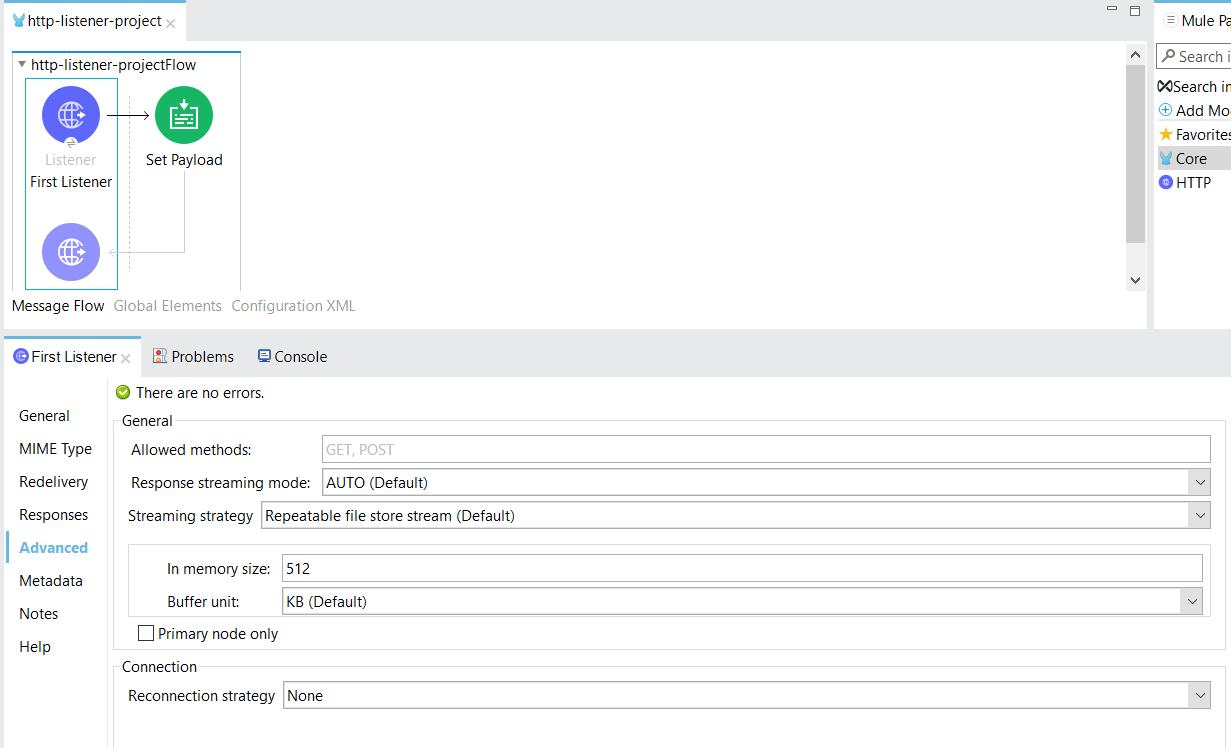
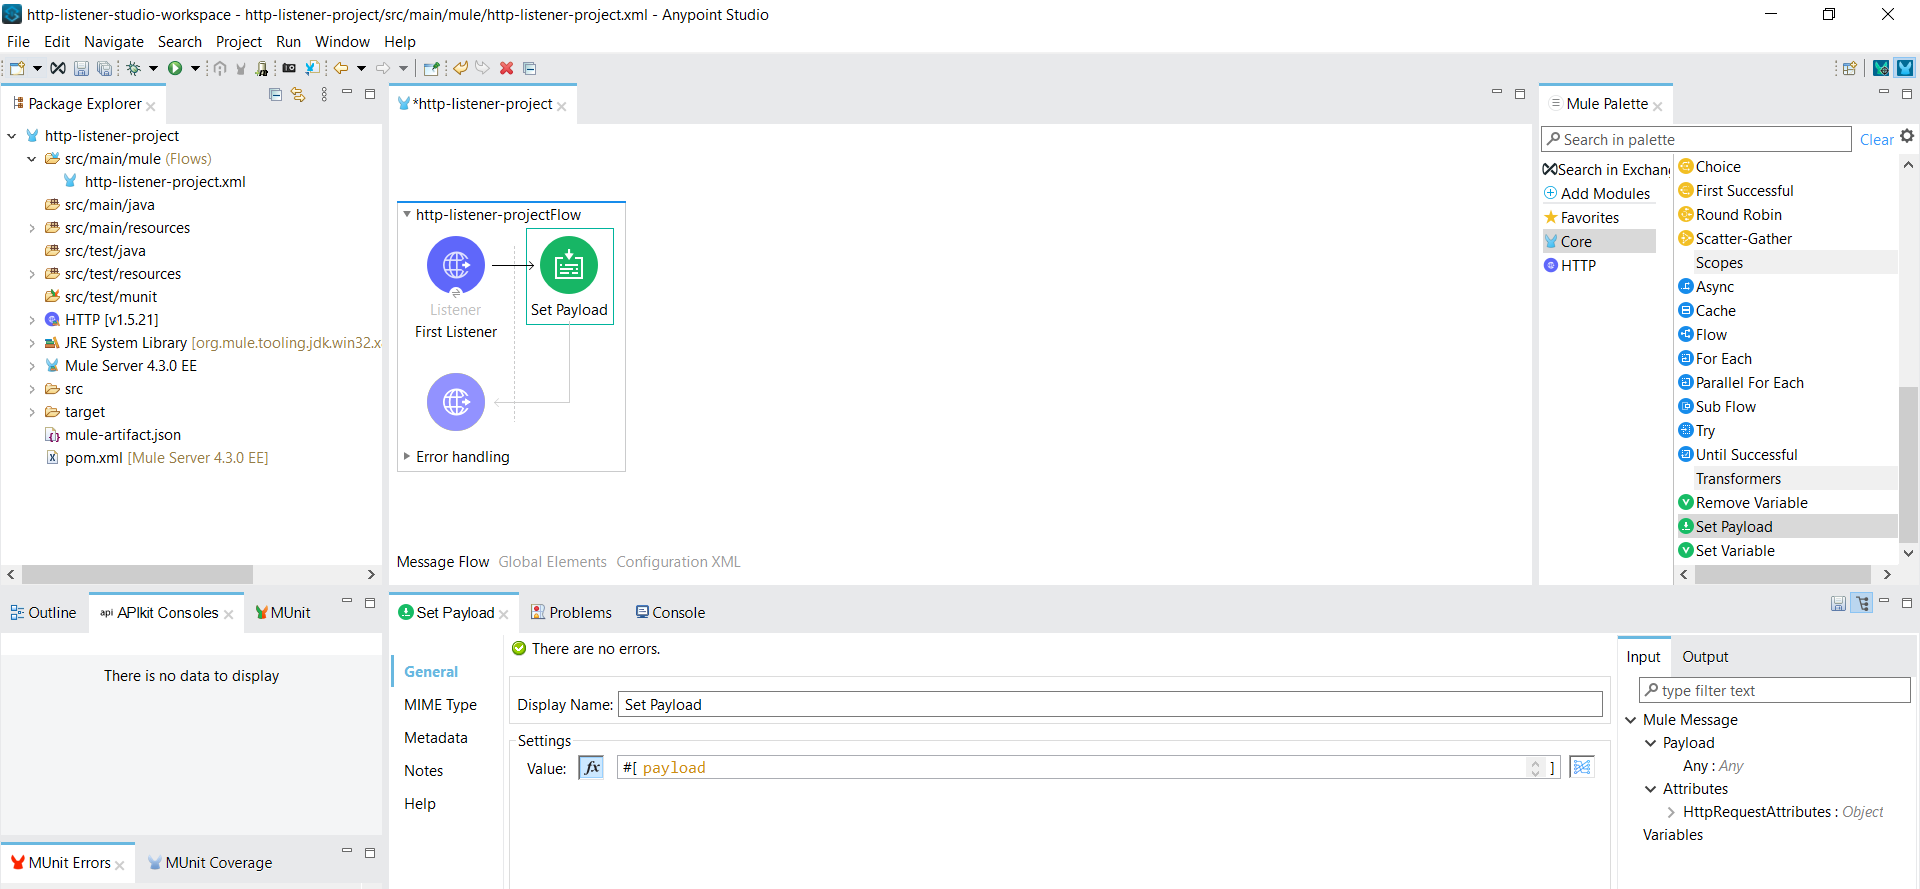
Next, we will use the "Set Payload" transformer to default the response message as "First HTTP listener testing". First, select and drag the "Set Payload" component from Mule Palette "Core" option
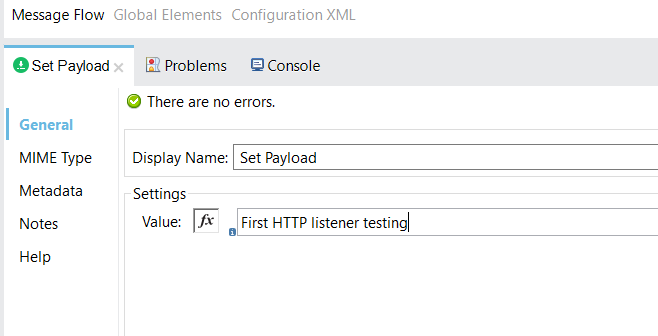
Now let's set the Value in the "Set payload" transformer to "First HTTP listener testing". To do it first switch the value field to the literal mode by clicking the "fx" symbol and enter the phrase as mentioned below.
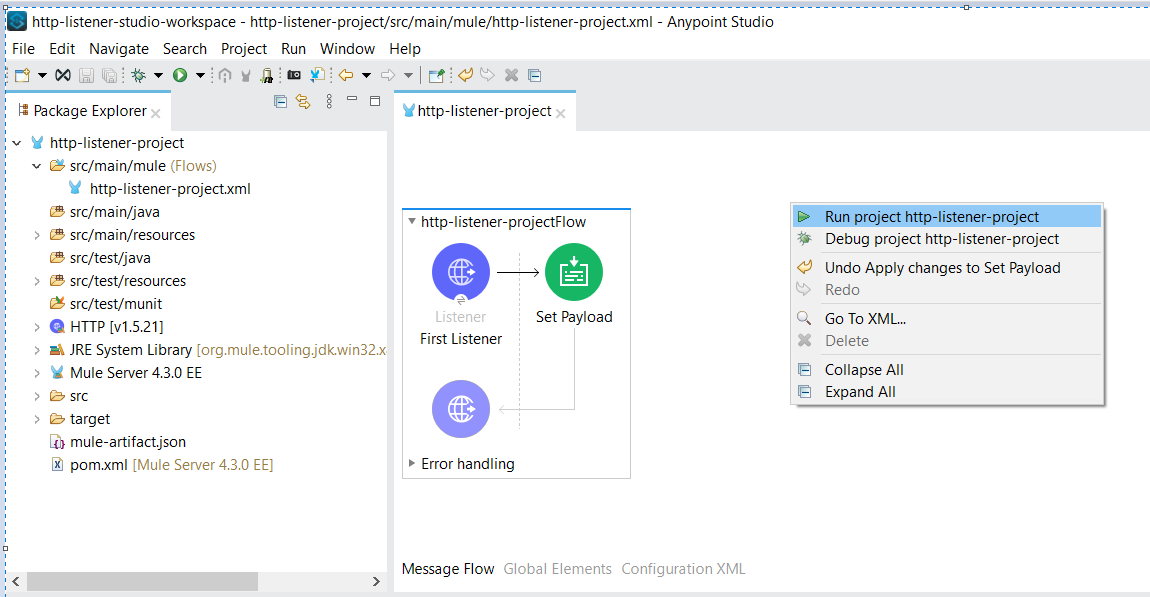
Save the project and right-click on the canvas and use the "Run Project" option to execute the project.
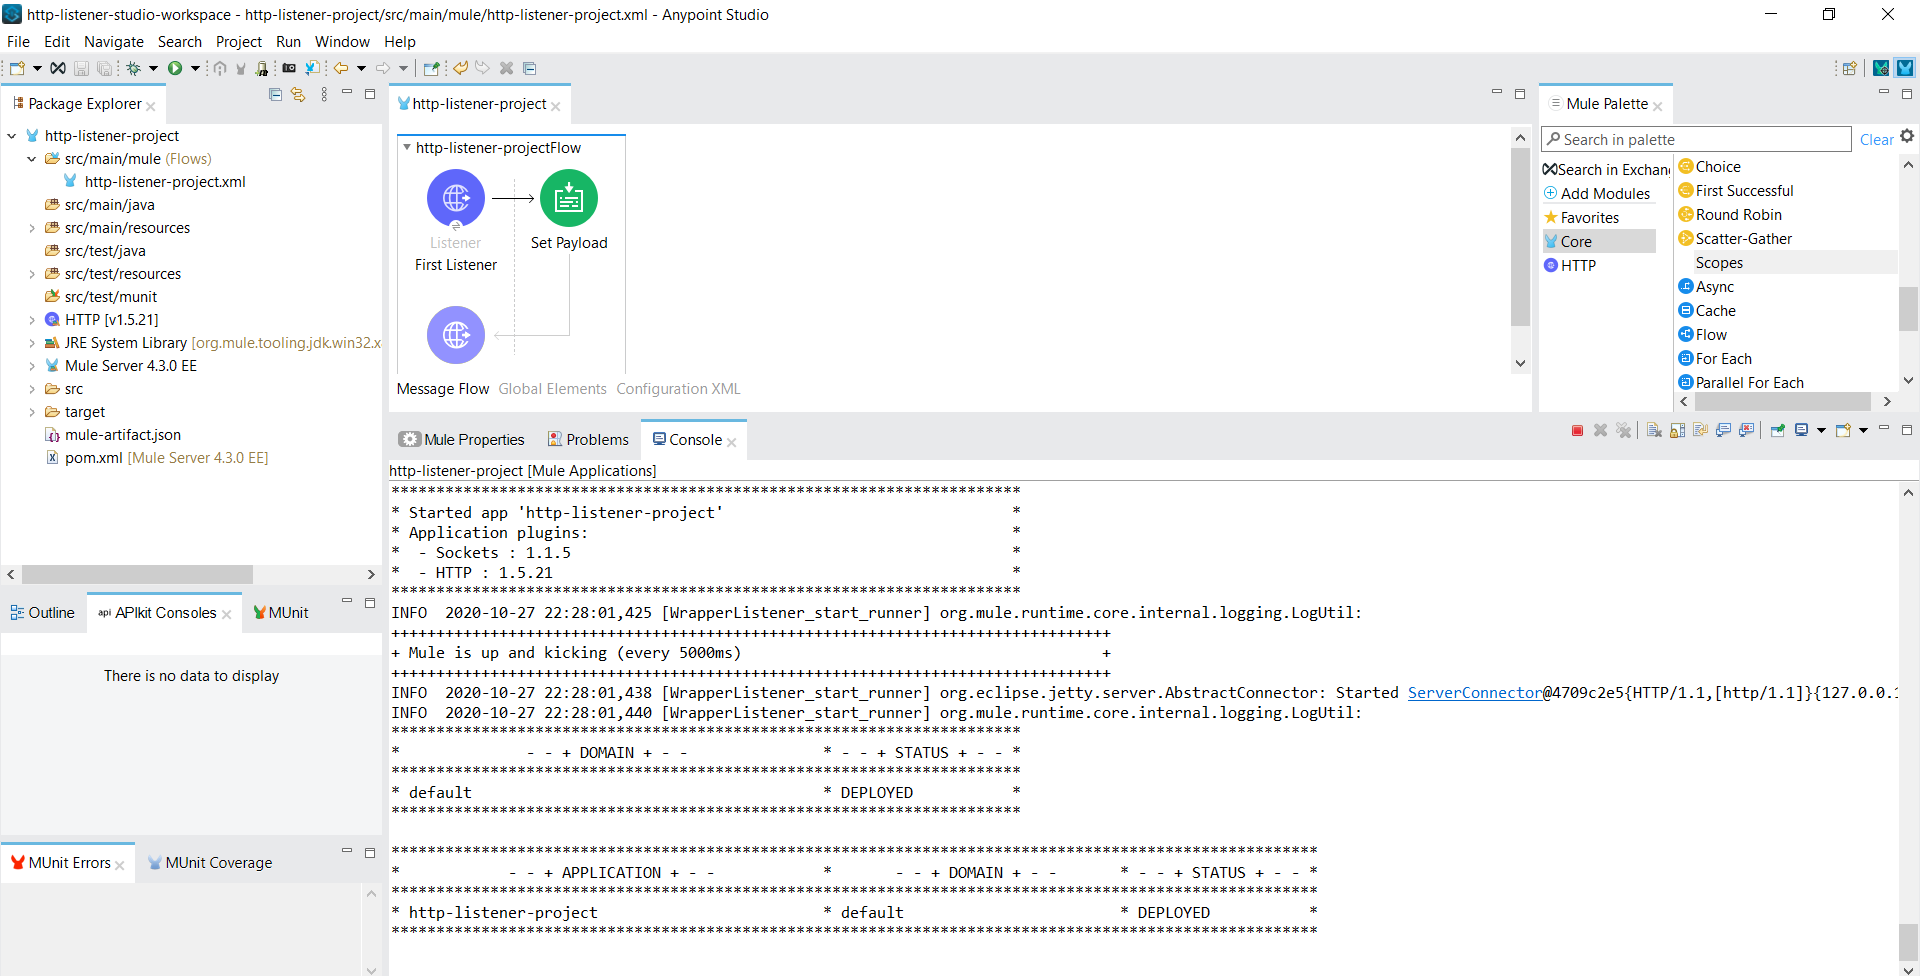
After the project is successfully deployed, the status will appear as "DEPLOYED"
![deployed]()
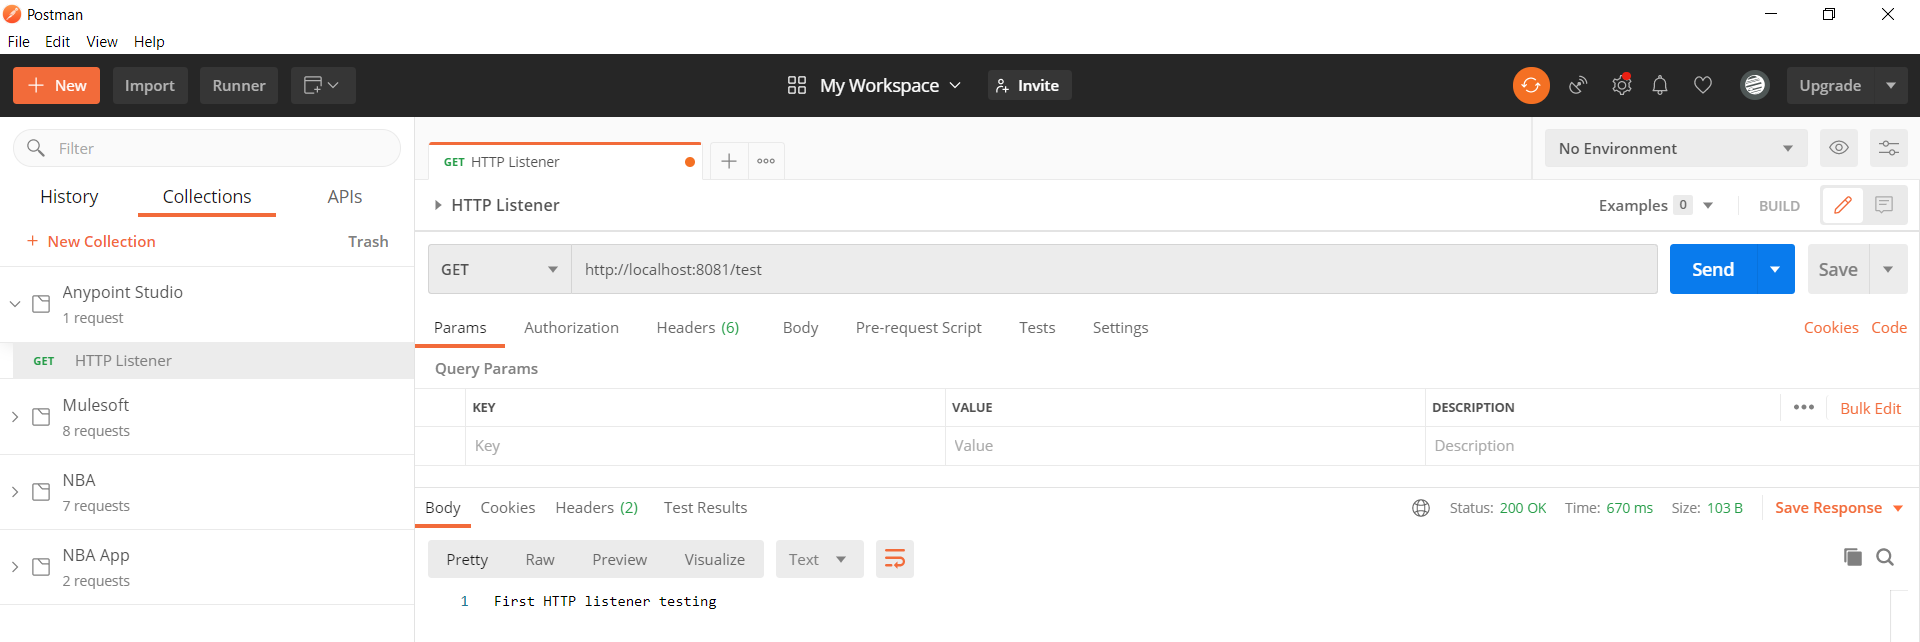
Now let's test the HTTP service which is built and to test we will use an open-source testing tool "Postman". Even though there are multiple tools available in markets such as SOAP UI and ARC, Postman is more user friendly and has a good interface. Add a new request and provide the URL as "http://localhost:8081/test" as the HTTP service is hosted on port "8081" and the URL is "/test". As any HTTP method is allowed, let us check the working of the service by using the "GET" HTTP method
![my workspace]() We can see that we have received the response message as "First HTTP listener testing"
We can see that we have received the response message as "First HTTP listener testing"To check if other HTTP methods are allowed, let us try using the "POST" method
 We can see that we have received the response message as "First HTTP listener testing"
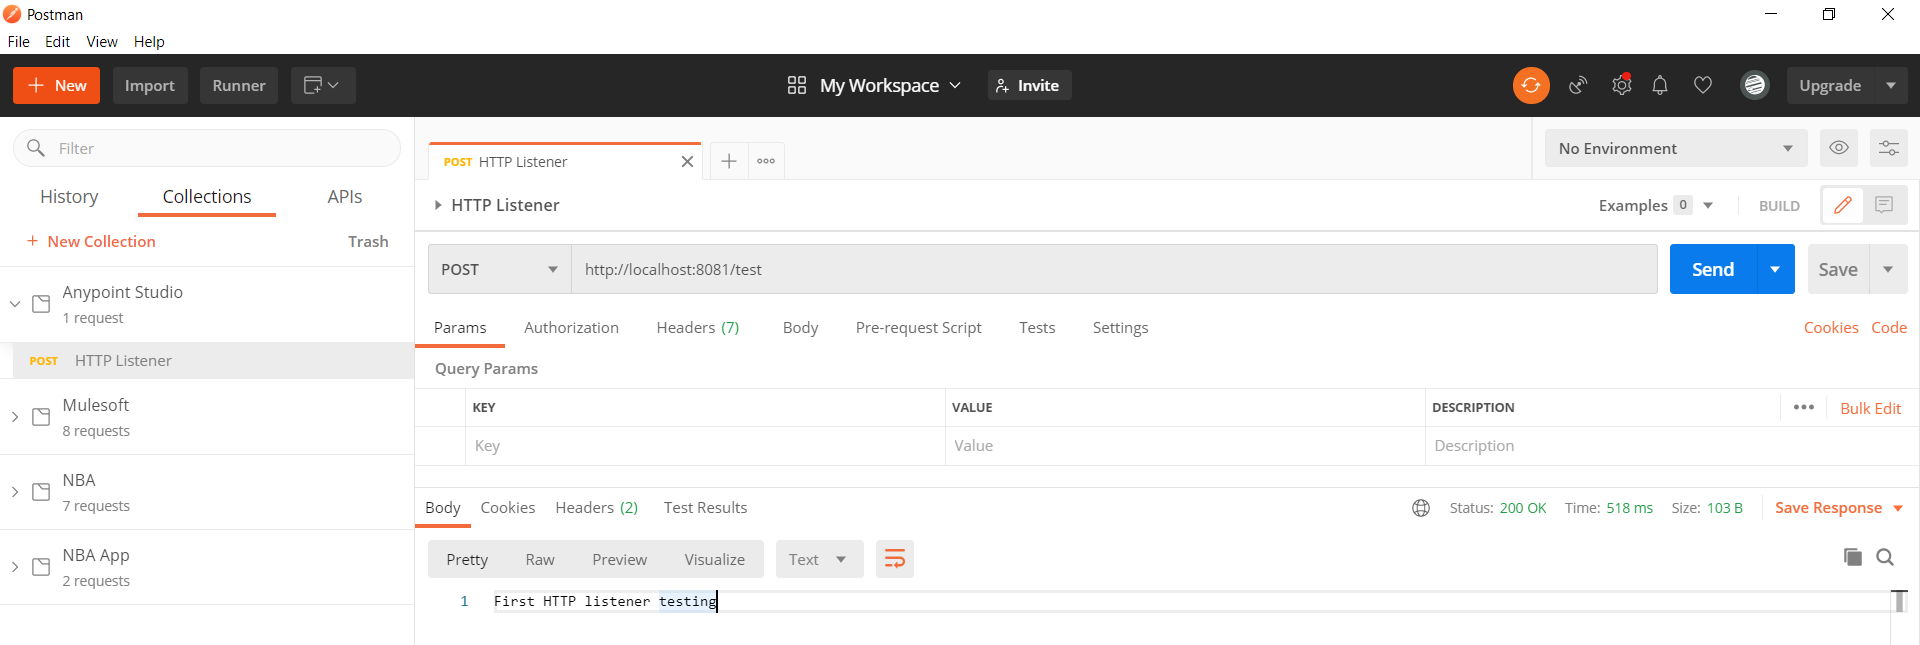 The "POST" method also provides the same output and with this, we conclude the article on how to use the "HTTP Connector Listener Configuration"
Opinions expressed by DZone contributors are their own.
Comments