Configuring a Shopify MuleSoft Connector
In this article, we will discuss how to integrate custom applications with the Shopify e-commerce platform using the Shopify MuleSoft connector in Anypoint Studio.
Join the DZone community and get the full member experience.
Join For FreeWhat Is a Shopify Connector in Mule?
The MuleSoft Shopify connector provides the ability to connect to the e-commerce platform Shopify and achieve seamless integration between your Shopify store and a Mule app using the Mule runtime engine.
Some of the use cases for the Shopify connector in MuleSoft include:
- Retrieving a new customer’s information
- Storing information through a client's Shopify store
- Managing items when new products are created in Shopify
A prerequisite to start with this walkthrough is to have an account on the Shopify platform. During the account creation on Shopify, you will get the credentials as a username and password (Basic Auth Connection Provider) or generate the access token (OAuth2) that will be used to establish the connectivity from MuleSoft.
Connection Types
The Shopify connector uses the following two authentication methods in MuleSoft to connect with the Shopify platform:
OAuth2: Delegates user authentication to the service hosting the user account.
Basic Auth: Uses a username and password for authentication.
Steps for Configuring Shopify Connector
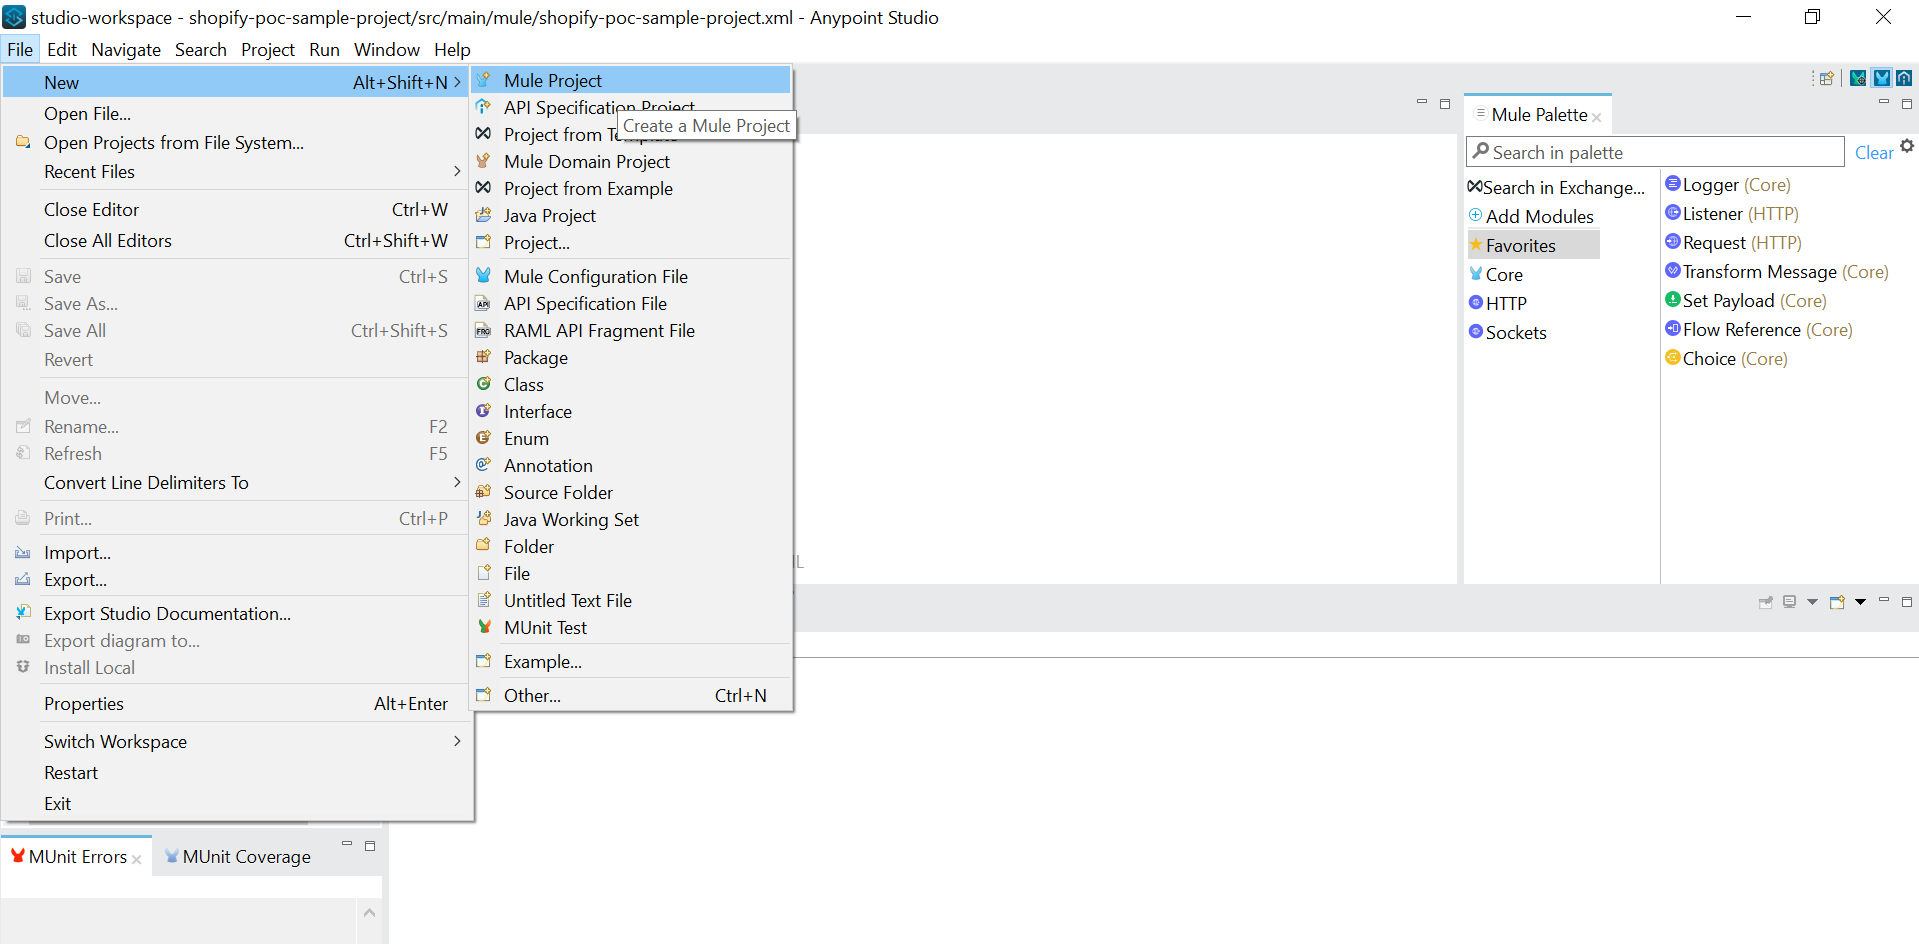
1. Create a new project in MuleSoft by going to File->New->Mule Project and give the project a name. Click Finish.
2. After creating a Mule project, add the Shopify connector from MuleSoft Exchange. Search and add the latest Shopify connector version, and click Finish.

3. The connector will be downloaded and visible on the Mule palette.
4. Create a global configuration element for the Shopify connector configuration.
a. We can select anything from the two connection types. Here, we will establish the connection using "Basic Auth Connection Provider."
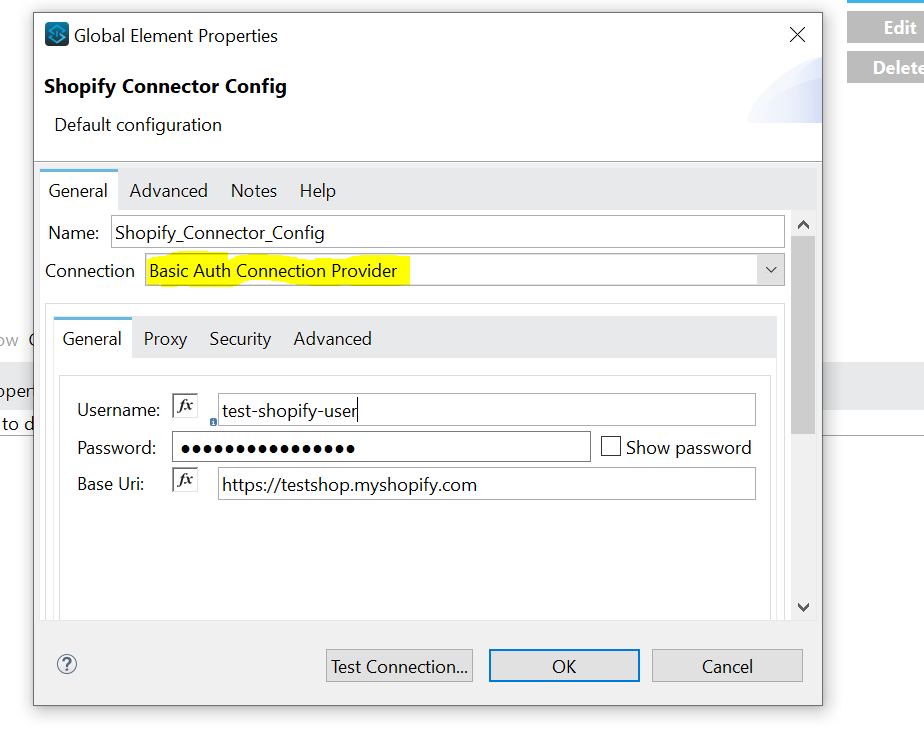
Provide the below details in the configuration:
- Username: API key from Shopify
- Password: Secret key from Shopify
- Base URL: Store URL from Shopify
Refer to the below XML configuration for the same:

The connectivity between Shopify and MuleSoft will get established successfully.
Use Cases
MuleSoft’s Shopify connector provide multiple operations or use cases to connect and expose Shopify REST Admin API. For example, one of its most useful operation is the ‘Customer Count’ operation. This operation helps to retrieve the count of all the customers at your Shopify store.
Now, we will try to retrieve the customer count on our store from Shopify in MuleSoft:
1. Add an HTTP connector in the message flow. Configure it.
2. Add a Customer Count connector after the HTTP connector in the same flow. Configure the customer count connector to use Shopify configuration global element.

3. Save the project and right-click the project folder in the Project Explorer->Run As->Mule Application.
You will get the count of all the customers at your Shopify store.
Conclusion
In this tutorial, we have integrated Shopify with a Mule application, and we can get Shopify data as JSON data in custom applications. We can use multiple operations provided by Shopify MuleSoft connector to create, store, analyze, and manipulate data into third-party applications very easily.
Opinions expressed by DZone contributors are their own.
Comments