Mule and Splunk Integration
Learn how to configure third-party software- in this case, Splunk- with Mule on-premise runtime to analyze logs for auditing purposes.
Join the DZone community and get the full member experience.
Join For FreeIn this article, we are going to see how easy it is to configure Mule Runtime with third-party software to analyze logs for auditing purposes. The third-party tool we are going to discuss here is Splunk.
Before We Start
Sending data to third-party tools (Splunk, ELK) is not supported by Cloudhub for the time being. Only the on-premise Mule ESB can be integrated with third-party tools. Also, the enterprise version of the Mule ESB supports integration with third-party tools. The community version does not support this type of integration because the CE does not come bundled with the Mule Agent, which is only part of the Mule EE version.
Also, if you are using Mule Runtime version < 3.8, please do not forget to update the Mule Agent version using the ./amc_setup -U command. For more details, please read the following documentation.
Let's Get Our Hands Dirty
Let's begin, starting with the installation. First, we will need to install Splunk. Installation is optional because now you can use the cloud version of Splunk also. For this tutorial, I have installed it in my localhost, but please be totally free to use the cloud version of Splunk.
Configure Splunk Token
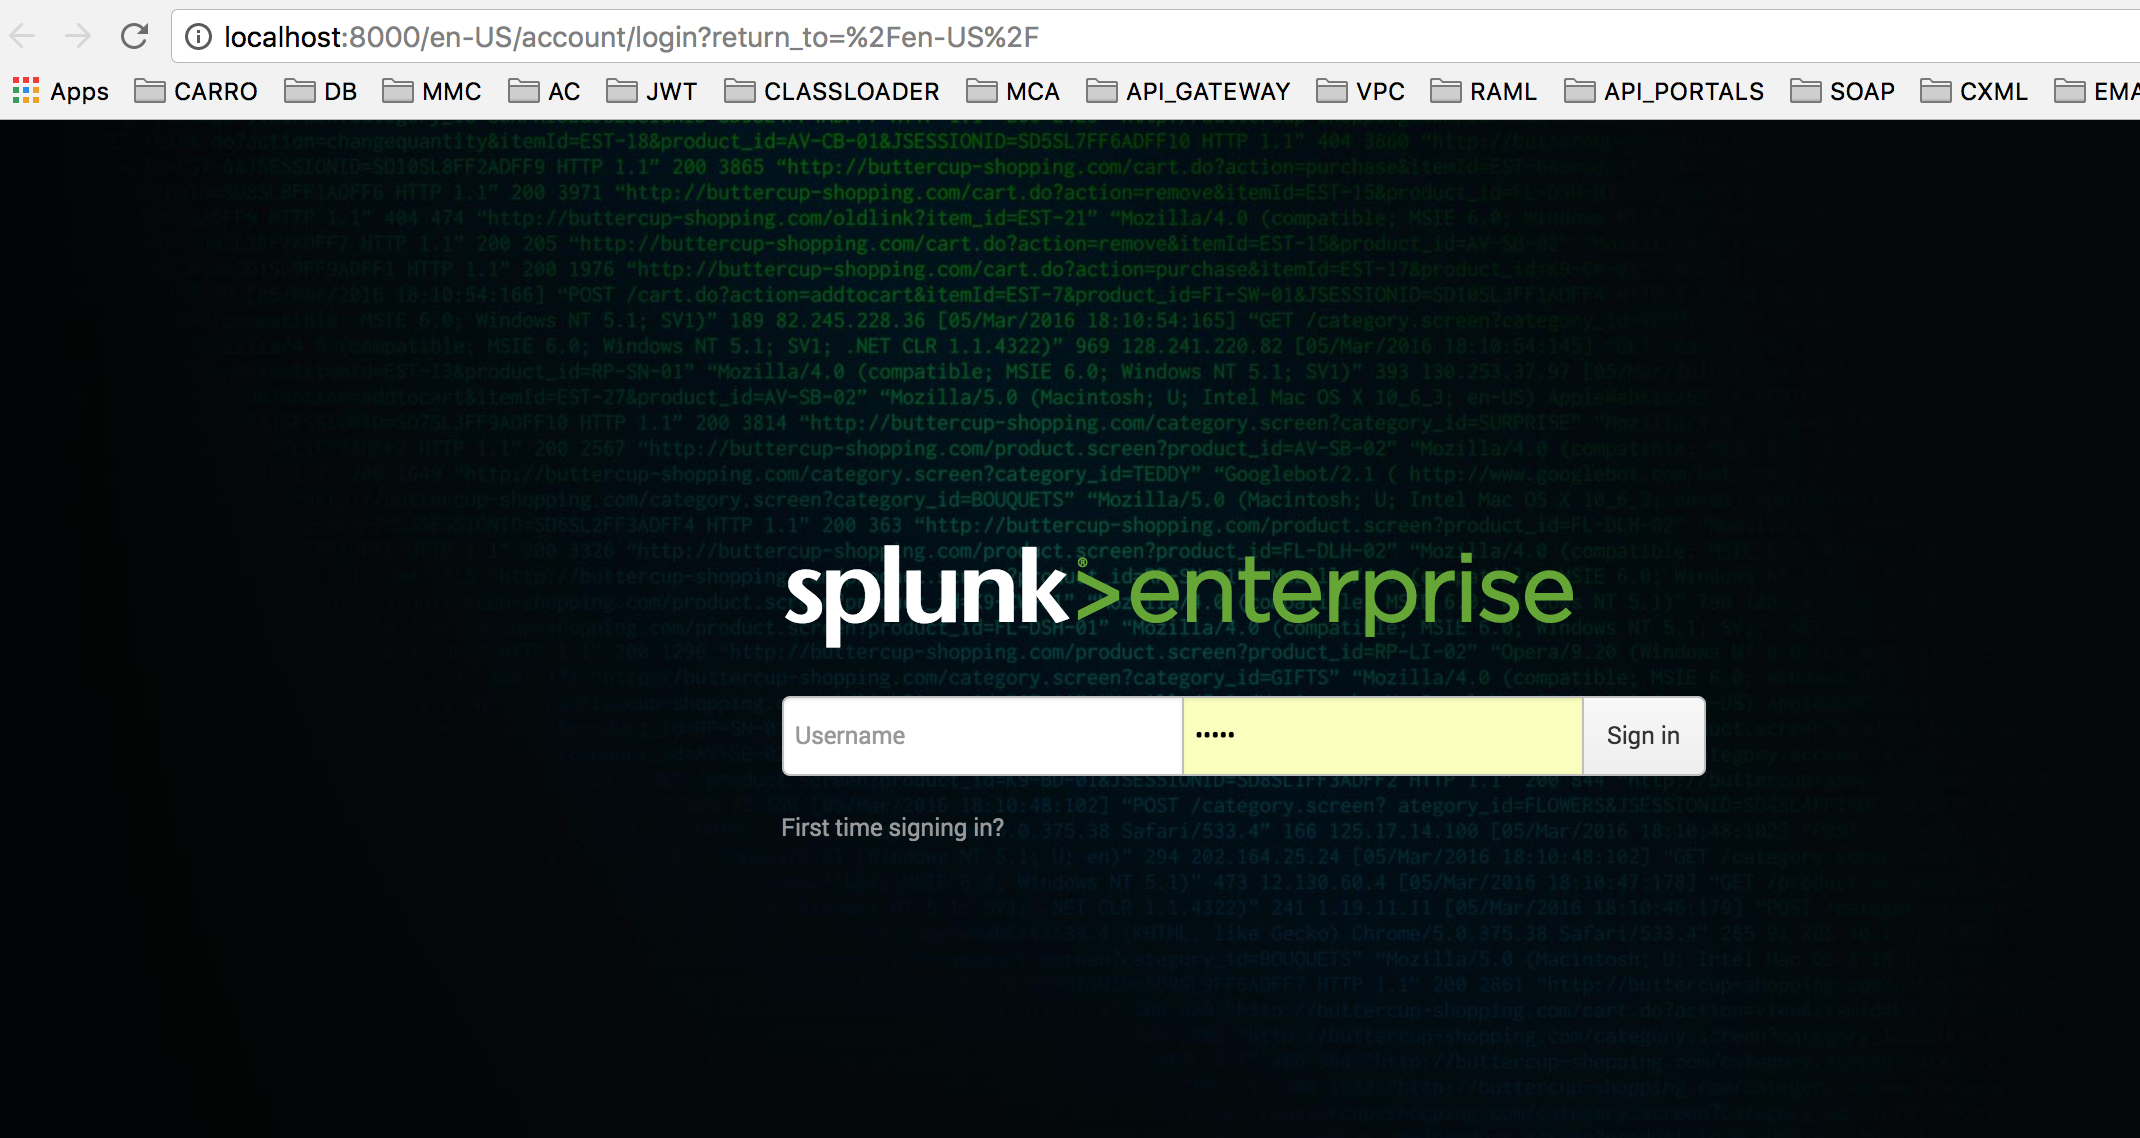
After installing Splunk, run it. It will ask you to provide your credentials, as shown below.
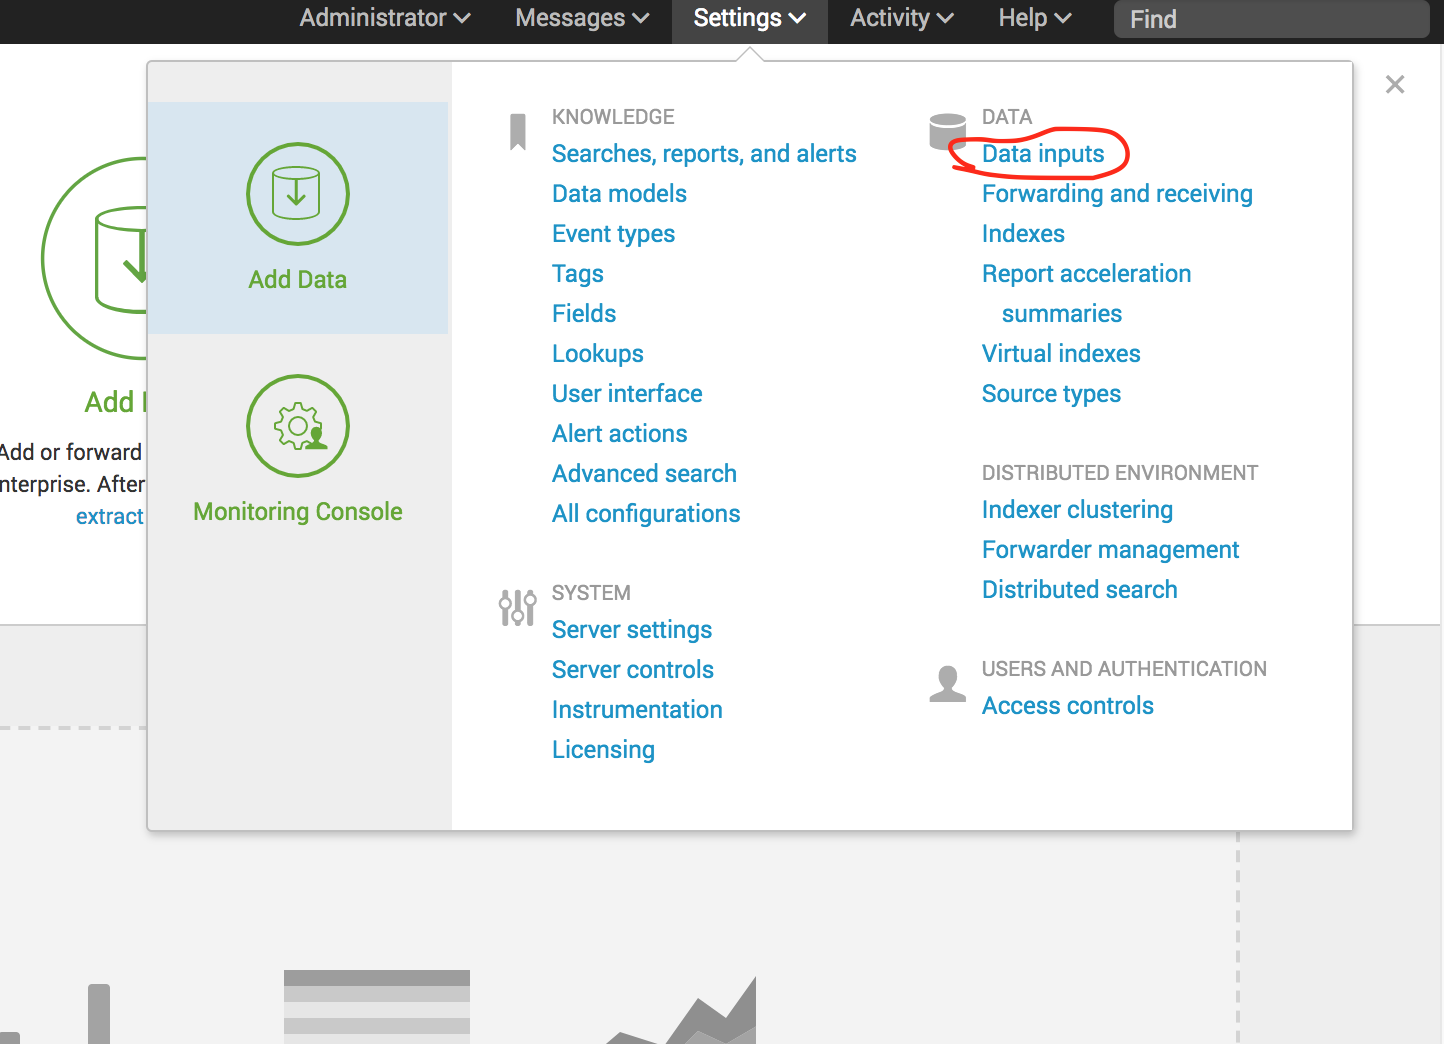
Now go to the Data Inputs, as shown below.
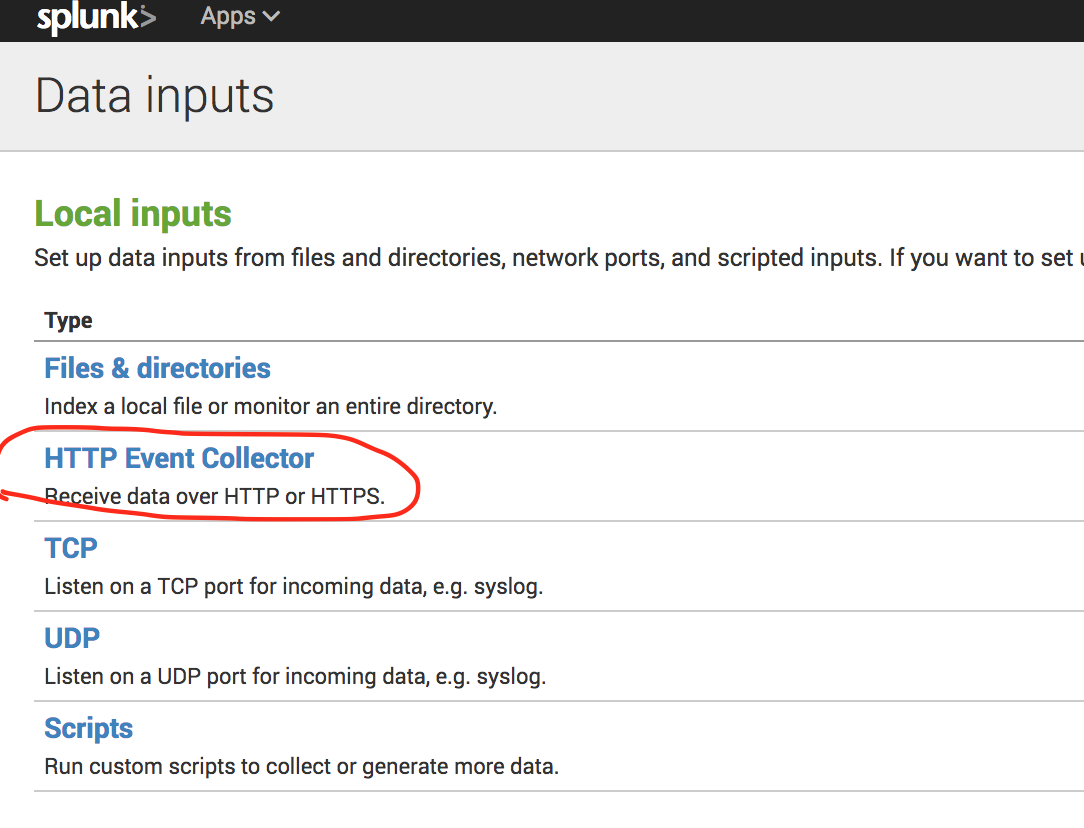
Now select the HTTP Event Collector link.
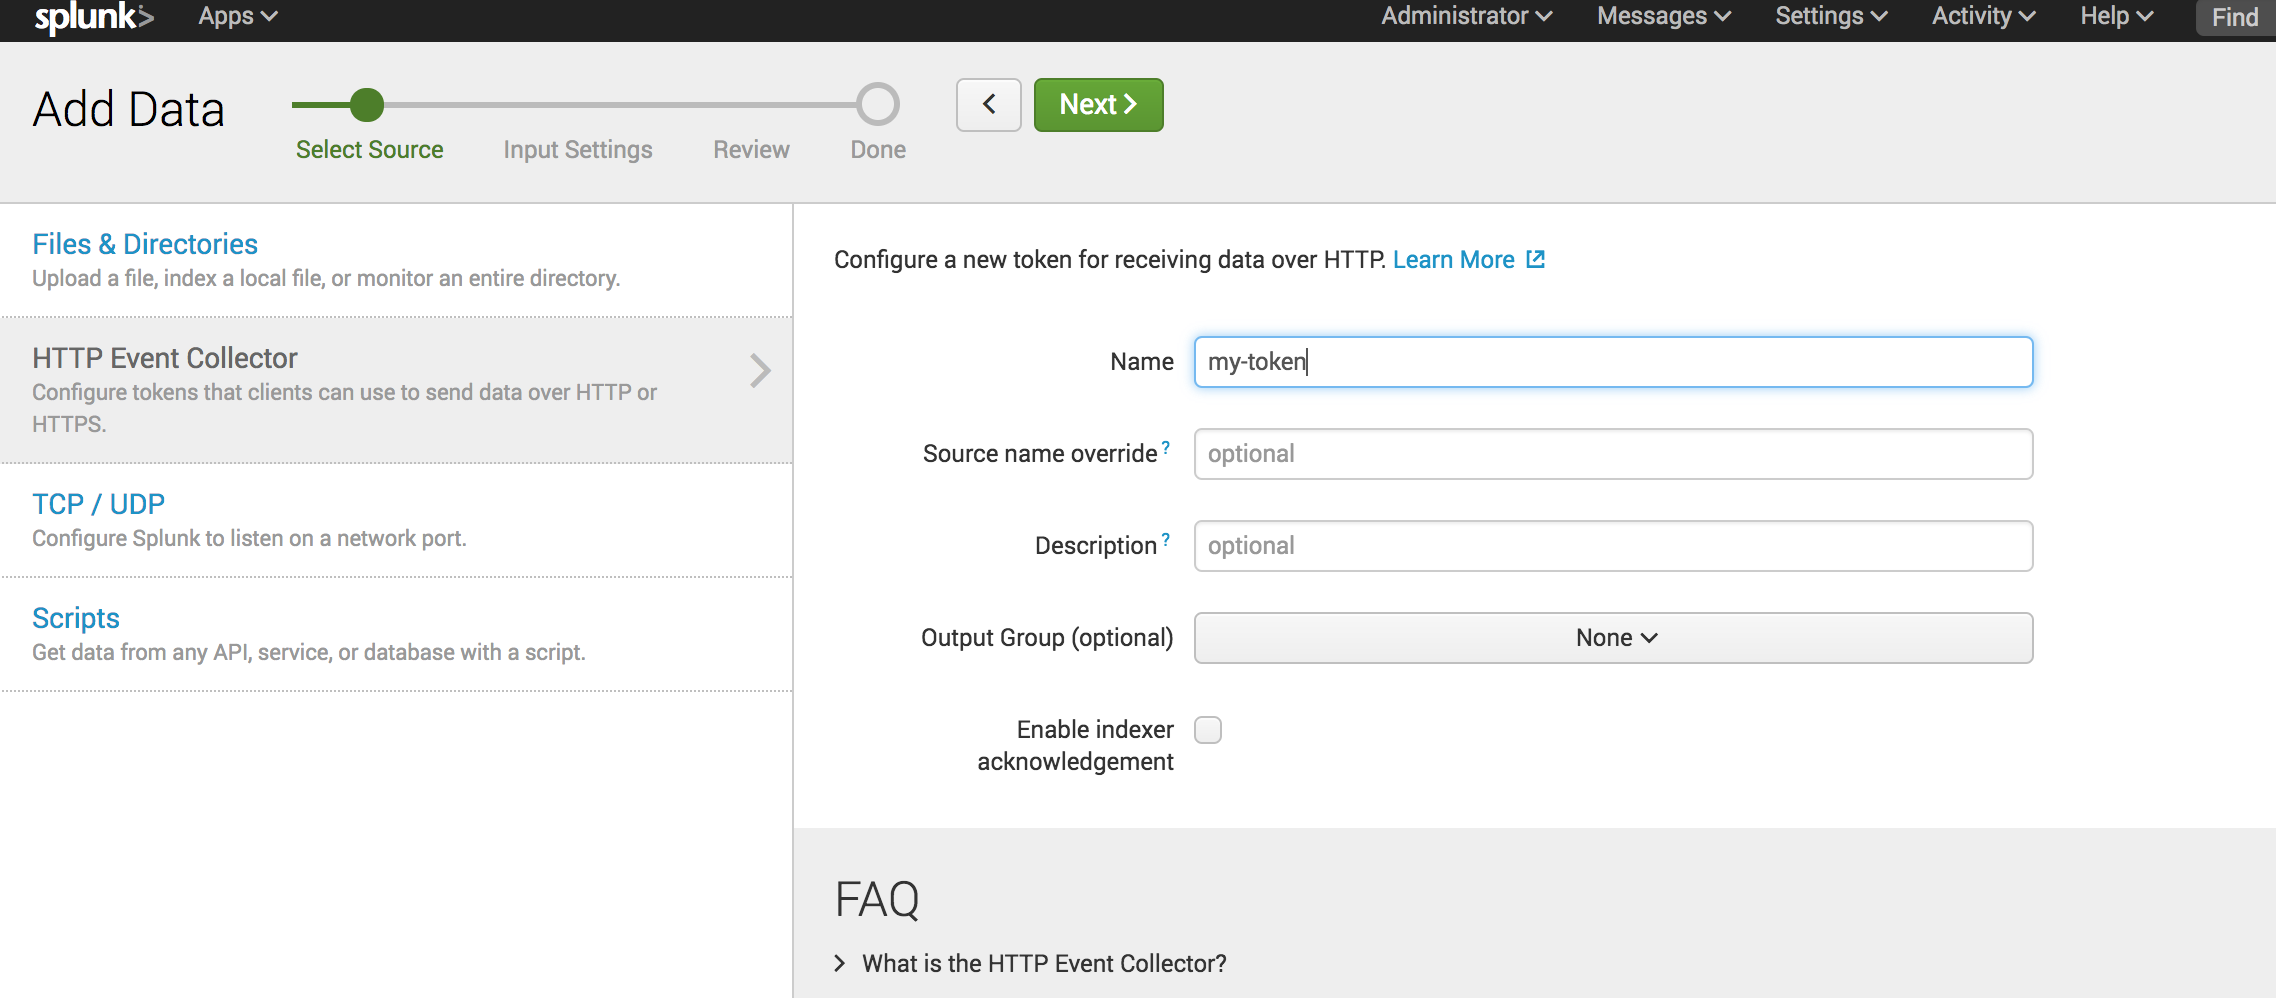
Now create a token using all the default values.
Once you are done, you can see your token. Please do not forget to enable the token.

Configure Mule Runtime
At this point, we have our Splunk token up and ready. Now it's time to configure our Mule Runtime so that it can communicate with Splunk.
For this, click the Mule on-premise server in the Runtime Manager, click the Manage Server button, and then the Plugins button. It will show the options to configure Splunk and ELK.
Now choose the Splunk option and configure it as shown below.
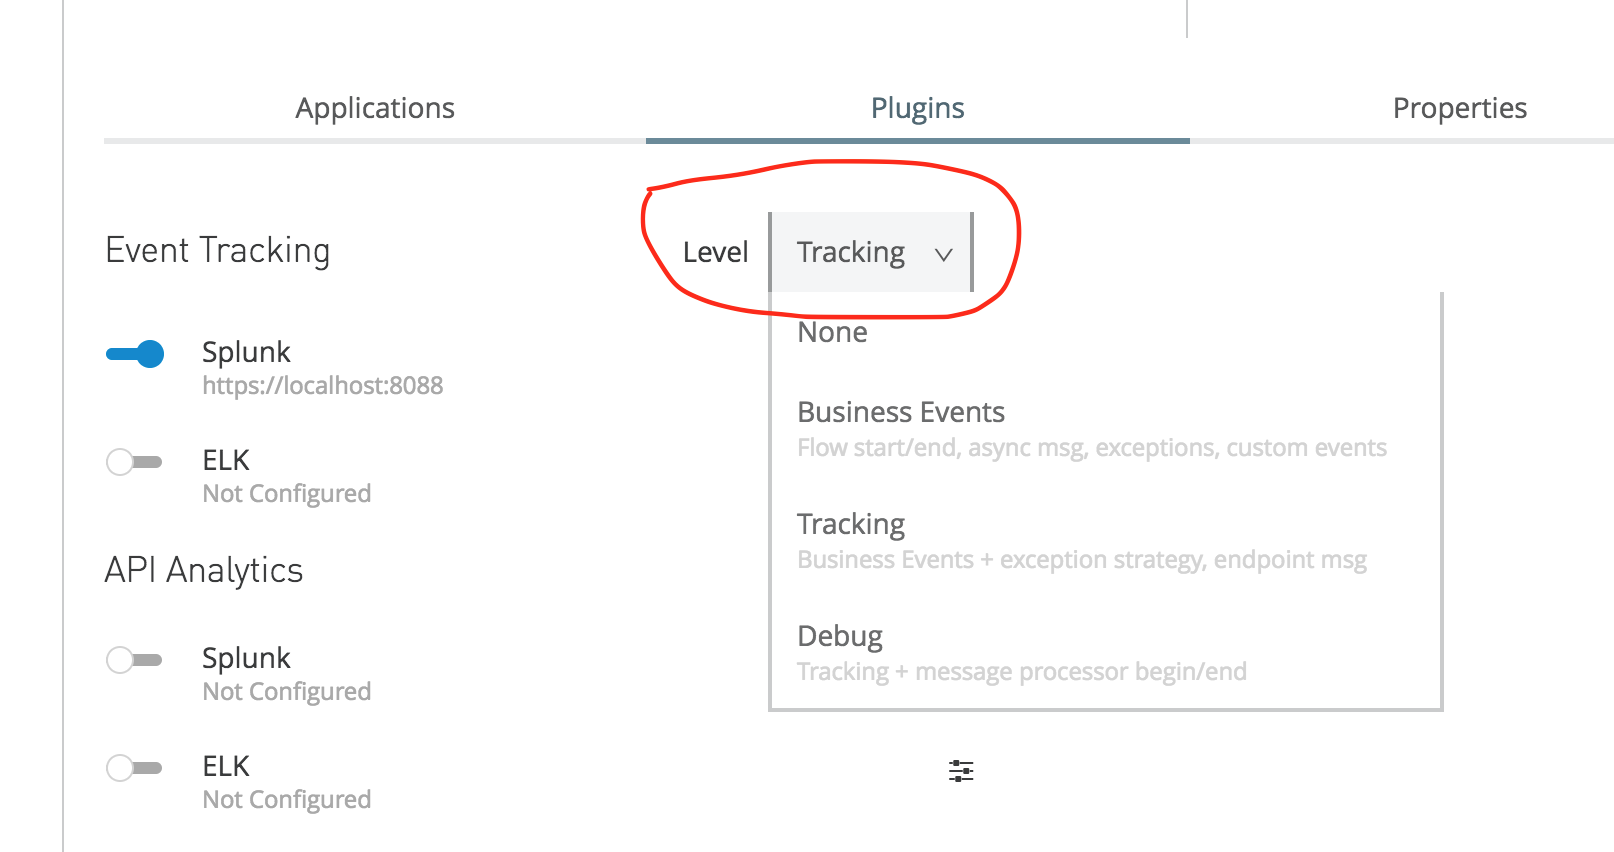
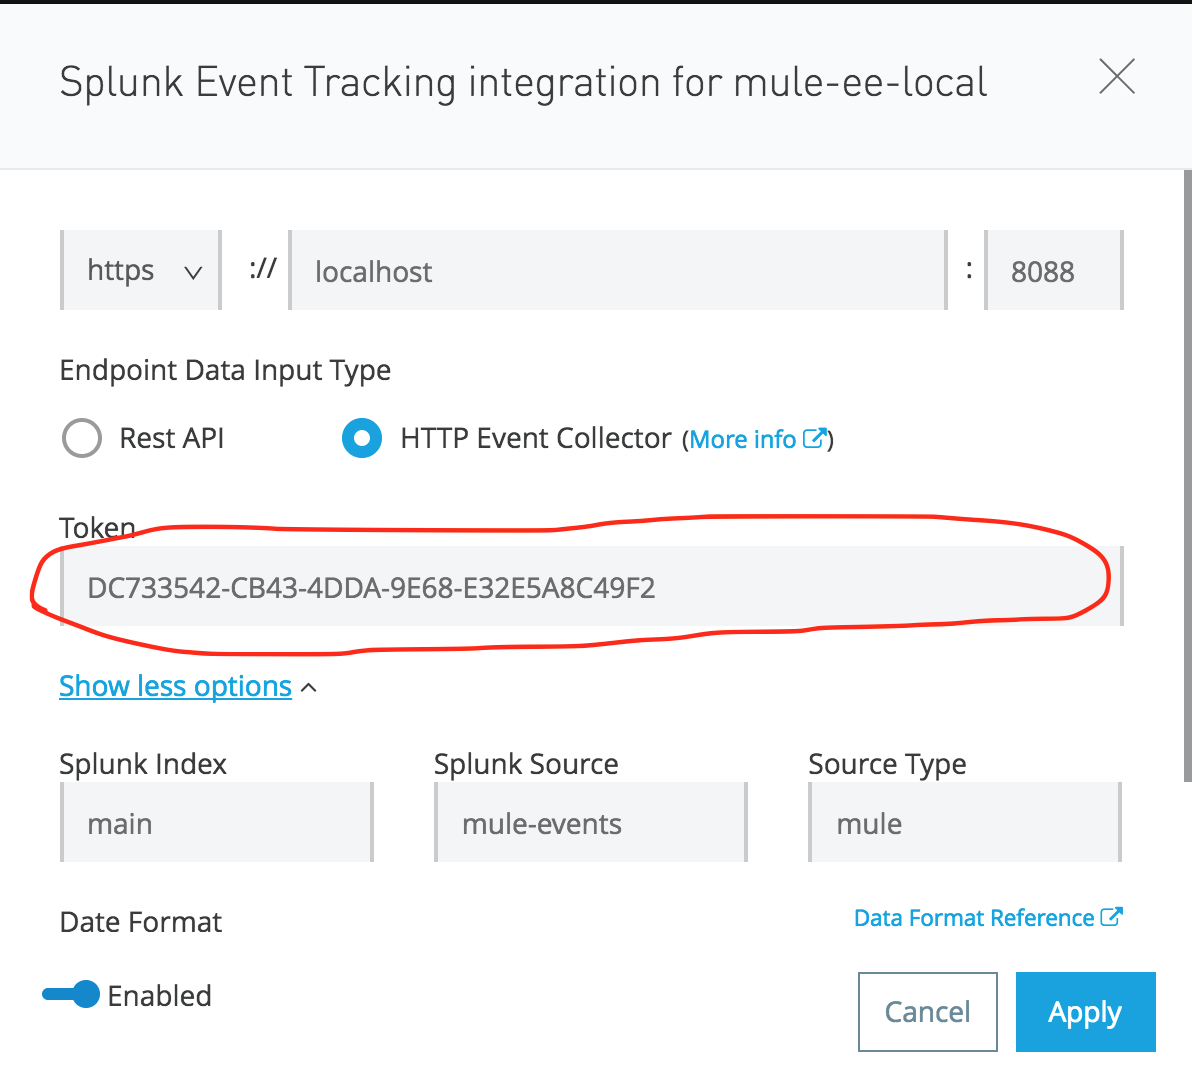 Do not forget to copy the token from Splunk. Optionally, you can configure the Splunk Source, Index, and Type also. Also, do not forget to choose the Level of logging, as shown below.
Test
Create a simple Mule application and publish it. Send some requests and check Splunk. To check the logs, you have to go to the following location in Splunk GUI:
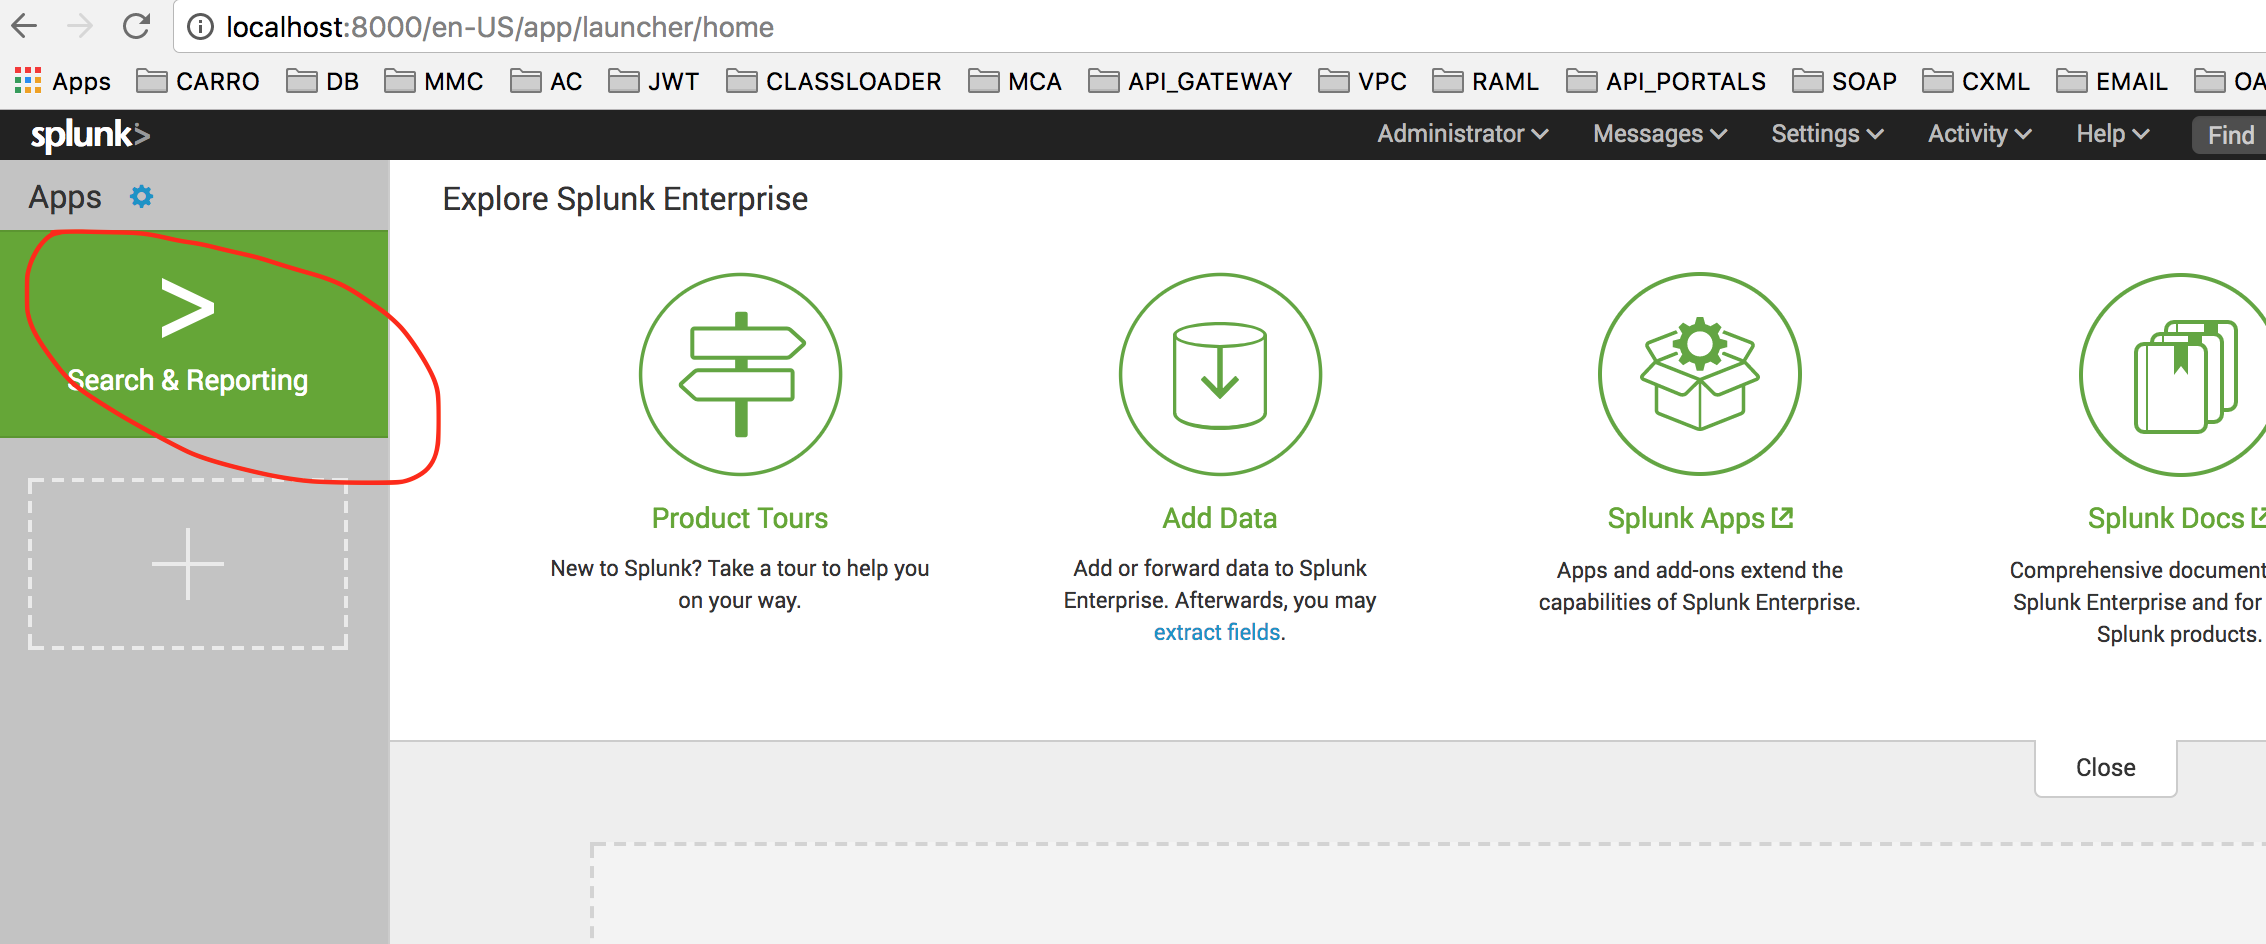
Then click Data Summary.
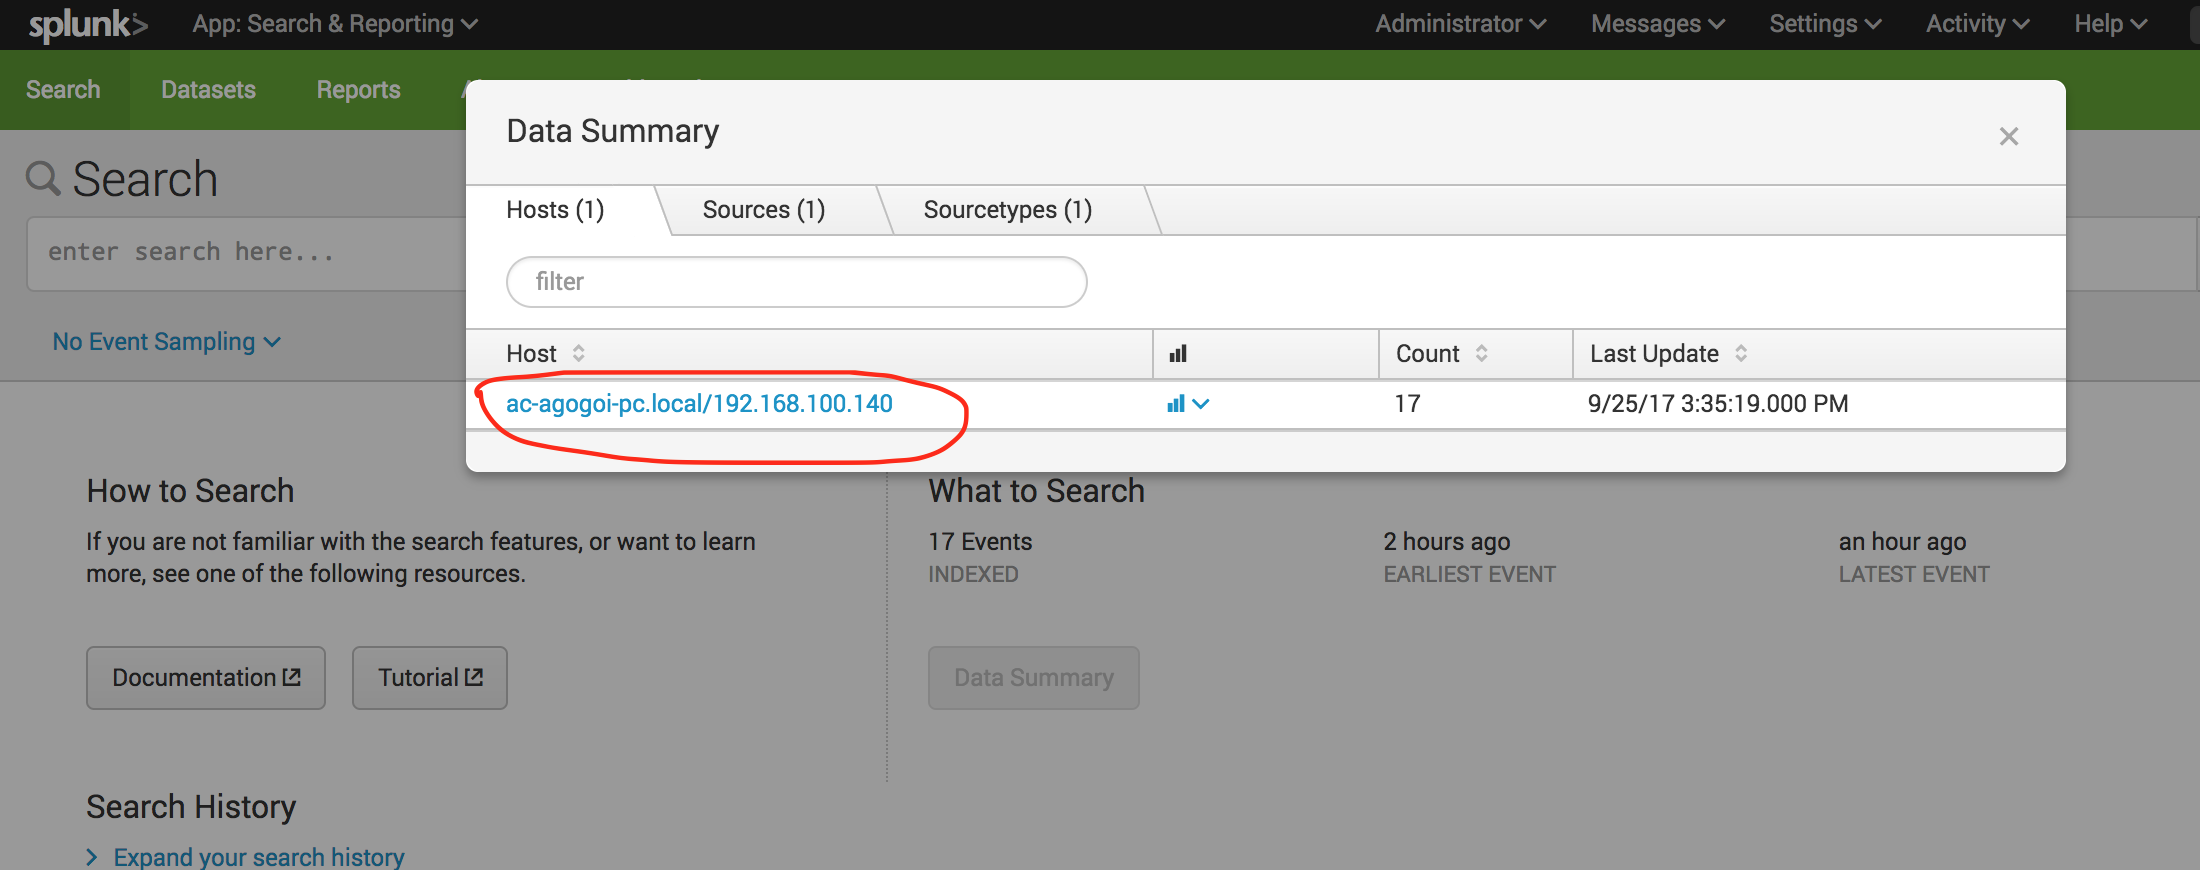
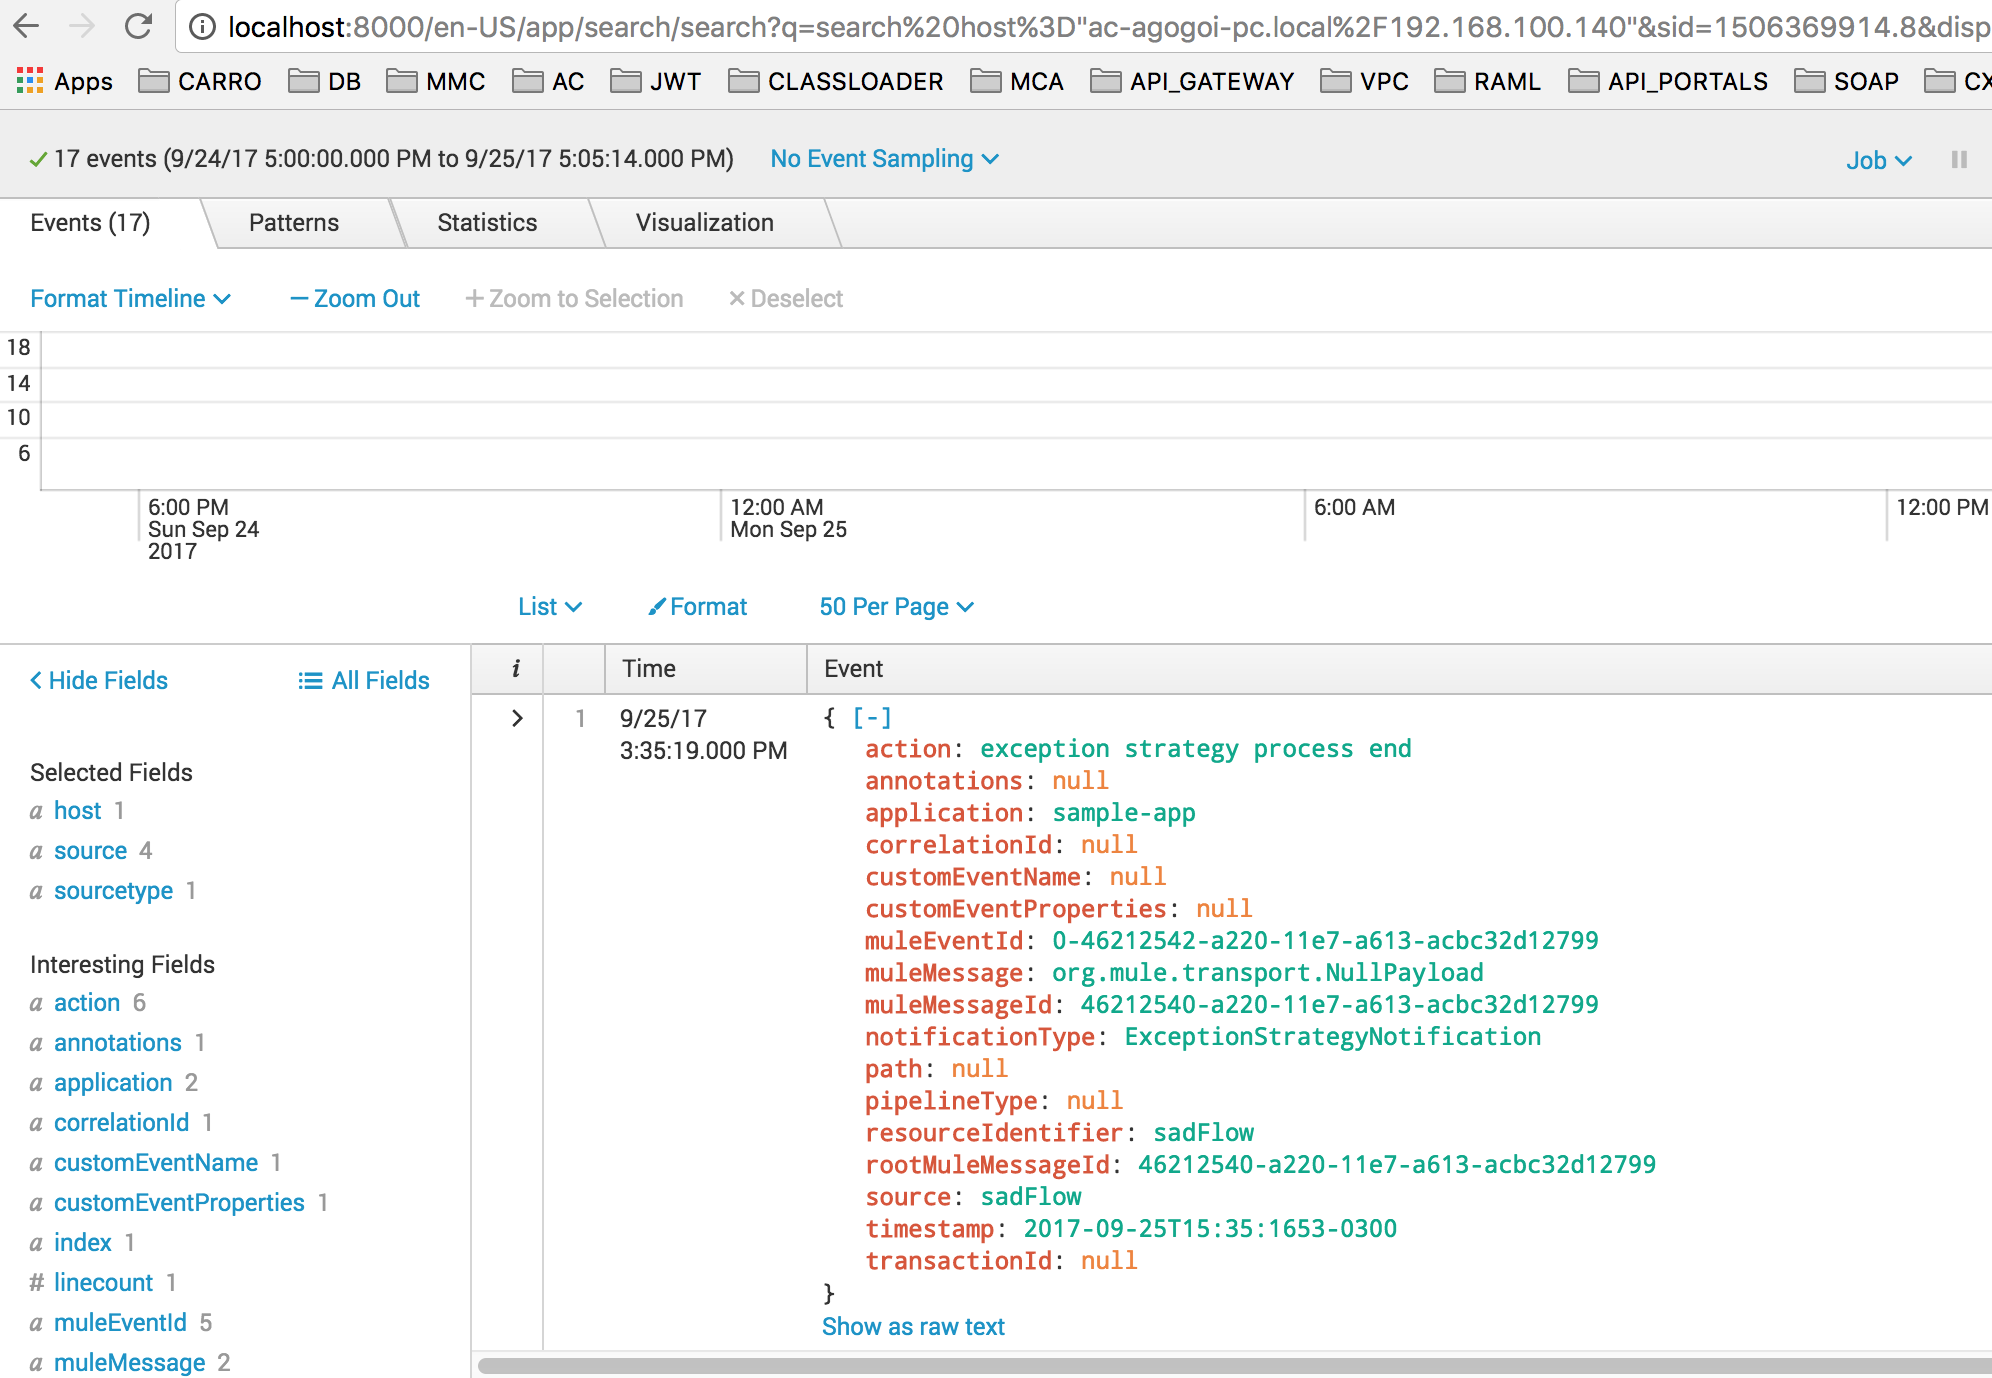
Here you can choose the Host/Sources/Sourcetypes. Here is a sample snippet of a log:
Conclusion
In this article, I have shown how easy it is to configure Splunk with Mule on-premise runtime. In my next article, I will try to configure Mule ESB with ELK.
Opinions expressed by DZone contributors are their own.

Comments