

Mule Email Connector
This article will guide you through the steps of how to use an email connector in the Mule Application. Read below for the tutorial!
 ·
·
Join the DZone community and get the full member experience.
Join For FreeIn this article, we are going to explore all the features provided by mule Email Connector. Email connector helps you to Send, Mark, List, and Delete Emails. We see a simple demo for each of these features now.
Before starting with developing the Mule Application we need to do some configuration settings in the Gmail account.
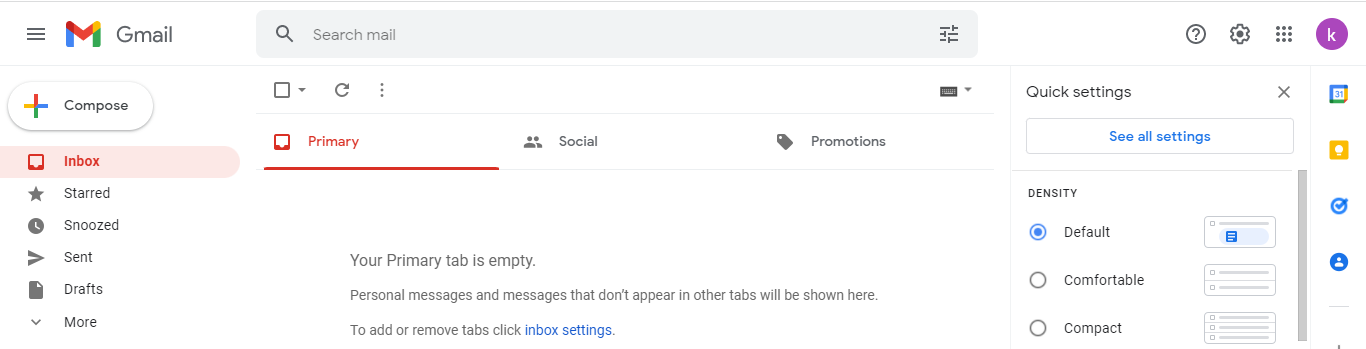
- Open your Gmail account and navigate to Settings --> See all settings options.
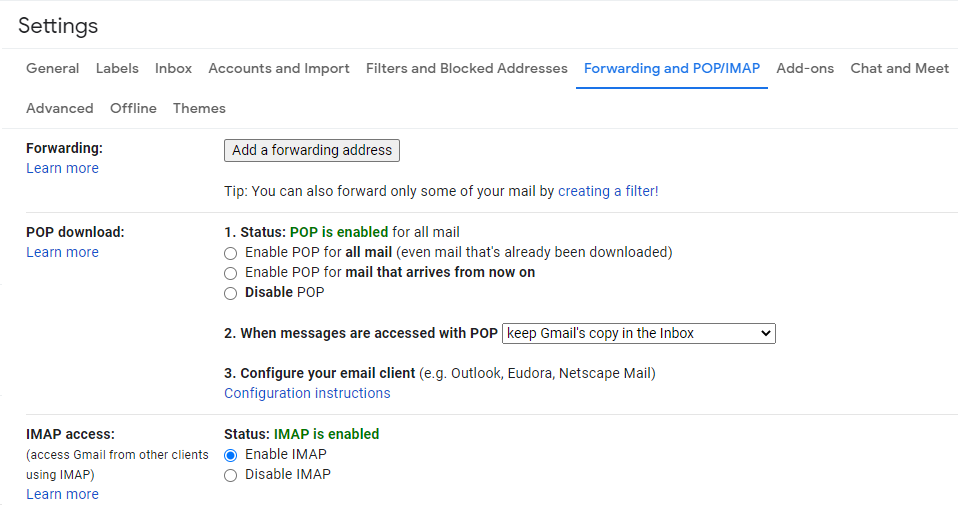
- Now navigate to forwarding to POP/IMAP option to enable it.
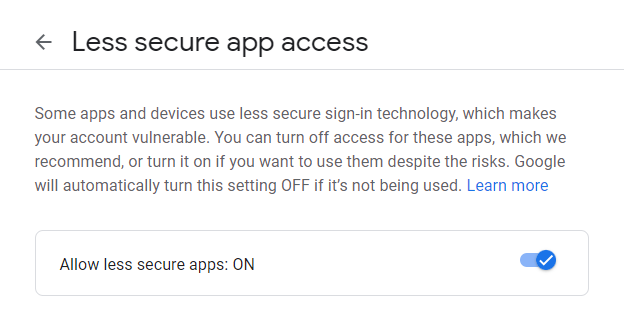
- Once this is done, now we need to open Google Account and enable the Less Secure App access, for which go to Manage your Google Account and in search box type Less Secure App access.
- Now we are ready to start. Open your Anypoint Studio and drag and drop Email Connector from Add Modules as below.

- Send:
- Send Email connector helps you to send mail over SMTPs server. You can also send Attachments through this. Let us configure the connector now.
- Drag and drop Http Listner and Send Email Connector in a flow and configure the same.
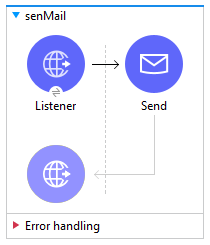
- Now Configure both the components as below.
- HTTP Listner Config:
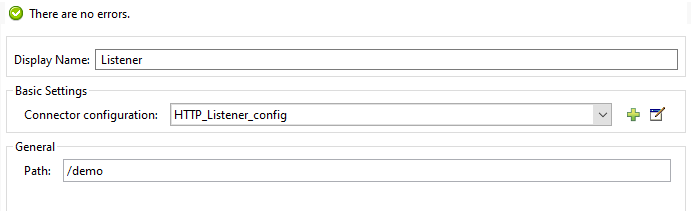
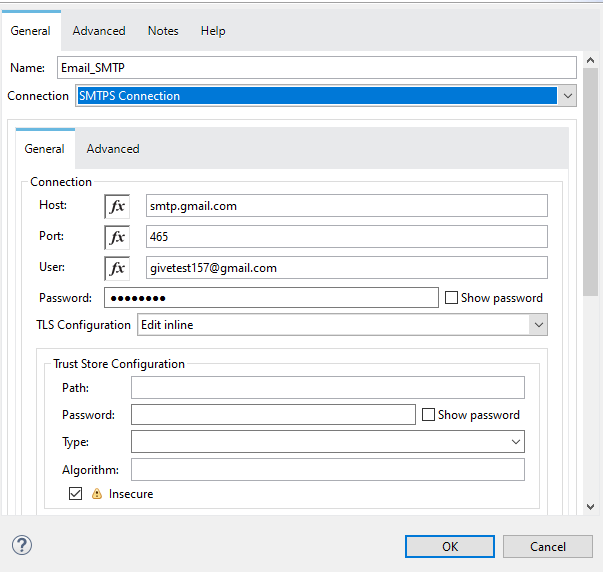
- Send Mail Config: While configuring this make sure you select connection as SMTPS connection and also tick the Insecure checkbox.
- Now, we need to configure Send Components properties.
- If you want to send an attachment you need to define the file extension in the Attachment section. In our demo, we will be sending a .txt file as an attachment.
- Also, you can send multiple files as attachments.
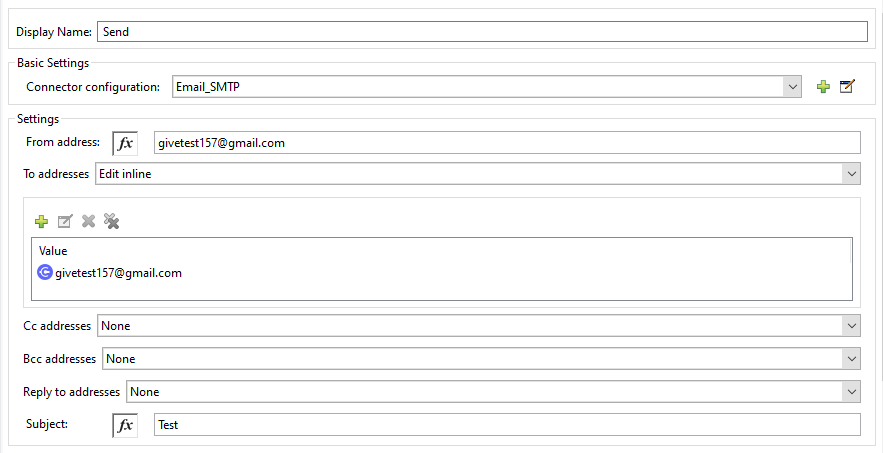
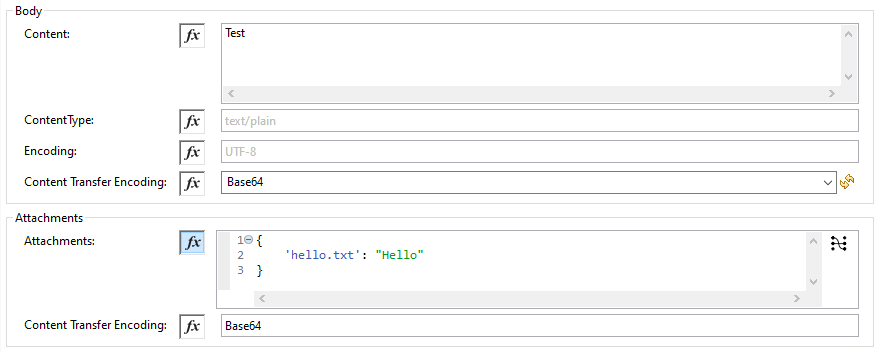
- Now from Postman hit the above application and you will see an Email in your inbox with one attachment.

- HTTP Listner Config:
- List:
- This will give the List of emails available in your mailbox. You can list all the emails or filter it based on certain options provided by the connector. We are going to use the List IMAP component to list available mails in our mailbox.
- Below is the Flow and Respective connector configuration:
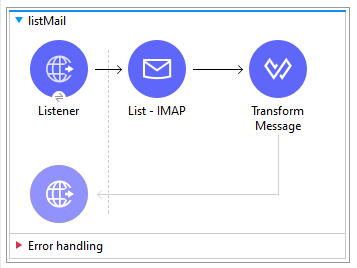
- List IMAP Config: While configuring this make sure you select IMAPS connection and also tick the Insecure checkbox.

- In the properties config, you can set the Match with the filter to do the filtering. Also, you can restrict the number of emails you want to retrieve by setting the limit value, -1 indicates all the mails.

- List IMAP Config: While configuring this make sure you select IMAPS connection and also tick the Insecure checkbox.
- Now, from the postman, hit the above application and you will see the list of emails there in your inbox. Check the output it has attachments and attributes with all the details.
-
JSON
[
    {
        "inboundAttachmentNames": [],
        "exceptionPayload": null,
        "inboundPropertyNames": [],
        "outboundAttachmentNames": [],
        "payload": {
            "attachments": {
                "hello.txt": "Hello"
            },
            "body": "Test"
        },
        "outboundPropertyNames": [],
        "attributes": {
            "headers": {
                "Return-Path": "<[email protected]>",
                "Received": "",
                "From": "[email protected]",
                "To": "[email protected]",
                "Message-ID": "",
                "Date": "Fri, 14 Jan 2022 14:42:11 +0530 (IST)",
                "Subject": "Test",
                "MIME-Version": "1.0",
                "Content-Type": "multipart/mixed;\r\n boundary=\"----=_Part_0_1243330334.1642151531229\""
            },
            "subject": "Test",
            "flags": {
                "answered": false,
                "seen": true,
                "deleted": false,
                "draft": false,
                "recent": false
            },
            "ccAddresses": [],
            "fromAddresses": [
                "[email protected]"
            ],
            "bccAddresses": [],
            "toAddresses": [
                "[email protected]"
            ],
            "number": 1,
            "sentDate": "2022-01-14T14:42:11",
            "id": "25",
            "replyToAddresses": [
                "[email protected]"
            ],
            "receivedDate": "2022-01-14T14:42:15"
        }
    }
]
Mark as Read:
This will mark the emails in your inbox to read. In this, we need to first fetch the Mail id using the List mail component and then pass that id to Mark as a read component for this activity. Below is the flow and the config:
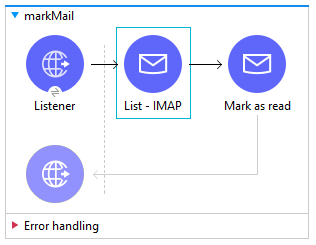
Mark as Read Config: You need to use the same connection config we created above for List mails. In the properties, section pass the id received in the output of the List mail component.
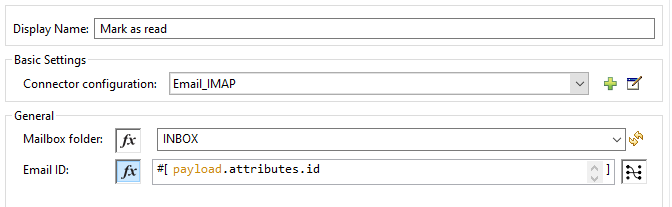
Now run the code and you will see the mail in your inbox marked as read.
Mark as Delete:
Marks an incoming email as Deleted. Emails that are marked for deletion are scheduled for deletion when the folder closes, which means that the email is not physically eliminated from the mailbox folder, but its state changes.
All these marked emails are deleted when the Delete or Expunge folder is executed.
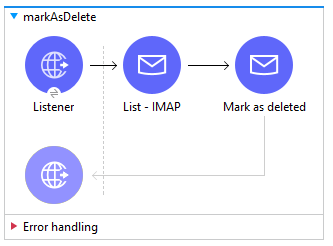
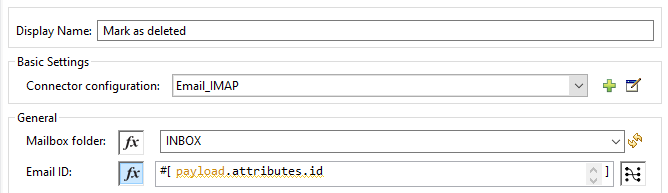
Mark as Deleted config:
Delete:
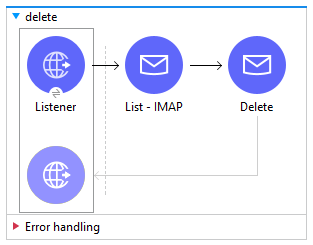
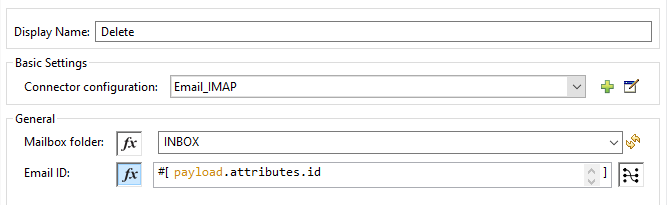
This will delete the email with the specified email id from the inbox.
Also, this will delete the emails that were marked as deleted.
- Send:
Opinions expressed by DZone contributors are their own.
Comments