

Creating a Mule ESB Sample Hello World Application
Mule is a lightweight, open source integration framework. In this tutorial, learn the requirements and steps for creating a sample Mule application.
Join the DZone community and get the full member experience.
Join For FreeMule ESB is an integration technology that can connect different applications. Mule is an open-source integration framework consisting of different Connectors that can easily integrate our applications.
Mule is a lightweight integration framework. Mule ESB includes powerful capabilities including REST, SOAP, JMS, Salesforce, Cloudhub, RAML, Http, Datasource, Dataweave, Java, and MongoDB.
MuleSoft Anypoint Studio is a user-friendly IDE where we can easily drag Connectors from the Mule Palette.
In this article, I am going to show you how to create a Mule ESB Sample Application. For this, we need the below requirements.
3. Postman
Mule ESB Sample Application
<mule xmlns:http="http://www.mulesoft.org/schema/mule/http" xmlns="http://www.mulesoft.org/schema/mule/core" xmlns:doc="http://www.mulesoft.org/schema/mule/documentation"
xmlns:spring="http://www.springframework.org/schema/beans"
xmlns:xsi="http://www.w3.org/2001/XMLSchema-instance"
xsi:schemaLocation="http://www.springframework.org/schema/beans http://www.springframework.org/schema/beans/spring-beans-current.xsd
http://www.mulesoft.org/schema/mule/core http://www.mulesoft.org/schema/mule/core/current/mule.xsd
http://www.mulesoft.org/schema/mule/http http://www.mulesoft.org/schema/mule/http/current/mule-http.xsd">
<http:listener-config name="HTTP_Listener_Configuration1" host="0.0.0.0" port="8081" basePath="/sample" doc:name="HTTP Listener Configuration"/>
<flow name="sample-appFlow">
<http:listener config-ref="HTTP_Listener_Configuration1" path="/{parmname}" allowedMethods="GET" doc:name="HTTP"/>
<set-payload value="#[message.inboundProperties.'http.uri.params'.parmname]" doc:name="Set Payload"/>
</flow>
</mule>
Follow the below steps or copy the above code into Mule Configuration XML (src/main/app/sample-app.xml).
Step 1: Open Anypoint Studio and Create a new project using File->New ->Mule Project.
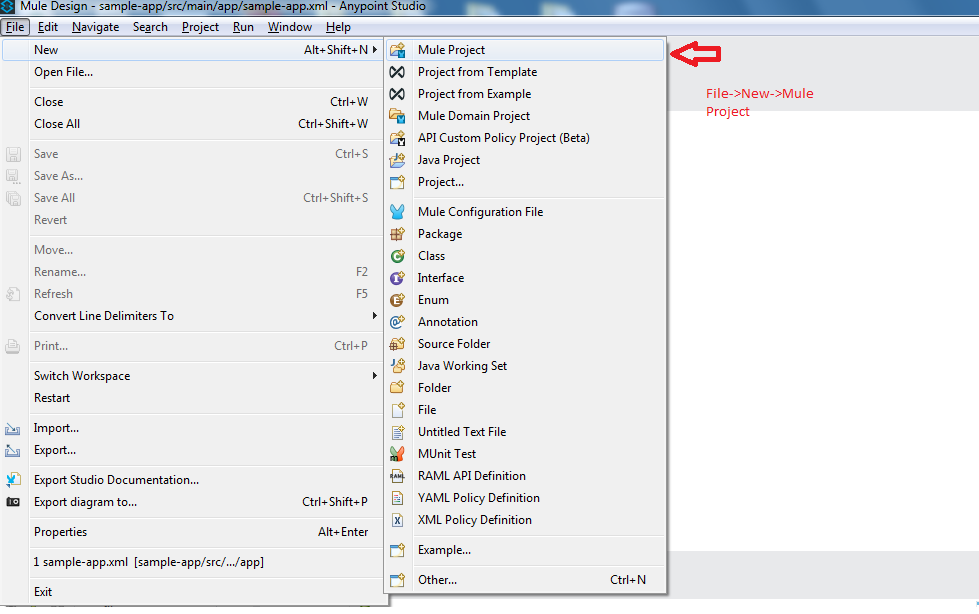
Step 2: Type a Project Name like "sample-app" and press the Finish button.

Step 3: Drag an HTTP Connector from Mule Palette.
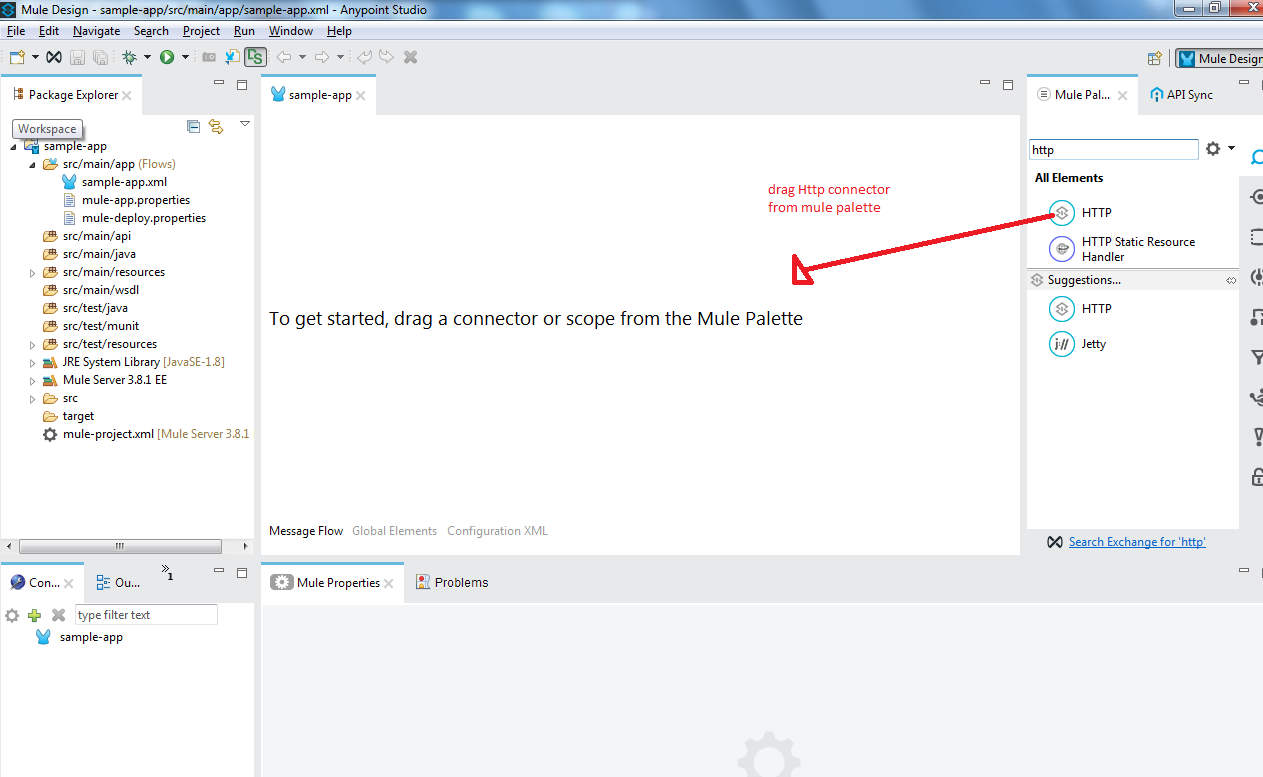
Step 4: Click on the HTTP Connector and you can find HTTP Attributes in the below screen. We need to configure some details of the HTTP Connector.

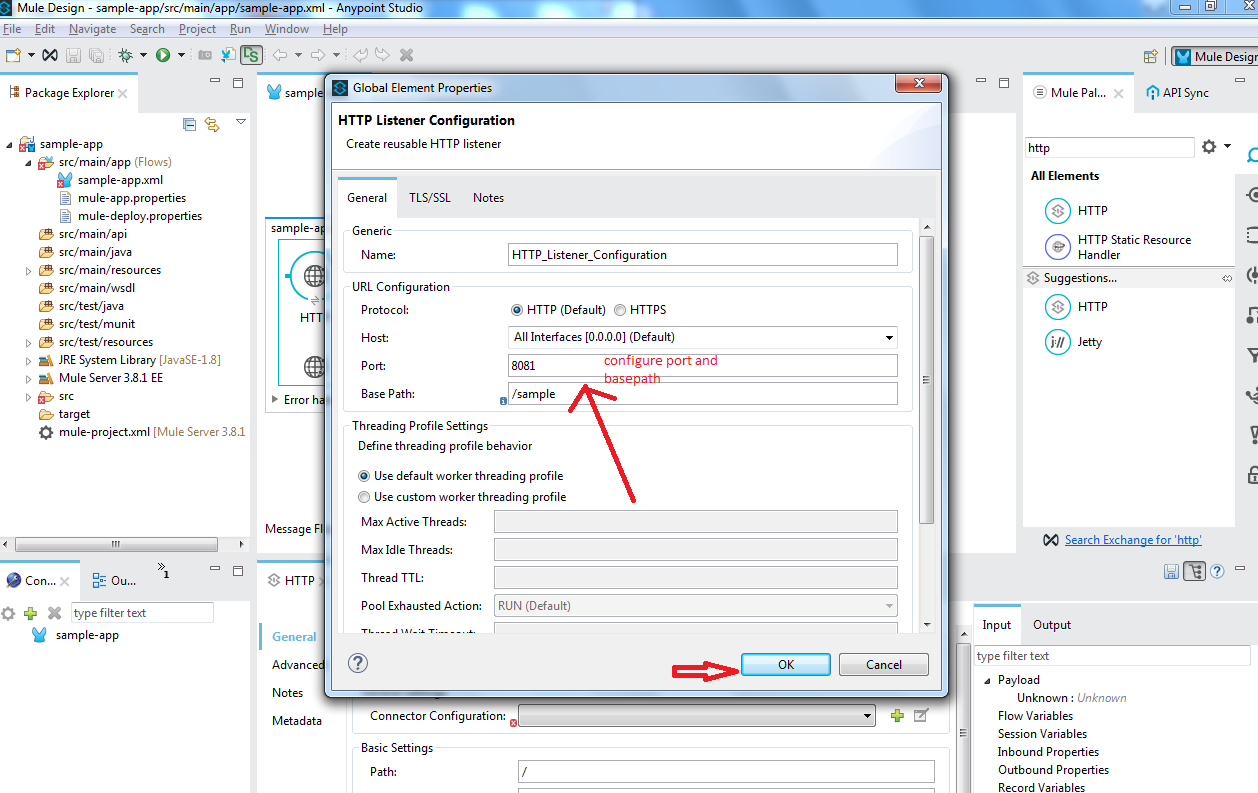
Step 5: Configure port "8081" and the Base path as "/sample" & press the OK button.
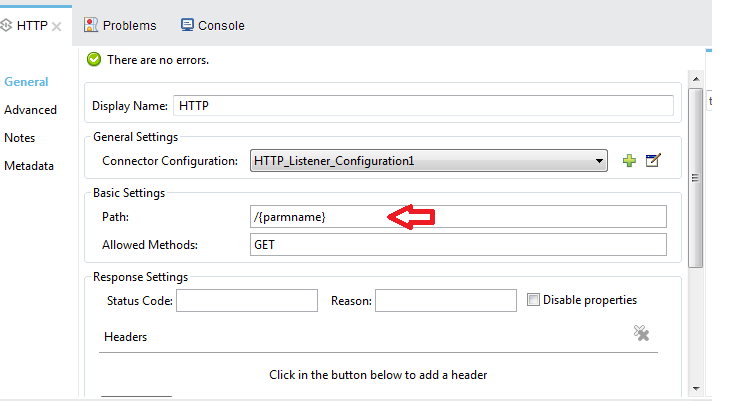
Step 6: Set the path as "/{paramname}" and Allowed Methods to "GET."
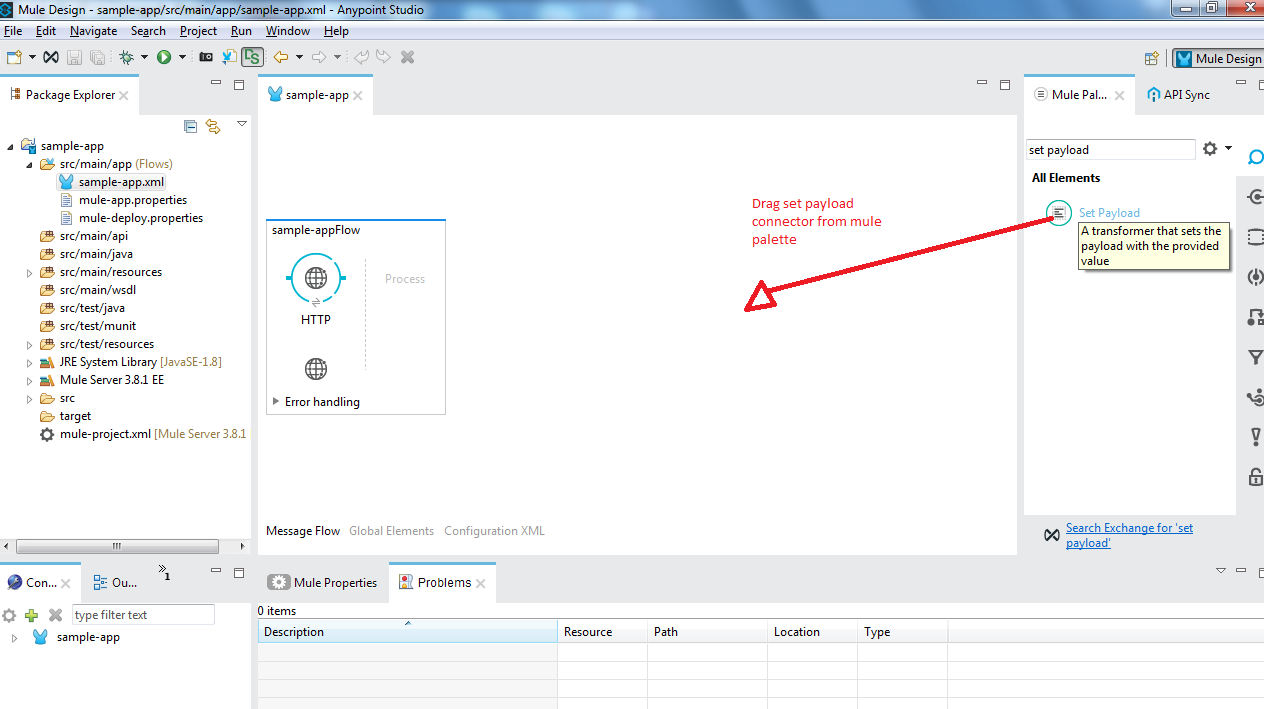
Step 7: Drag a Set Payload from Mule Palette.
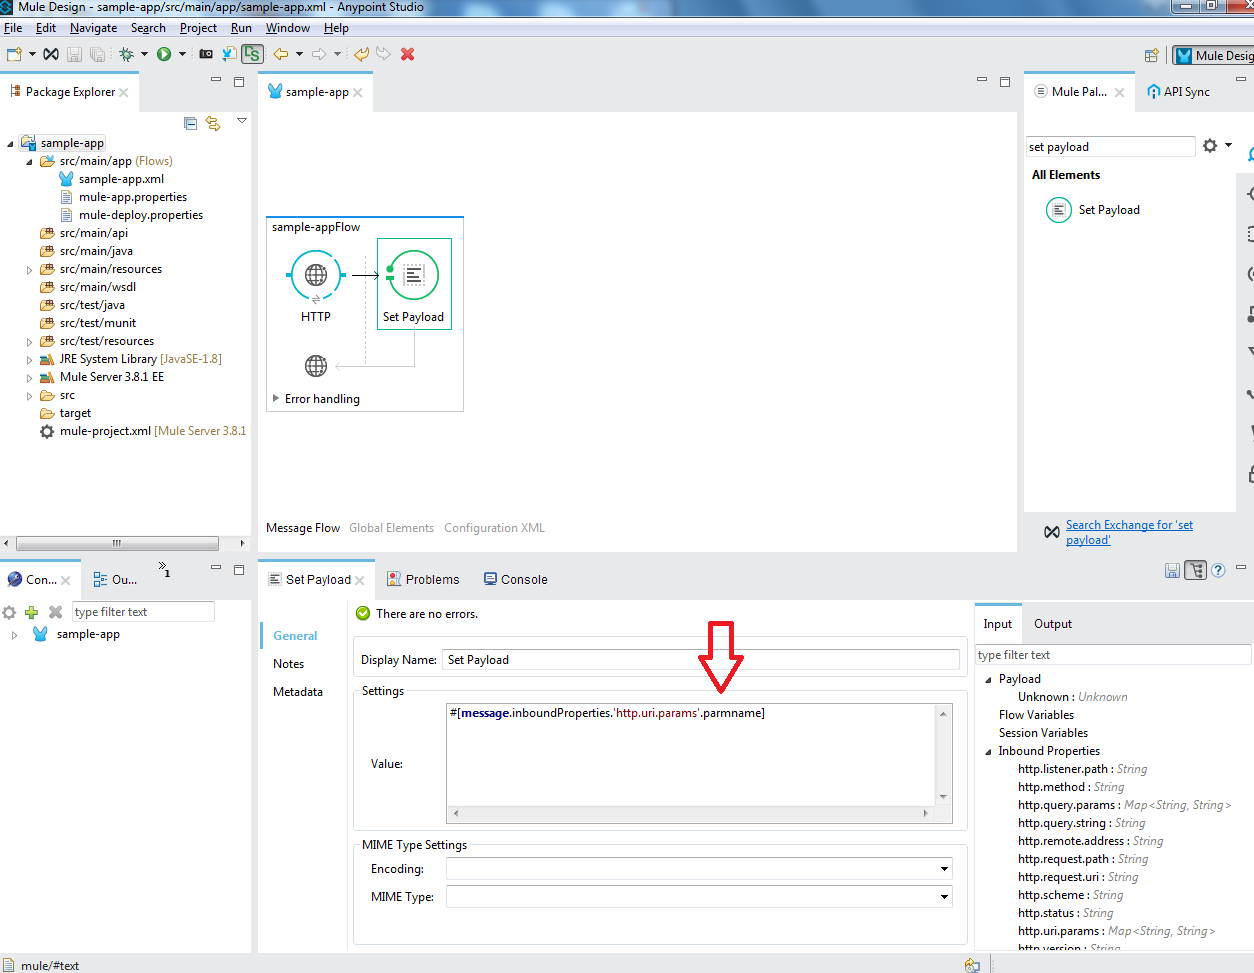
Step 8: Click on Set Payload and set the value. #[message.inboundProperties.'http.uri.params'.parmname]
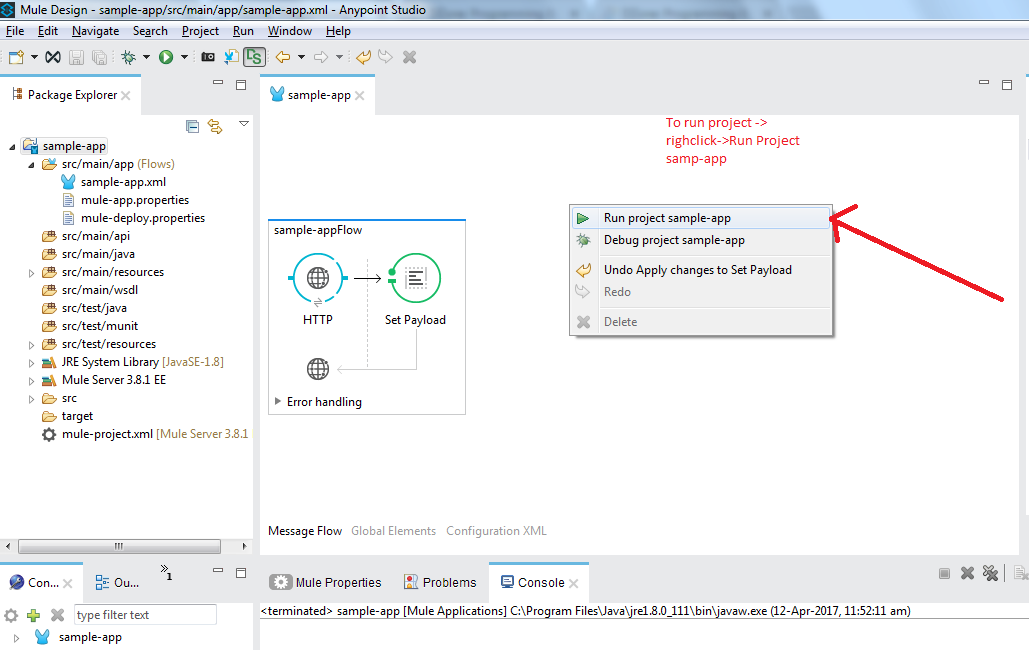
Step 9: To run this application, right click on Mule Flow and select "Run Project sample-app."
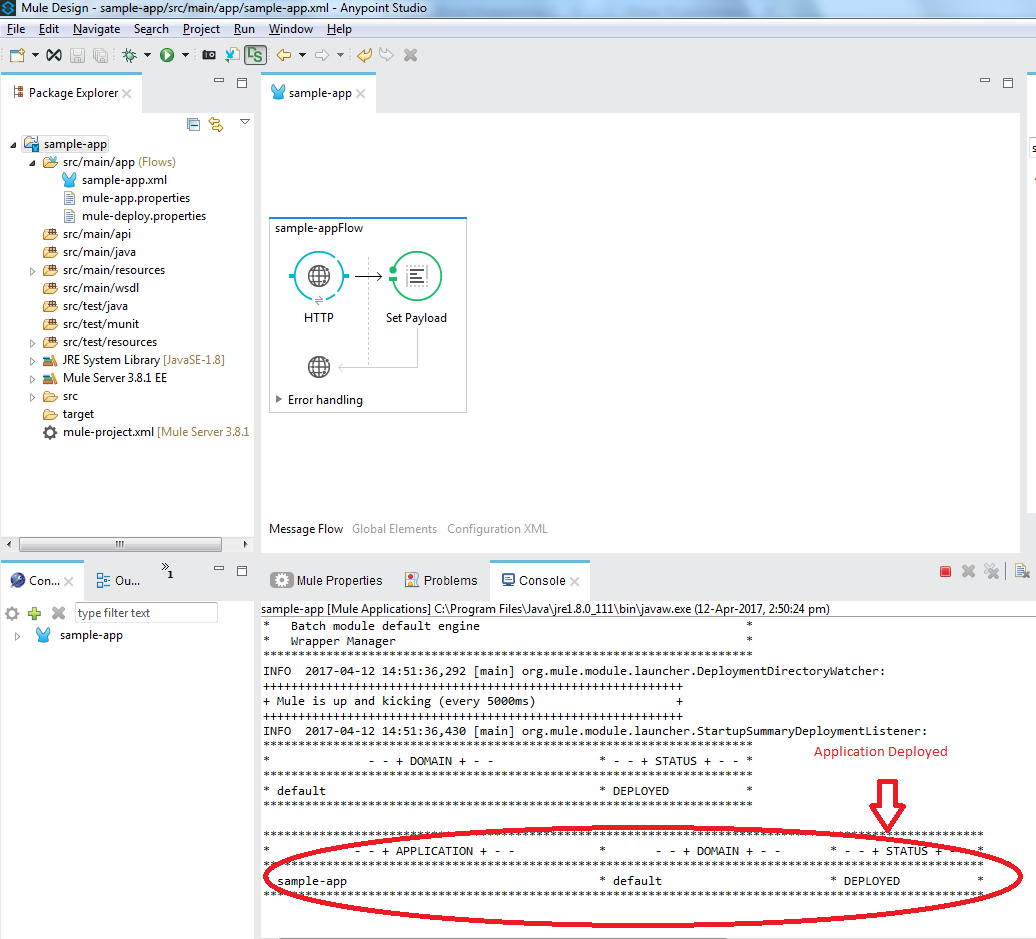
Step 10: You can see some logs in the console screen; the status is showing that the application was deployed.
Step 11: Go to Postman:
Select Method: "GET"
URL: http://localhost:8081/sample/
Param value: Helloworld
Example: http://localhost:8081/sample/Helloworld
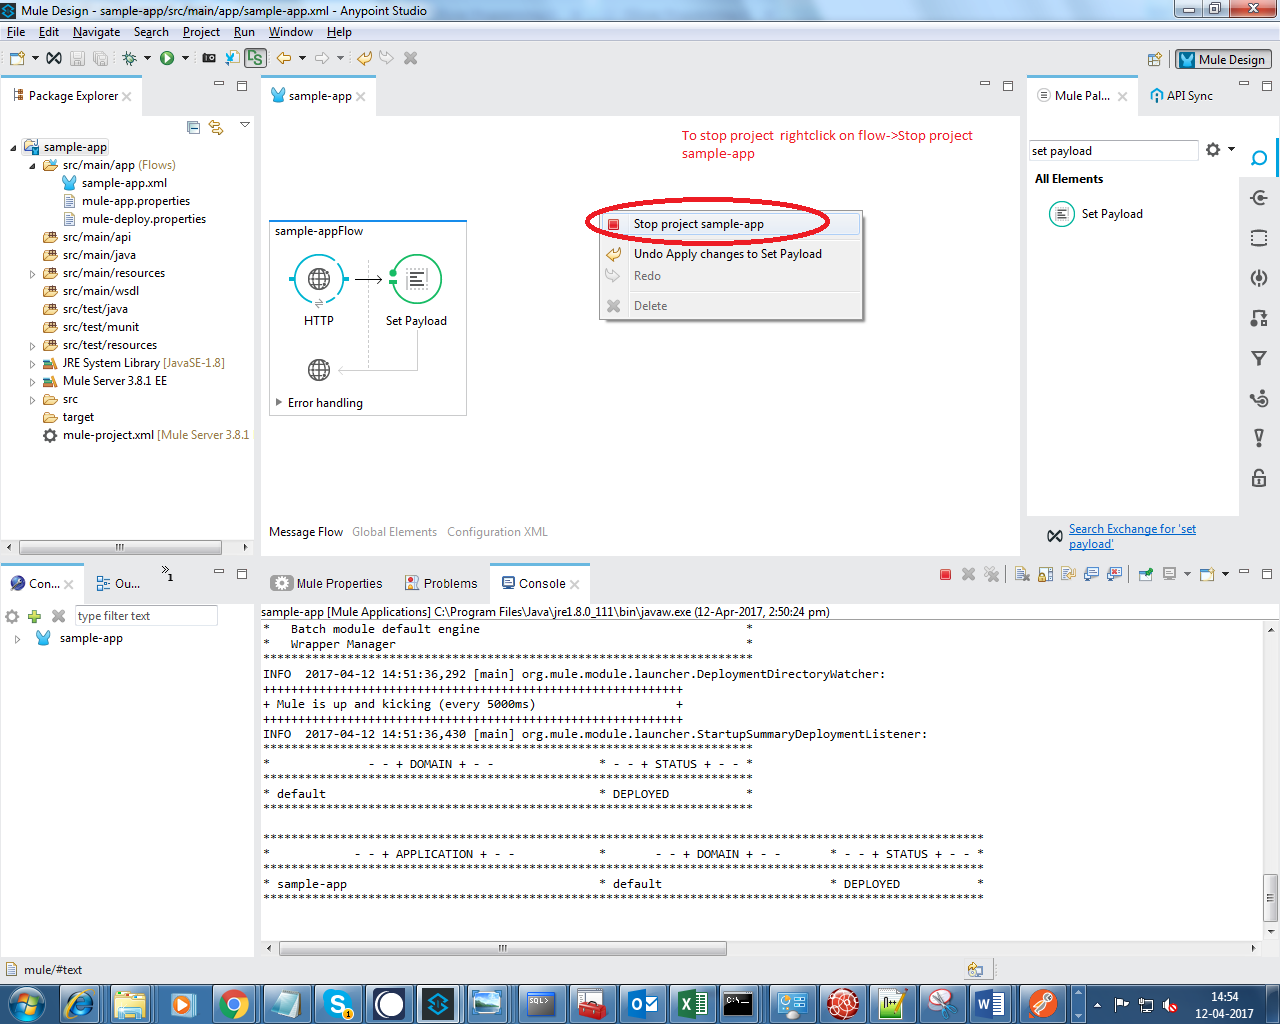
 Step 12: To stop the application, go to Mule Flow, right click and select "Stop Project sample-app."
Opinions expressed by DZone contributors are their own.
Comments