NGINX Yum Proxy Repository Setup for Amazon Linux EC2
This article is talking about the setting yum proxy for Amazon Linux distribution on AWS Cloud. Read on to find out more!
Join the DZone community and get the full member experience.
Join For FreeIntroduction
In the organization, direct exposure to download system or application packages is not allowed due to controlled environment and security risk. To avoid the direct download can set a yum proxy for all the Linux and Unix distributions.
There are so many ways to configure yum proxy via NGINX, Nexus, or JFROG. However, this article is talking about the setting yum proxy for Amazon Linux distribution on AWS Cloud. As some artifactory servers do not support to make a yum proxy for the Amazon Linux EC2.
Steps
Few steps need to follow to set yum proxy for Amazon Linux EC2. First, we need to create the yum proxy server with NGINX then need to configure the client to install system or application packages.
On the Server-side —
xxxxxxxxxx
###Install NGINX
$ sudo amazon-linux-extras install nginx1 -y
###Start, Enable and check the status of nginx server
$ systemctl start nginx
$ systemctl enable nginx
$ systemctl status nginx
###Enable port 80 on Security Groups. We enabled it for VPC access, And in such cases ###where access to another VPC you can always make use of VPC peering. Further if you ###require any on-prem machine have access to this repo you can enable internet ###access on Security groups and use the repo's public IP address (Network charges ###will apply here).
###Install the create repo and utils tool to allow us to use the reposync command.
$ sudo yum install createrepo yum-utils
###Create a directly where we will store all the rpm files
sudo mkdir -p /var/www/html/repos/amzn2-core
###Sync the amzn2-core repo with the directory we just created
$ sudo reposync --repoid=amzn2-core --newest-only --download-metadata --download_path=/var/www/html/repos/amzn2-core
###Make the amzn2-core directory a repository using the createrepo command
$ sudo createrepo -v /var/www/html/repos/amzn2-core
###Modify nginx configurations to set document root as /var/www/html/repos. (The same ###can be done with apache where in virtualhosts configurations you can set Document ###root to /var/www/html/repos).
$ sudo vi /etc/nginx/conf.d/repos.conf
server {
listen 80;
root /var/www/html/repos;
location / {
index index.php index.html index.htm;
autoindex on; #enable listing of directory index
}
}
:wq!
###Restart the nginx server for the changes to take in effect.
sudo systemctl restart nginx
On the Client-side —
xxxxxxxxxx
###Create a repo file, e.g.
$ sudo vim /etc/yum.repos.d/local.repo
[local_repo]
name=amazon local
baseurl=XXX.XXX.XXX.XXX/amzn2-core/
enabled=1
gpgcheck=0
:wq!
###Disable all other repos.
Run $ yum update > to check if all is well.
sudo yum install httpd -y
###Package should install from the local repo.
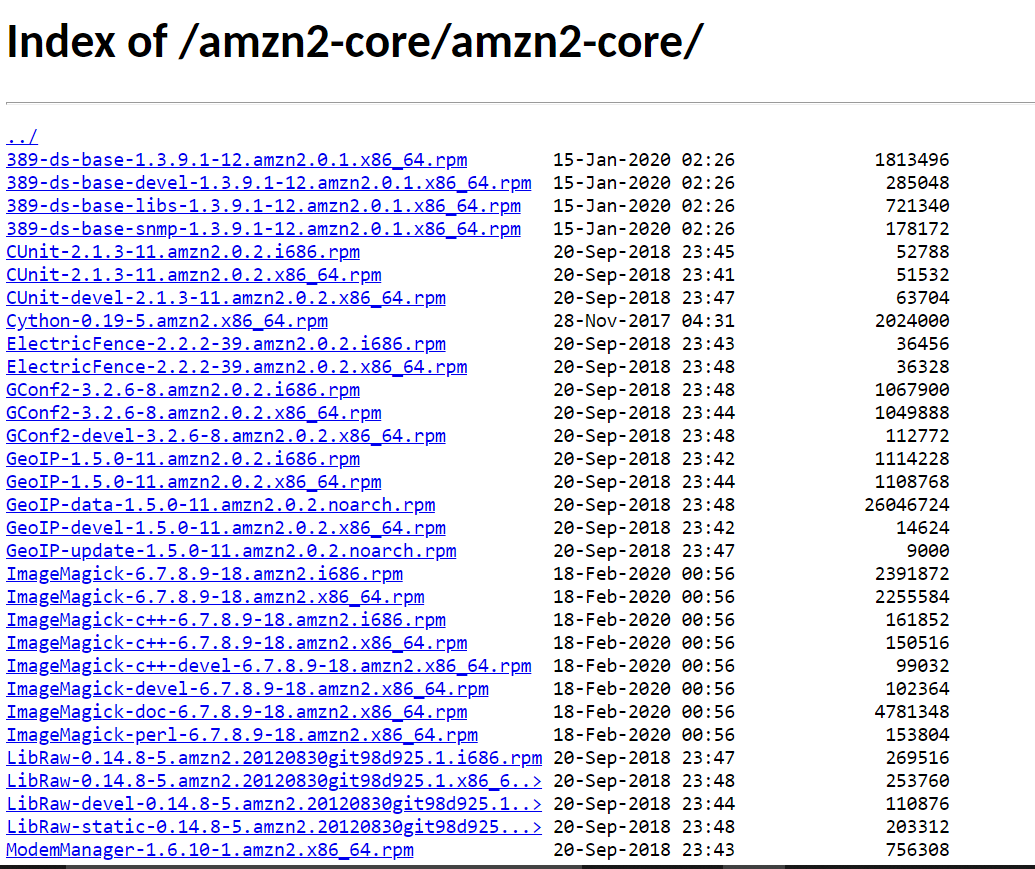
Also can be checked that all the packages have been synched with the NGINX server. Open the browser and enter —
http://XXX.XXX.XXX.XXX/amzn2-core/amzn2-core/
Here all the packages will be displayed as below —
Keep learning!
“Learning never exhausts the mind.”
― Leonardo da Vinci
Opinions expressed by DZone contributors are their own.
Comments