Postman, Newman, Xunit Viewer And Jenkins Integration
Let's go through four steps to create our free API periodically tester with reports.
Join the DZone community and get the full member experience.
Join For FreeEvery one of us may need to test his API's periodically (Continuous Integration) and we can do this in different ways.
Today we are going to talk about one of the free ways and we will go through four steps to create our free API periodically tester with reports.
Step 1: Create your Postman API Collection
Postman is a free API debugging tool. You can install it on your Mac, Windows, and Linux.
You can find Postman installation file here https://www.getpostman.com/apps. It's a regular installation nothing special to do.
After you complete the installation, you should be able to see the Postman landing page.

Now we need to create a Postman collection to save our API's into so we will be able to use them later.
I will use https://any-api.com/ to get some API's to create a test on them.
Now, create your Collection from the top left corner (New Collection Button). Add your API's and their test and save them.
Here is some API's I had created. You can use them if you would like to:
https://1drv.ms/u/s!AjfE5hcZHHyvlH-ai_zeLHbjQsHO.
Step 2: Setup Newman to Run Your Postman Collection From CLI
What is Newman? Newman is a command-line collection runner for Postman, built on node.js and because is built on node.js it uses the default package manager for node.js which is npm.
First, you need to install the node.js (if you had not already done this before) before start using the Newman, you can download the node.js installation file from here https://nodejs.org/en/download/ its available for Windows, MAC and Linux, keep the default settings for the installation and add the npmto System Variables.
After you complete the installation open your CLI and run the following command: npm install -g newman, This will add Newman globally to your system. After it completes the installation you should be able to see something like this
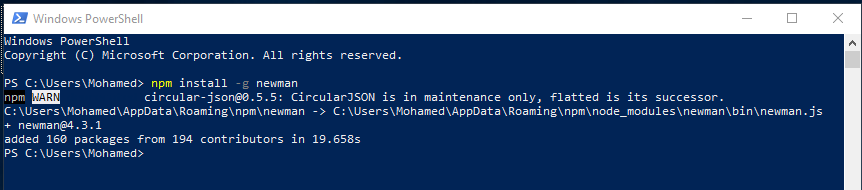
To make sure your installation is correct run the following commandnewman -v and you should get the version of Newman you downloaded.
Now we ready to run our postman collection via Newman. to run a postman collection follow the below command structure.
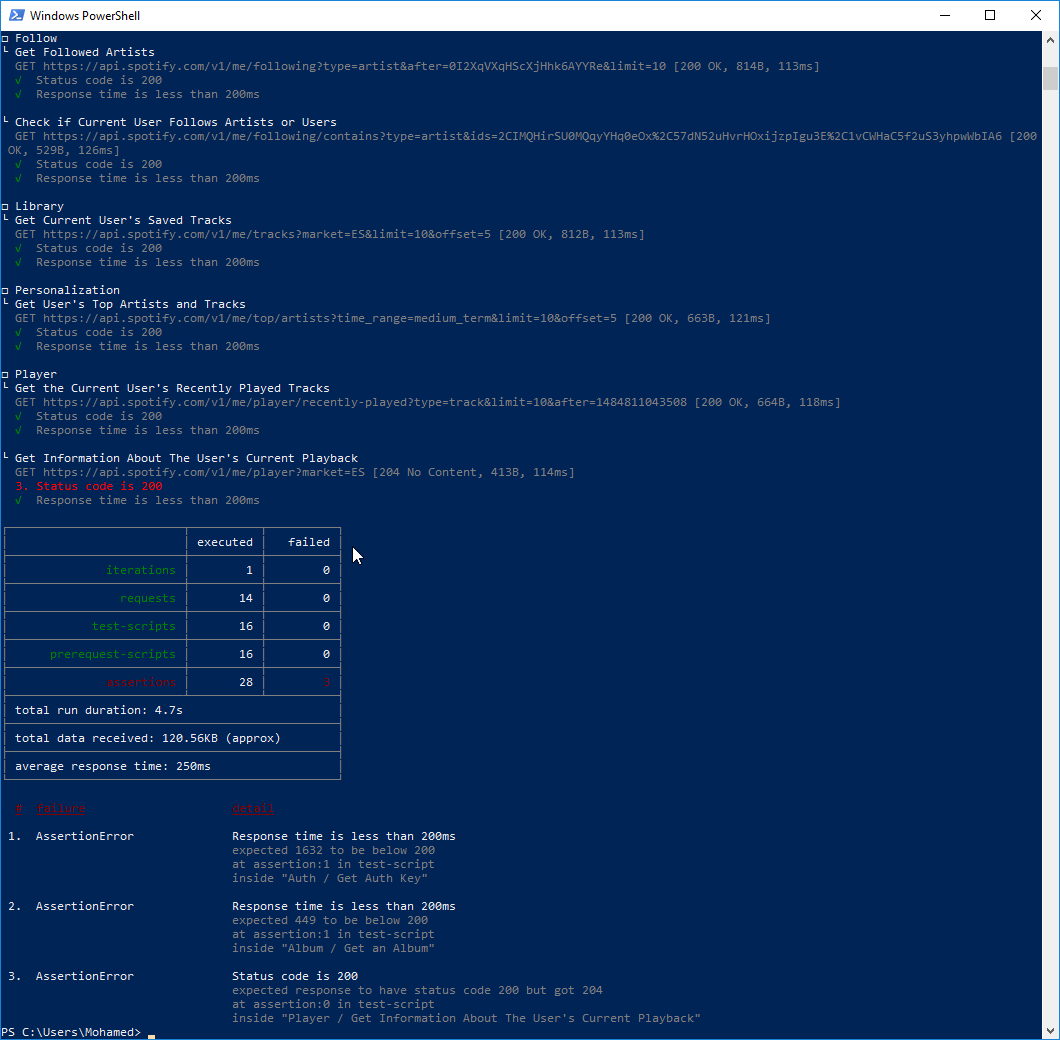
newman run ${yourCollectionPath}\${yourCollectionName}.json, in our case its newman run C:Users\Mohamed\Documants\Spotify.postman_collection.json
After the run complete you should be able to see the test result table.
Step 3: Setup Xunit Viewer to Generate Your Test Report
Xunit Viewer: Takes your XML xunit results and then turns it into a nice single HTML file.
Same as Newman Xunit Viewer built on node.js. First, we need to install Xunit Viewer on our machines to do this run the command:npm i -g xunit-viewer.Now we need to run our collection in Newman but this time with report command to generate the XML report and parse it to HTML by using Xunit Viewer.
To run Newman with reports run newman run ${yourCollectionPath}\${yourCollectionName}.json -r cli,junitafter it completes the test you should be able to see a new folder called Newman in the same directory of the collection, and inside the Newman folder you should find a file with .xml extension.
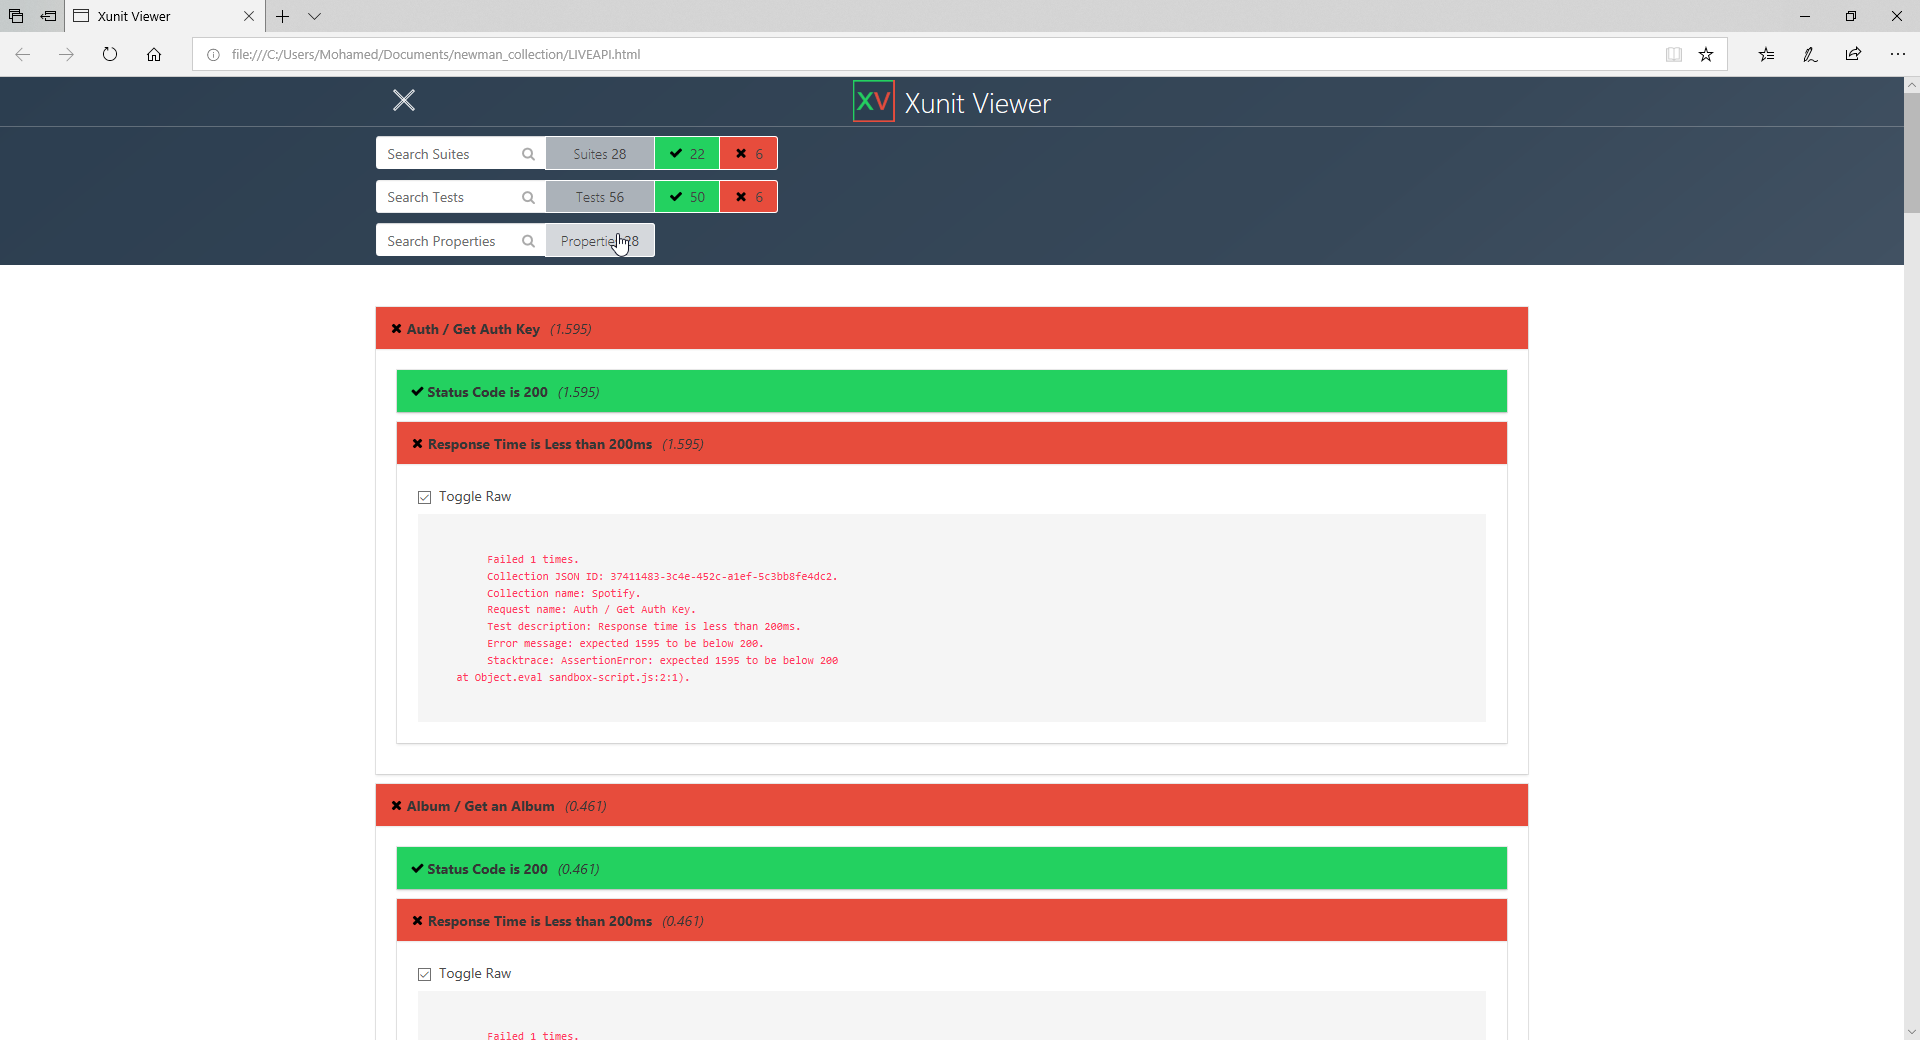
Now we are ready to run the xunit-viewer command. xunit-viewer --results=newman --output=test_results.html In this command, we are tilling xunit-viewer to parse all files in the Newman directory to HTML file with test_results.html name. the output file should be looking like this.
Now we are good to proceed with our Jenkins setup.
Step 4: Setup Jenkins to Run Your Scripts Periodically
Jenkins is a self-contained, open source automation server which can be used to automate all sorts of tasks related to building, testing, and delivering or deploying software.
To set up the Jenkins follow this tutorial https://dzone.com/articles/how-to-install-jenkins-on-windows
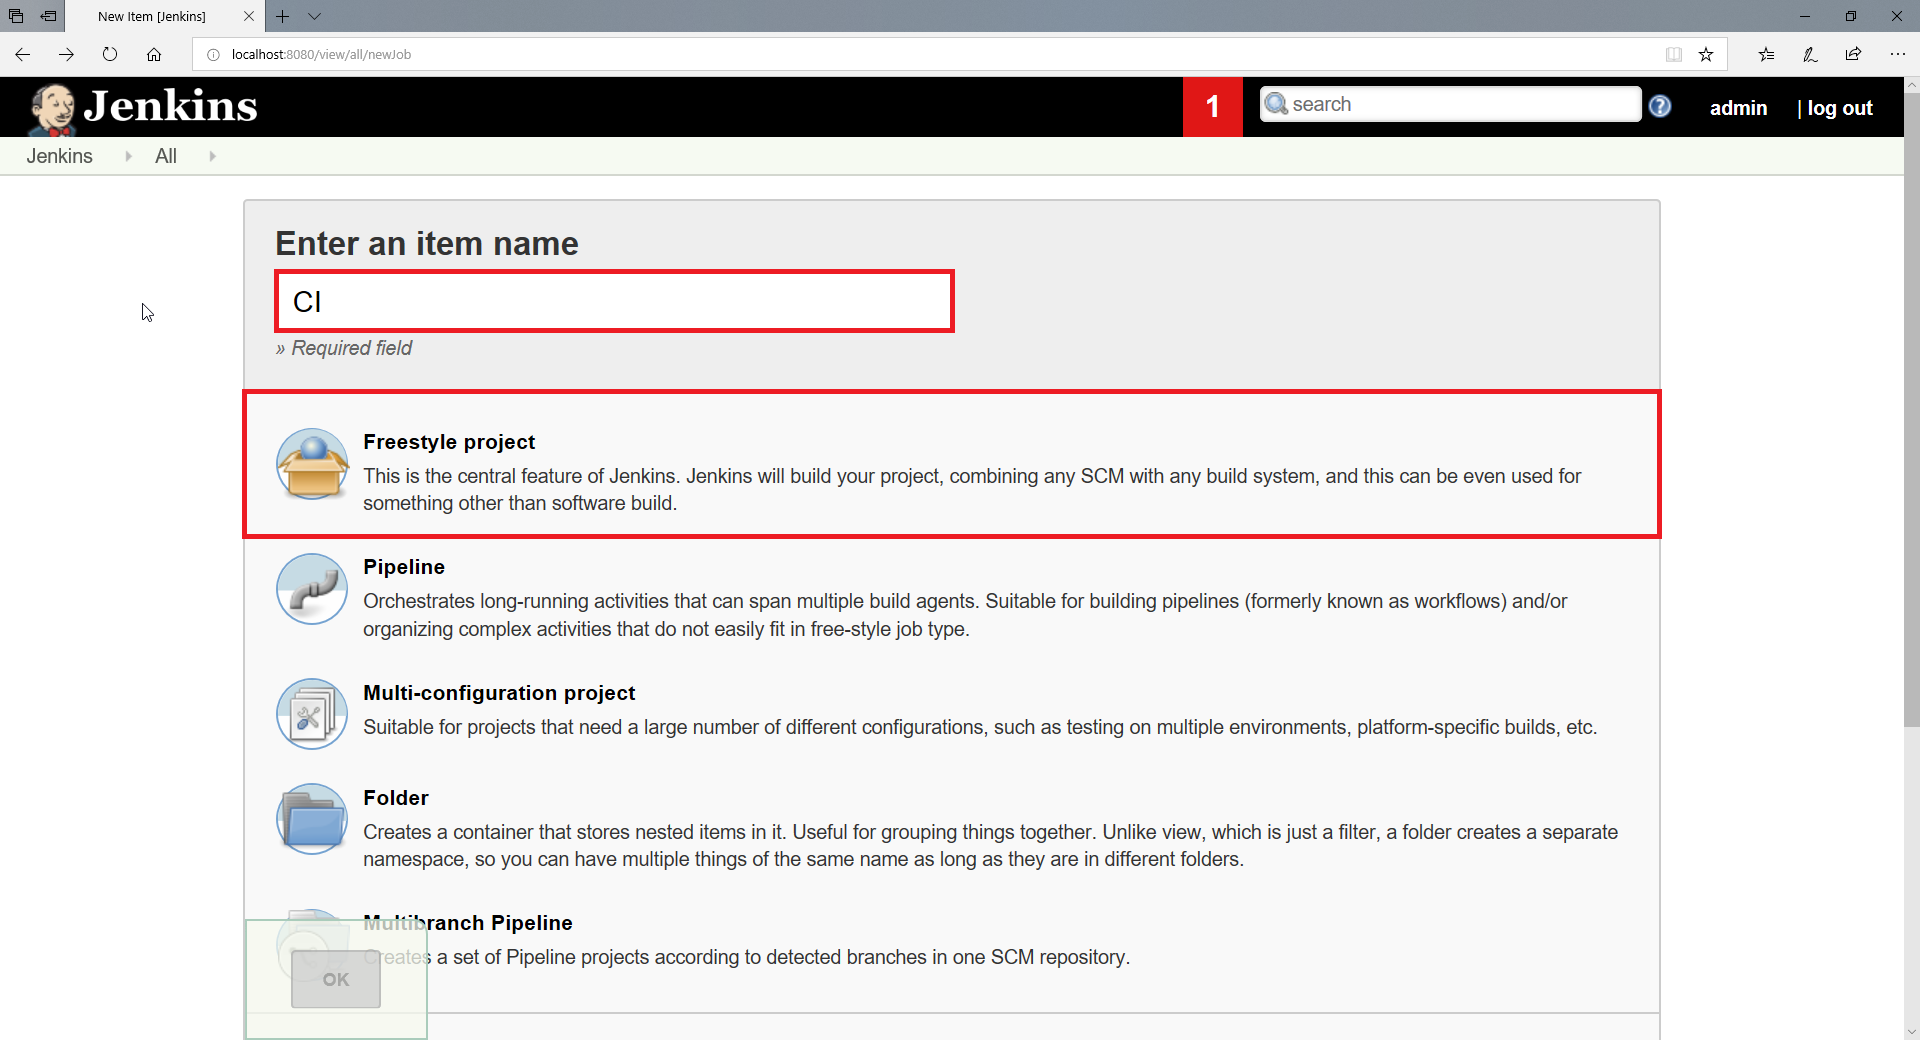
After you complete the setup go Jenkins > New Item: fill the JOB name and select Freestyle project and then click OK.
Now we need to create a .bat file will allow us to run the commands from Jenkins, add the following command to the .bat file
newman run Spotify.postman_collection.json -r junit,cli & xunit-viewer --results=newman --output=results.html
save the .bat file and the postman collection in the JOB workspace directory.
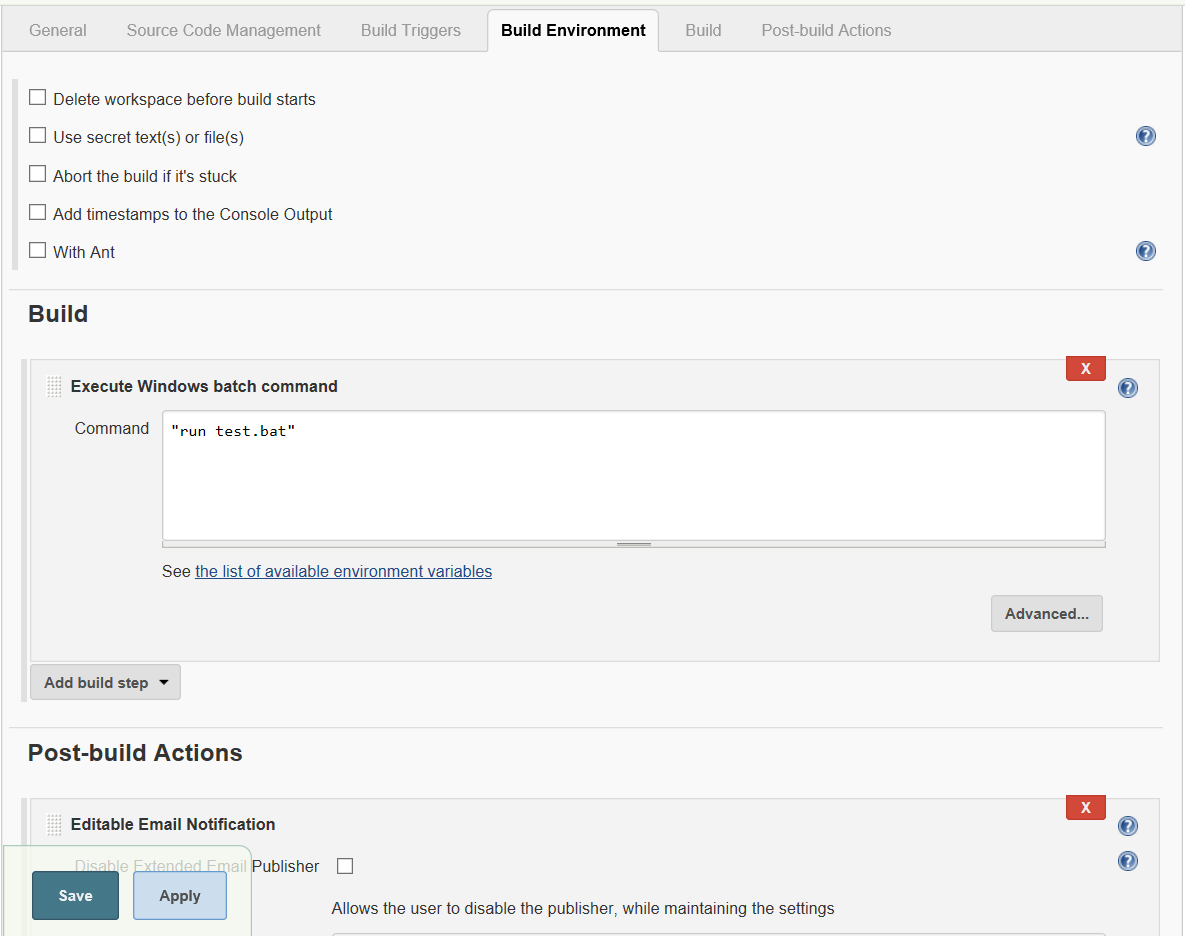
Now go to Build > Add build step > Execute Windows batch command add the path of the .bat file we had created before in my case is "run test.bat" because it's in the root directory of the JOB workspace.
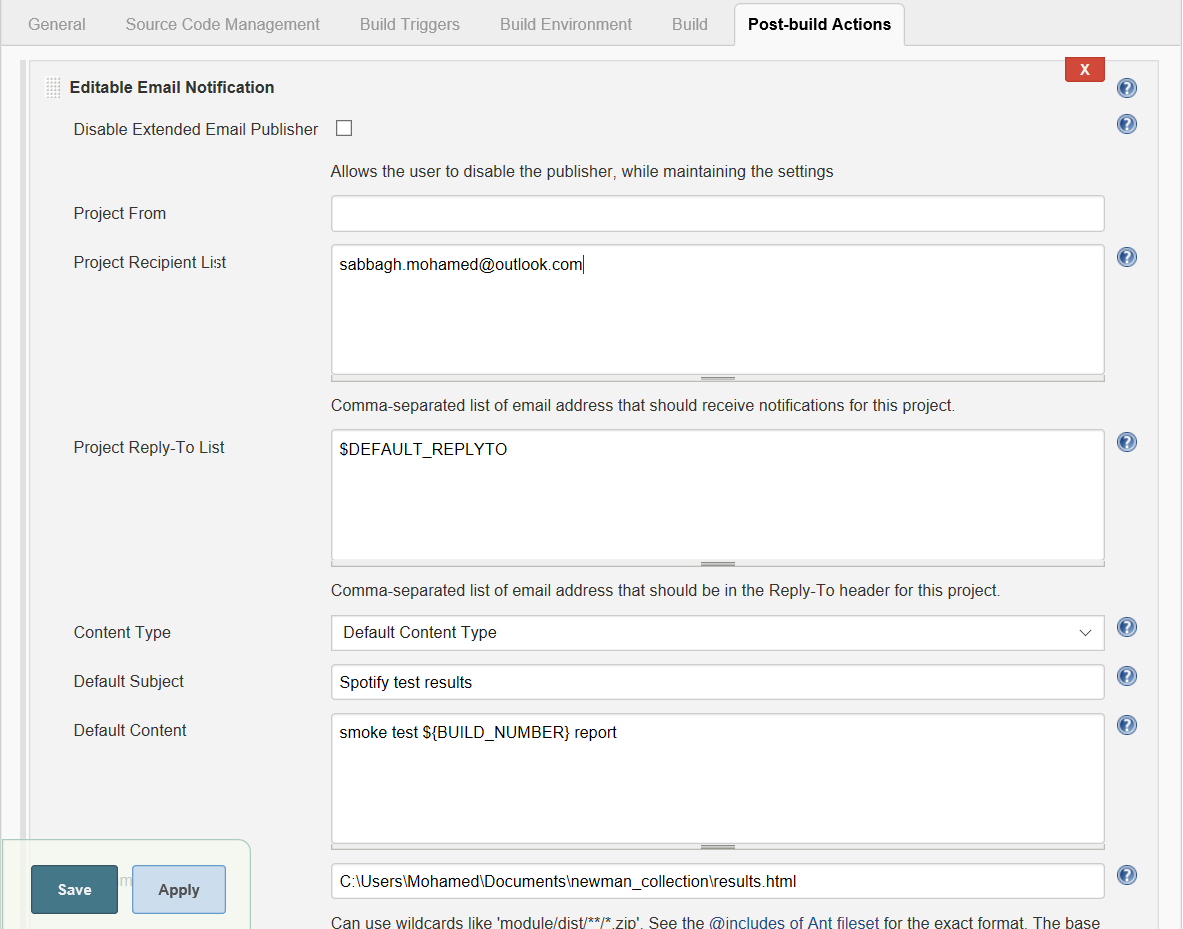
Now go to Post-build Actions > Enable Email Notification: Fill yours in Project Recipient List, add your email subject in Default Subject,the email content on Default Content and the path of the HTML report in Attachments.
Note: to enable email notification you need to configure your email first in Jenkins follow the instructions in the below link to configure your email
Finally in the Build Triggers select Build periodically and fill H(0-0) 06 * * * this will run the JOB every day on 06:00 AM.
We all set up now, of course, there is more to do with these tools but the idea is to run your API's daily with ZERO price or any superscription fees.
Opinions expressed by DZone contributors are their own.
Comments