

Add Observability to Your React Native Application in 5 Minutes
A five-minute walkthrough for adding logs, traces, and error monitoring to a React Native iOS app using LaunchDarkly's Observability SDK, shown on a simple counter app.
Join the DZone community and get the full member experience.
Join For FreeIn modern application development, feature flags are the guardrails that keep experiments controlled and rollbacks safe when conditions shift. If feature flags act as the guardrails, observability provides the visibility: the headlights (traces), mirrors (logs), and dashboard instruments (metrics) that reveal what’s happening in the environment and how well a feature is performing.
Together, feature flags and observability unlock powerful insights by correlating code changes with real-time system behavior. This combination reduces time-to-diagnosis and builds greater confidence when rolling out new features.
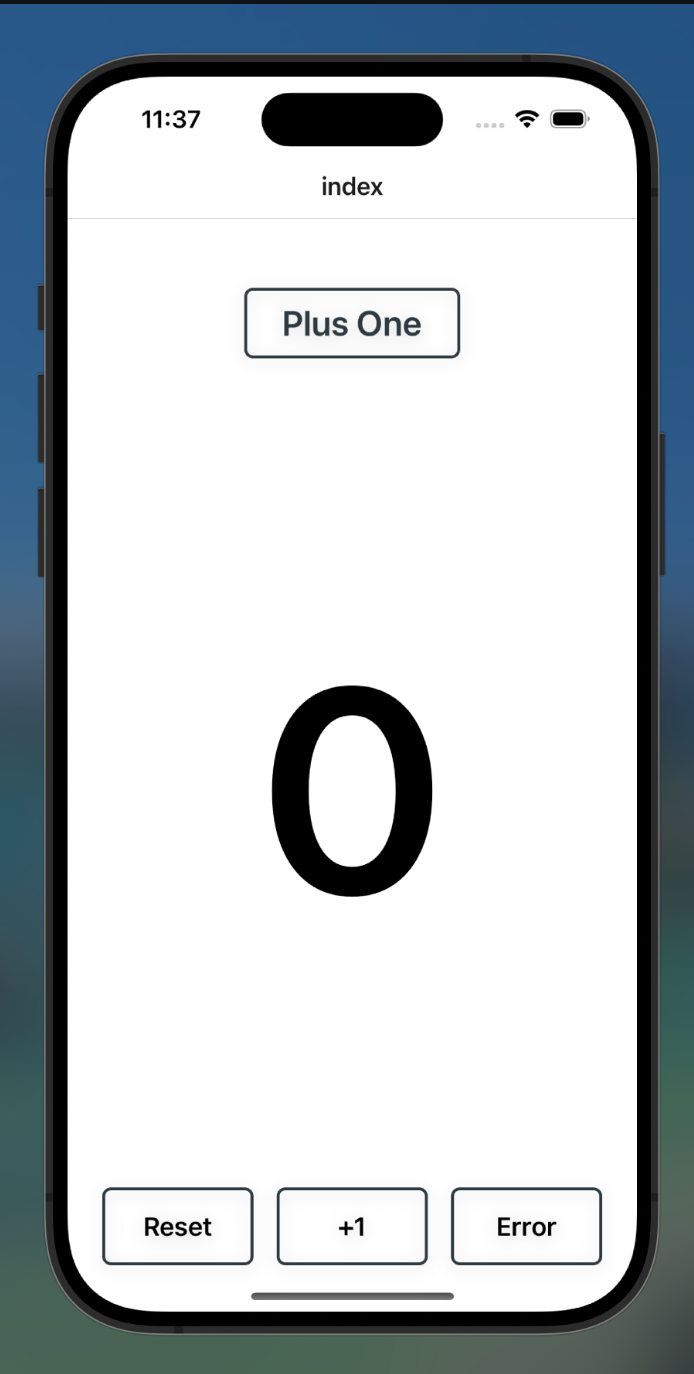
In this post, we’ll walk through just how to add observability to a React Native application using LaunchDarkly’s observability SDK. To demonstrate the process, we’ll build on the PlusOne app, a simple counter app that includes increment (+1), reset, and error-triggering buttons. This lightweight demo provides a clean foundation to showcase how logs, traces, and errors can seamlessly flow into LaunchDarkly for monitoring and debugging.
Prerequisites
- LaunchDarkly account. Sign up for a free one here.
- Visual Studio or another code editor of choice.
All code from this tutorial can be found on GitHub.
Setting Up Your Environment
Before running a React Native app, make sure your development environment is set up correctly. You can find the full setup instructions for both Android and iOS here.
In this tutorial, we'll be running iOS, but keep in mind Expo Orbit, the platform we'll be using to run our iOS simulator, requires both Xcode and Android Studio to be installed.
After going through the instructions, you should have the following installed:
- Node JS (preferably via nvm)
- Watchman for file monitoring
- JDK via zulu package manager
- Android Studio. Don’t forget to set your
Android_Homeenvironment variables - Xcode for the iOS simulator
- Cocoapods for iOS dependency management
- Expo Orbit for running Expo apps on Android or iOS
If you're using Android, don't forget to add your environment variables to bash or zsh profile.
export ANDROID_HOME=$HOME/Library/Android/sdk
export PATH=$PATH:$ANDROID_HOME/emulator
export PATH=$PATH:$ANDROID_HOME/platform-tools
Starting Up the PlusOne App
To get started, let’s clone the repo for the PlusOne app and run npm install to ensure the proper dependencies are present in our node_modules file.
Clone the repo.
git clone https://github.com/arober39/PlusOneInstall dependencies using npm.
cd PlusOne
npm install
We’ll also need to run both the prebuild command to generate the iOS file and the expo run command to run the iOS simulator.
Prebuild for iOS.
npx expo prebuildRun expo app.
npm expo run:iosNow we can view the iOS app in the iPhone simulator using npm.
# iOS
npm run ios

# Android
npm run android
The app should look something like this:
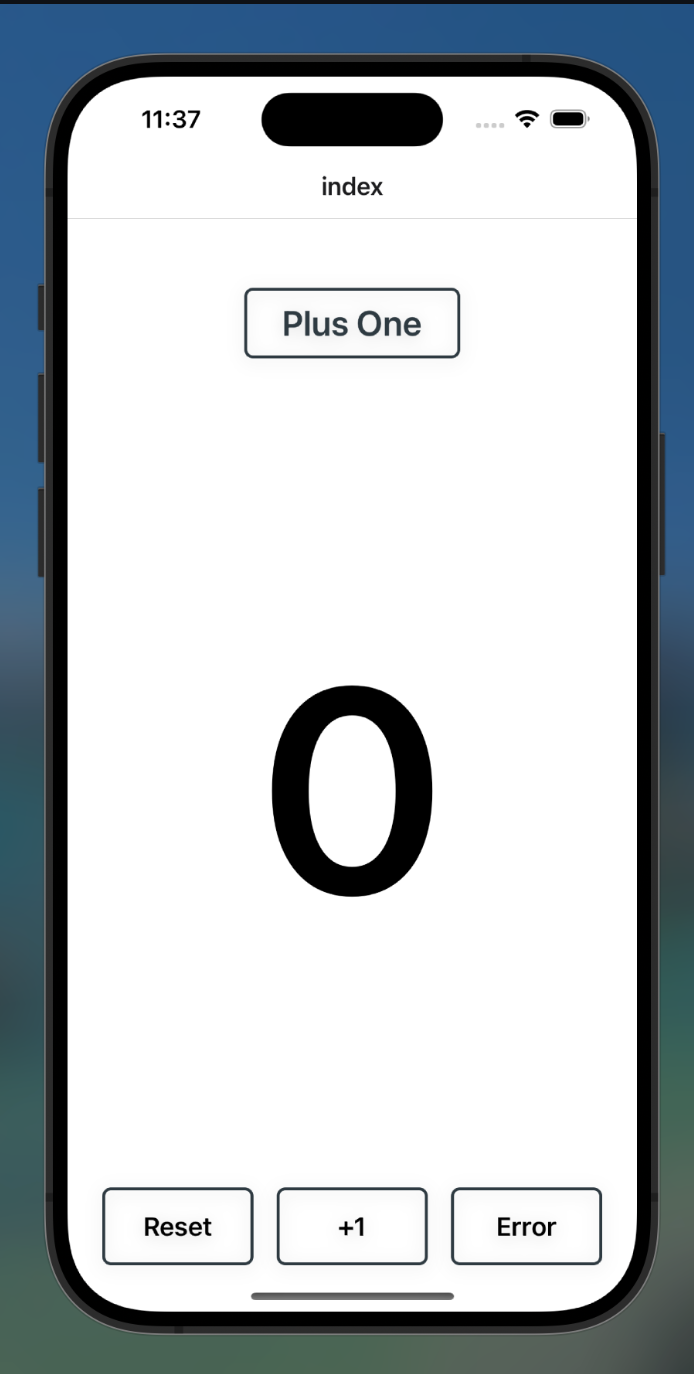
Feel free to interact with the app to ensure all is working as expected.
As you can see in the code, we have three buttons: one that adds one to the displayed number, one to bring the count back to zero, and an intentional Error button to test error monitoring within the LaunchDarkly UI.
// app/index.tsx

import { useState } from "react";
import { StyleSheet, Text, TouchableOpacity, View } from "react-native";

export default function Index() {
 const [count, setCount] = useState(0);

 const handleReset = () => setCount(0);
 const handleIncrement = () => setCount((prev) => prev + 1);

 const triggerRecordedError = () => {
   try {
     throw new Error("Simulated controlled error from Plus One app")
   } catch (e) {
     alert("You intentionally threw an error")
   }
 };

 return (
   <View style={styles.container}>
     <View style={styles.header}>
       <Text style={styles.headerText}>Plus One</Text>
     </View>
     <View style={styles.counterWrapper}>
       <Text style={styles.counterText}>{count}</Text>
     </View>
     <View style={styles.actionsRow}>
       <ButtonBox label="Reset" onPress={handleReset} />
       <ButtonBox label="+1" onPress={handleIncrement} />
       <ButtonBox label="Error" onPress={triggerRecordedError} />
     </View>
   </View>
 );
}

type ButtonBoxProps = {
 label: string;
 onPress: () => void;
};

function ButtonBox({ label, onPress }: ButtonBoxProps) {
 return (
   <TouchableOpacity onPress={onPress} style={styles.button} activeOpacity={0.8}>
     <Text style={styles.buttonText}>{label}</Text>
   </TouchableOpacity>
 );
}


/* The rest of the application code */
Now that we have verified a working app, we can add observability support by downloading the observability React Native SDK.
Install LaunchDarkly SDK dependencies.
npm install @launchdarkly/react-native-client-sdk
npm install @launchdarkly/observability-react-native
Next, you’ll need to initialize the React Native LD client in the app/_layout file. Replace the in the layout file by pasting the following code.
// app/_layout.tsx

import { Observability } from '@launchdarkly/observability-react-native';
import { AutoEnvAttributes, LDOptions, LDProvider, ReactNativeLDClient } from '@launchdarkly/react-native-client-sdk';
import { Stack } from 'expo-router';
import { useEffect, useState } from 'react';

const options: LDOptions = {
 applicationInfo: {
   id: 'Plus-One',
   name: 'Sample Application',
   version: '1.0.0',
   versionName: 'v1',
 },
 debug: true,
 plugins: [
   new Observability({
     serviceName: 'my-react-native-app',
     serviceVersion: '1.0.0',
   })
 ],
};

const userContext = { kind: 'user', key: 'test-hello' };

export default function RootLayout() {
 const [client, setClient] = useState<ReactNativeLDClient | null>(null);
  useEffect(() => {
   // Initialize client
   const featureClient = new ReactNativeLDClient(
     'mob-abc123',
     AutoEnvAttributes.Enabled,
     options,
   );

   featureClient.identify(userContext).catch((e: any) => console.log(e));

   setClient(featureClient);

   // Cleanup function that runs when component unmounts
   return () => {
     featureClient.close();
   };
 }, []);

 if (!client) {
   return null;
 }
 return (
   <LDProvider client={client}>
     <Stack />
   </LDProvider>
 );
}
First, we’re importing the Observability SDK as well as a few LD libraries to add options and attributes to the LD client.
- Initialized the SDK and plugin options.
- Defined the user context.
- Lastly, you initialized the client.
Now that you have defined your LD React Native client, you can implement different observability methods within your application logic.
We can do this by importing the LDObserve library in the app/_layout.tsx file.
import { LDObserve } from '@launchdarkly/observability-react-native';Then, add the recordError() method within the triggerRecordedError function inside the app/_layout.tsx file. This will allow for error messages to be sent back to the LD UI.
 const triggerRecordedError = () => {
   try {
     throw new Error("Simulated controlled error from Plus One app")
   } catch (e) {
     LDObserve.recordError(e as Error, {feature: "test-button"})
     alert("You intentionally threw an error")
   }
 };
Before being able to receive data in the LD UI, you’ll need to add your mobile key to the React Native LD client, which can be found by logging in to the LD UI.
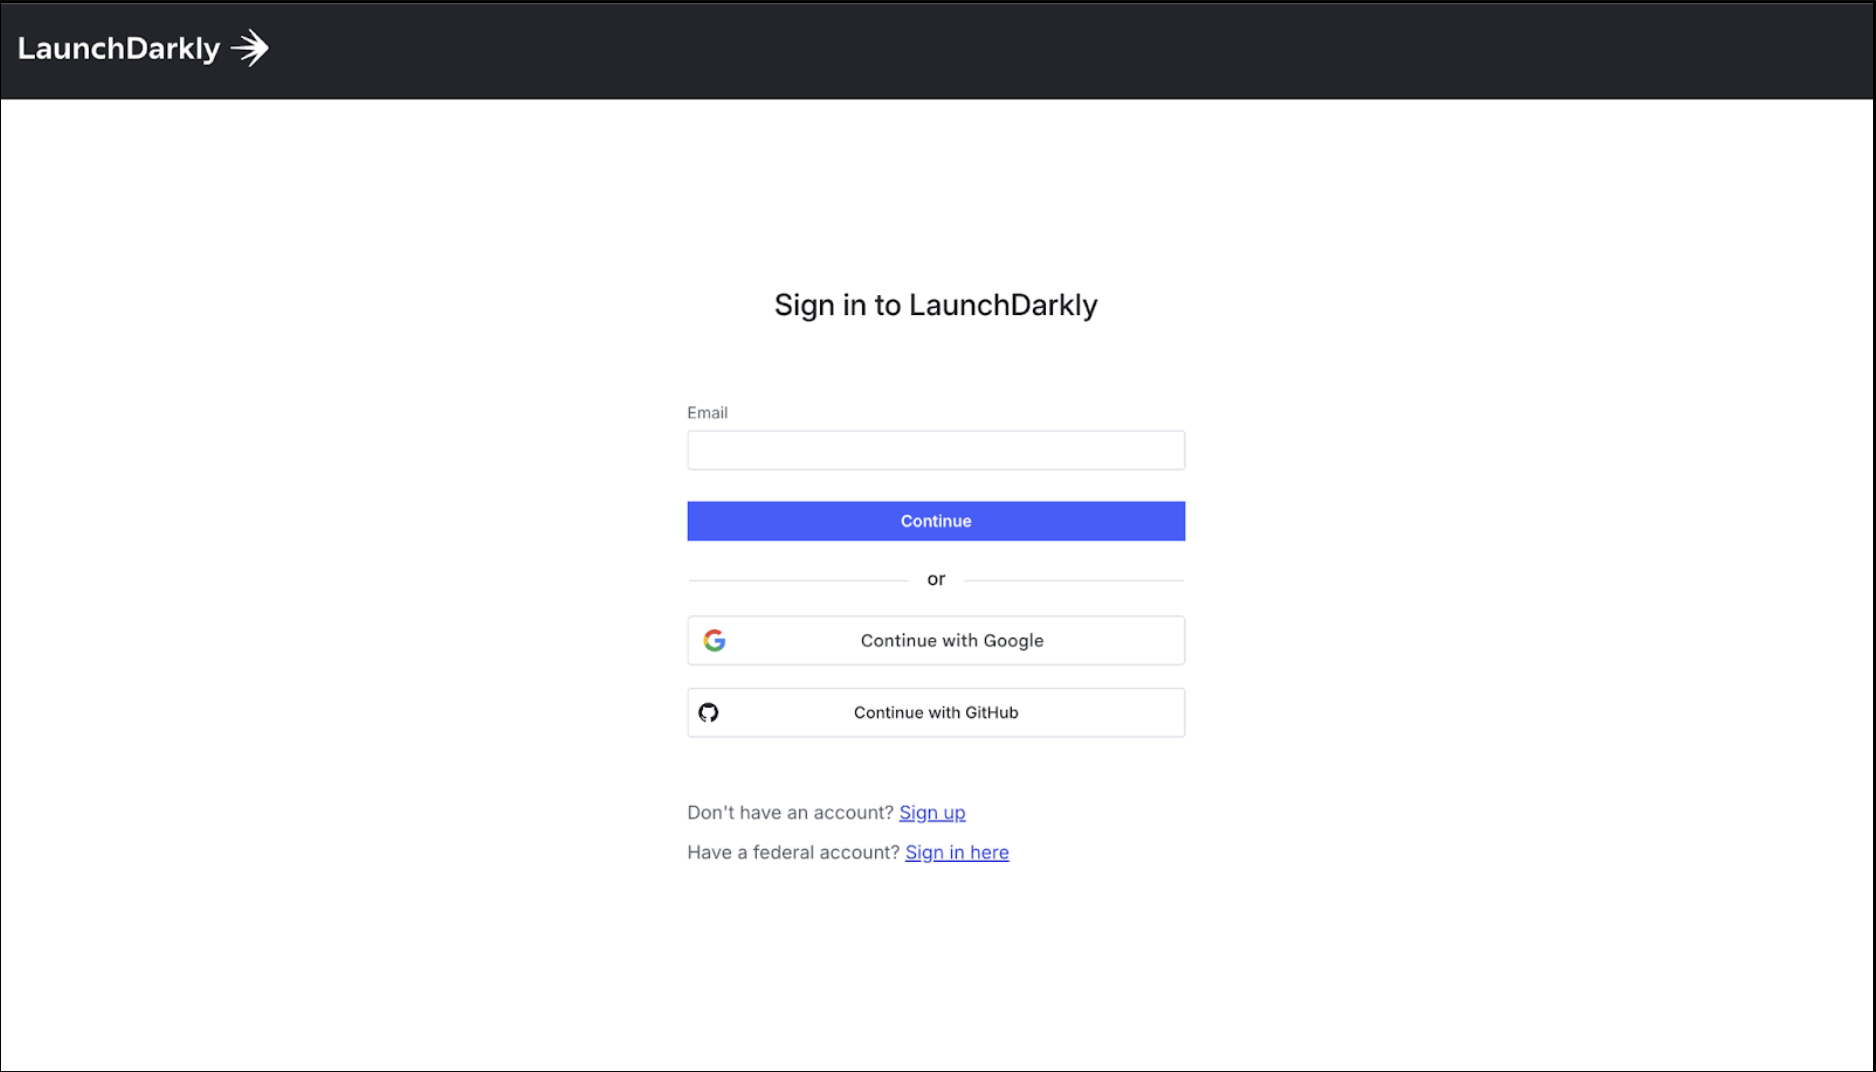
Once logged in, tap the settings button at the bottom left.
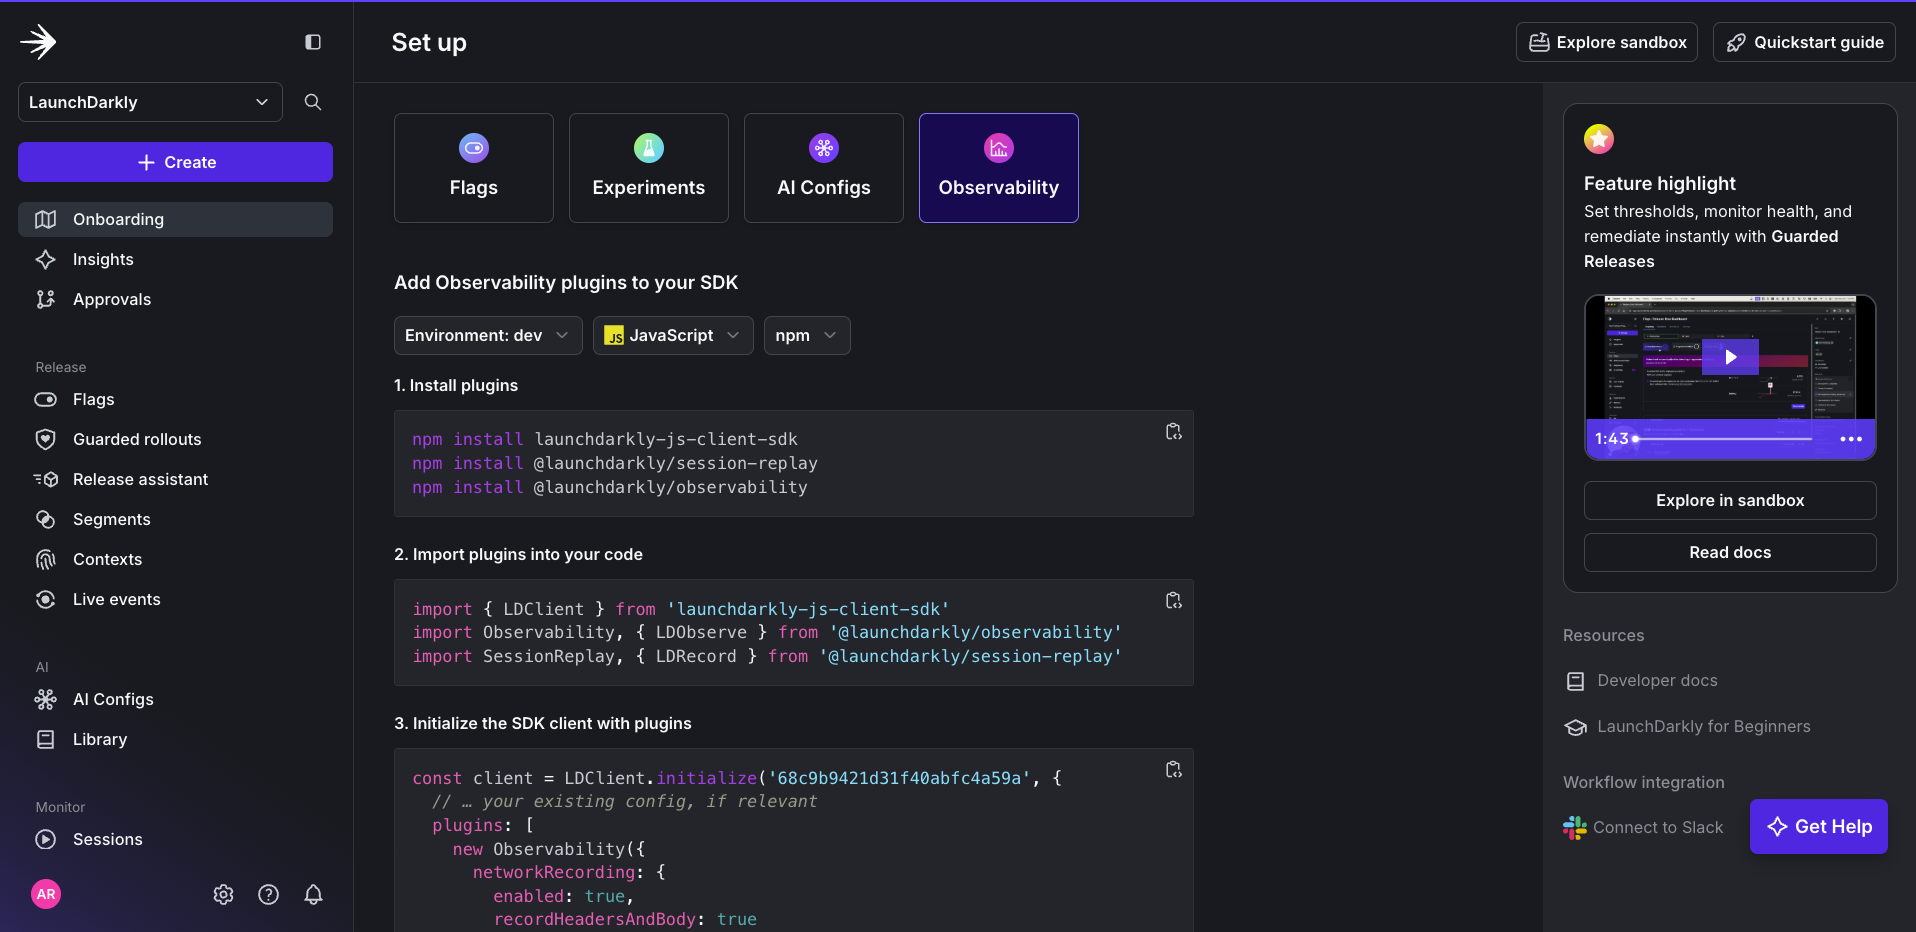
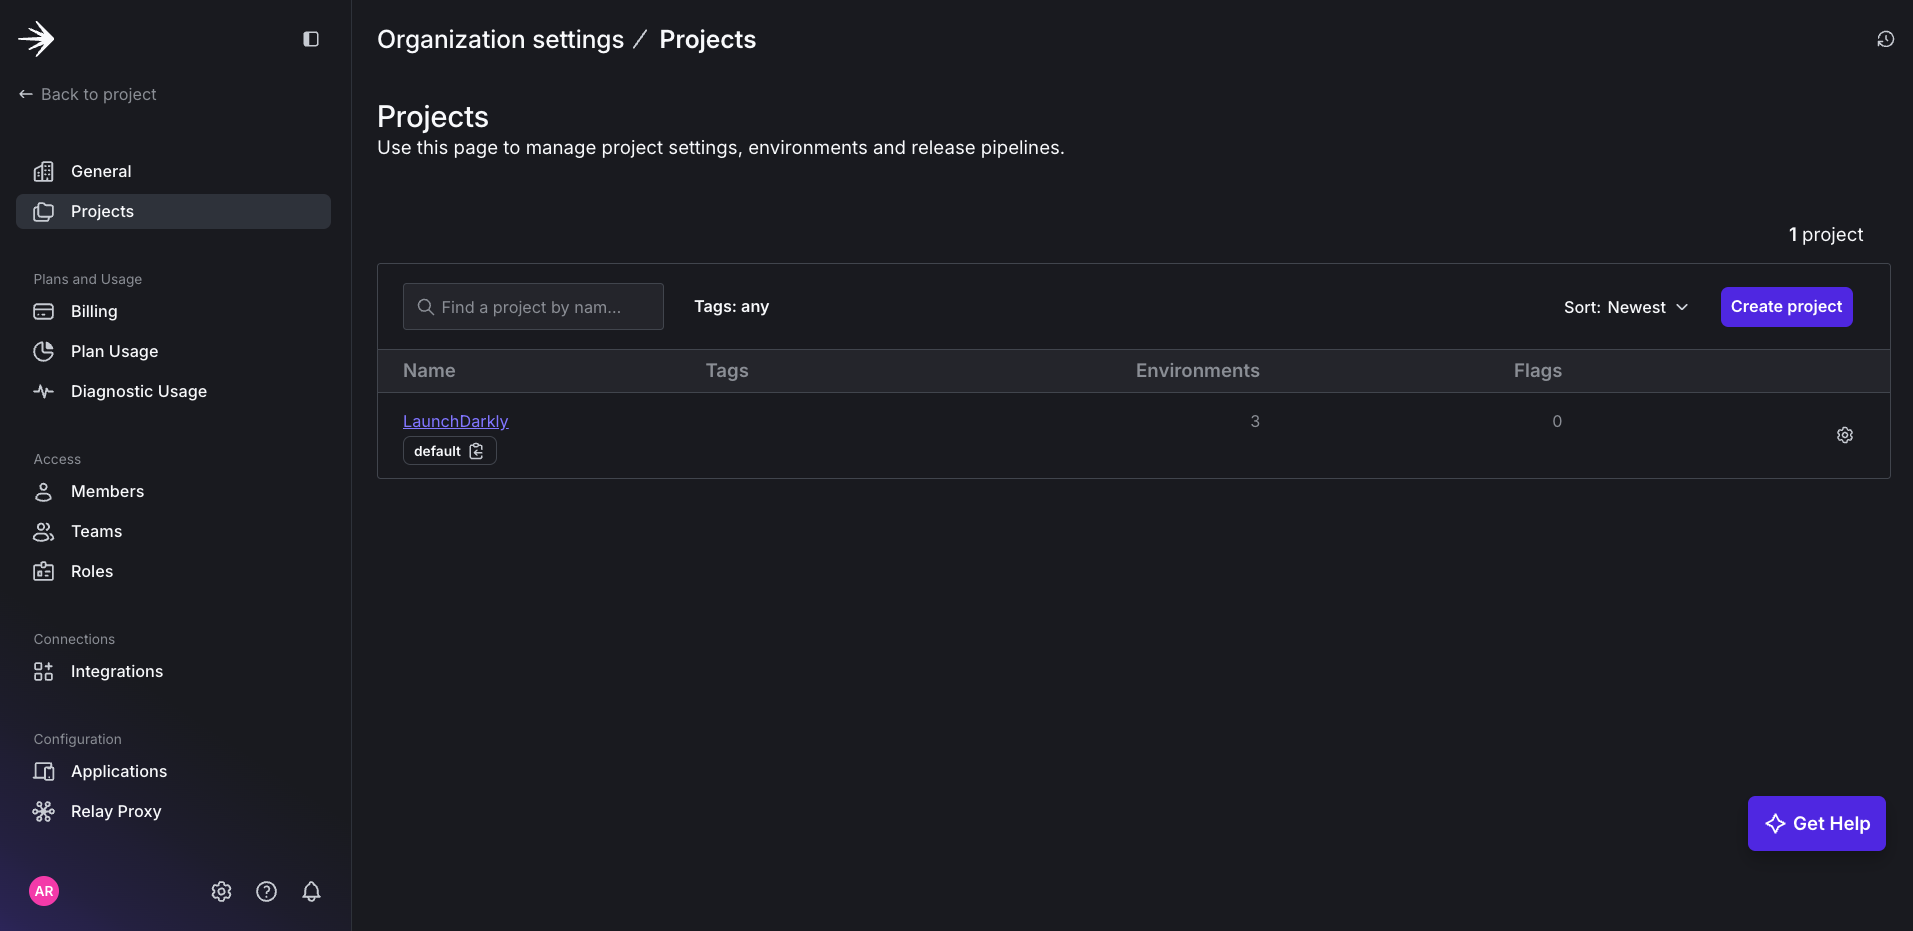
Navigate to the Projects page and click Create to create a new project.
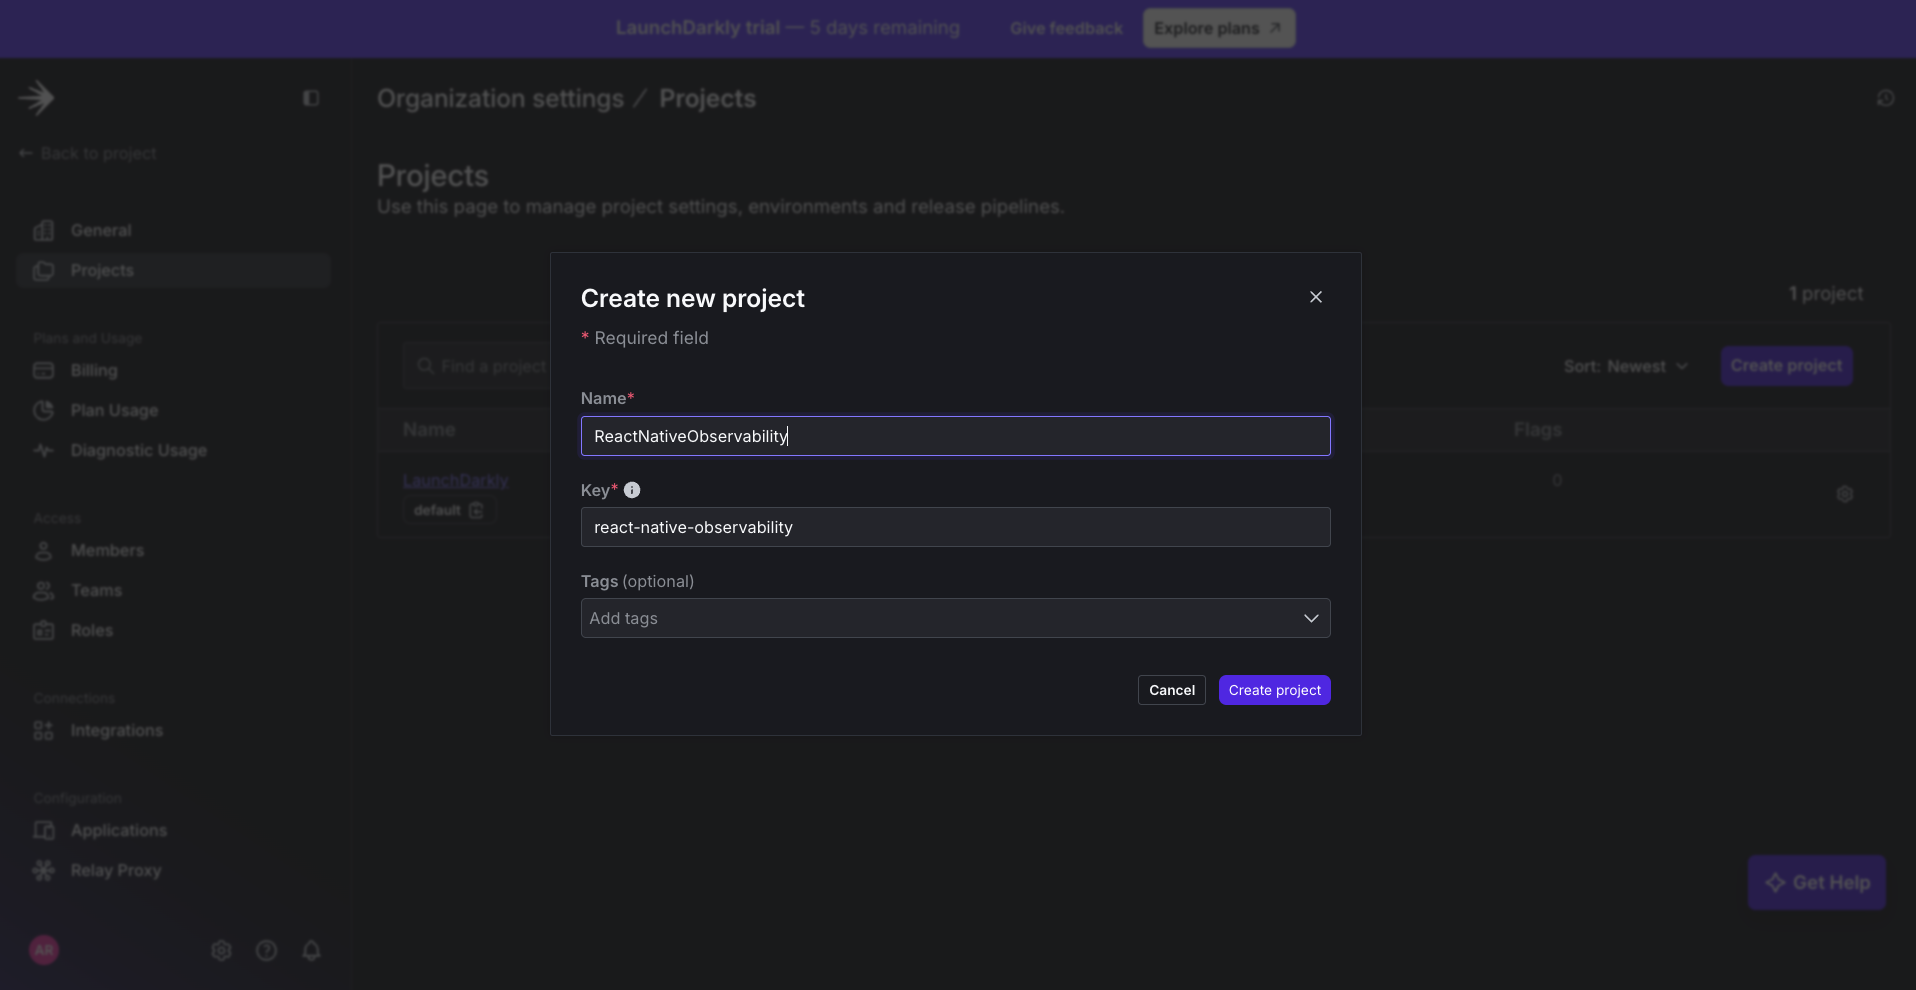
Define the new Project and click Create Project.
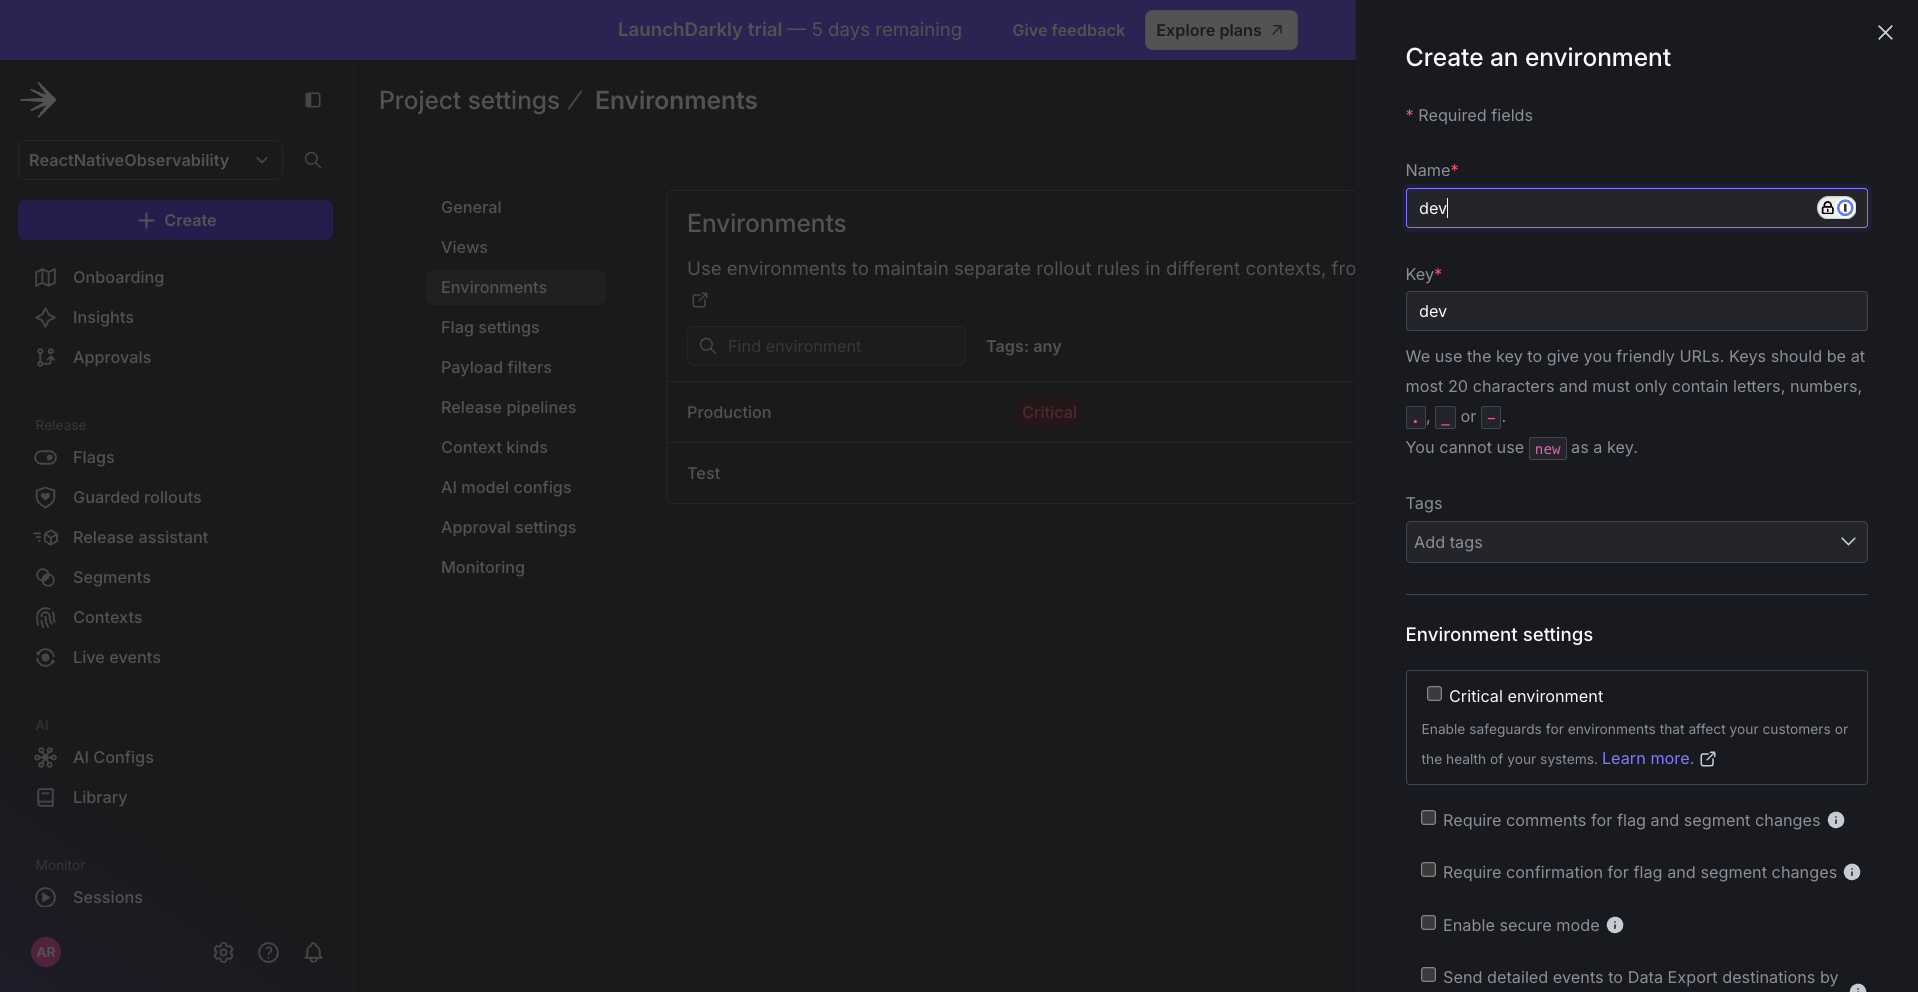
Then, define the environment where you would like your data to be sent.
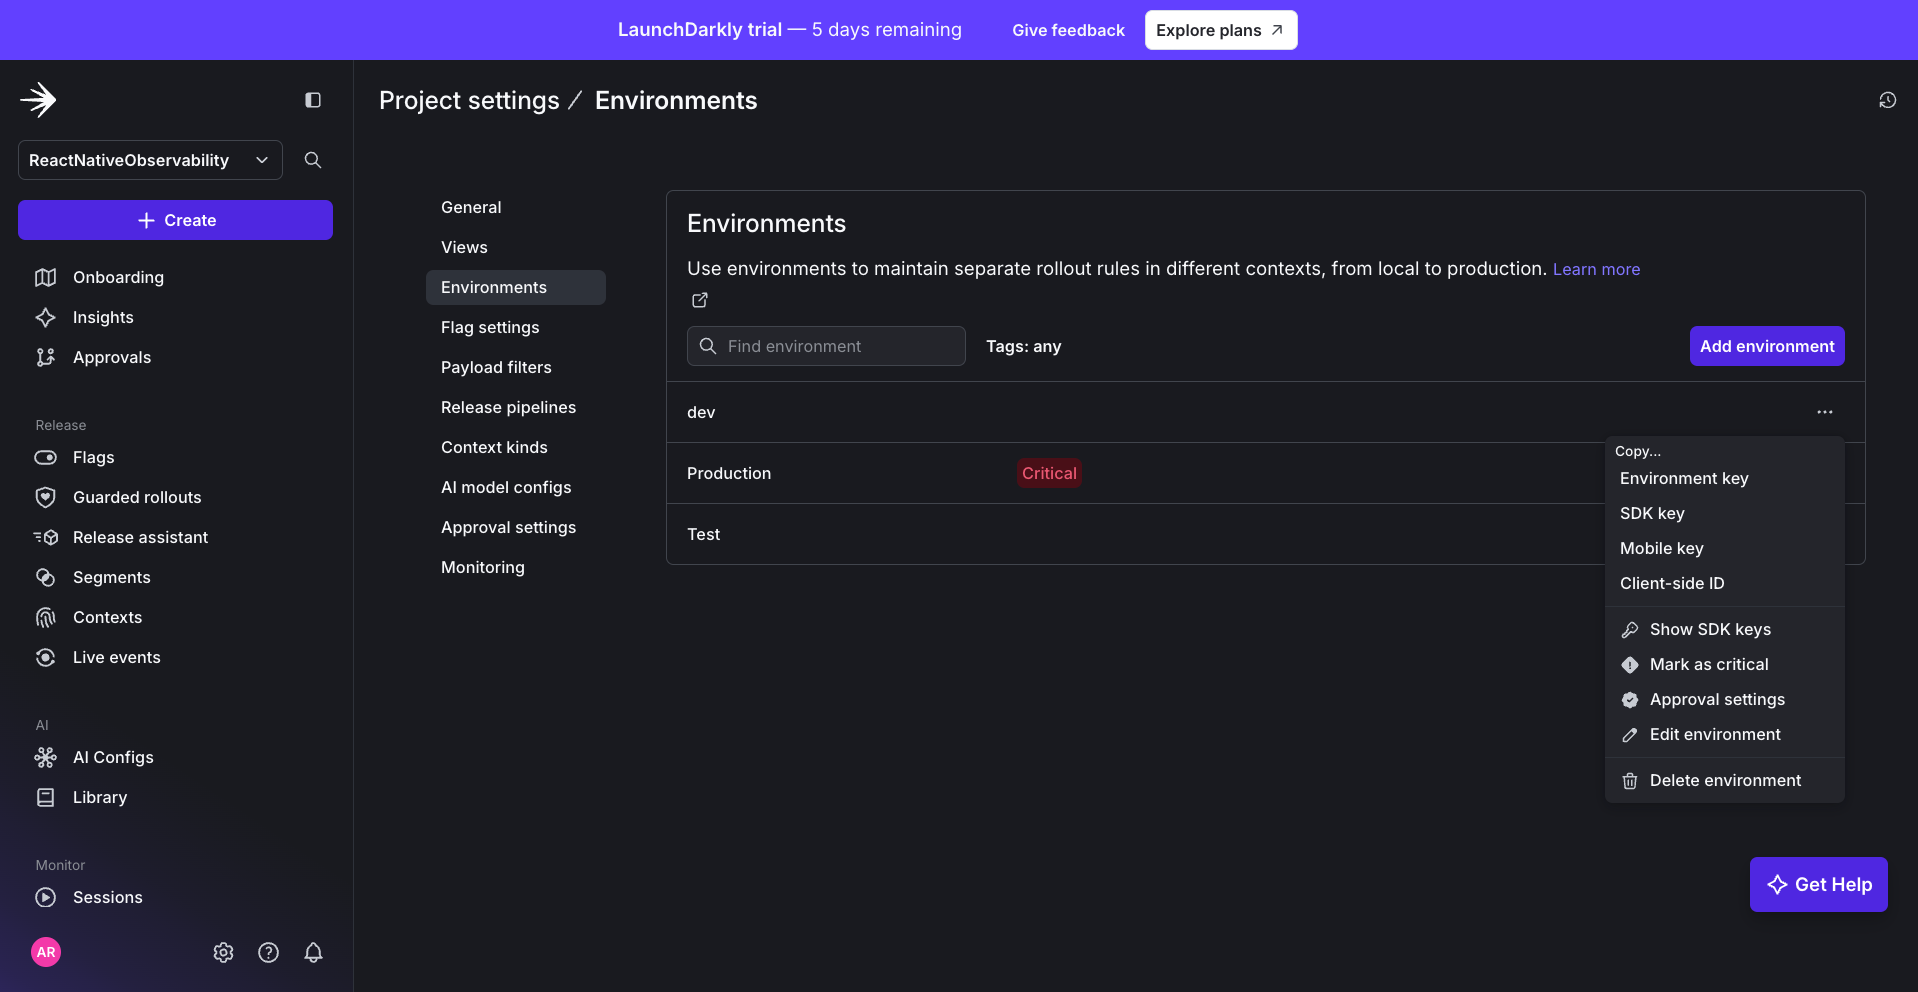
Now, grab the mobile key by pressing the three dots for the environment and selecting the mobile key, which will copy the key to your keyboard.
Then, add it to the app/_layout file.
   const featureClient = new ReactNativeLDClient(
     ‘mob-abc123’,
     AutoEnvAttributes.Enabled,
     options,
   );
Finally, you can generate data by interacting with your app in the iOS app simulator.
Feel free to restart the app to ensure data is displaying in real time.
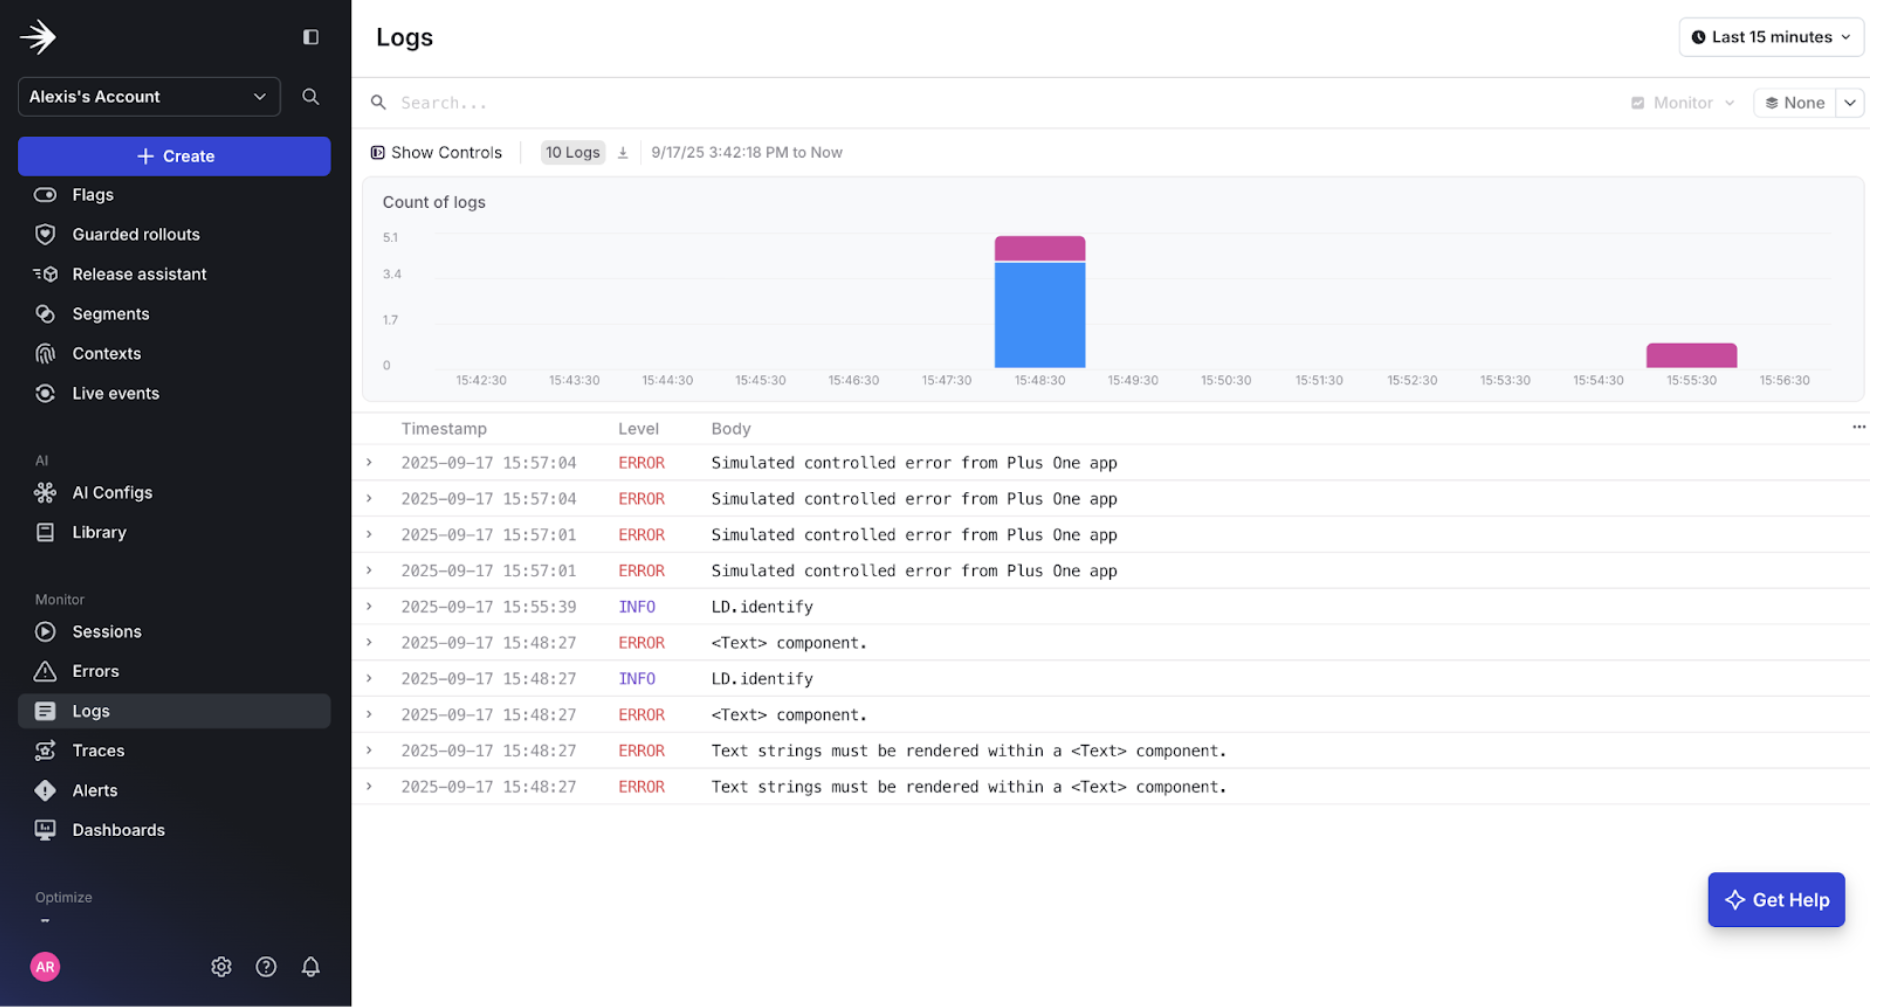
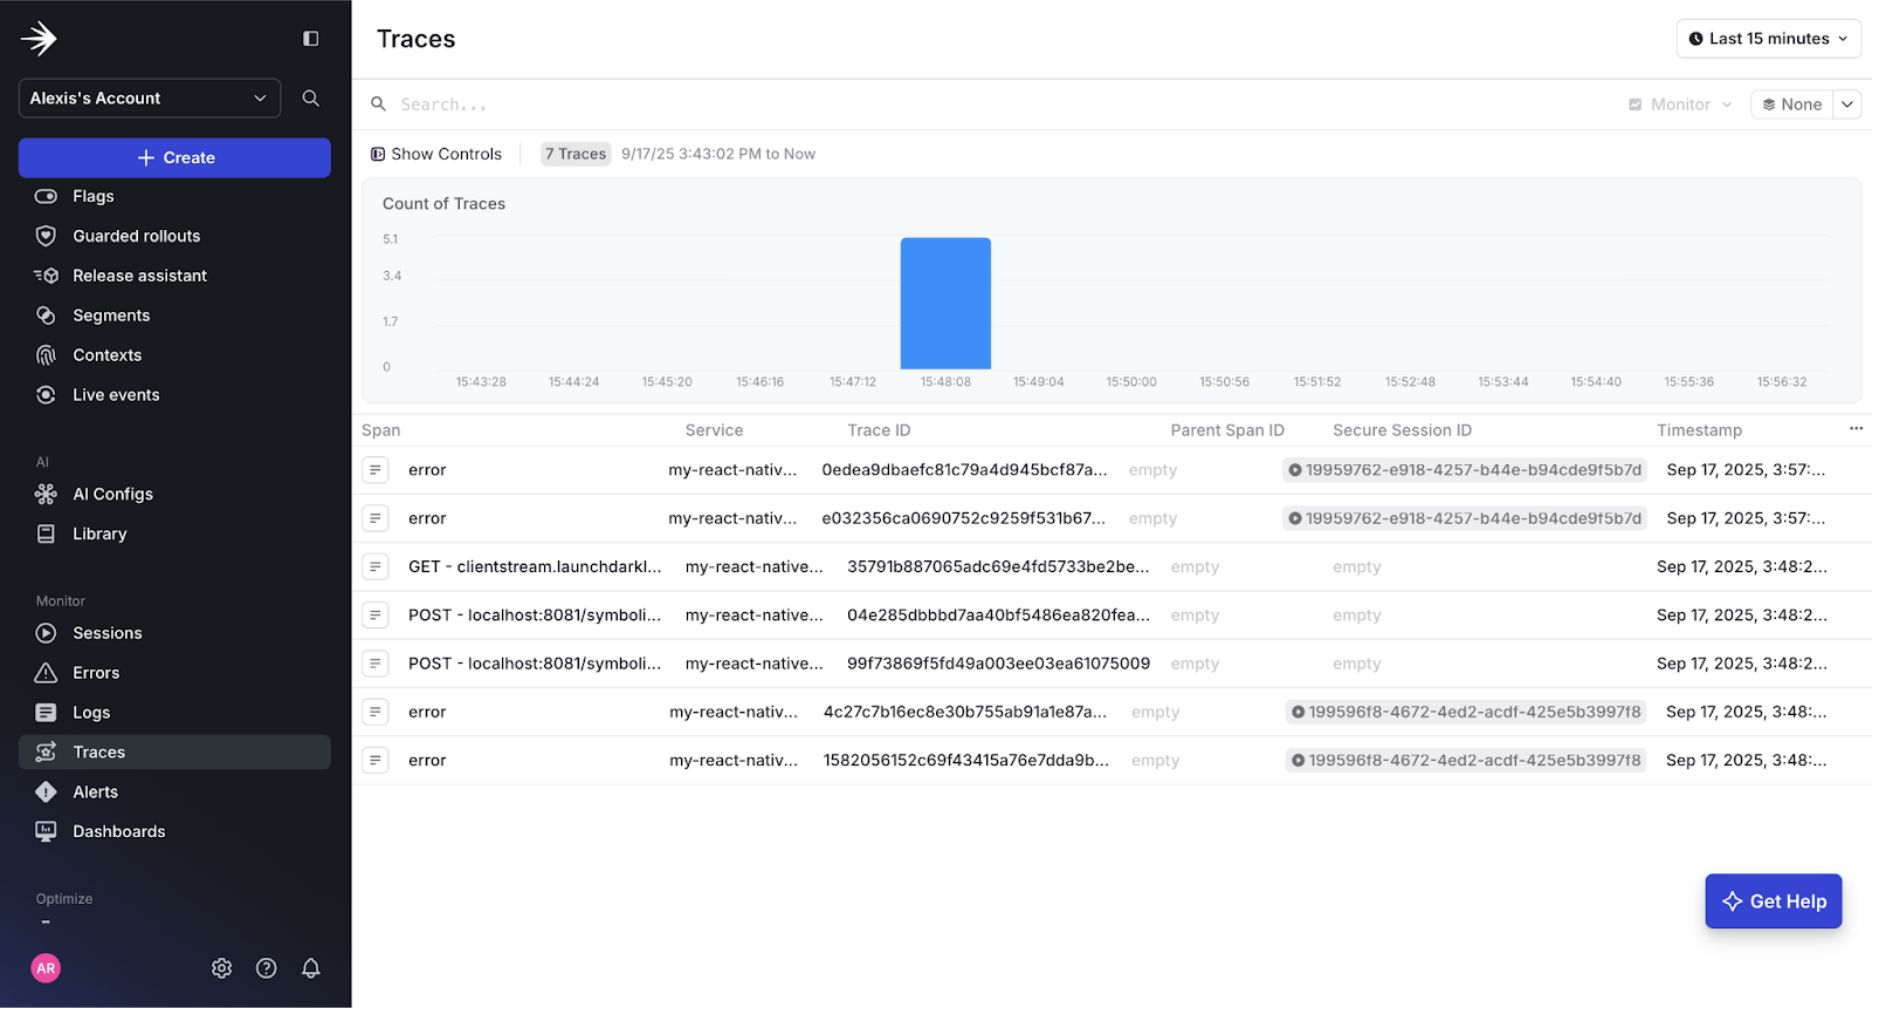
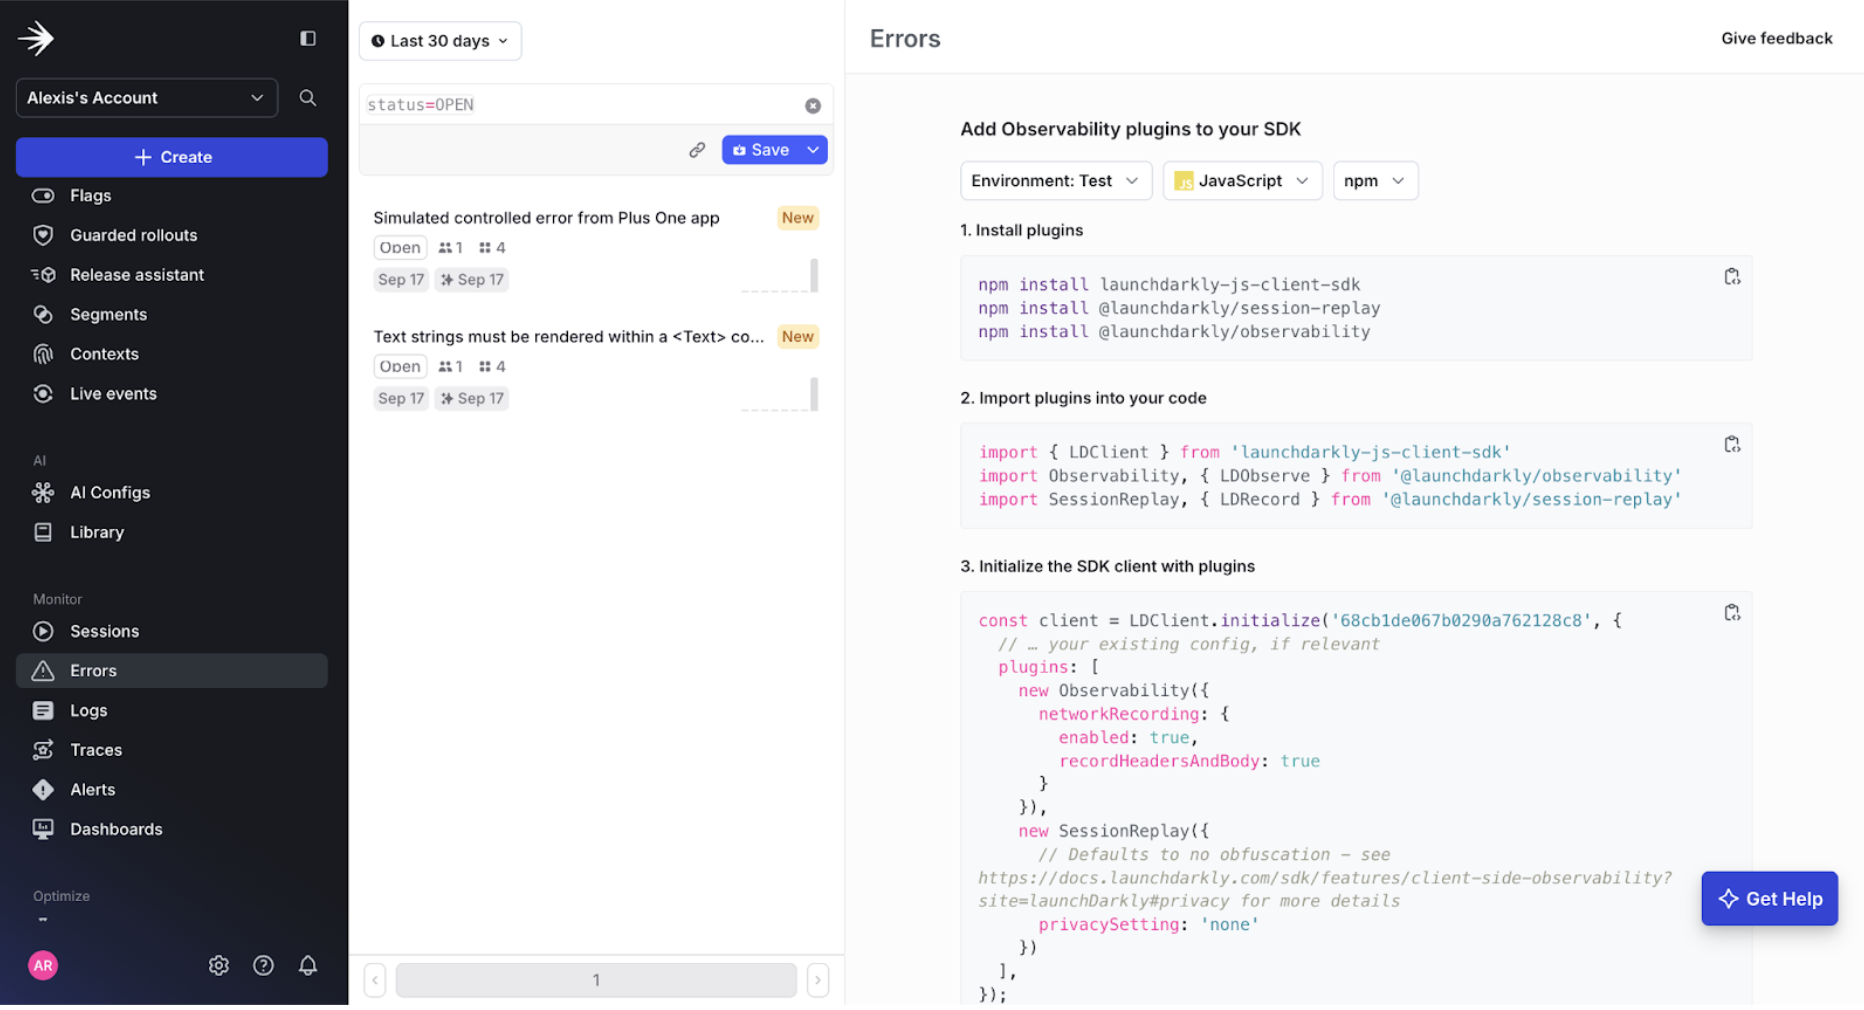
npm expo run:iosOnce you navigate back to the LD UI, you should be able to see the logs, traces, and errors under the Monitor section.
Logs
Traces
Errors
Conclusion
In just a few minutes, we’ve taken the PlusOne React Native app from a simple counter to a fully observable application connected to LaunchDarkly. By setting up the SDK, initializing observability plugins, and recording errors, we now have a live feedback loop where application behavior is visible in the LaunchDarkly UI. This makes it far easier to diagnose issues, validate feature flag rollouts, and ensure smooth user experiences.
Next Steps
Looking ahead, there are many ways to expand on what we’ve built by including features like recording custom metrics and session replay, which provide even deeper insights into app behavior. By integrating observability at the foundation of your React Native projects, you equip your team with the clarity needed to debug faster, ship features more confidently, and deliver reliable experiences to your users.
You can also read this article to learn more about observability and guarded releases.
Published at DZone with permission of Alexis Roberson. See the original article here.
Opinions expressed by DZone contributors are their own.
Comments