Setting up Kubernetes Master and Worker Node on Amazon Web Service (AWS)
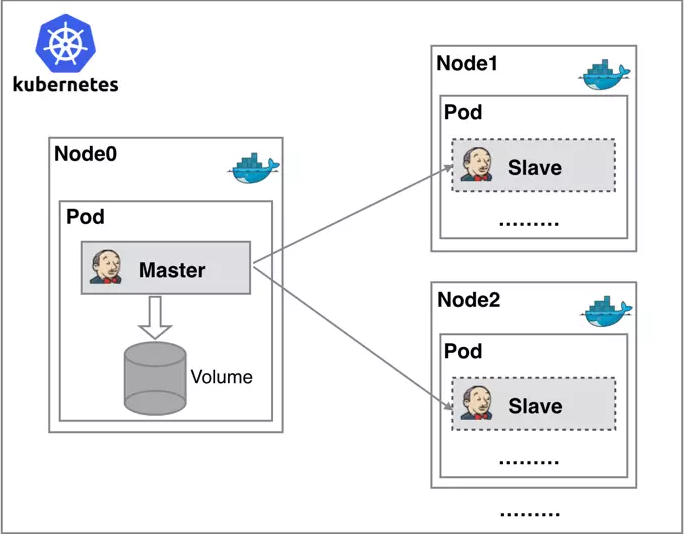
We want to create a Kubernetes cluster on AWS public cloud. We are going to create a master node and two worker nodes on AWS EC2 instances, as shown below.
Join the DZone community and get the full member experience.
Join For FreeWe want to create a Kubernetes cluster on AWS public cloud.
We are going to create a master node and two worker nodes on AWS EC2 instances, as shown below.
Sourced from https://m.yisu.com/.
Step 1: Create Instances and Install Docker
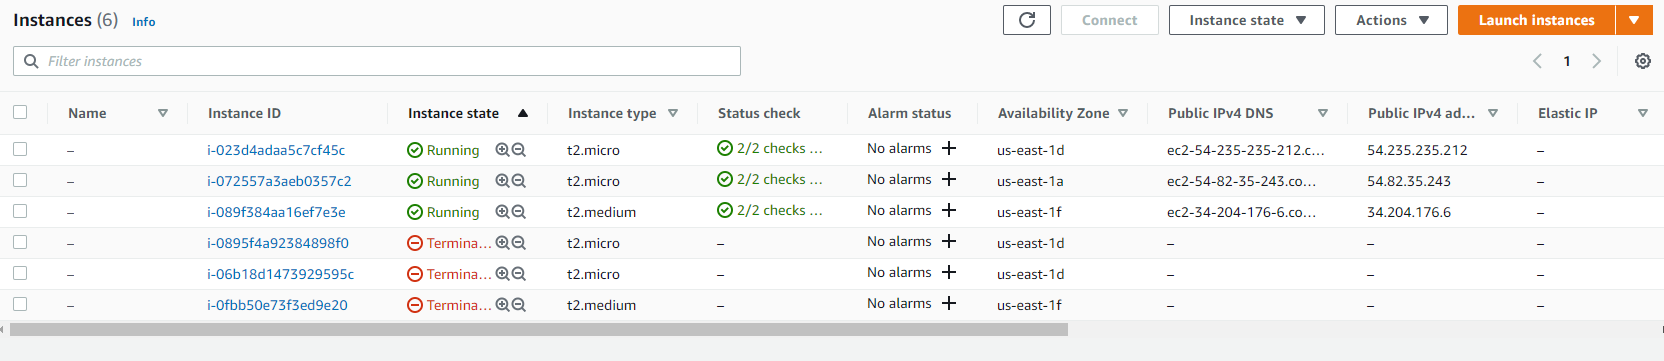
To begin with, I have created three EC2 Ubuntu instances, one of type t2.medium for master and of type t2.micro for worker nodes. Once we have all 3 instances available, the next step is to deploy kubeadm on all three instances.
First of all, for identification purpose, we gave three ubuntu ec2 instance a meaningful name i.e. k8-master, k8-worker-node1, and k8-worker-node2 using the below command:
sudo hostnamectl set-hostname "k8s-master"
Once names are set for all EC2, we need to update the /etc/hosts file to include IPs of master and worker nodes. Contents to be updated are:
34.204.176.6 k8s-master
54.82.35.243 k8s-worker-node1
54.235.235.212 k8s-worker-node2
The next step is to install docker on all three machines and verifying the same. To do that, we need to execute the below set of commands.
To update packages:
sudo apt-get update
To install Docker:
sudo apt-get install docker.io -y
To start docker on the node:
sudo systemctl start docker
To enable docker on the node:
sudo systemctl enable docker
To verify the docker installation:
docker --version

Step 2: Install Kubeadm
Once the docker is installed, the next step is to install kubeadm on all three machines.
Install transport HTTPS package:
sudo apt-get install apt-transport-https curl -y
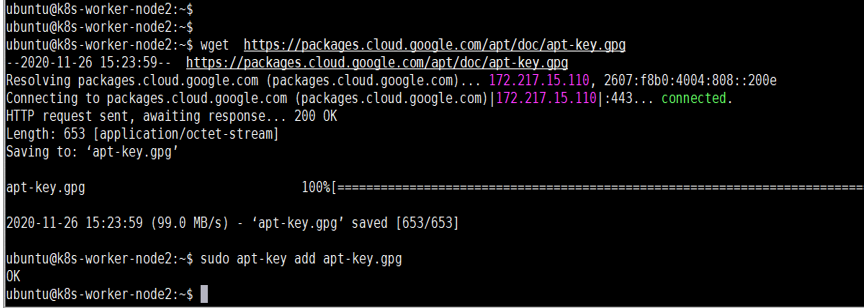
Add Kubernetes package repository key:
wget https://packages.cloud.google.com/apt/doc/apt-key.gpgsudo apt-key add apt-key.gpg
To disable swap temporary (as recommended):
sudo swapoff -a
To configure Kubernetes repository
sudo apt-add-repository "deb http://apt.kubernetes.io/ kubernetes-xenial main"
Install Kubeadm package:
sudo apt-get install kubeadm -y
Verification of kubeadm installation:
kubeadm version

kubeadm
Step 3: Initialize Kubernetes
The next step of Kubernetes cluster configuration is to initialize Kubernetes on the master node using the kubeadm init command. It should be successful.
Note: Since I had created an EC2 instance with only 1 vCPU my kubeadm init failed as we need a minimum of 2 vCPU for the master node. I deleted the master node of ‘t2.micro’ and recreated it with ‘t2.medium.’
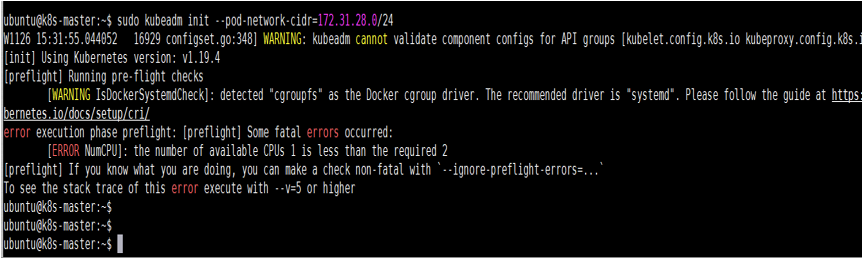
Figure 6: Error while initializing kubeadm on master as it was of type t2.micro which has only one vCPU
After successful execution of the kubeadm init command, we will get all the information to configure the Kubernetes client as well as how the worker node can join the master node. This is shown in the below figure.

kubeadm on master successful after changing EC2 instance type to t2.medium which has 2 CPU
Step 4: Set Up Kubeconfig
To set up the kubeconfig, I need to execute the below set of commands on the master as well as on the client machine.
mkdir -p $HOME/.kubesudo cp -i /etc/kubernetes/admin.conf $HOME/.kube/configsudo chown $(id -u):$(id -g) $HOME/.kube/config
On each worker node, we need to execute the kubeadm join command so that it can join the Kubernetes master. I faced a few issues in this step and spend a good bit of time to troubleshoot and fix the same. As shown below, my join command was hanging forever and the message on the console was not helpful.
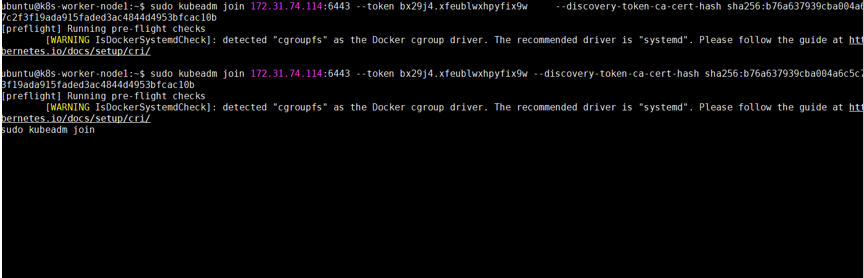
Figure 8: Worker node is not able to join master node
I executed the command with the ‘-v=5’ option to get detail. I identified the root cause as port 6443, which was blocked in the security group of AWS.

Figure 9: Verbose error log to troubleshoot why the worker is not able to join the master
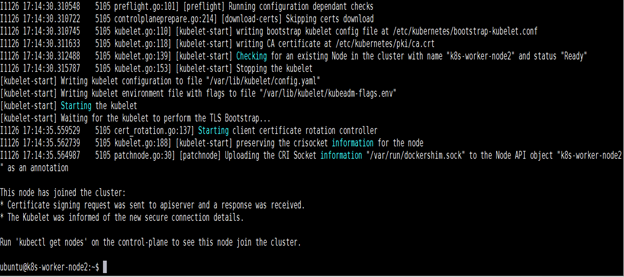
Once I change the security group, it will have an immediate effect on all EC2 instance which are using this security group and worker nodes were able to join the master node. In the below figure, we can see the success message printed on the console.
We need to execute the same command for worker2. After that, in my Kubernetes cluster, I have one master node and two worker nodes configured. I confirmed this by executing ‘kubectl get nodes’ whose output is shown below.

Figure 11: kubectl command to show master and worker
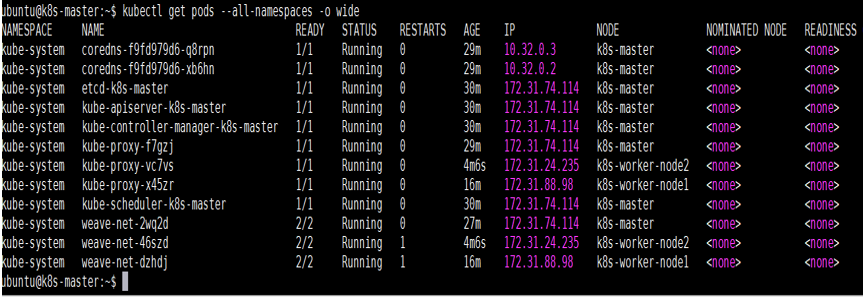
I list all the pods in my Kubernetes and many systems created pods were there. kube-proxy and weave-net were present on all nodes, including the master.
Conclusion
This completes the Kubernetes master node and worker node setup on EC2 of AWS cloud.
Opinions expressed by DZone contributors are their own.
Comments