Using Spring AI to Generate Images With OpenAI's DALL-E 3
Integrate Spring AI with OpenAI's DALL-E 3 to generate images. Set up Spring Boot, configure the API integration, and customize settings easily.
Join the DZone community and get the full member experience.
Join For FreeHi, community!
This is my first article in a series of introductions to Spring AI. Today, we will see how we can easily generate pictures using text prompts. To achieve this, we will leverage the OpenAI API and the DALL-E 3 model.
In this article, I'll skip the explanation of some basic Spring concepts like bean management, starters, etc, as the main goal of this article is to discover Spring AI capabilities. For the same reason, I'll not create detailed instructions on how to generate an OpenAI API key.
Prerequisite
If you don't have an active OpenAI API key, do the following steps:
- Create an account on OpenAI.
- Generate the token on the API Keys page.
Step 1: Set Up a Project
To quickly generate a project template with all necessary dependencies, you may use https://start.spring.io/.
In my example, I'll use Java 17 and Spring Boot 3.4.1. We also need to include the following dependencies:
- Spring WEB: This dependency will allow us to create a web server and expose REST endpoints as entry points to our application
- OpenAI: This dependency provides us with smooth integration with Open AI just by writing a couple lines of code and a few lines of configurations.
After clicking generate, open downloaded files in the IDE you are working on and validate that all necessary dependencies exist in pom.xml.
<dependency>
	<groupId>org.springframework.boot</groupId>
	<artifactId>spring-boot-starter-web</artifactId>
</dependency>
<dependency>
    <groupId>org.springframework.ai</groupId>
    <artifactId>spring-ai-openai-spring-boot-starter</artifactId>
</dependency>
Step 2: Set Up a Configuration File
As a next step, we need to configure our property file. By default, Spring uses application.yaml or application.properties file. In this example, I'm going to use yaml format. You may reformat the code into .properties if you feel more comfortable working with this format.
Here are all the configs we need to add to the application.yaml file:
spring:
  ai:
    openai:
      api-key: [your OpenAI api key]
    image:
      options:
        model: dall-e-3
        size: 1024x1024
        style: vivid
        quality: standard
response-format: url- Model: We are going to use the
dall-e-3model as the only available model in Spring AI at the moment of writing this article. - Size: Configures the size of the generated image. It must be one of
1024x1024,1792x1024, or1024x1792for dall-e-3 model - Style: The
vividstyle generates more hyper-realistic images. If you want your pictures to look more real, set valuenatural. - Quality: Might be one out of two options:
standardorHD. - Response-format: Might be one out of two options:
urlandb64_json. I'll be using the URL for demo purposes and simplicity. The image will be available by URL one hour after generation.
Step 3: Create ImageGenerationService
Let's create a service that will be responsible for generating images.
@Service
public class ImageGenerationService {

  @Autowired
  ImageModel imageModel;

}
We created a new class and annotated it as a Service. We also autowired the ImageModel bean.
ImageModel is the main interface used to generate pictures. As we provided all the necessary configurations in Step 2, Spring Boot Starter will automatically generate an implementation of this interface called OpenAiImageModel for us.
When our class is configured, we may start implementing a method that calls an OpenAI API to generate pictures using our prompts. And this is where the real magic of Spring AI will happen. Let's take a look at it.
public String generateImage(String prompt) {
  ImagePrompt imagePrompt = new ImagePrompt(prompt);
  ImageResponse imageResponse = imageModel.call(imagePrompt);
  return imageResponse.getResult().getOutput().getUrl();
}
That's it! We just need three lines of code to actually generate an image with Spring AI. Isn't that amazing?
In the first step, we created a new ImagePrompt just by providing a string prompt. Next, we made an API call using imageModel.call(imagePrompt) and stored the response in the ImageResponse variable. In the last step, we returned the URL of the generated image. Remember, the image is only available for one hour; after that, the link will not be available anymore. So don't forget to save your masterpiece!
Step 4: Create ImageGenerationController to Run Our Code
We need to create a last file to allow users to execute our integration. It may look like this:
@RestController()
@RequestMapping("/image")
public class ImageGenerationController {

  @Autowired
  ImageGenerationService imageService;

  @GetMapping("/generate")
  public ResponseEntity<String> generateImage(@RequestParam String prompt) {
  	return ResponseEntity.ok(imageService.generateImage(prompt));
  }
}
As you can see, we just created a simple controller with just one GET endpoint inside. This endpoint will be available at localhost:8080/image/generate.
Step 5. Run Our Application
To start our application, we need to run the following command:
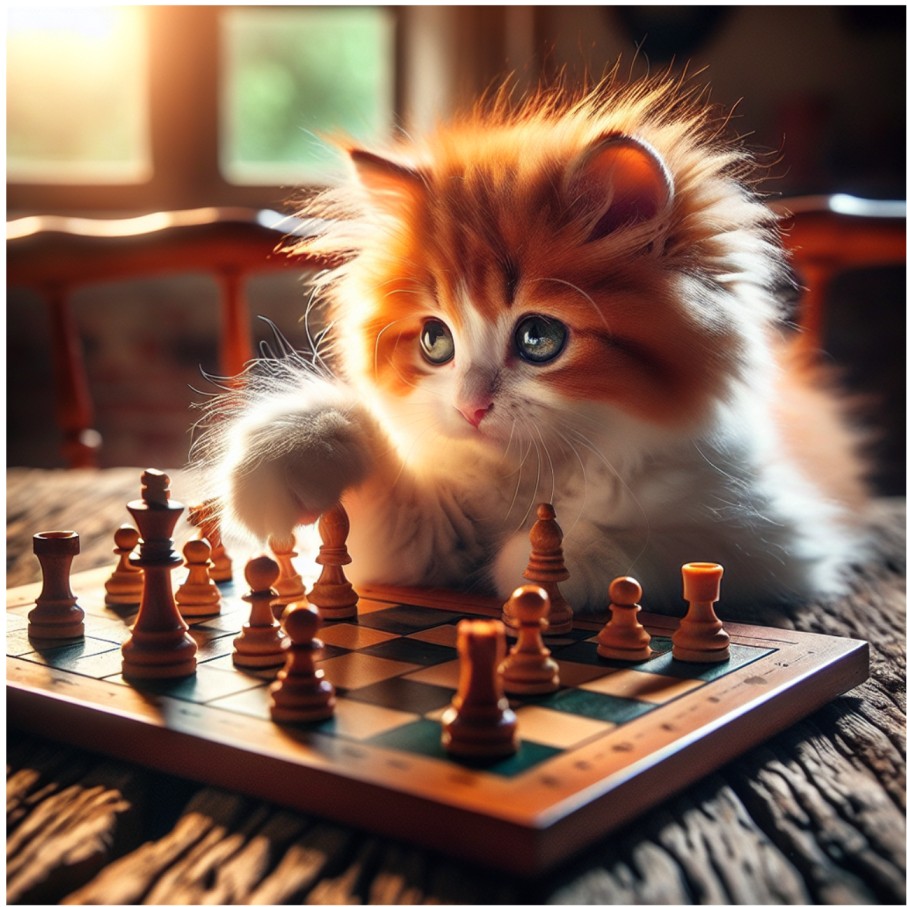
mvn spring-boot:runWhen the application is running, we may check the result by executing the following curl with any prompt you want. I used the following: Cute cat playing chess. Don't forget to add %20 instead of whitespaces if you are using the command line for calling your endpoint:
curl -X GET "http://localhost:8080/image/generate?prompt=Cute%20cat%20playing%20chess"After executing, wait a few seconds as it takes some time for OpenAI to generate your image and voila:
Congratulations! You've just created and tested your first Spring AI application, which generates images using custom prompts!
Step 6: Give More Flexibility in Generating Images (Optional)
In the second step, we configured the default behavior to our model and provided all the necessary configurations in the application.yaml file. But can we give more flexibility to our users and let them provide their configurations? The answer is yes!
To do this, we need to use the ImageOptions interface.
Here is an example:
public String generateImage(GenerateImageRequest imageRequest) {

  ImageOptions options = OpenAiImageOptions.builder()
    .withQuality("standard")
    .withStyle("vivid")
    .withHeight(1024)
    .withWidth(1024)
    .withResponseFormat("url")
    .build();

  ImagePrompt imagePrompt = new ImagePrompt(imageRequest.getPrompt(), options);
  ImageResponse imageResponse = imageModel.call(imagePrompt);
  return imageResponse.getResult().getOutput().getUrl();
}
To achieve this, we need to build options programmatically using all the configs we set up in application.yaml and provide these options when creating an ImagePrompt object. You may find more configuration options in Spring AI docs.
Conclusion
Spring AI is a great tool that helps developers smoothly integrate with different AI models. As of writing this article, Spring AI supports five image models, including but not limited to Azure AI and Stability.
I hope you found this article helpful and that it will inspire you to explore Spring AI more deeply.
Opinions expressed by DZone contributors are their own.
Comments