Selenium Primer (in Python)
Selenium (also known as WebDriver) is a framework that allows writing automated scripts for web applications. The Selenium project provides libraries for multiple languages, including Java, Ruby, and Python. In this tutorial, we will be using Selenium’s Python bindings specifically to test mobile web apps.
Installing Selenium
The Selenium library for Python can be installed using the pip command:
If you don’t have pip available on your system, install it by following the directions at https://pip.pypa.io/en/latest/ installing.html.
The Selenium library provides functions for performing various actions for testing. These range from actions to select a browser and load the web app in the browser, to actions for interacting with the webpage. We will cover these in the rest of this section.
Loading the Web Application Into a Browser Session
To start a browser session and load a page into the session, you can initialize a particular WebDriver class and use it to load the web application using the driver.get() function:
Finding Elements
In order to perform actions or assertions on elements on a webpage, you need to obtain a reference to such elements. You can locate webpage elements by using their different HTML properties. The corresponding WebDriver functions are listed in the table below.
| find_element_by_id |
Unique id |
| find_element_by_name |
Name attribute |
| find_element_by_xpath |
Xpath locator |
| find_element_by_link_text |
Text inside the link |
| find_element_by_partial_link_text |
Partial link text |
| find_element_by_tag_name |
HTML tag name |
| find_element_by_class_name |
HTML class attribute |
| find_element_by_css_selector |
CSS selector |
Example:
<input type=“text” name=“txtName” id=“txtId” />
To find this text input element, one could use any of the following locators:
By default, the above functions return the first element that is found. If you would like to work with later elements identified by your locator, you would need to use the find_elements_ by_<locator> version of the function (which finds multiple elements) and access the later elements in the array returned.
Performing Actions
Once you have a reference to an element, you can interact with it through the following functions:
| element.click() |
Perform a click operation |
| element.send_keys(‘text’) |
Type “text” into the element |
| element.submit() |
Submit the form element associated with element |
There are also several other advanced functionalities, such as operations on HTML select elements or alert dialogs, and on performing drag-drop operations. Information on these can be found in the documentation for the Selenium-Python package.
Assertions
For performing assertions, you can either use the assert directive in Python or write your tests using the unittest package.
Installing ChromeDriver
ChromeDriver provides control of the Google Chrome browser though the WebDriver interface. You can download the latest version of the ChromeDriver from:
http://chromedriver.storage.googleapis.com/index.html
Place the ChromeDriver binary in suitable path. For this tutorial, I will place ChromeDriver inside /usr/local/bin.
Testing On an Emulated Mobile Browser
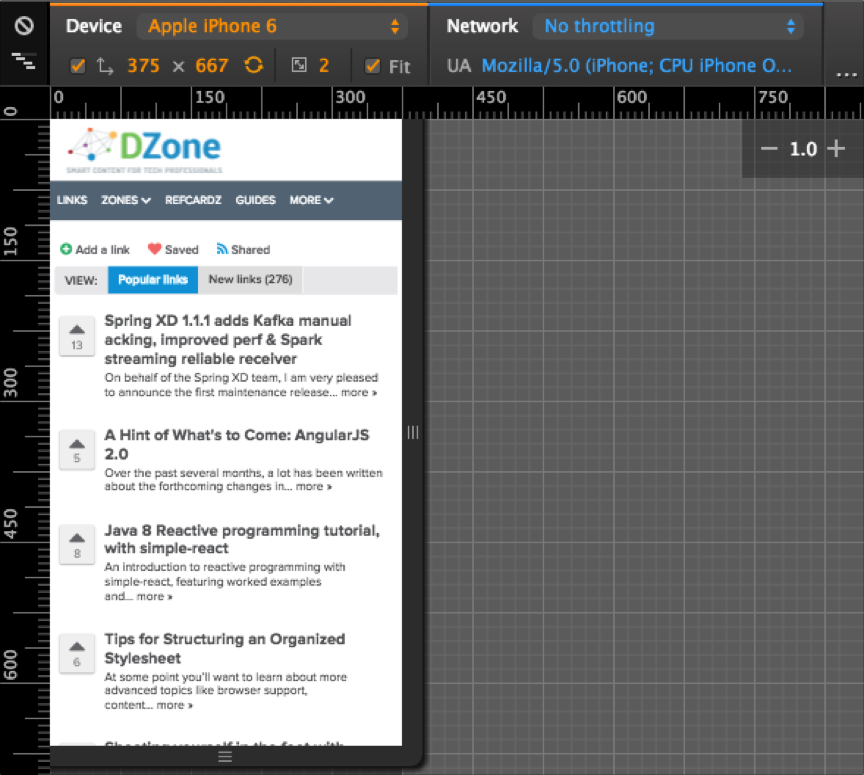
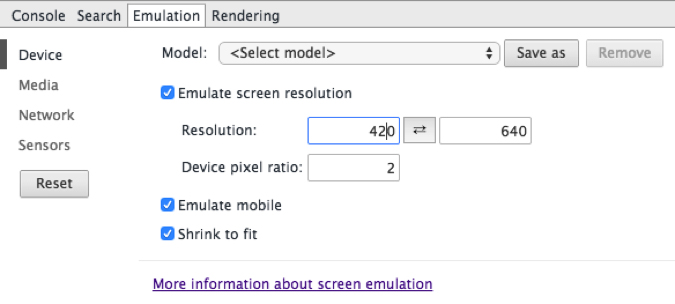
An easy way to run automated mobile web tests is to emulate a mobile browser on a desktop computer, thereby avoiding the need to set up a real device. ChromeDriver provides an experimental option to emulate a supported mobile browser.
To switch which mobile browser you are emulating, you can change the deviceName to the name of another device that you would like Chrome to emulate for the test.
Sample Test Script
This test loads up http://www.google.com and searches for “DZone” and checks if its domain www.dzone.com is present in the search results. There is a sleep function added to allow the page to load the search result.
When this test runs, either it will fail and display an error message, or it will not report anything. For managing larger sets of tests, and for better test reporting, you might consider using the Python unittest module.
Testing With the Python Unittest Module
By using the unittest module, you will avoid repeating the setup and teardown operations for each test and get a better pass-fail report from running your test case.
This test code, written using the unittest module, contains a setUp function to perform the initialization before each test, and a tearDown function to clean up the driver instance after each test. This test code contains two tests: test_title() and test_dzone(), as shown above. Upon running this test, we get the following output:
Mobile-Web Testing On a Real or Virtual Device
Some situations cannot be tested on an emulated mobile browser, and the test might need the full functionality of a physical mobile device or the capabilities of a virtual device (e.g. the iPhone Simulator or the Android Emulator). In such scenarios, ChromeDriver can be used for testing Android apps, but it is often easier to use the open-source Appium tool, which makes it possible to run tests on Android, as well as on iOS devices by using ChromeDriver and iOS Auto underneath.
Installing and Running Appium
Appium can be downloaded and installed using the node package manager. If you don’t have npm available on your command line, install Node.js from its website.
Then to run Appium, you would run the following command:
By default, Appium shows all messages in its log, which is nice for debugging purposes. You can configure the Appium tool using its command-line options.
For testing your web application in either a real or virtual Android device, you also need to download and install the Android SDK from the Android developer website. Similarly, for testing on the iPhone Simulator or a real iOS device, install the Apple iOS developer tool chain. To easily check if you have the required dependencies, you can run the appium-doctor tool:
Test Modification For Running App Using Appium
For using Appium for mobile web testing on a real or virtual mobile device, we will use a Remote WebDriver instead of the ChromeDriver and initialize it with a set of capabilities to describe the environment on which to test.
This code essentially replaces the statements inside the setUp function in the previous section to run the same test on a real Android device. Appium chooses a connected real device or a running virtual device on the computer. In the case of iOS, you can change the configuration to the following to target the Safari browser in the iPhone Simulator.
Running mobile web tests on a real iPhone is not as straight forward as other cases shown in this document. It requires setting up ios–webkit-debug-proxy, which is used by Appium to communicate with Mobile Safari. More information on this can be found in the Appium documentation.
ChromeDriver documentation:
https://sites.google.com/a/chromium.org/chromedriver/
Appium Documentation:
http://appium.io/slate/en/master
Selenium-Python API Docs:
http://selenium-python.readthedocs.org/
Android Developer Website:
http://developer.android.com/sdk/index.html
