Angular Routing Between Components (Angular 9)
In this article, we are going to create a new Angular application and add components to implement Routing between the components.
Join the DZone community and get the full member experience.
Join For FreeIntroduction
Angular Routing allows for navigation between components and enables the changing of part of a page, hence the reasoning for developing single page applications. Routing uses the URL in the address bar to change components.
In this article, we are going to create a new Angular application and add components to implement Routing between the components.
Prerequisites
- Angular CLI
- NodeJs
- NPM
- IDE used—VSCode
Create a New Application/Add Routing To Existing Application
Create a new Application using Angular CLI:
ng new routing-example
When prompted, select Yes for angular routing. Or use the following command:
ng new routing-example --routing=true
To add routing to an existing application use the following command:
ng generate module app-routing --flat --module=app
For more information on setup, follow the steps mentioned here.
Adding New Components:
Add a new component using the following command:
ng generate component <component name>
For this demo, we need two components:
- Languages
- Info
Adding new components will add the default classes in the component as well. In each component, we at least need the file types of the following: .html, .ts, .css, etc.
Adding Information and Routing:
Once components are added we need to add the route path and components to the app-routing.module.ts:
xxxxxxxxxx
import { NgModule } from '@angular/core';
import { Routes, RouterModule } from '@angular/router';
import { InfoComponent } from './info/info.component';
import { LanguagesComponent } from './languages/languages.component';
const routes: Routes = [
{ path: 'language', component: LanguagesComponent },
{ path: 'info', component: InfoComponent },
];
@NgModule({
imports: [RouterModule.forRoot(routes)],
exports: [RouterModule]
})
export class AppRoutingModule { }
app.component.html:
xxxxxxxxxx
<h1>Angular Router App</h1>
<!-- This nav gives you links to click, which tells the router which route to use (defined in the routes constant in AppRoutingModule) -->
<nav>
<ul>
<li><a routerLink="/language" routerLinkActive="active">Languages Component</a></li>
<li><a routerLink="/info" routerLinkActive="active">Info Component</a></li>
</ul>
</nav>
<!-- The routed views render in the <router-outlet>-->
<router-outlet></router-outlet>
Add components on the main html page and map them using routerLink. To learn more about RouterLink and ActivatedRoute, click here.
Languages Component
In the languages.component.ts file:
import { Route } from '@angular/compiler/src/core';
import { Component, OnInit } from '@angular/core';
import { Router } from '@angular/router';
@Component({
selector: 'app-languages',
templateUrl: './languages.component.html',
styleUrls: ['./languages.component.css']
})
export class LanguagesComponent implements OnInit {
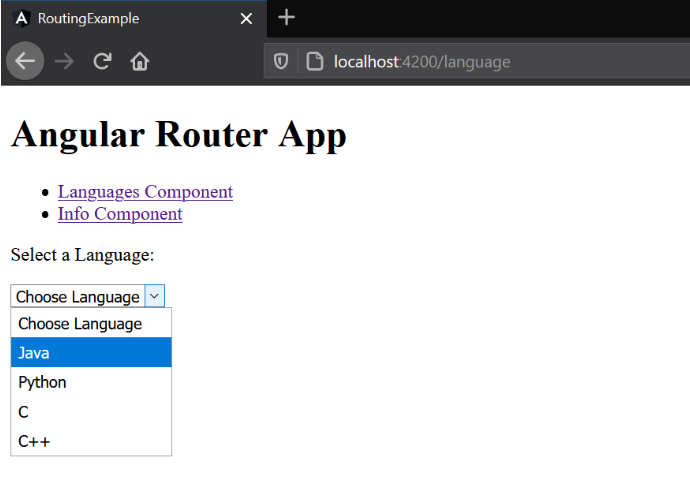
languages = ['Java', 'Python', 'C', 'C++'];
constructor(private router: Router) { }
ngOnInit(): void {
}
getInfo(selectedLanguage: any) {
console.log(selectedLanguage);
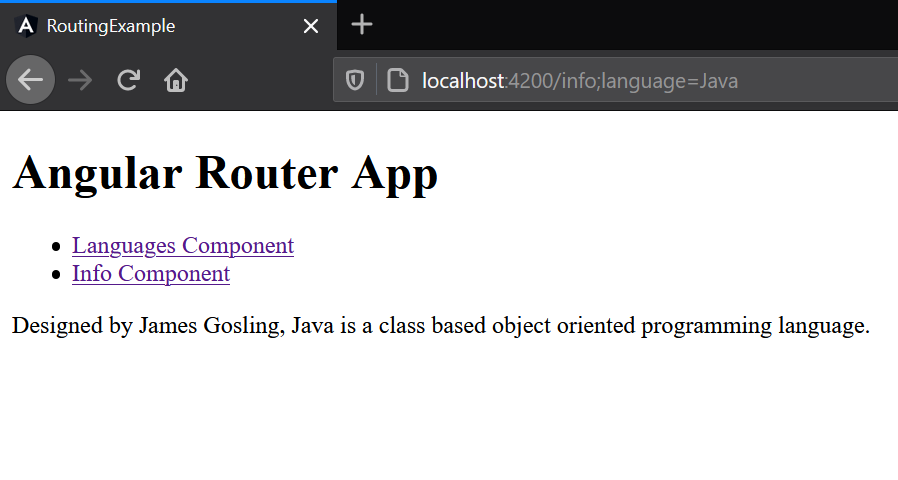
this.router.navigate(['/info', {language: selectedLanguage}]);
}
}
We have created a list of Languages for the drop down. Actual Routing will happen when the getInfo() method is called with the selected language. Once router.navigate is called, the info route will be invoked and the language will be passed along the route.
languages.component.html:
xxxxxxxxxx
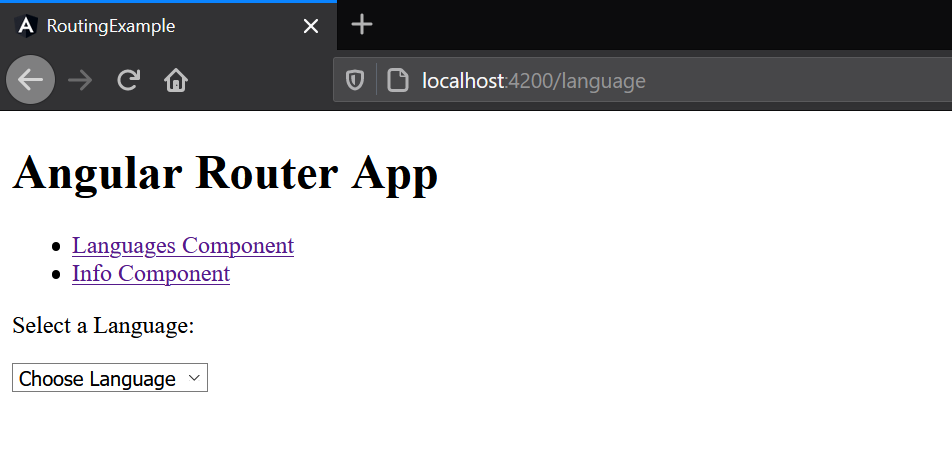
<p>Select a Language: </p>
<select (change)="getInfo($event.target.value)">
<option>Choose Language</option>
<option *ngFor="let language of languages" value="{{language}}">{{language}}</option>
</select>
Info Component
info.component.ts:
xxxxxxxxxx
import { Component, OnInit } from '@angular/core';
import { ActivatedRoute } from "@angular/router";
@Component({
selector: 'app-info',
templateUrl: './info.component.html',
styleUrls: ['./info.component.css']
})
export class InfoComponent implements OnInit {
selectedLanguage: string;
information: string;
constructor(private route: ActivatedRoute) { }
ngOnInit(): void {
this.selectedLanguage = this.route.snapshot.paramMap.get("language");
this.getInformation();
}
getInformation() {
if("Java" == this.selectedLanguage) {
this.information = "Designed by James Gosling, Java is a class based object oriented programming language."
} else if("Python" == this.selectedLanguage) {
this.information = "Python is an interpreted, high-level and general-purpose programming language.";
} else if("C" == this.selectedLanguage) {
this.information = "Designed by Dennis Ritchie, C is a general-purpose, procedural computer programming language.";
} else if("C++" == this.selectedLanguage) {
this.information = "C++ is a general-purpose programming language created by Bjarne Stroustrup as an extension of the C programming language.";
} else {
this.information = "Incorrect selection or no information found for selected language."
}
}
}
In init, as the component loads, the value passed in router.navigate is assigned to a variable and the information for the selected language is displayed on the screen.
info.component.html:
xxxxxxxxxx
<p>{{information}}</p>
Running the Application
- To run any Angular application, open the terminal on the IDE or Git Bash command prompt.
- [Optional]Run command—
npm install - After the application dependences are up to date, run the application using the command
ng serve

- Once the application starts on the default port 4200, run the address from any browser:
And you have successfully routed two different angular components! Add and customize the application to build on the model. The code for the above demo is available here.
The browser used for this tutorial is FireFox.
Opinions expressed by DZone contributors are their own.
Comments