Push Notifications With APNs With Java
This tutorial will show you the steps needed to send push notifications to an iOS app using APNs and the Javapns librarys
Join the DZone community and get the full member experience.
Join For FreeBefore I jump to the steps of how to send a notification, I want to shed a little light on push notifications and how APNs works.
A push notification is a way for an application to send a message about an event or notify you without even opening the application. Nowadays, we all use the Facebook application on mobile and if the notification is turned on, you see a brief message on your screen if someone has tagged you in a photo.
The notification can be in many forms, like banners or alerts. You can set this based on your preferences. Badges indicate the number of notifications you have received for that application. Banners are brief messages that will pop up even if you are using some other application. They will pop up and fade away quickly without interrupting your work, but if you want to make sure that you see everything you receive, then alerts can be used.
To implement push notifications, we need to know about two things:
- APNs
- Javapns
APNs is a platform that enables a third-party application to send a notification to the installed application. Javapns is Java library used to send a notification to multiple Apple devices using APNs.
Requirements
To send a push notification to the iOS device, we need a few things:
Apple Developers program membership.
An iOS application that works as a client to receive notification.
A Java application that sends a notification.
An iOS device to test (a simulator won't work).
Let's Get Started
First, log into the Apple Developer site, go to Member Center, then Certificates Identifiers and Profiles. There, create an application id.
Make sure you enable Push Notification services and create an App id.


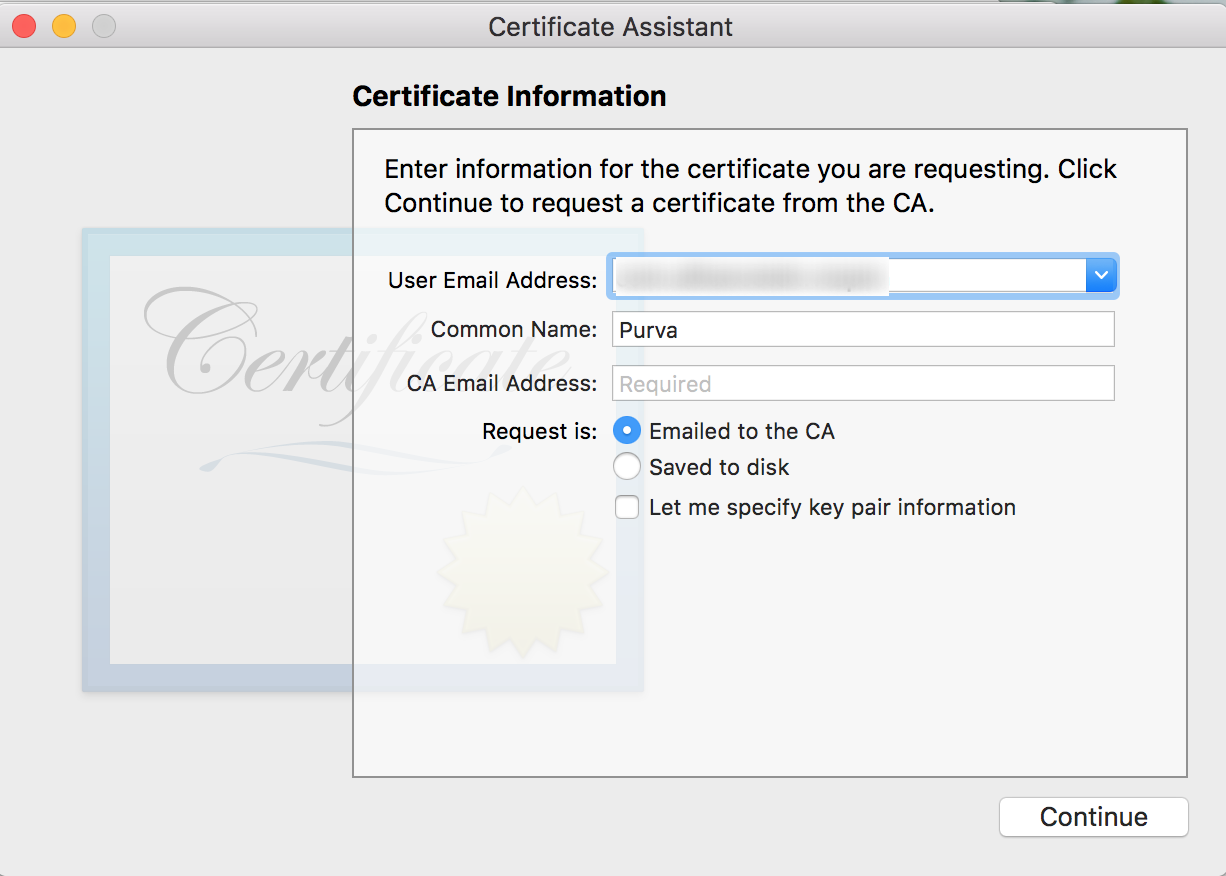
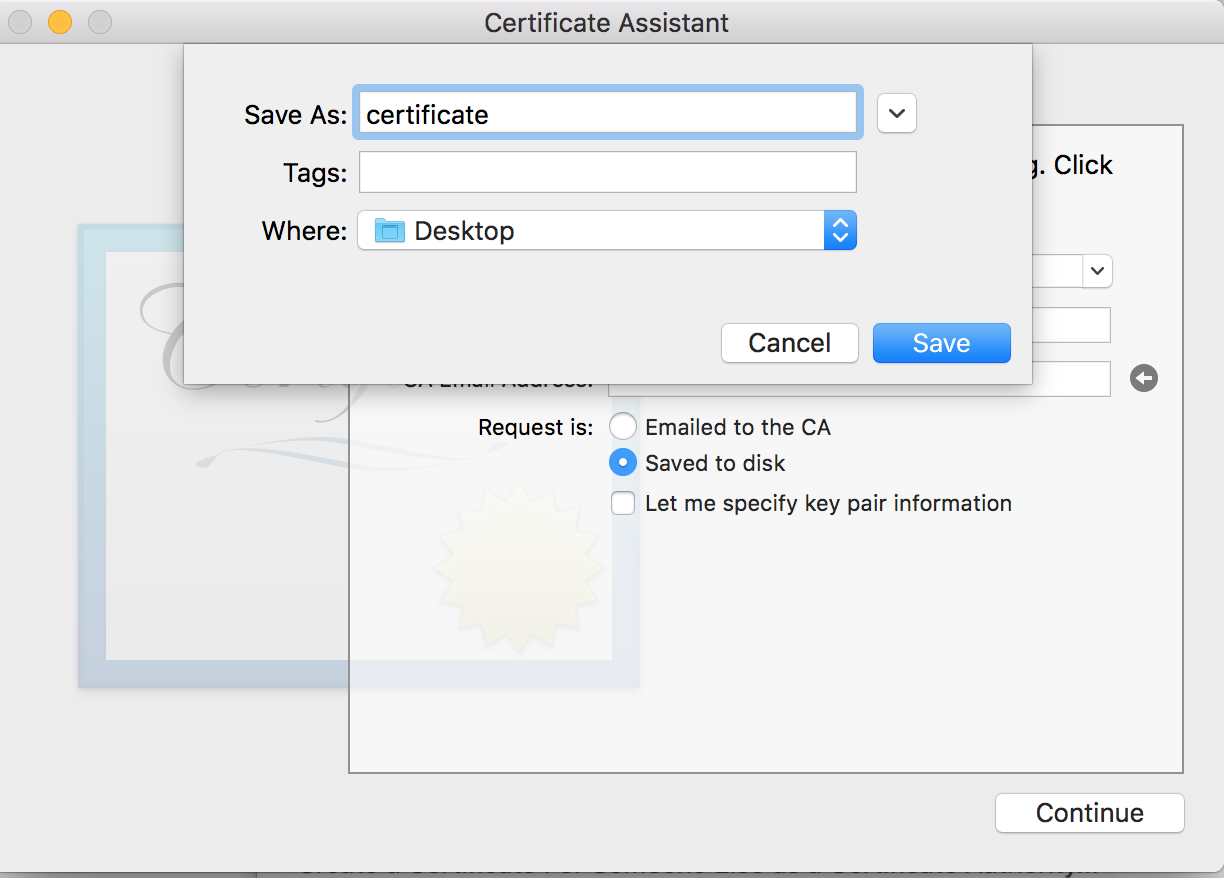
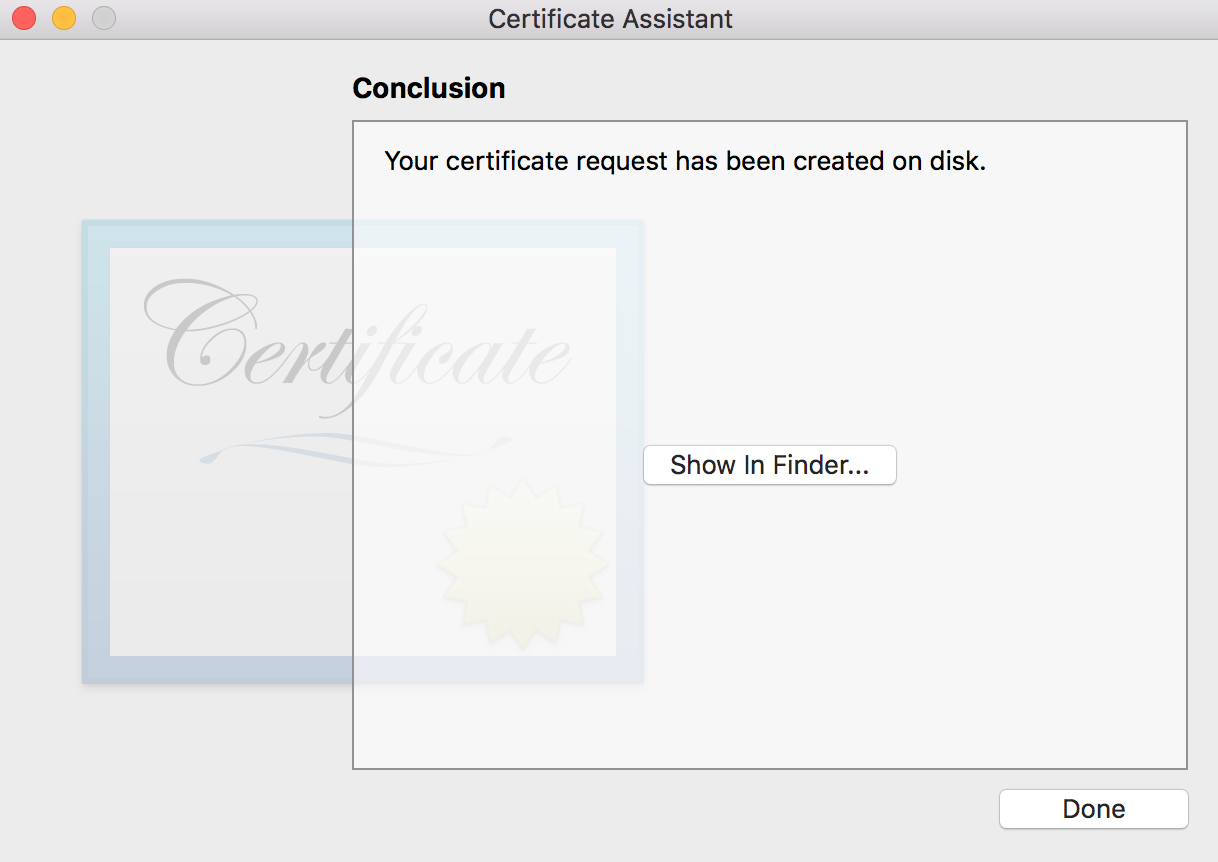
For the next step, we need to create a certificate for push notifications. For that, we need to request (not create) a certificate from a certificate authority. This can be done with the Keychain access Certificate Assistant. Follow the steps for that.

Now it can be used to create a push notification certificate. Go to Apple developer site, Member Center, then Certificates Identifiers.
To configure an App ID for push notifications, you need to select the App in the App IDs list. Under Application Services, click on the Edit button for the selected App ID.
Then, create a new certificate for push notifications.


Use the same CSR we created from Keychain access.

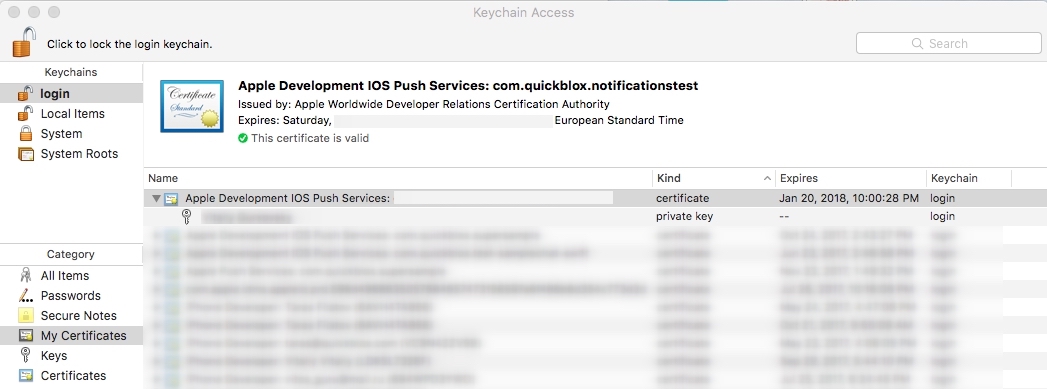
Download the certificate.and open it in the keychain.

Now the certificate is ready and downloaded in your keychain. In the same way, you can create development and production push notification certificates (.p12). you need to export the p12 from the keychain for further use.
Now it's time for Java. I am using a Maven application to send notifications. If you want to create a simple web app, you can do that too. You simply need to use the jar file of Javapns.
We will start by creating a simple Maven application. Create a new project, select Maven, then Web Application.
Add the following dependency for the project in pom.xml:
<!-- https://mvnrepository.com/artifact/com.github.fernandospr/javapns-jdk16 -->
<dependency>
<groupId>com.github.fernandospr</groupId>
<artifactId>javapns-jdk16</artifactId>
<version>2.3.1</version>
</dependency>

<dependency>
<groupId>com.sun.jersey</groupId>
<artifactId>jersey-server</artifactId>
<version>1.9</version>
</dependency>

<dependency>
<groupId>javax</groupId>
<artifactId>javaee-web-api</artifactId>
<version>7.0</version>
</dependency>
Once the dependencies are added, you have to add the certificate (the p12 that we have downloaded and exported from the keychain), then clean and build the project. Now, create a Java class and import the libraries and code like this:
import java.util.*;
import javapns.*;
import javapns.communication.exceptions.CommunicationException;
import javapns.communication.exceptions.KeystoreException;
import javapns.notification.PushNotificationPayload;
import javapns.notification.PushedNotification;
import javapns.notification.ResponsePacket;
public class TestPushNotificationApp {
public static void main(String[] args) {
BasicConfigurator.configure();
try {
PushNotificationPayload payload = PushNotificationPayload.complex();
payload.addAlert("test notification");
payload.addBadge(1);
payload.addSound("default");
payload.addCustomDictionary("id", "1");
System.out.println(payload.toString());
List < PushedNotification > NOTIFICATIONS = Push.payload(payload, "/Users/purva/NetBeansProjects/testNotificationApp/src/main/java/com/archer/testnotificationapp/dev_cert.p12", "Password123", false, "cd7454c24887a0631f68c35828e592285b8dd3f2edfdbae6b26cb0ed9be23008");
for (PushedNotification NOTIFICATION: NOTIFICATIONS) {
if (NOTIFICATION.isSuccessful()) {
/* APPLE ACCEPTED THE NOTIFICATION AND SHOULD DELIVER IT */
System.out.println("PUSH NOTIFICATION SENT SUCCESSFULLY TO: " +
NOTIFICATION.getDevice().getToken());
/* STILL NEED TO QUERY THE FEEDBACK SERVICE REGULARLY */
} else {
String INVALIDTOKEN = NOTIFICATION.getDevice().getToken();
/* ADD CODE HERE TO REMOVE INVALIDTOKEN FROM YOUR DATABASE */
/* FIND OUT MORE ABOUT WHAT THE PROBLEM WAS */
Exception THEPROBLEM = NOTIFICATION.getException();
THEPROBLEM.printStackTrace();
/* IF THE PROBLEM WAS AN ERROR-RESPONSE PACKET RETURNED BY APPLE, GET IT */
ResponsePacket THEERRORRESPONSE = NOTIFICATION.getResponse();
if (THEERRORRESPONSE != null) {
System.out.println(THEERRORRESPONSE.getMessage());
}
}
}
} catch (CommunicationException e) {
// TODO Auto-generated catch block
e.printStackTrace();
} catch (KeystoreException e) {
// TODO Auto-generated catch block
e.printStackTrace();
} catch (JSONException e) {
// TODO Auto-generated catch block
e.printStackTrace();
}
}
}
This will send a notification to a device id mentioned in the code. This will send a notification to a single device id, but you can create an array of device ids for multiple devices. You can modify the code based on your requirements. Now, build and run the project once to check if any issue occurs. Remember, our iOS code is still pending!
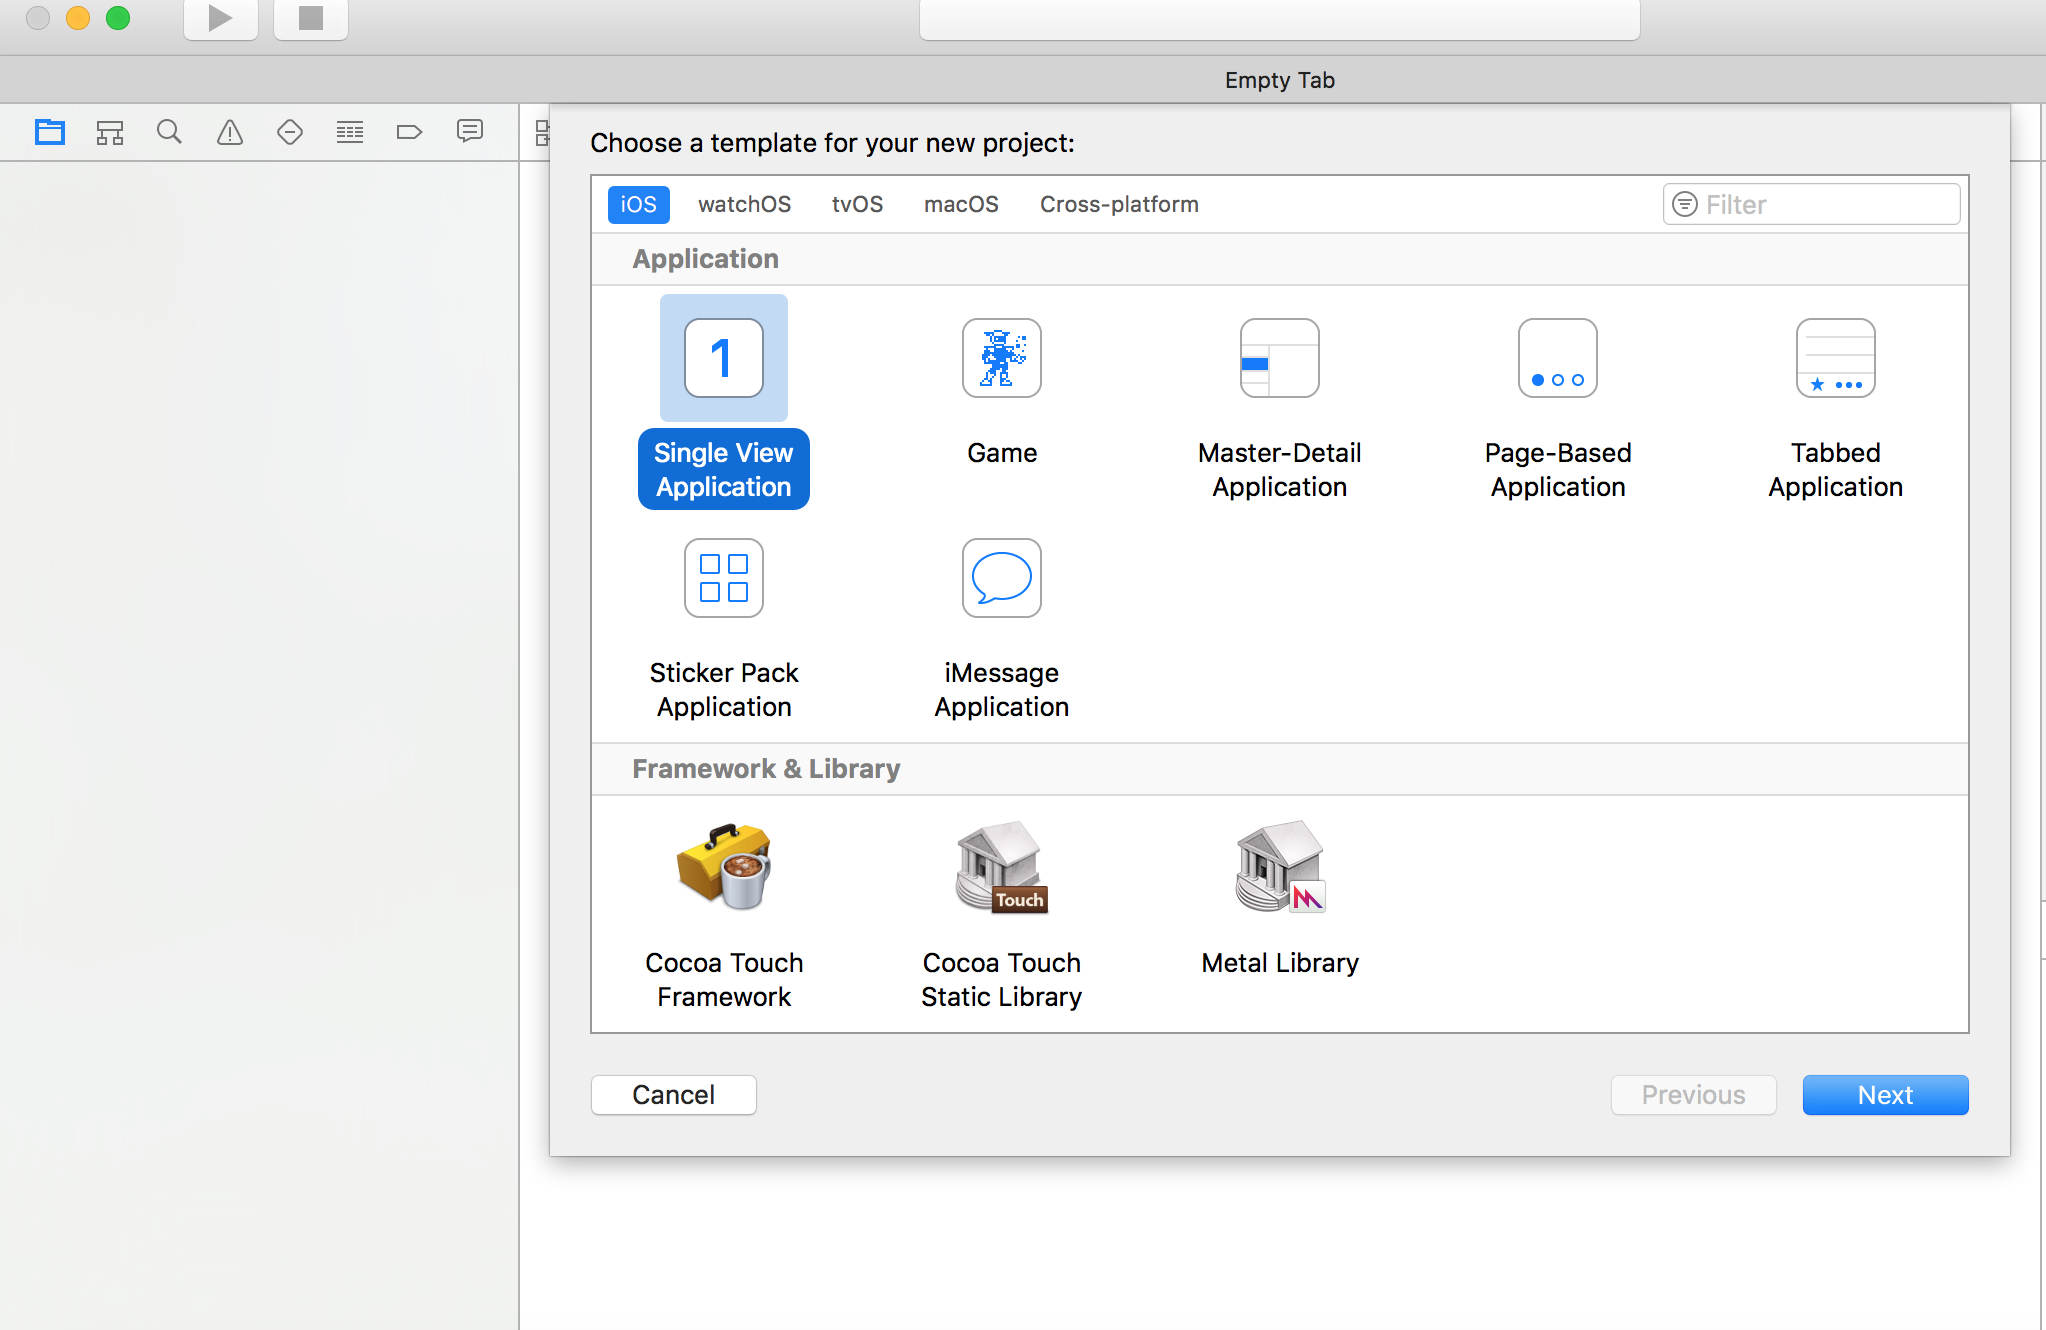
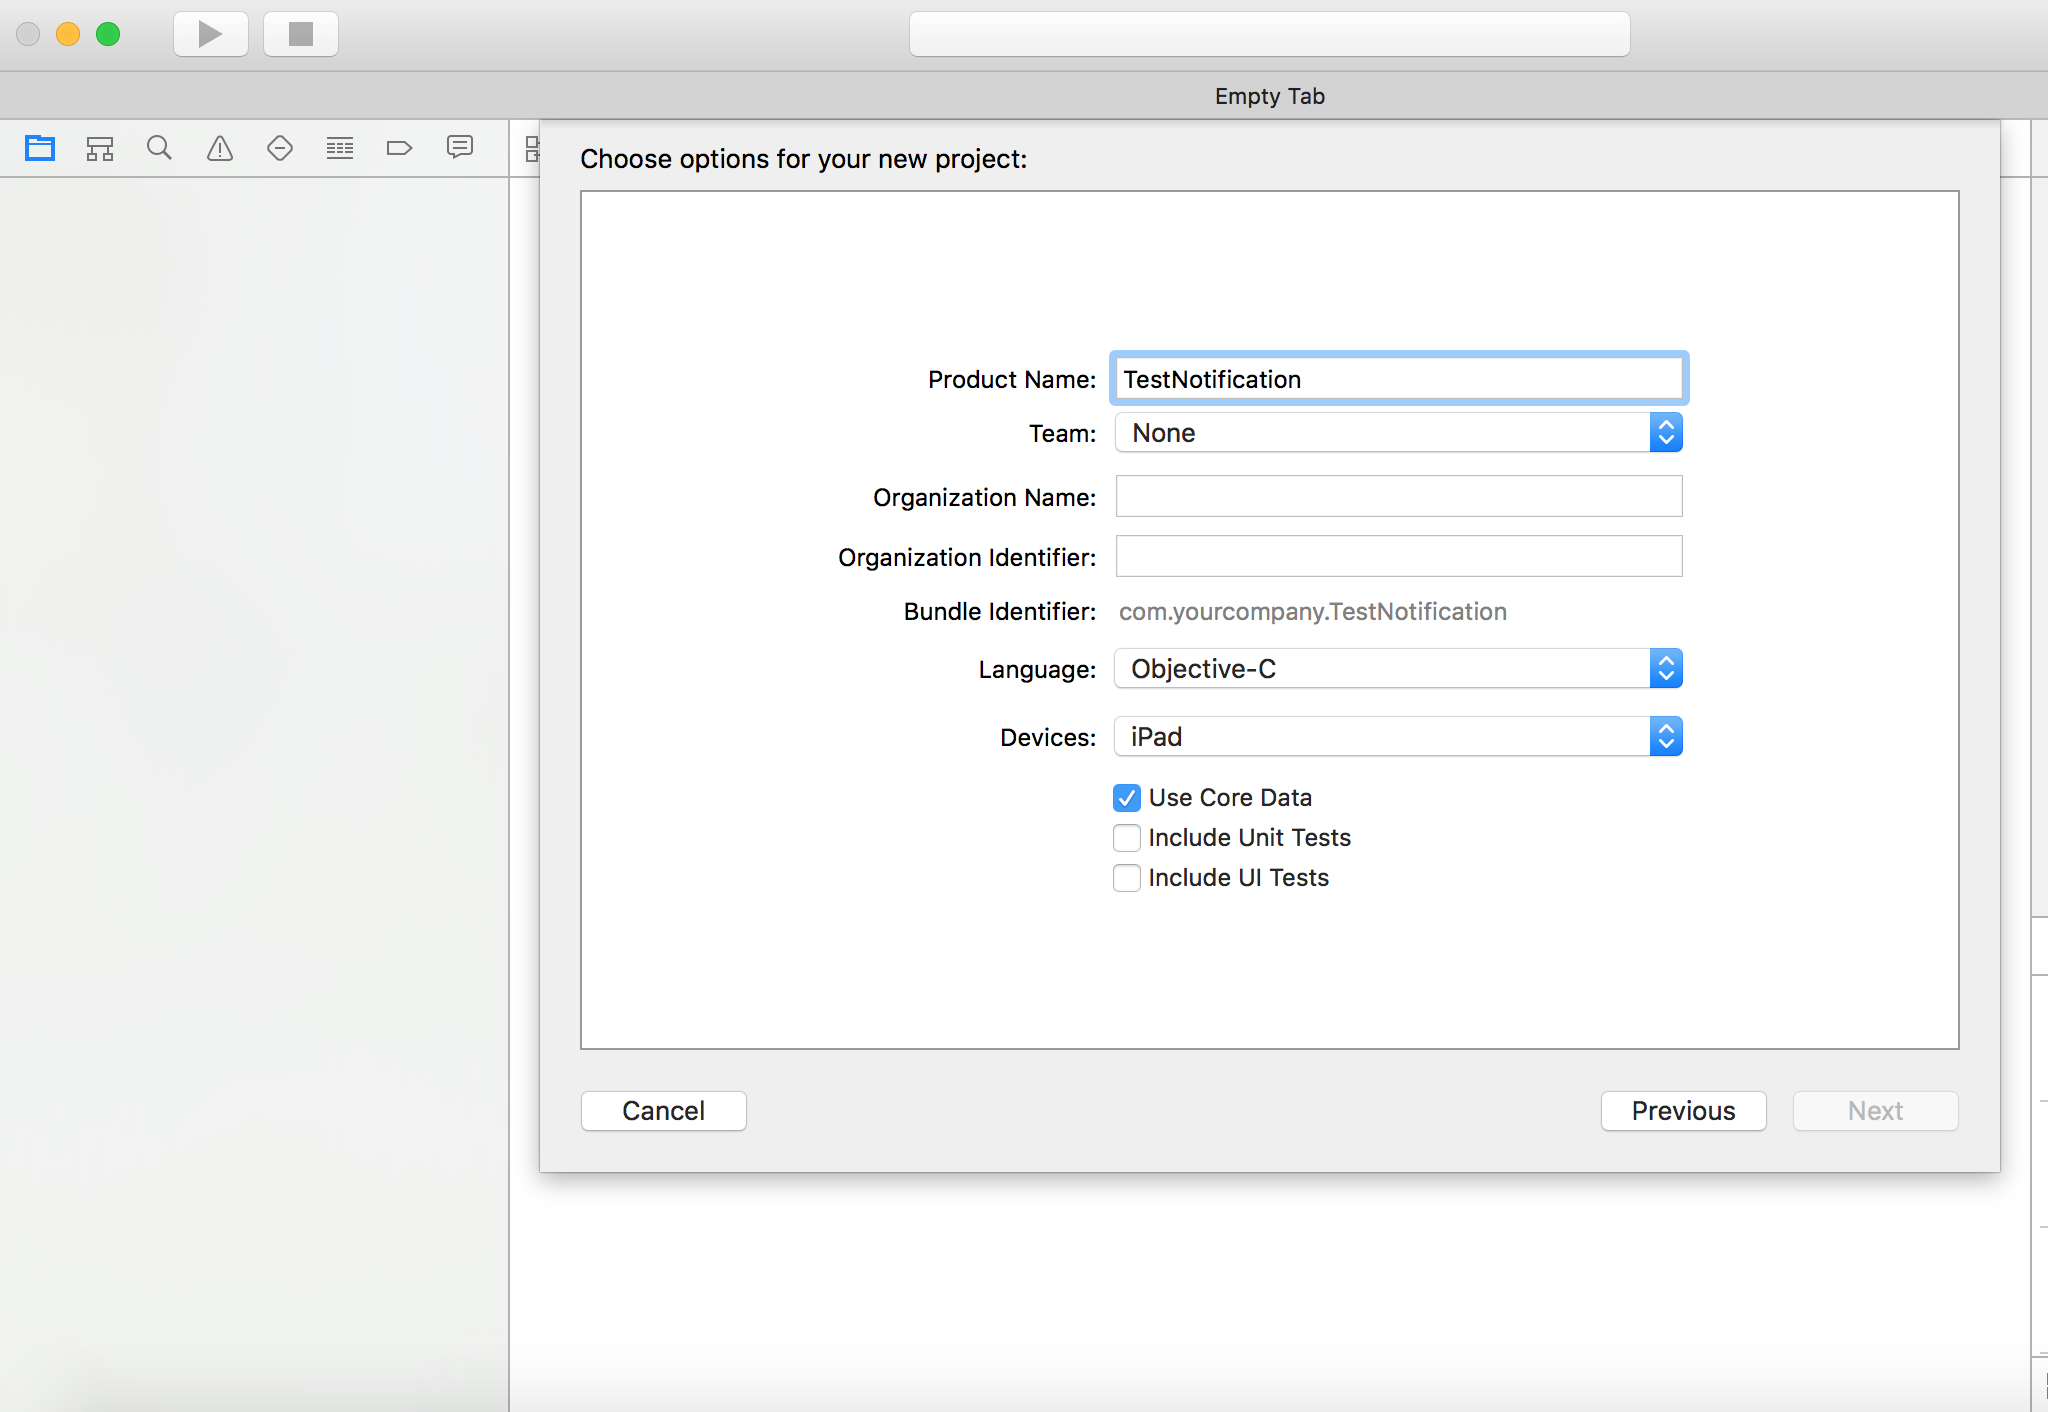
Our server-side code is ready now. It's time for the client-side. Create a single view application in Xcode following these steps.
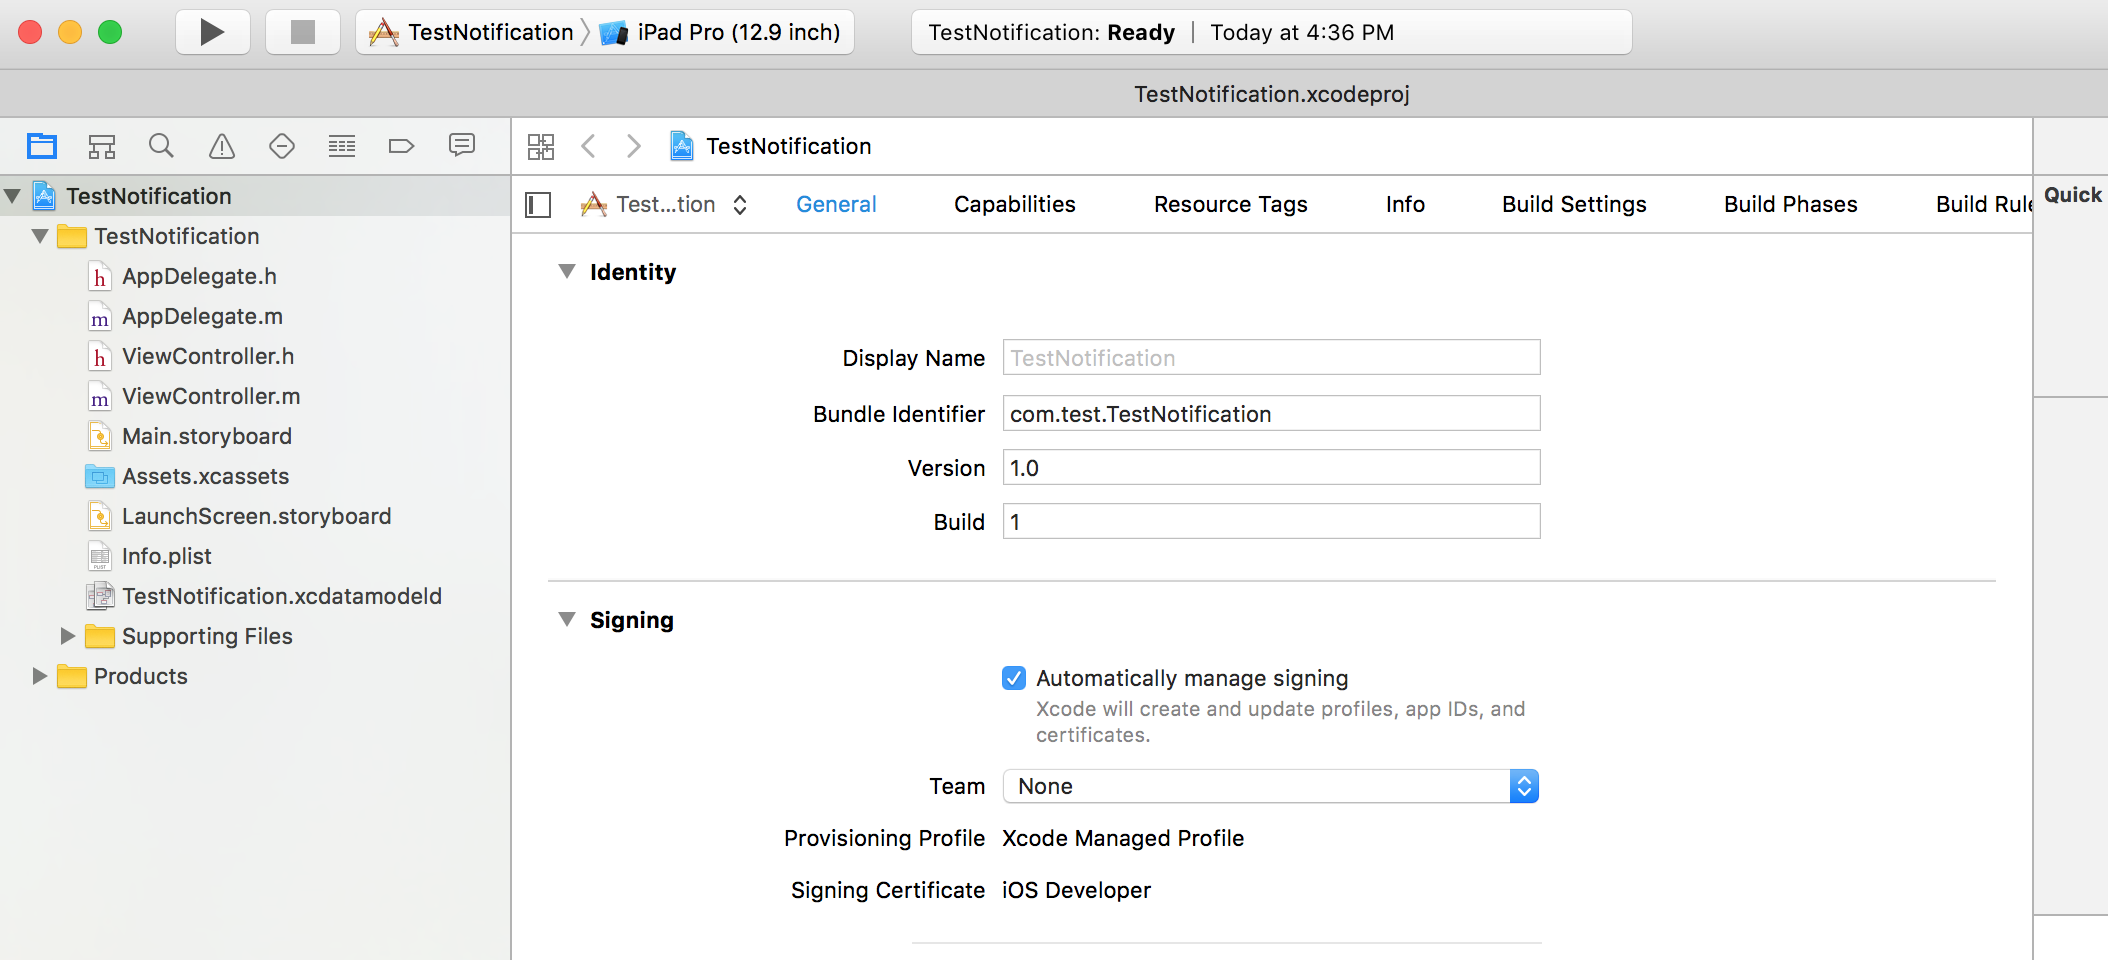
To make the application receive notifications, we need to write some code now. In the app delegate, we will code some methods for notifications, but before that, don't forget to turn on push notification services from Xcode capabilities like this:

Now we are ready to code. Add this code in your app delegate:
- (BOOL)application:(UIApplication *)application didFinishLaunchingWithOptions:(NSDictionary *)launchOptions {
if ([application respondsToSelector:@selector(isRegisteredForRemoteNotifications)])
{
// for iOS 8
[application registerUserNotificationSettings:[UIUserNotificationSettings settingsForTypes:(UIUserNotificationTypeSound | UIUserNotificationTypeAlert | UIUserNotificationTypeBadge) categories:nil]];
[application registerForRemoteNotifications];
}
application.applicationIconBadgeNumber = 0;
return YES;
}
#pragma mark Delegate Push Register
- (void)application:(UIApplication *)application didRegisterUserNotificationSettings:(UIUserNotificationSettings *)notificationSettings
{
NSLog(@"Try to register for Push");
[application registerForRemoteNotifications];
}
- (void)application:(UIApplication *)app didRegisterForRemoteNotificationsWithDeviceToken:(NSData *)devToken {
NSString *token = [[devToken description] stringByTrimmingCharactersInSet: [NSCharacterSet characterSetWithCharactersInString:@"<>"]];
token = [token stringByReplacingOccurrencesOfString:@" " withString:@""];
NSLog(@"Device Token is ---%@", token);
}
- (void)application:(UIApplication *)app didFailToRegisterForRemoteNotificationsWithError:(NSError *)err {
NSLog(@"Error in registration. Error: %@", err);
}
- (void)application:(UIApplication *)application didReceiveRemoteNotification:(NSDictionary *)userInfo
{
UIAlertController *alertController = [UIAlertController alertControllerWithTitle:@"Alerts" message:[[userInfo valueForKey:@"aps"] valueForKey:@"alert"] preferredStyle:UIAlertControllerStyleAlert];
UIAlertAction* ok = [UIAlertAction actionWithTitle:@"OK" style:UIAlertActionStyleDefault handler:nil];
[alertController addAction:ok];
[self.window.rootViewController presentViewController:alertController animated:YES completion:nil];
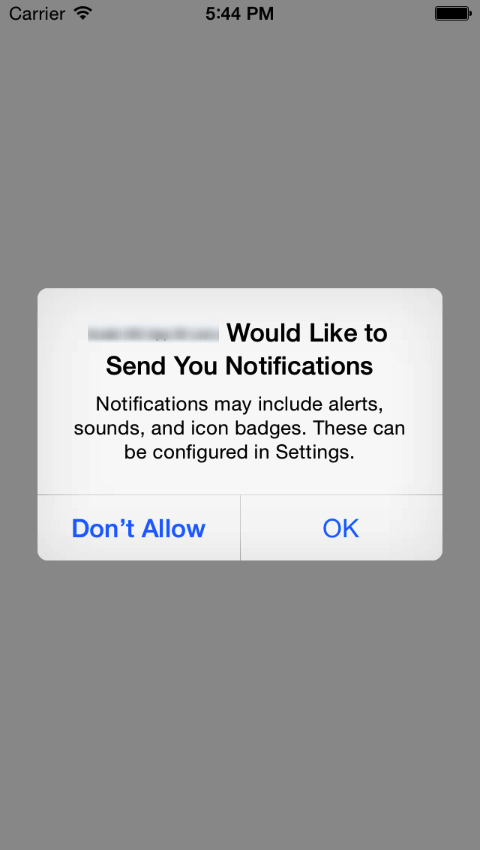
}These methods will register your device for push notifications that you will use server side to send notifications. Now we are all set to go and run the project. Build and run your project in the device. The first time, it will ask if you want this app to receive notifications. Click yes.
Now paste the code in Java code and run the application.
You will receive the notification titled "test notification " on your device. This is static for one device. If we need to do this for multiple devices, we need to add all the device ids in our Java code, but this seems a very bad implementation, so the solution is to use web services to register and remove the device tokens. You can use the post method to add the device token to the server and use that data for sending notifications.
I hope this will be helpful for someone who is struggling with APNs using Java.
Opinions expressed by DZone contributors are their own.
Comments