Brand New Flutter APP Publish and Update via Google PlayStore
Join the DZone community and get the full member experience.
Join For FreeIn that article we will learn how to publish and update a brand new Flutter project to the Google Play Store.
Before we start, I assume that you had coded and successfully tested your Flutter app and are ready to share it with other Android users.
First of all, you need to create a Google Developer Account in the Google Developer Console.
It is necessary to become a paid member of the Play Store with your Google account, estimated prices is 25 dollars per year.
Now, we are ready to start.
1) Open Flutter project and click on File → New → Import project on Android Studio

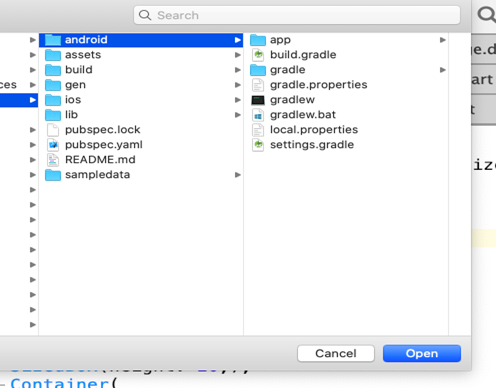
2) Find your Flutter project structured folder and open it from the "android" folder.
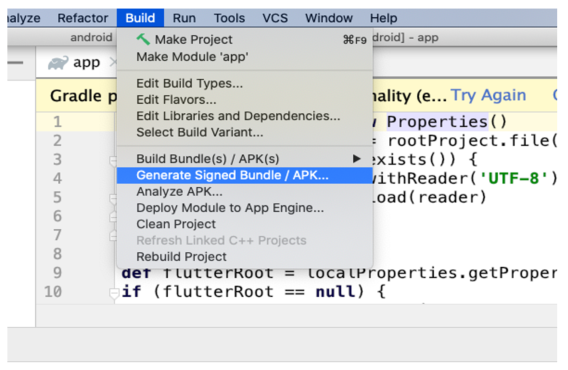
3) Click on Build→ Generate Signed Apk
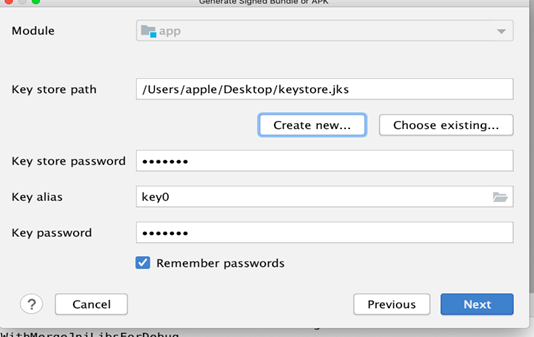
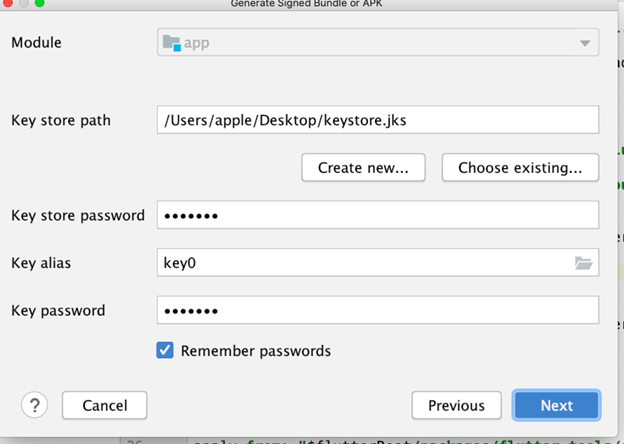
4) Give Keystore file name with a path as shown below and fill up all the information

5) Give Keystore your password. Please keep this file in safe because we cannot upload a new version if the file is lost. Then, click on the Next button.
6) Click on both the checkbox, as shown below, select "release", and click on the Finish button.
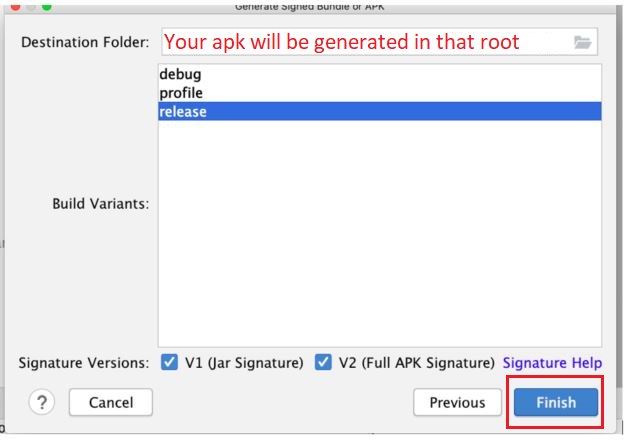
7) It will generate the release APK. After that, go to the play store console and click on "App releases".
Select your app, and then click on App Releases.
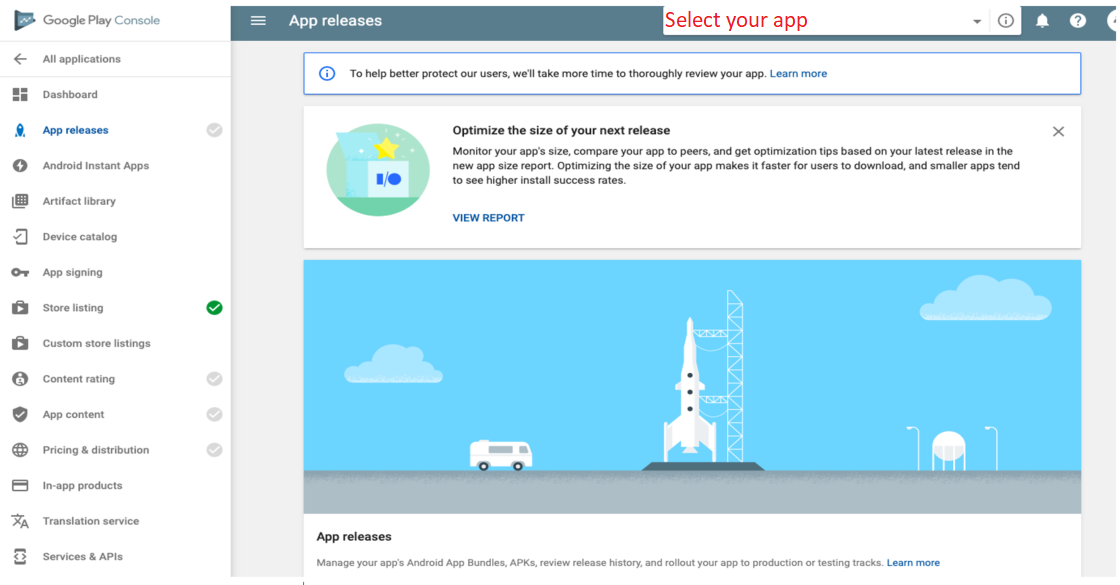
8) Click on the Production Manage button
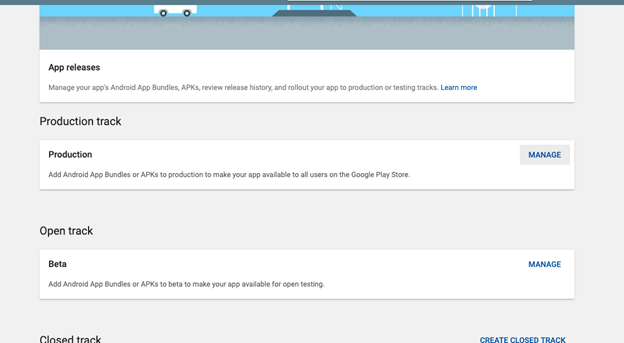
9) Now click on the "Create release" option.
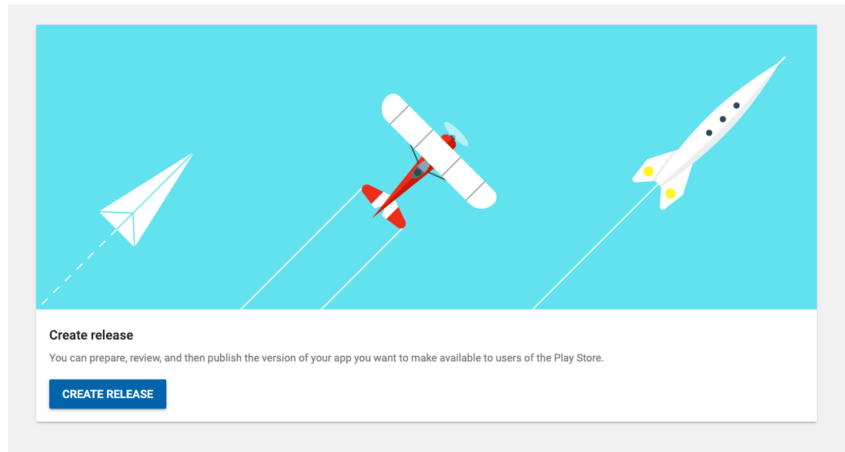
10) Click on the Continue button

11) Just click on accept button
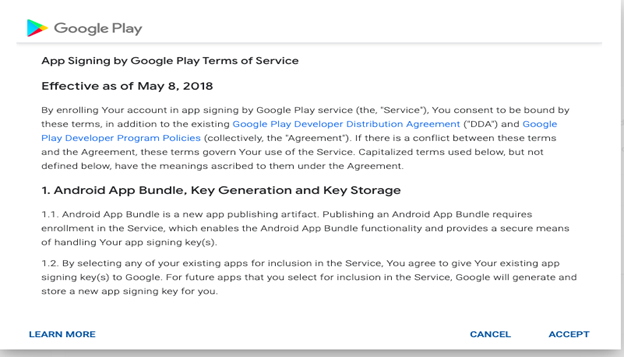
12) Upload the generated release APK here.

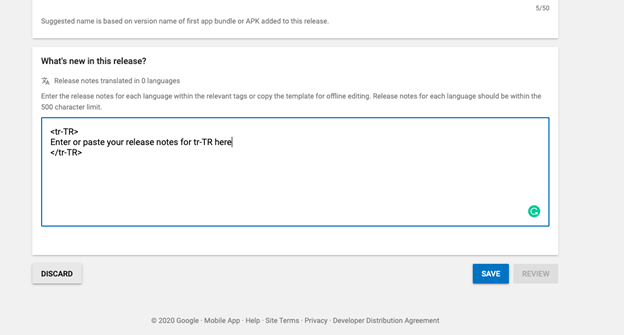
13) Enter the release notes and click on the Save button.
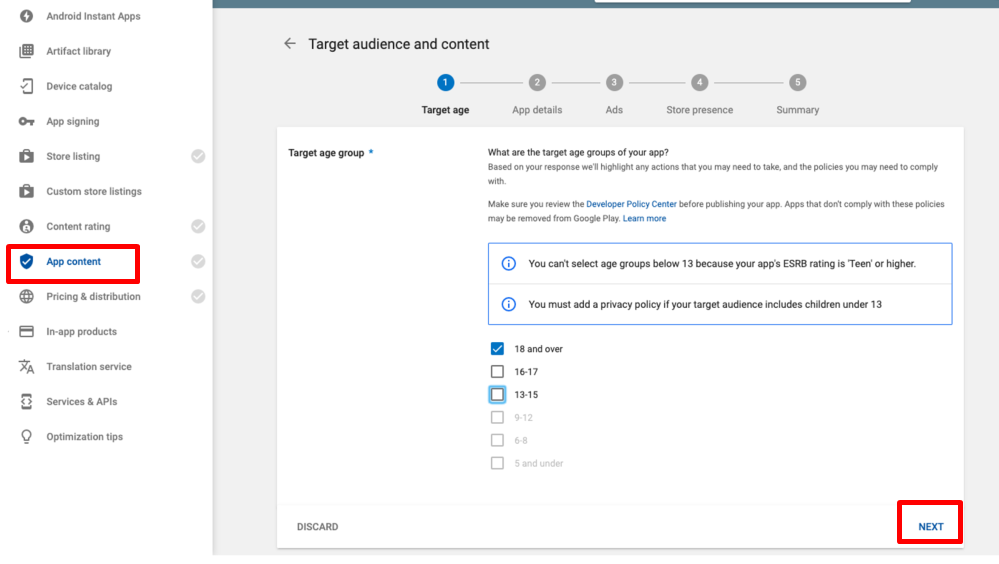
14) Now go to App content and fill out the information related to the application and click on the next button.
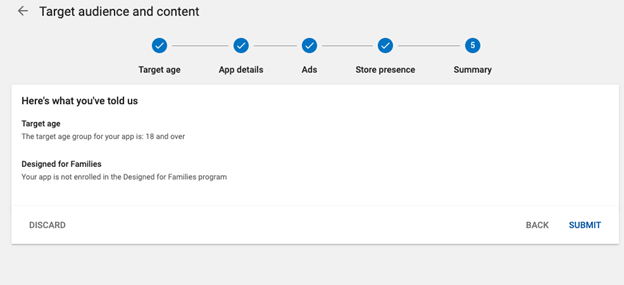
15) After filling out the details, click on the submit button.
16) Then, go to Pricing and Distribution
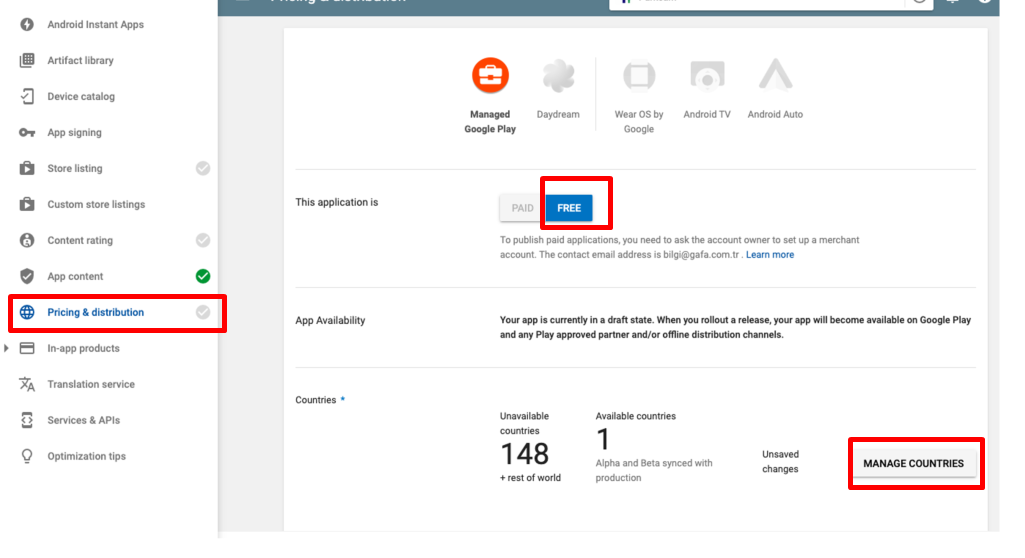
17) Fill out the information related to the application, as shown below, and click on the Save Draft button.
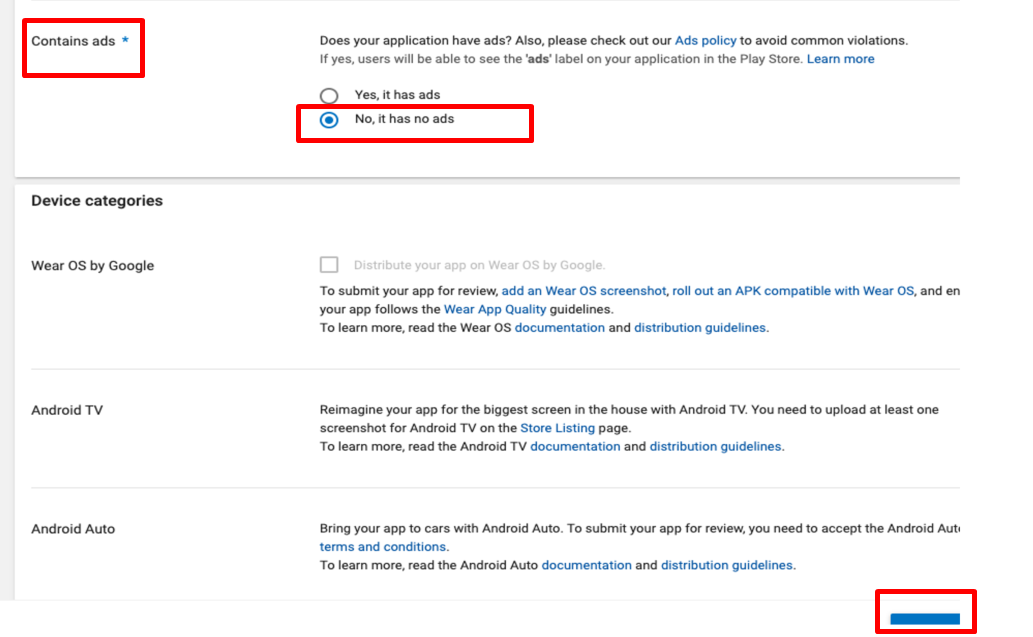
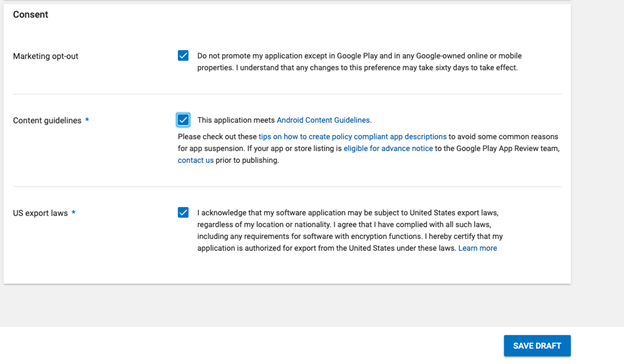
18) Now, go to the content rating and fill the contact details and select application category
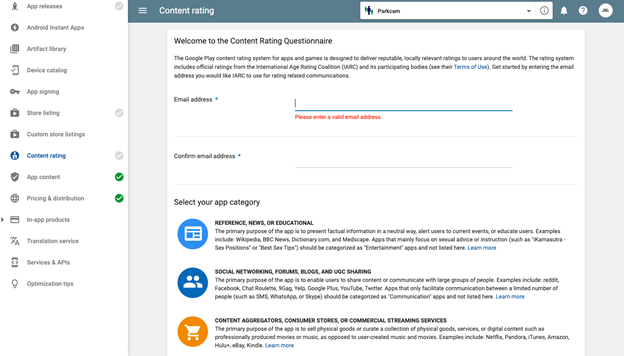
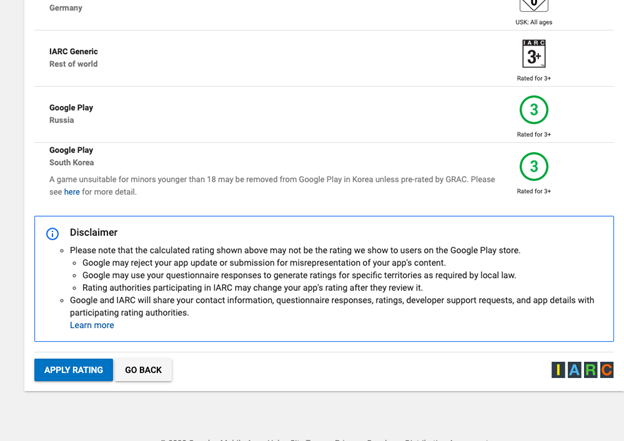
19) Select answer, as shown below then go to next and apply the content rating
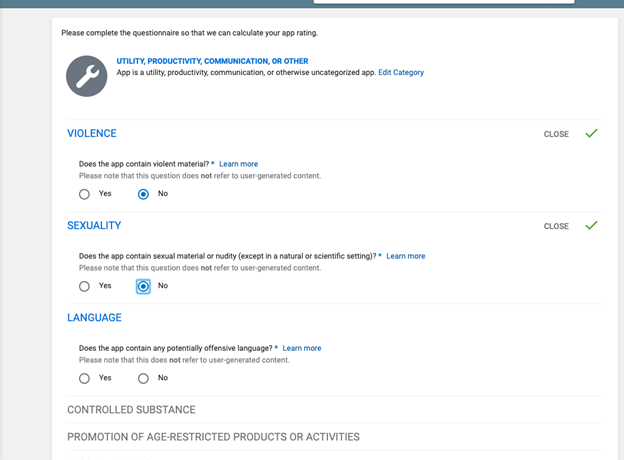
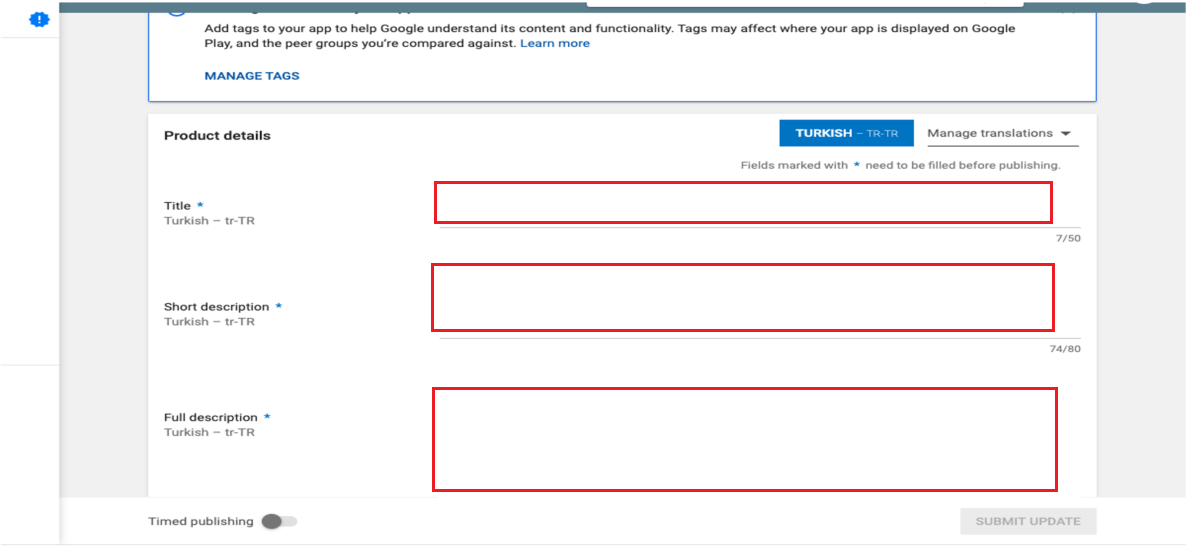
20) Now go to store presence and then store listing and fill the application details and upload icons as shown below
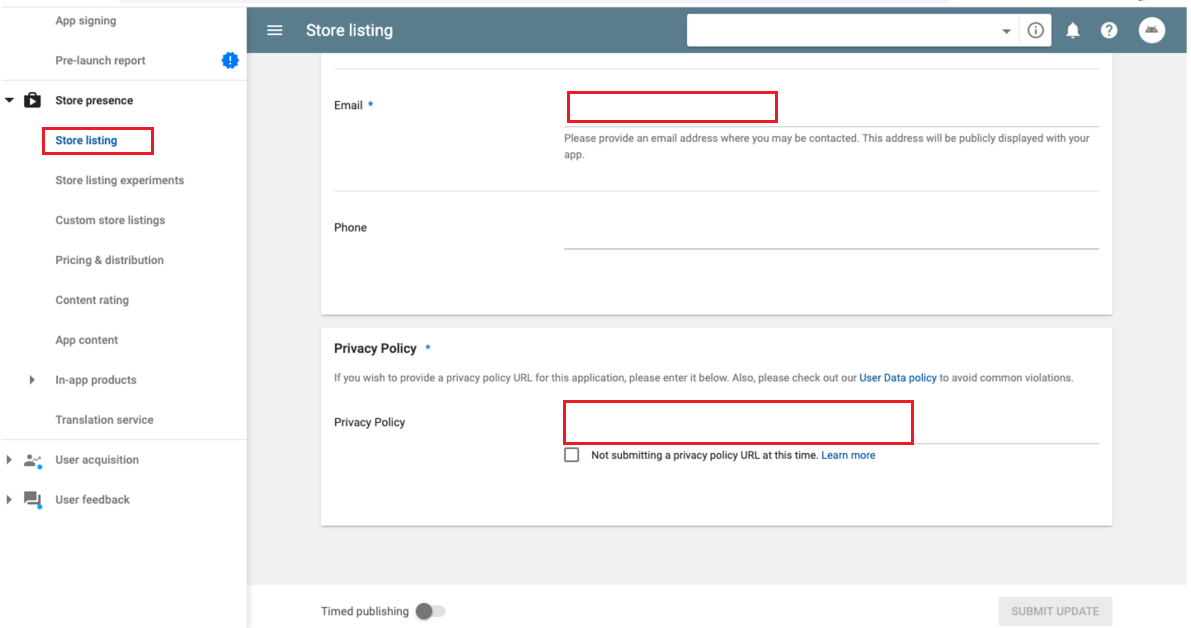
21) If you're using any permission then include a privacy policy link as below and click on Save button
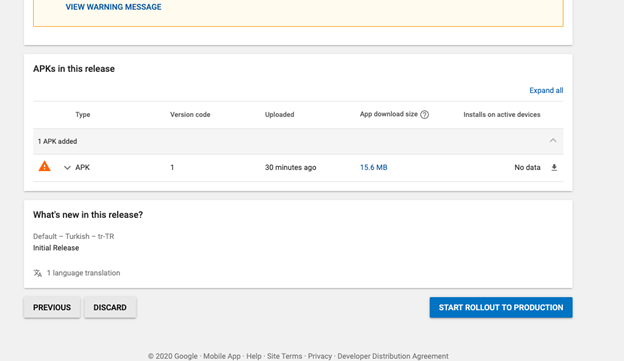
22) Now, again go to Release management and select the release you have created and click on Start Rollout to Production
Updating the Application
After your app released to store you may need to update it. Lets see how can you handle that.
1) Follow steps 1 & 2 at previous section and Go to Android → App → build.gradle file and increment the version name and version count
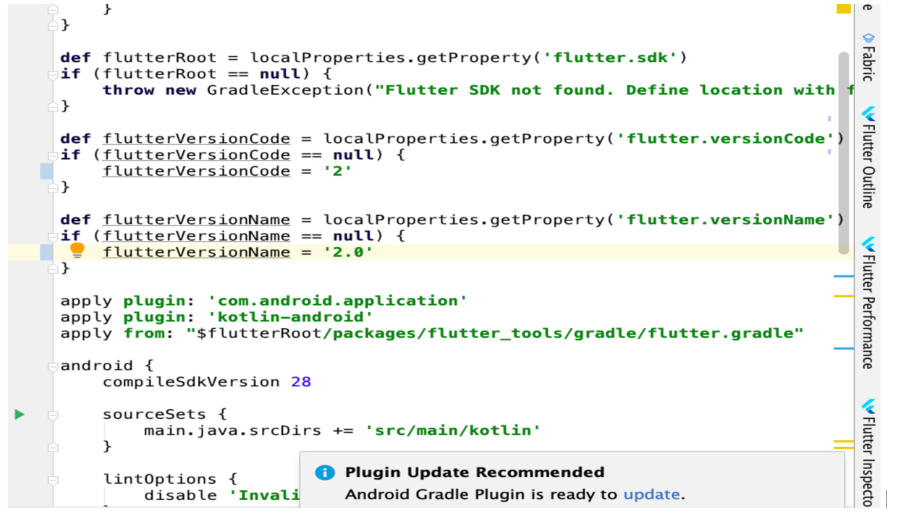
2) Again, generate the Signed APK by following previous steps and this time it will automatically fill out previous Keystore details and click on Next button and follow previous steps and it will generate APK
3) Go to Playstore console and Release Management -> App Releases and Click on Create Release and upload new APK, add new release notes and click on Review and Release to Production
After reviewing your app from Google Dev team, then it will be release on Google Play Store.
Opinions expressed by DZone contributors are their own.

Comments