

CI/CD Using Google Cloud Build and Google Cloud Run — Part 1
Here in this article, I am demonstrating every step to deploy an application in Cloud Run using the pipeline.
Join the DZone community and get the full member experience.
Join For FreeDescription
Google cloud is one of the most popular cloud providers which offers a breadth of services to fulfill almost every cloud requirement. Google Cloud Build and Google Cloud Run are two services from google cloud to achieve build and deployment automation using pipelines.
CI/CD stands for Continuous Integration and Continuous Deployment of application in an automated way using DevOps automation tools.
Here in this article, I am demonstrating every step to deploy an application in Cloud Run using the pipeline.
Pre-requisites
- Google Cloud Account - Create a trial account here
- Knowledge of CI/CD and Pipeline Concept
- Github Account - Create a new account here
Problem Statement
- Clone a web application developed using python and flask
- Create a docker image and publish to Google Cloud Registry
- Develop a pipeline to build and deploy the application to GCP
- Setup trigger on commit in Github repo to execute pipeline
Solution
1. Log in to your google cloud account. https://console.cloud.google.com/
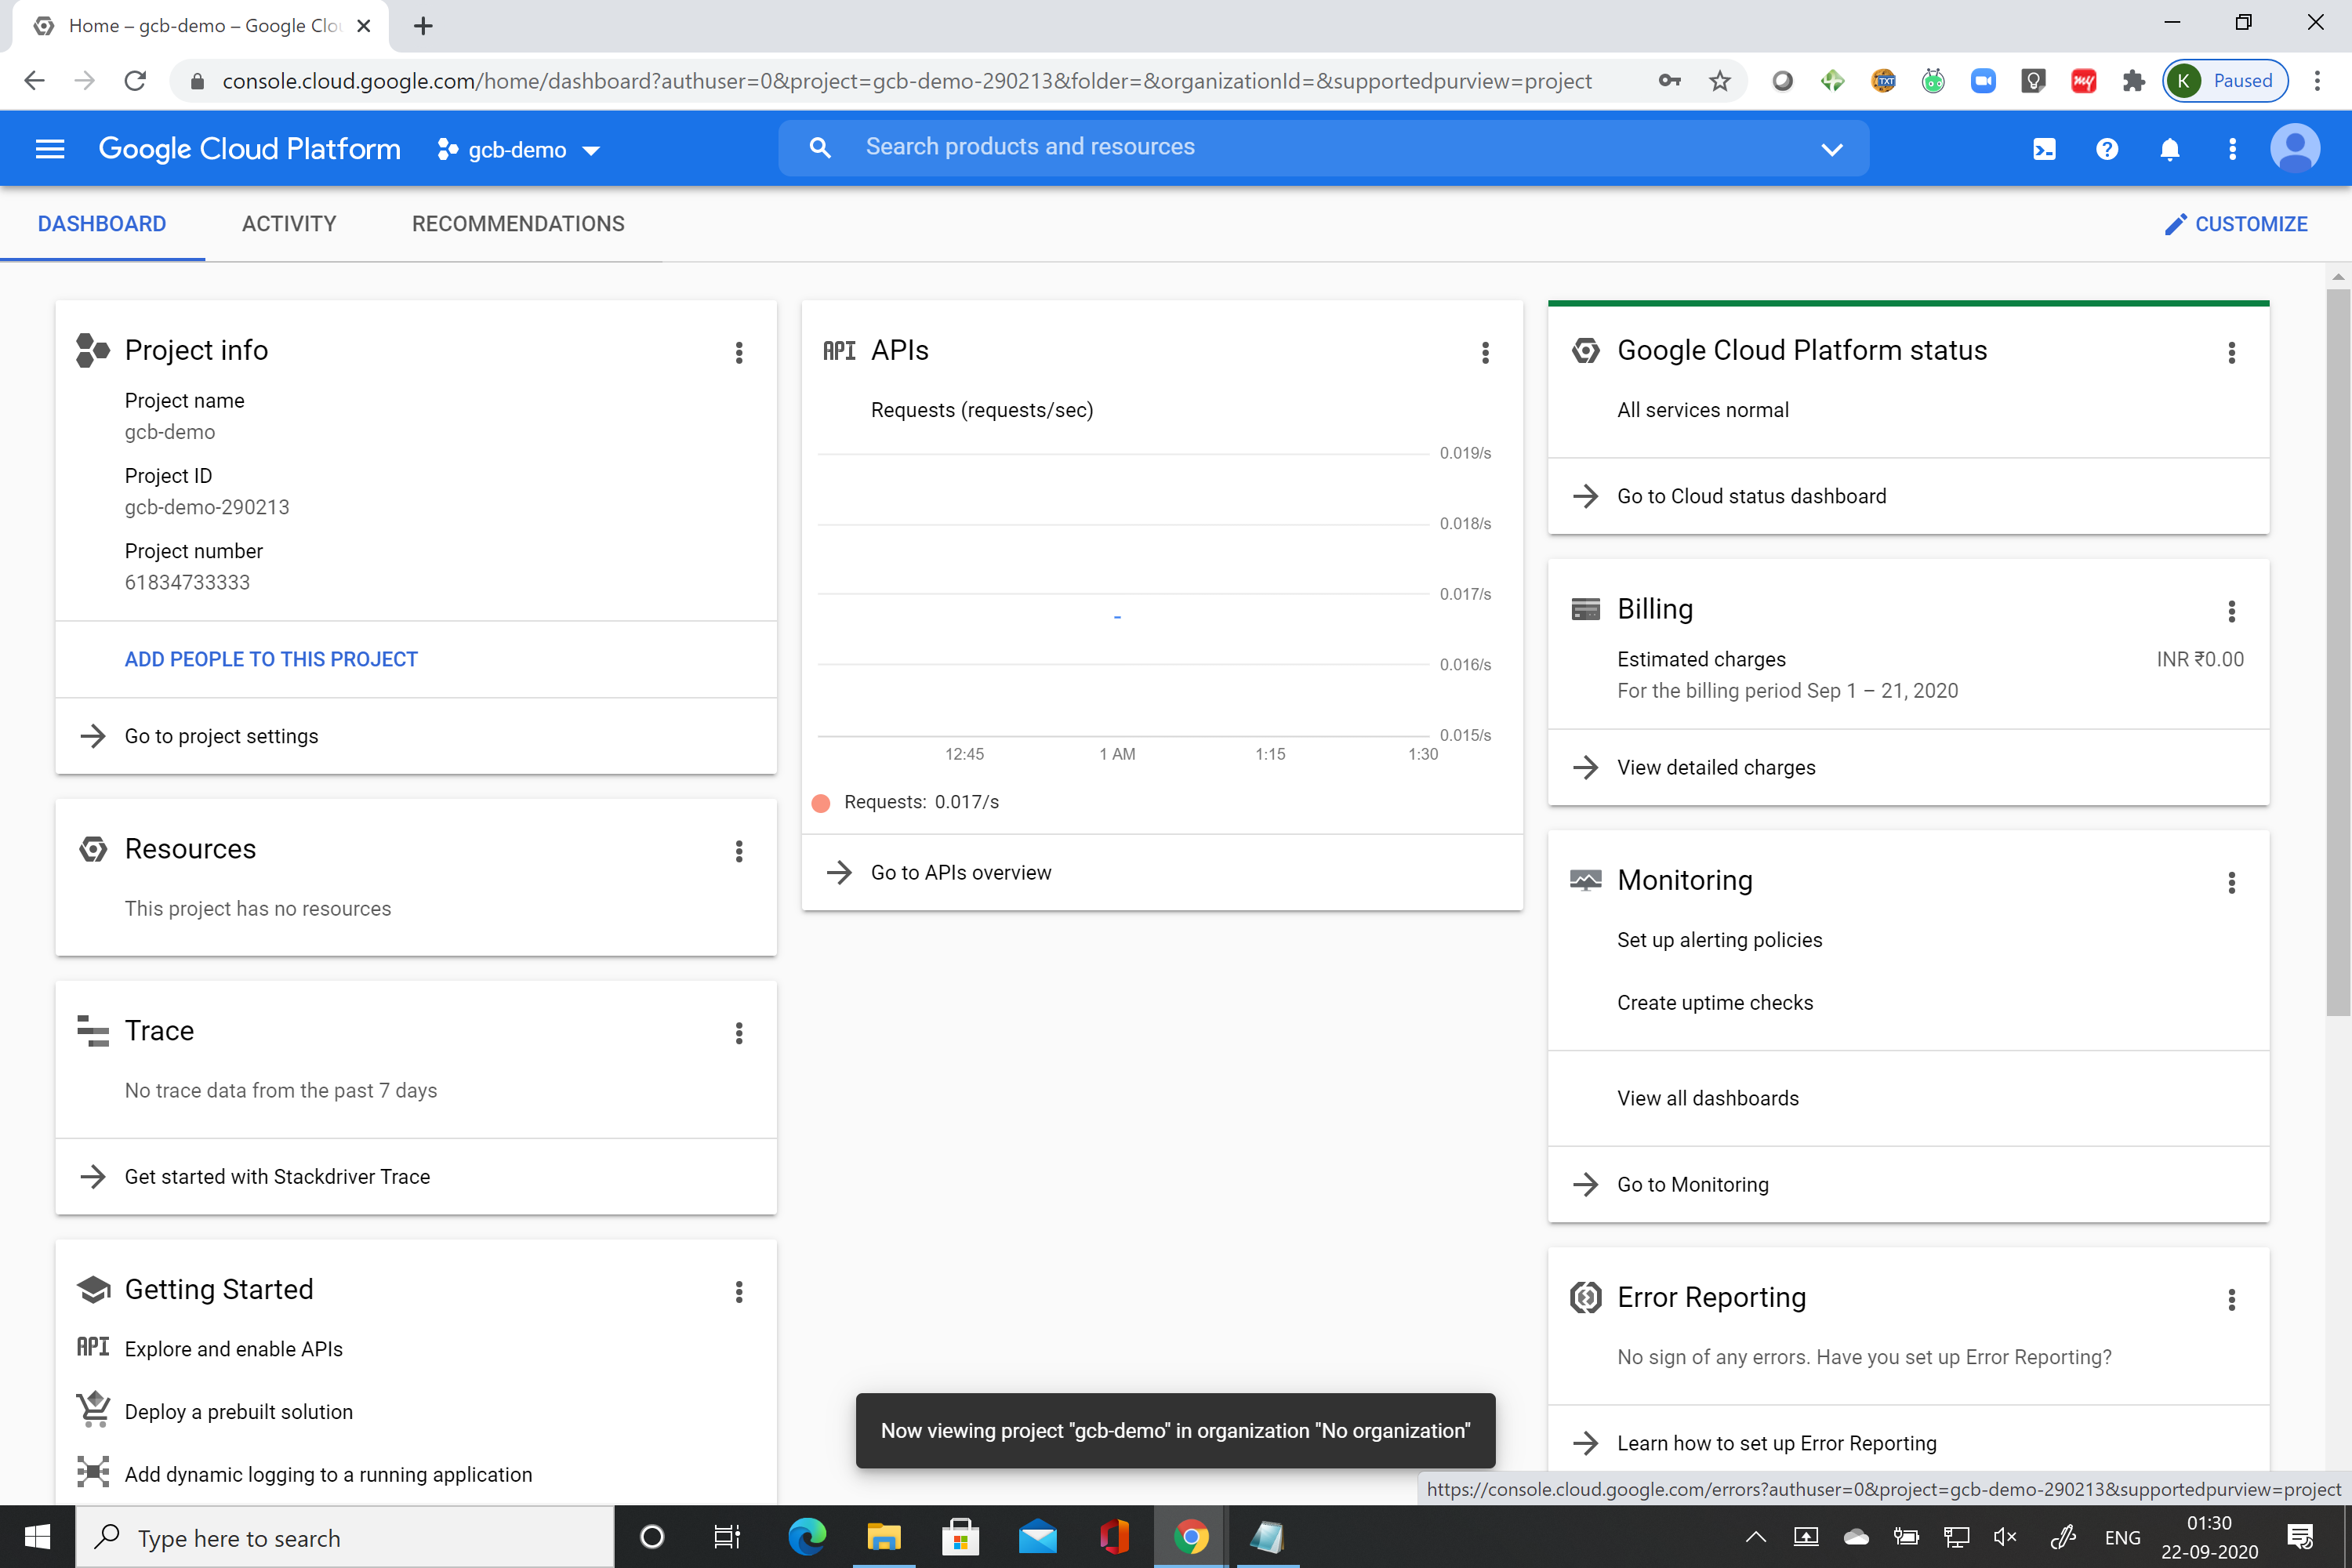
2. Create a project.
This step is not mandatory but if you are using a trial account then its good to create everything in a project so that once the activity is done you can remove the project and save on billing.
From Left Panel, Open IAM, and Admin-> Manage Resources
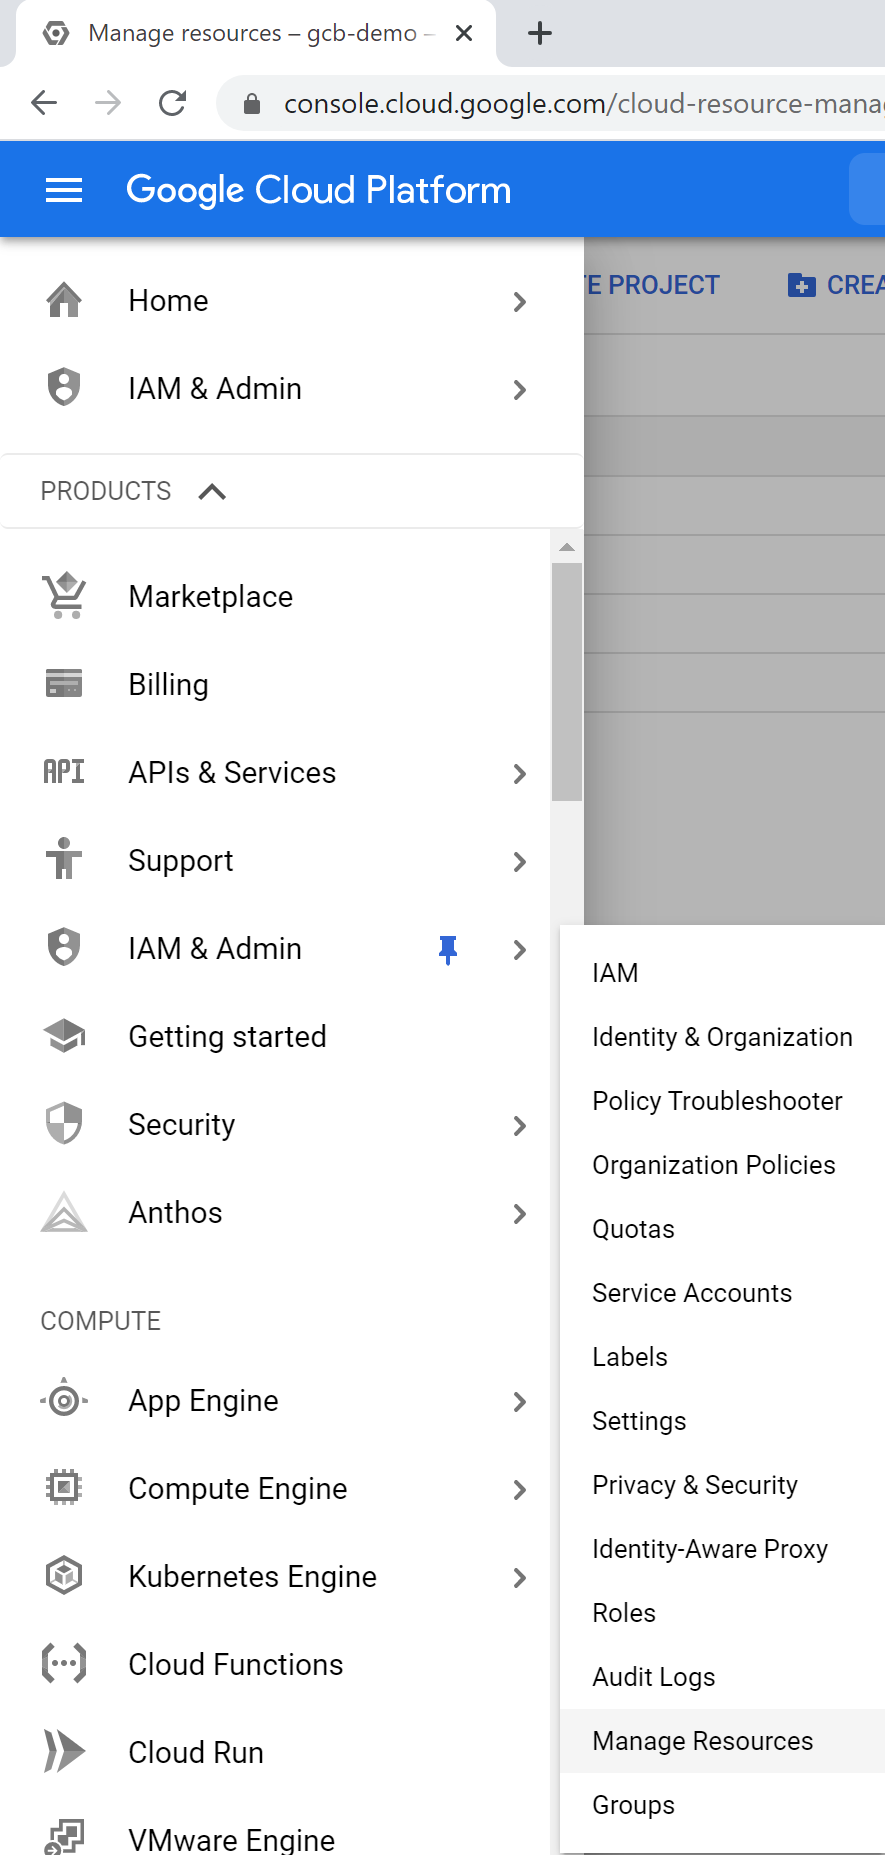
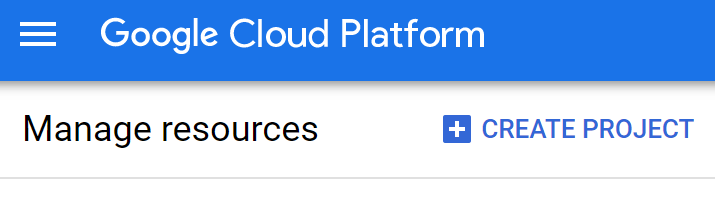
Click Create Project
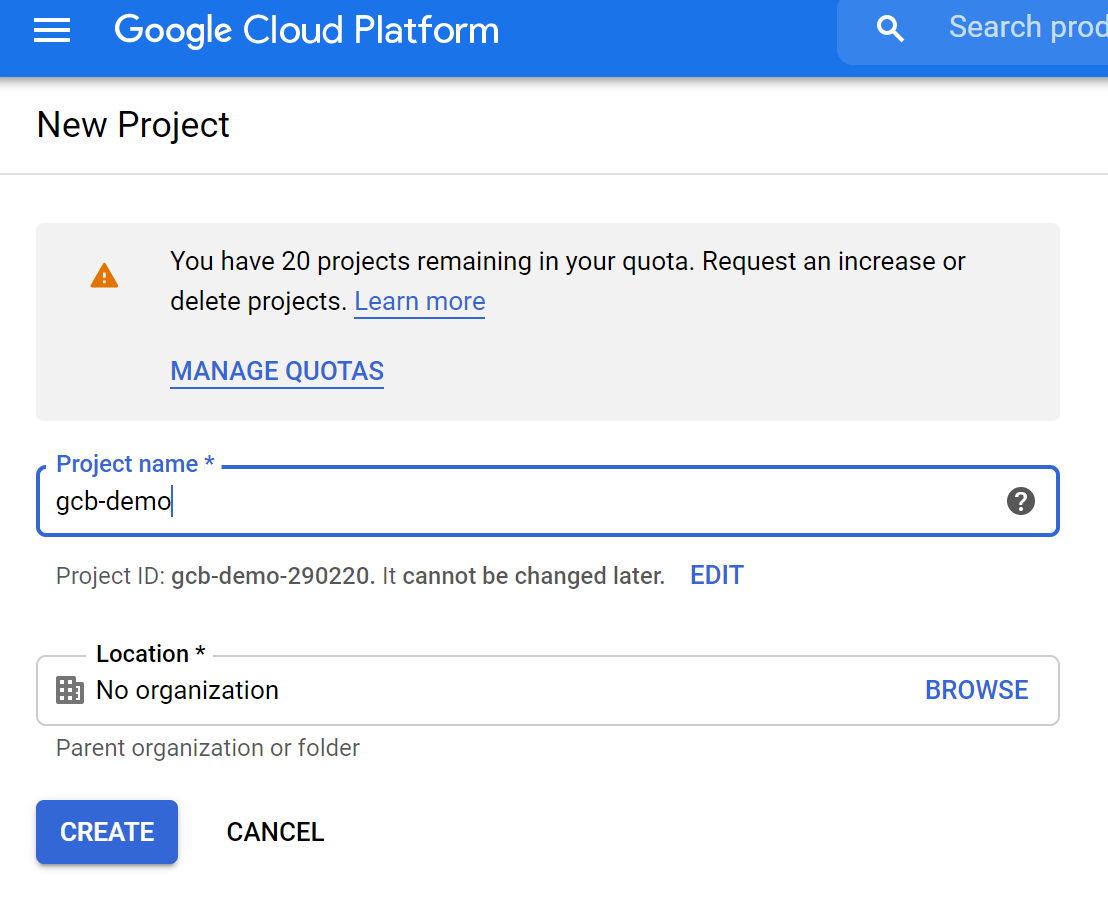
Enter the project name "gcb-demo" and hit the "Create" button.
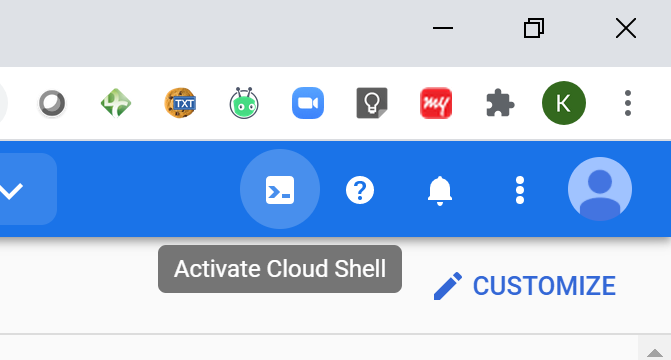
3. Activate cloud shell
4. Execute the below commands to clone application code
# Lists credentialed accounts
$ gcloud auth list
# List Cloud SDK properties for the currently active project
$ gcloud config list project
# Set PROJECT_ID environment variable
$ export PROJECT_ID=<project id displayed from previous command>
# Create a directory to keep our code
$ mkdir gcbdemo
# Change current directory to gcbdemo
$ cd gcbdemo
# Clone code from github repository
$ git clone https://github.com/KumarAbhishekShahi/gcbdemo-repo.git
# Change current diectory to gcbdemo-repo
$ cd gcbdemo-repo
# List files under gcbdemo-repo directory
$ ls
5. Execute the below commands to create, tag, publish, and run the docker image.
x
# Create a docker image named "hello-app" using contents from current directory
$ docker build -t hello-app .
# Tag image "hello-app" to gcr namespace
$ docker tag hello-app gcr.io/$PROJECT_ID/hello-app
# Push image to Google Container Repository
$ docker push gcr.io/$PROJECT_ID/hello-app
# Run hello-app in detached mode and map container port to host port
$ docker run -p 8080:8080 -d gcr.io/$PROJECT_ID/hello-app
# Test application URL and it should return <h3>Hello World!</h3>
$ curl http://localhost:8080
6. Create a pipeline now with the name cloudbuild.yaml in the current directory.
xxxxxxxxxx
steps
#build docker container
name'gcr.io/cloud-builders/docker'
args 'build' '-t' 'gcr.io/$PROJECT_ID/hello-app' '.'
#push container to container registry
name'gcr.io/cloud-builders/docker'
args 'push' 'gcr.io/$PROJECT_ID/hello-app'
#deploy to cloud run
name'gcr.io/cloud-builders/gcloud'
args
'run'
'deploy'
'cloudrunservice'
'--image'
'gcr.io/$PROJECT_ID/hello-app'
'--region'
'us-central1'
'--platform'
'managed'
'--allow-unauthenticated'
images
'gcr.io/$PROJECT_ID/hello-app'
7. You need to complete few configurations before running your pipeline
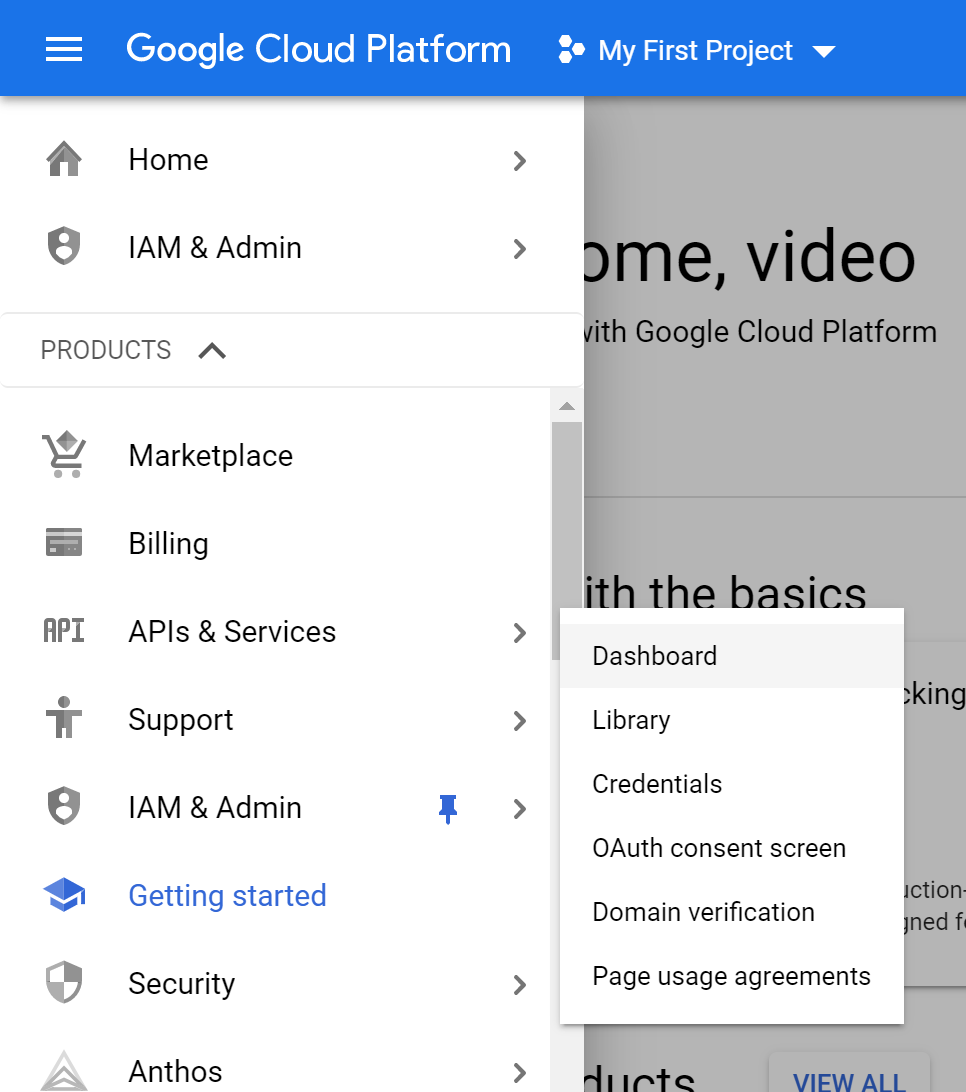
- Enable Cloud Run API
- Select API and Services from left panel --> Dashboard
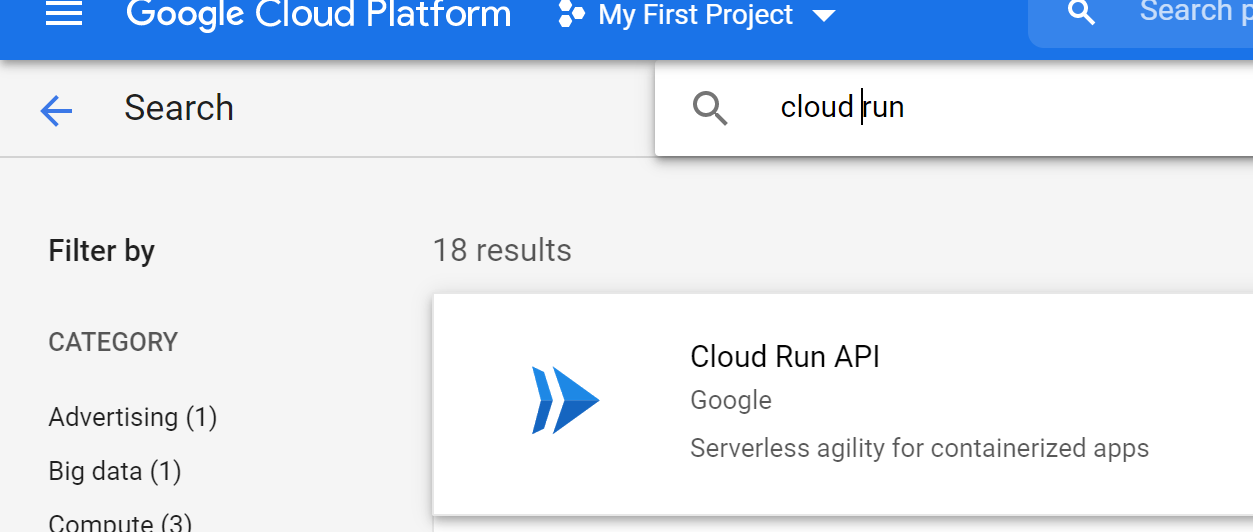
- Search for Cloud Run API and open it.
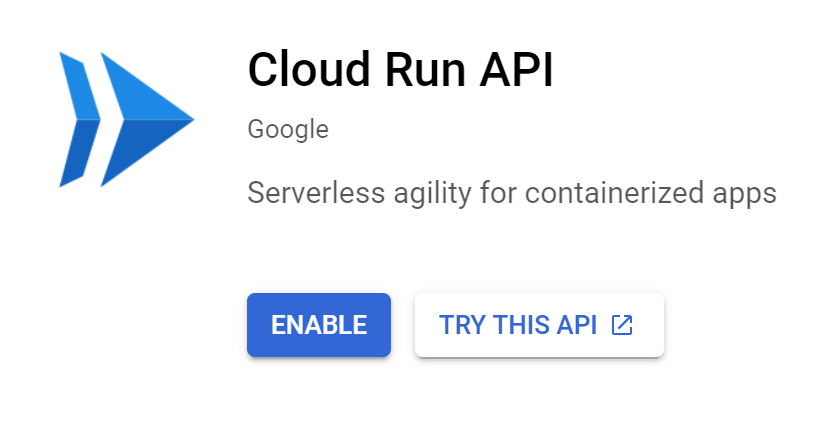
- Click Enable to enable the API for this project
- Enable Cloud Build API — Follow the same steps for Cloud Build API as above.
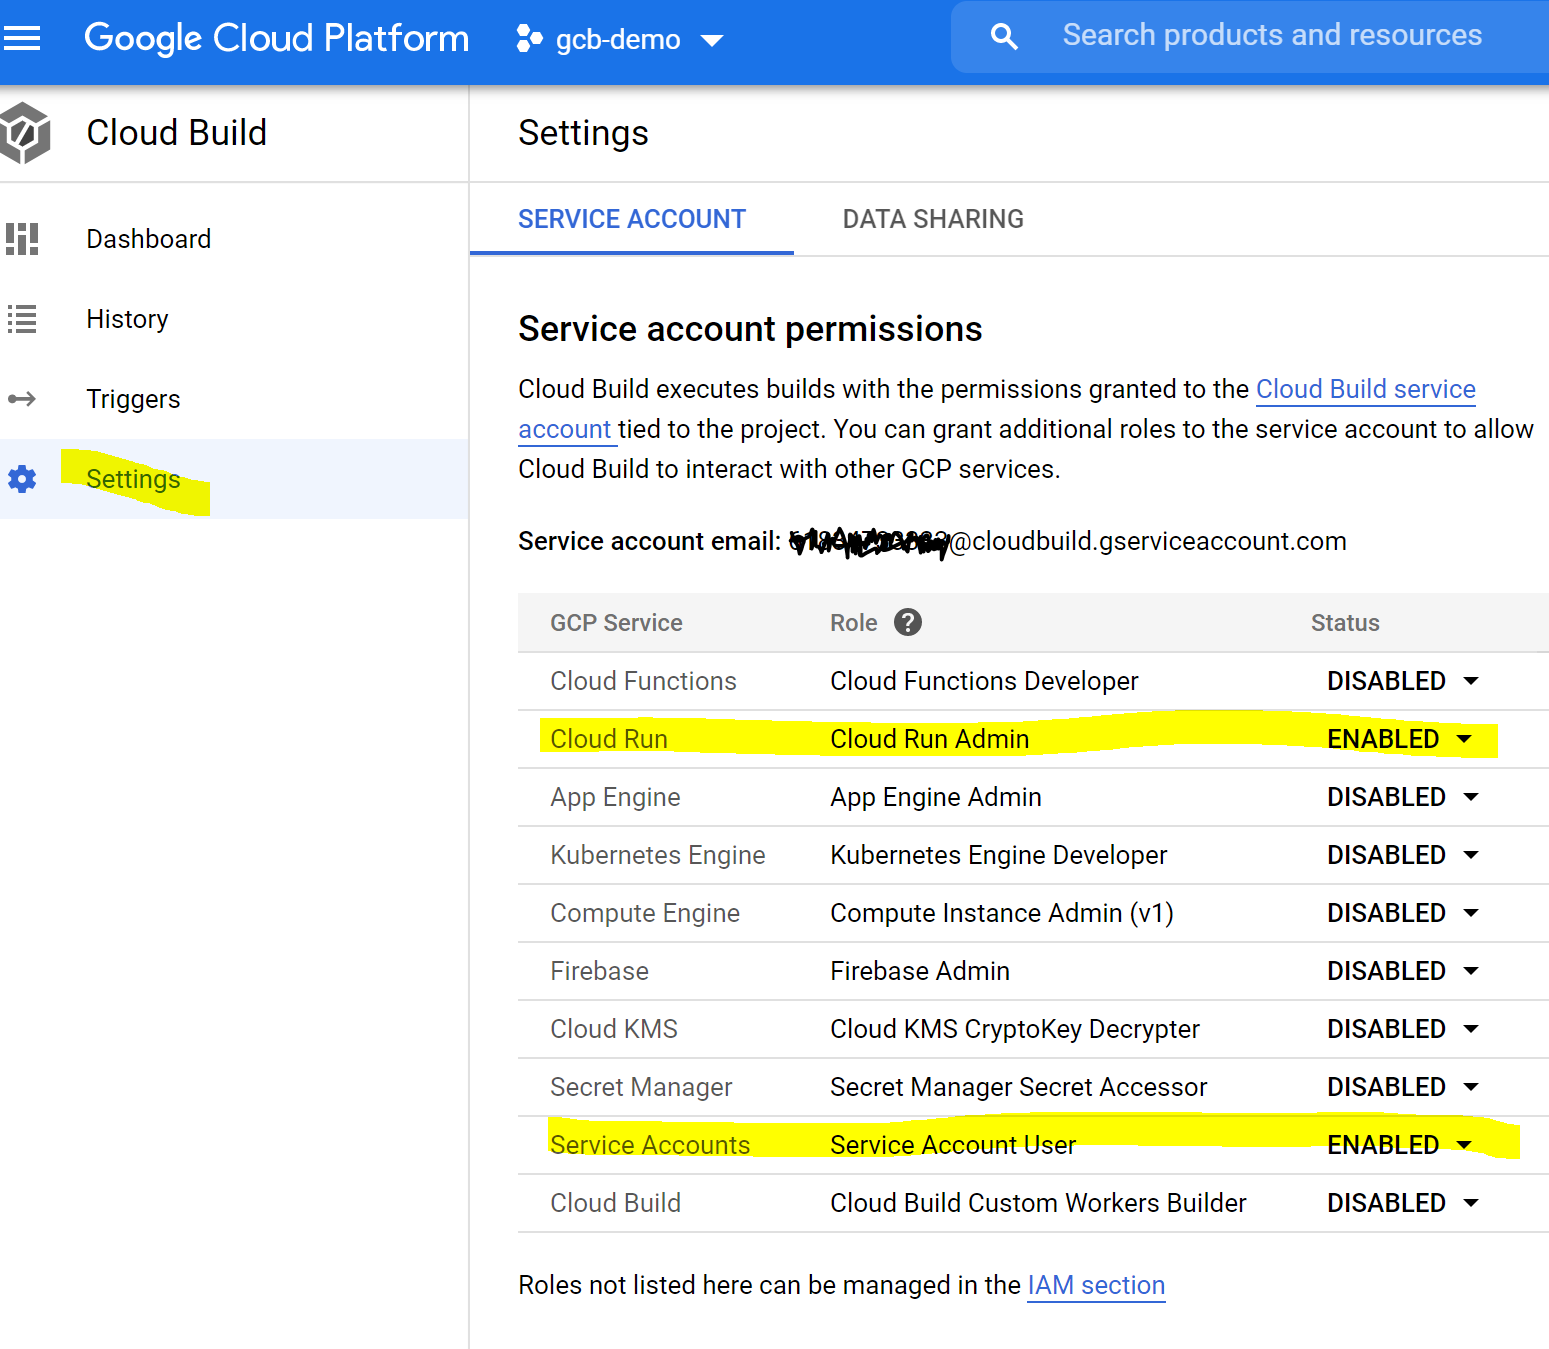
- Allow permission to execute build and run commands.
- From left panel open Cloud Build -> Settings
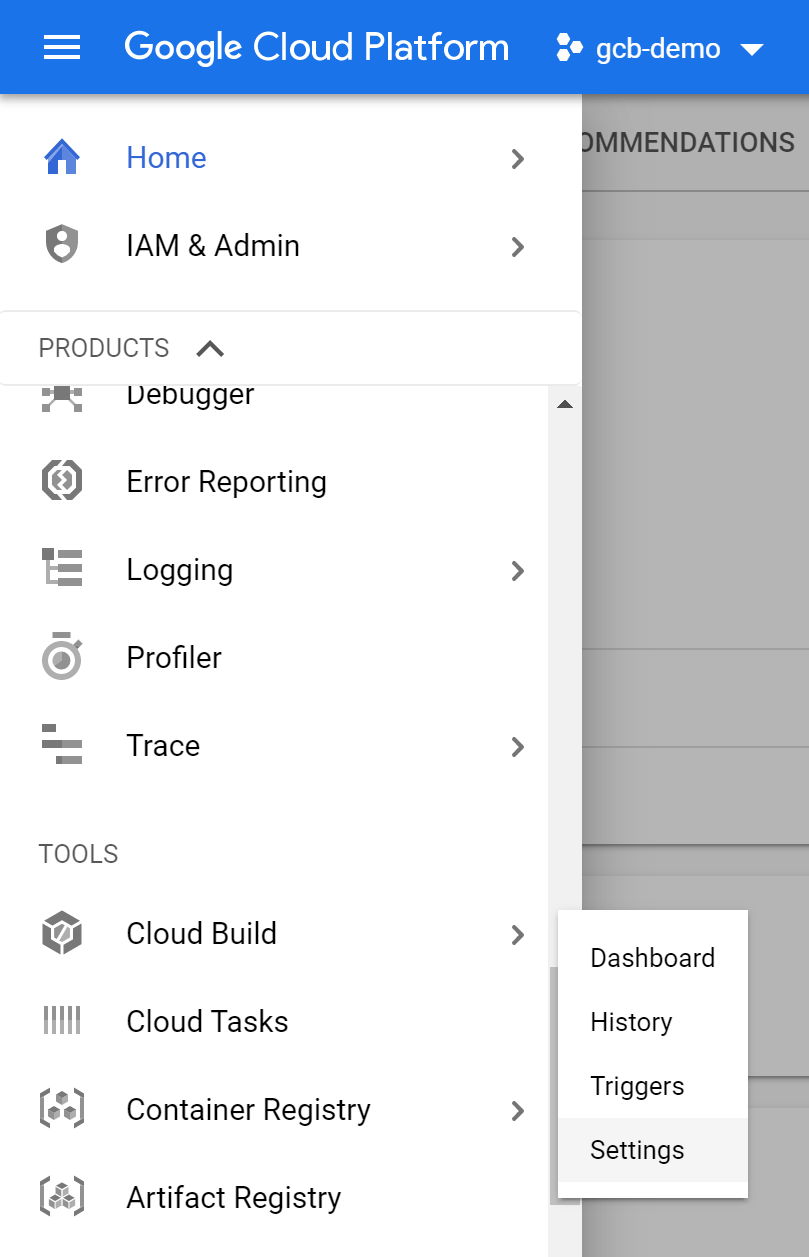
- Enable Cloud Run Admin Role & It will ask to enable Service Accounts also -> Allow that too.
8. You can run this pipeline using the below command to perform a build operation which will generate a docker image. It will also perform deploy operations to the cloud run.
xxxxxxxxxx
$ gcloud builds submit --config cloudbuild.yaml
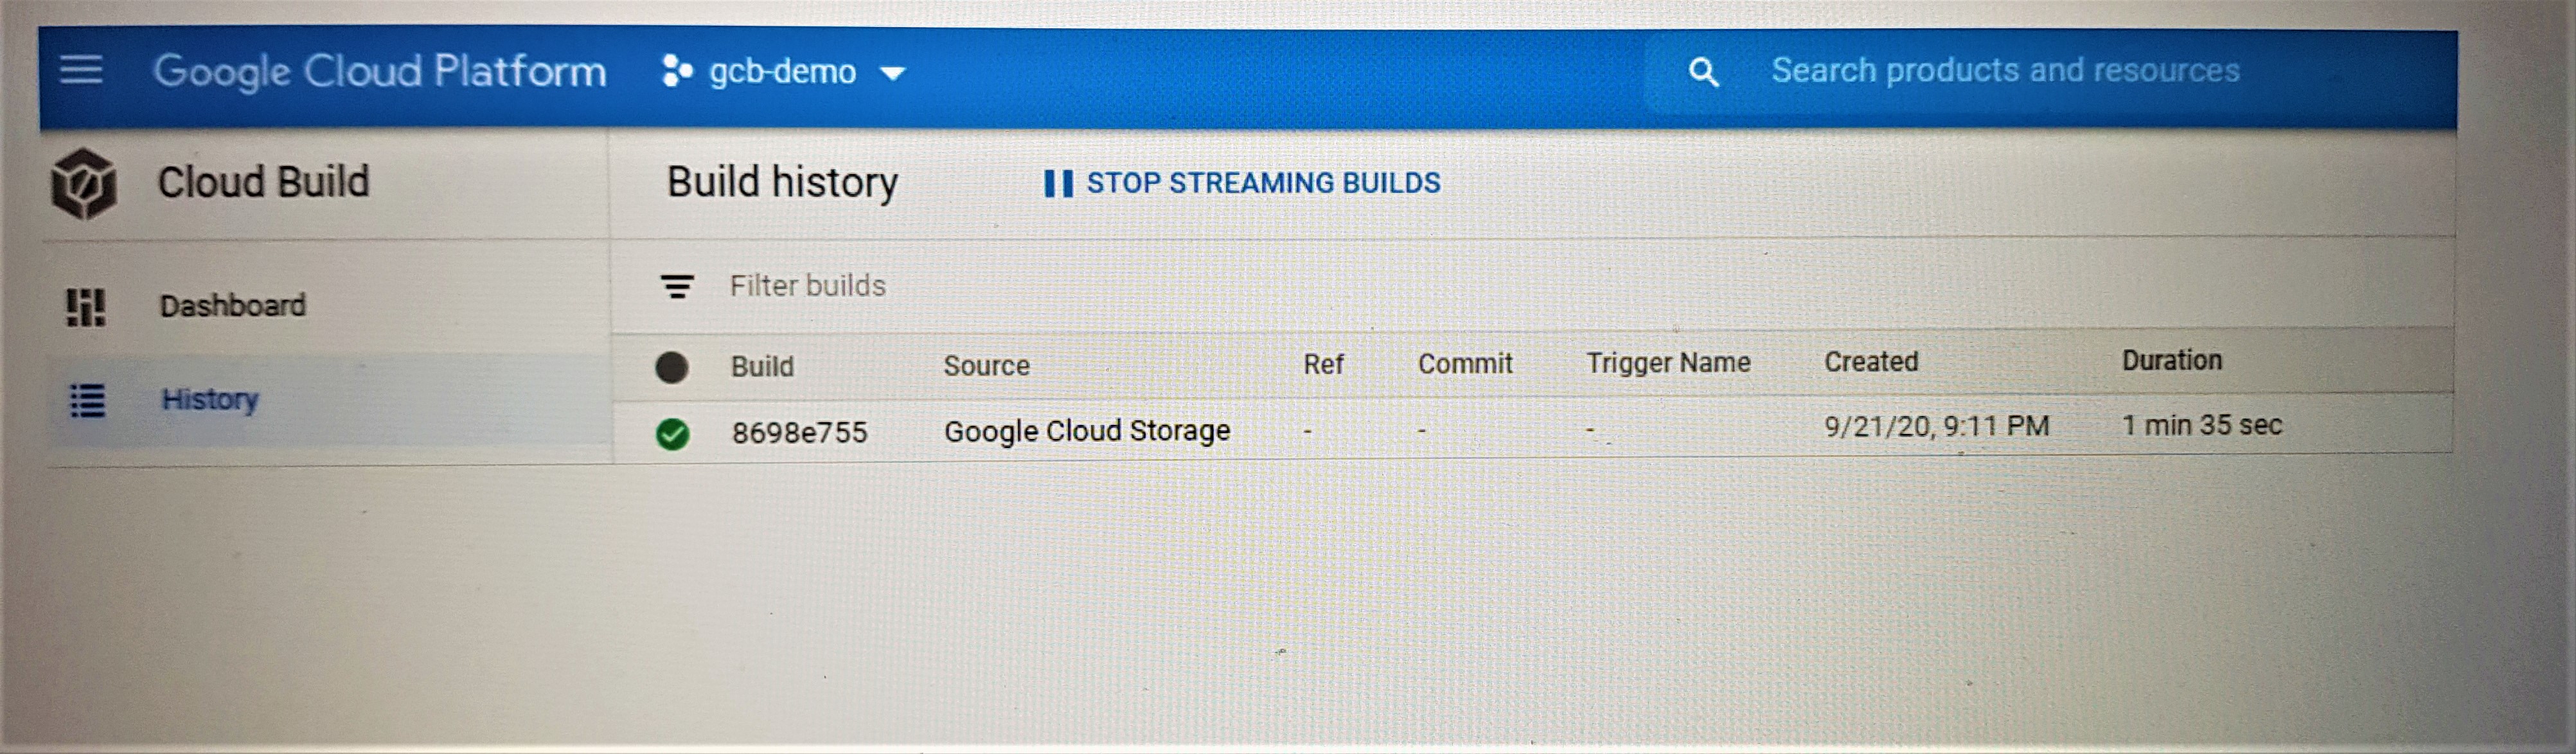
9. Check Cloud Build history.
Go to Cloud Build --> History from Left Panel
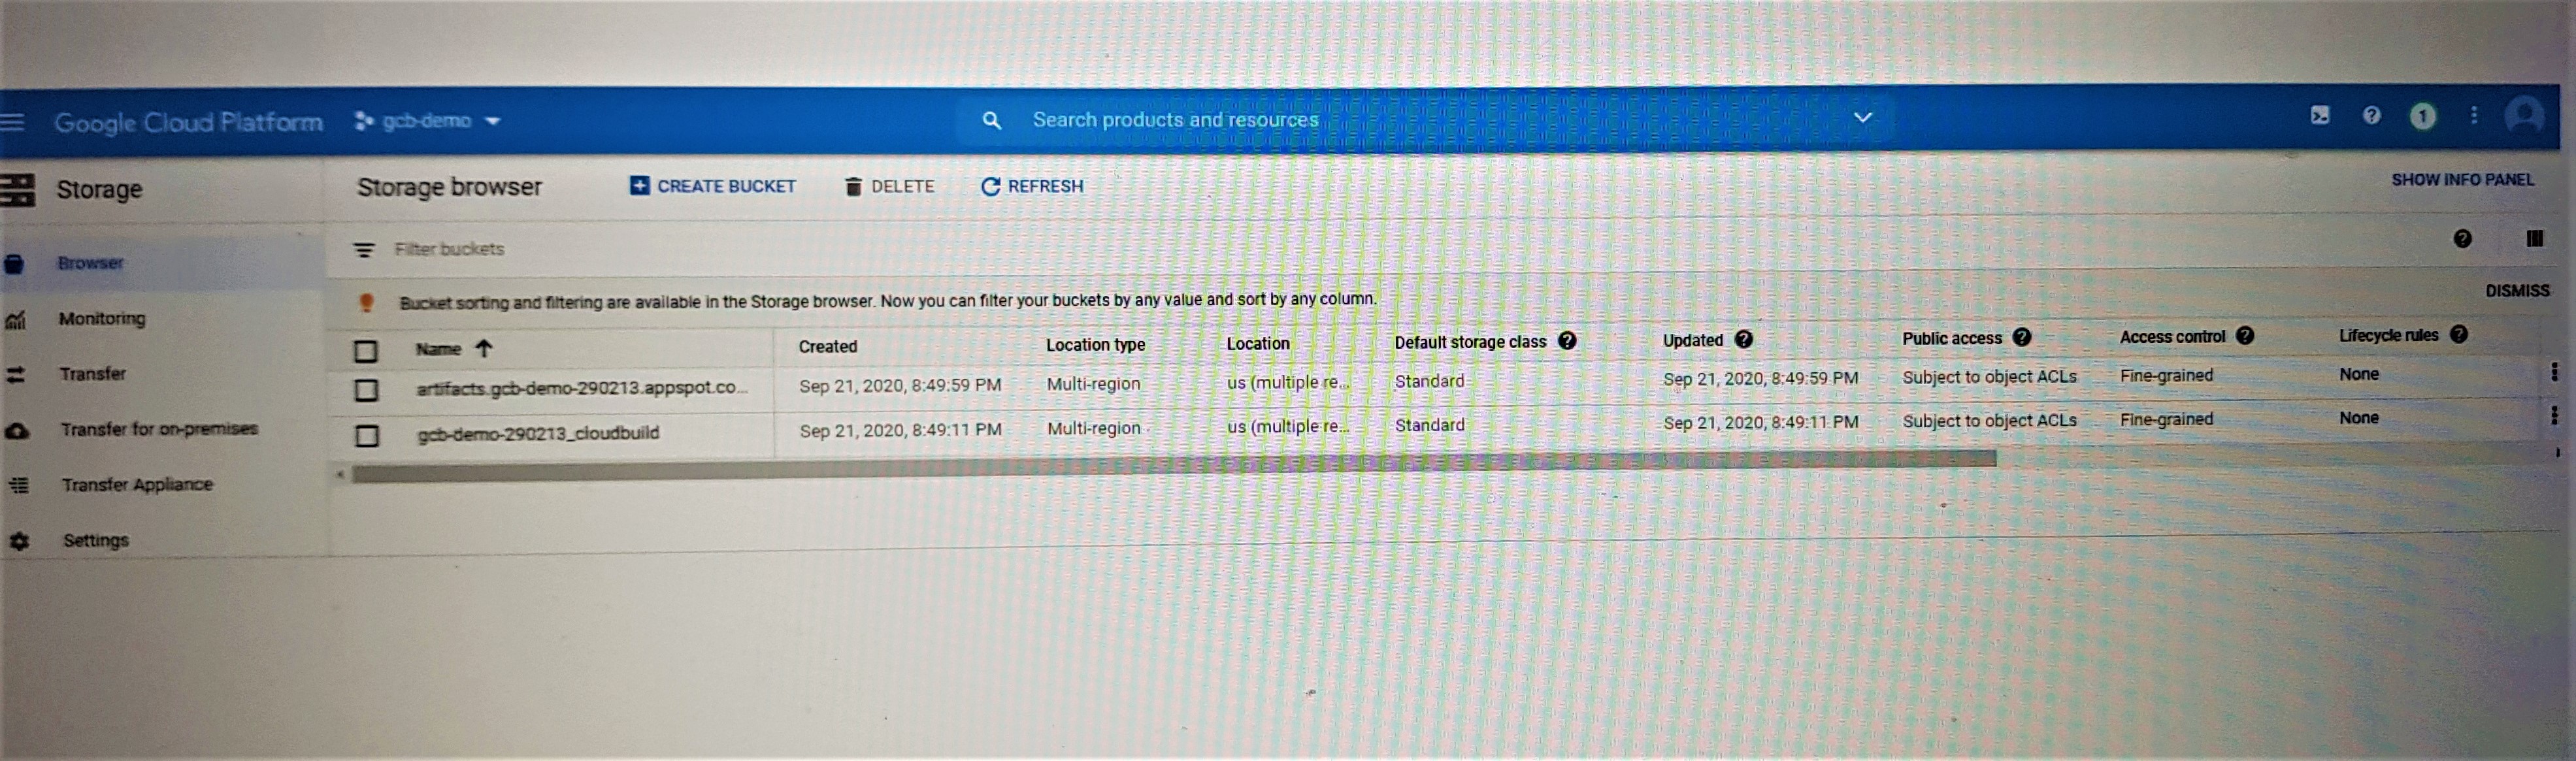
10. Check storage created and your hosted image.
Go to Storage->Browse from Left Panel
11. Check image in Cloud Registry.
Go to Cloud Registry from Left Panel and will show you a newly pushed image.
10. Check Cloud Run Service and deployment.
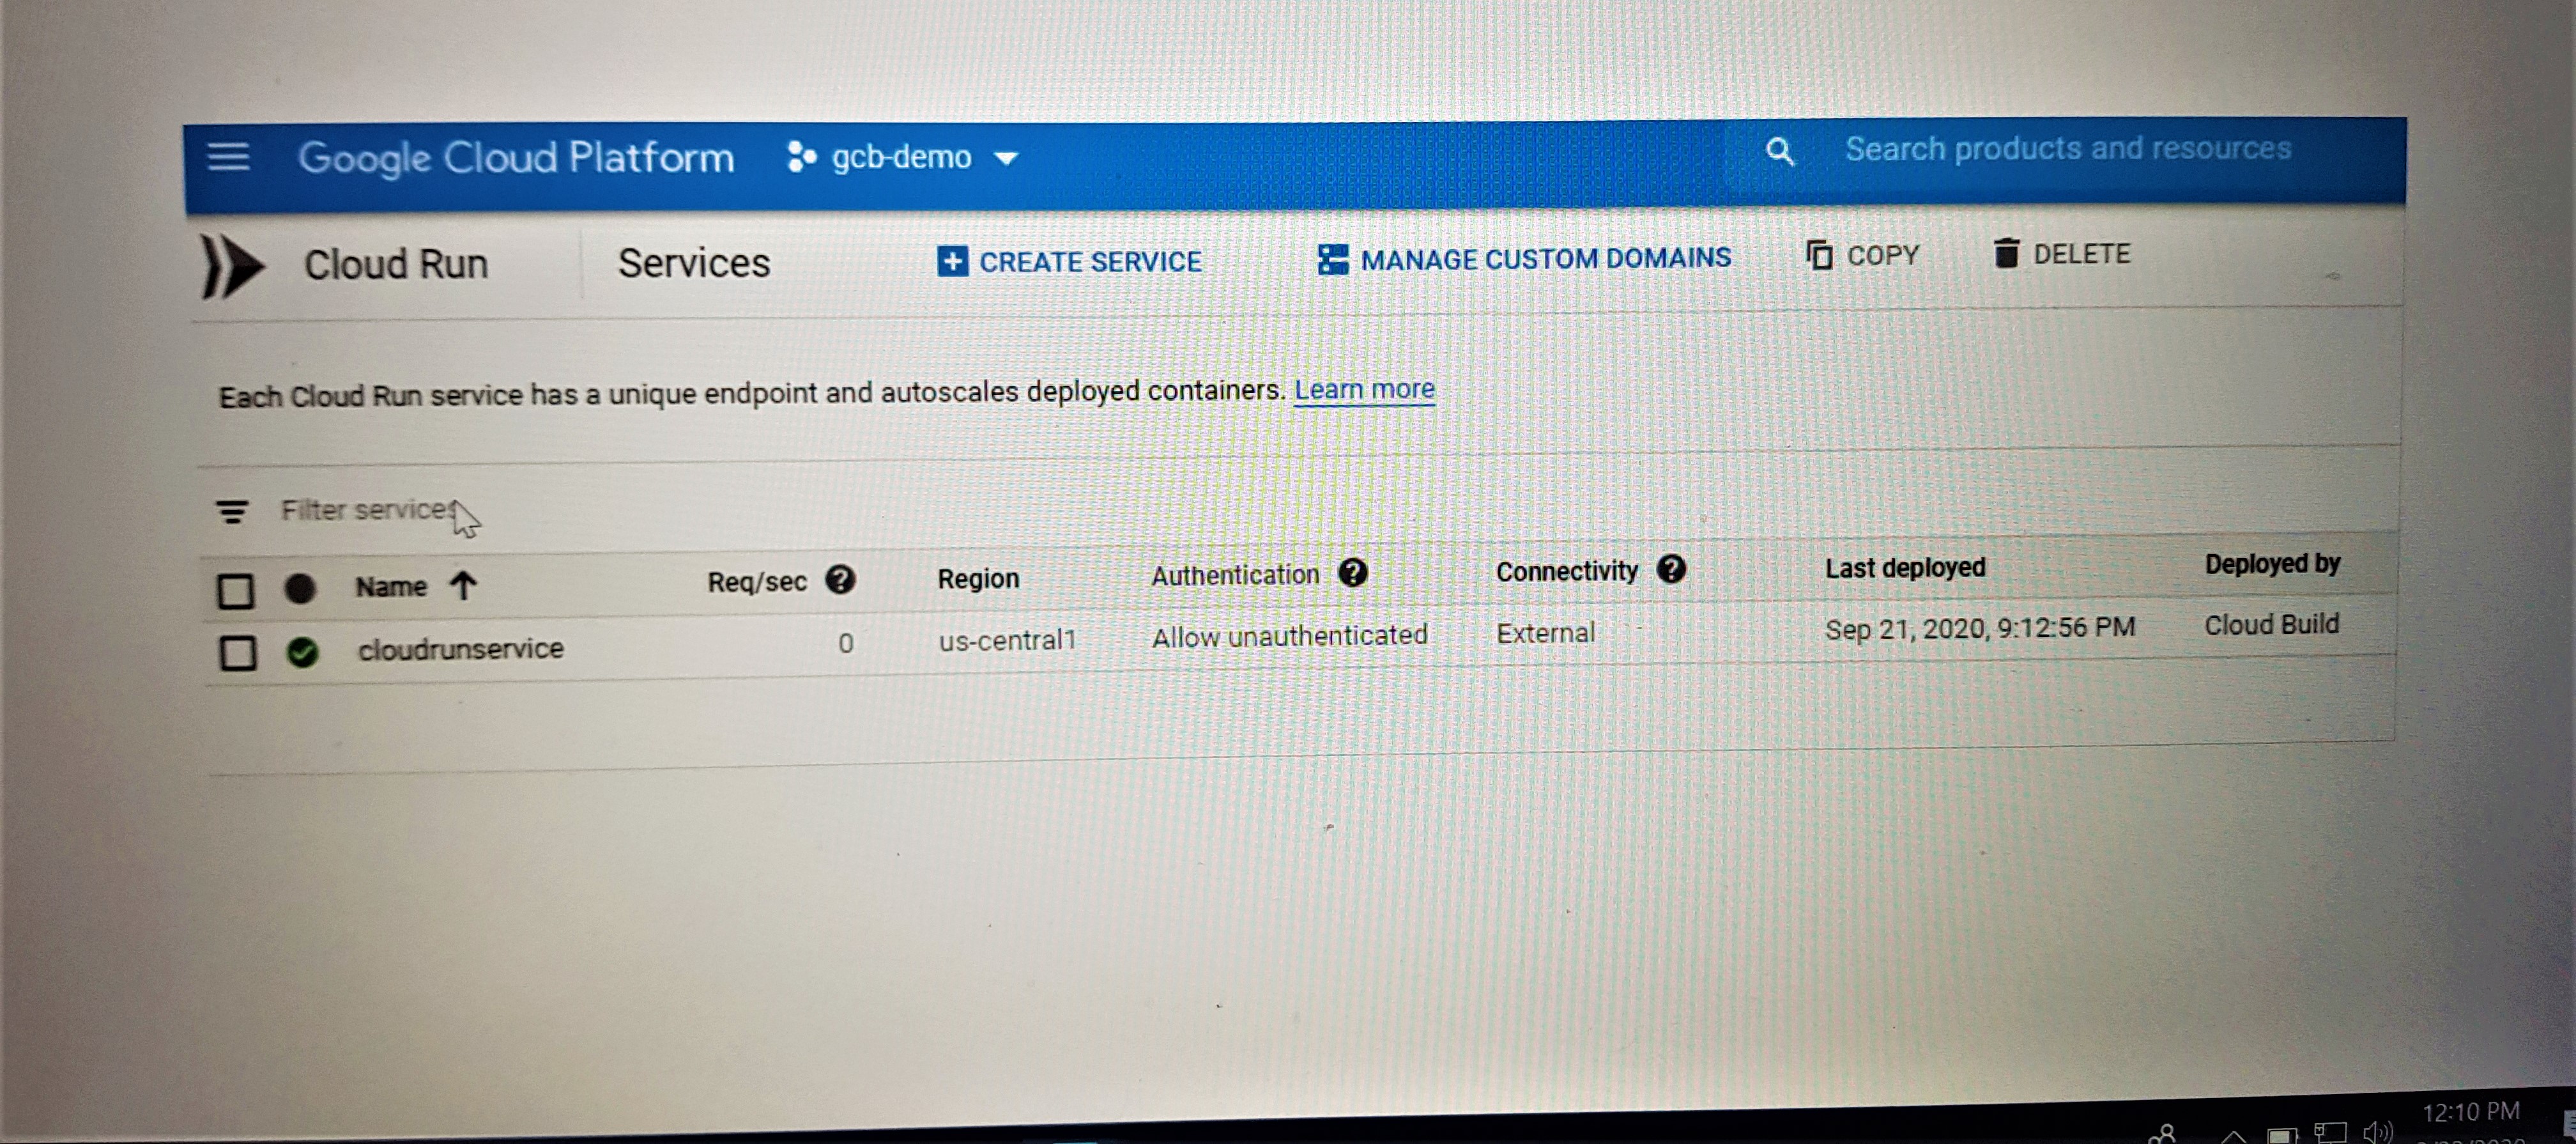
Go to Cloud Run from Left Panel, It will show newly created service. Open it
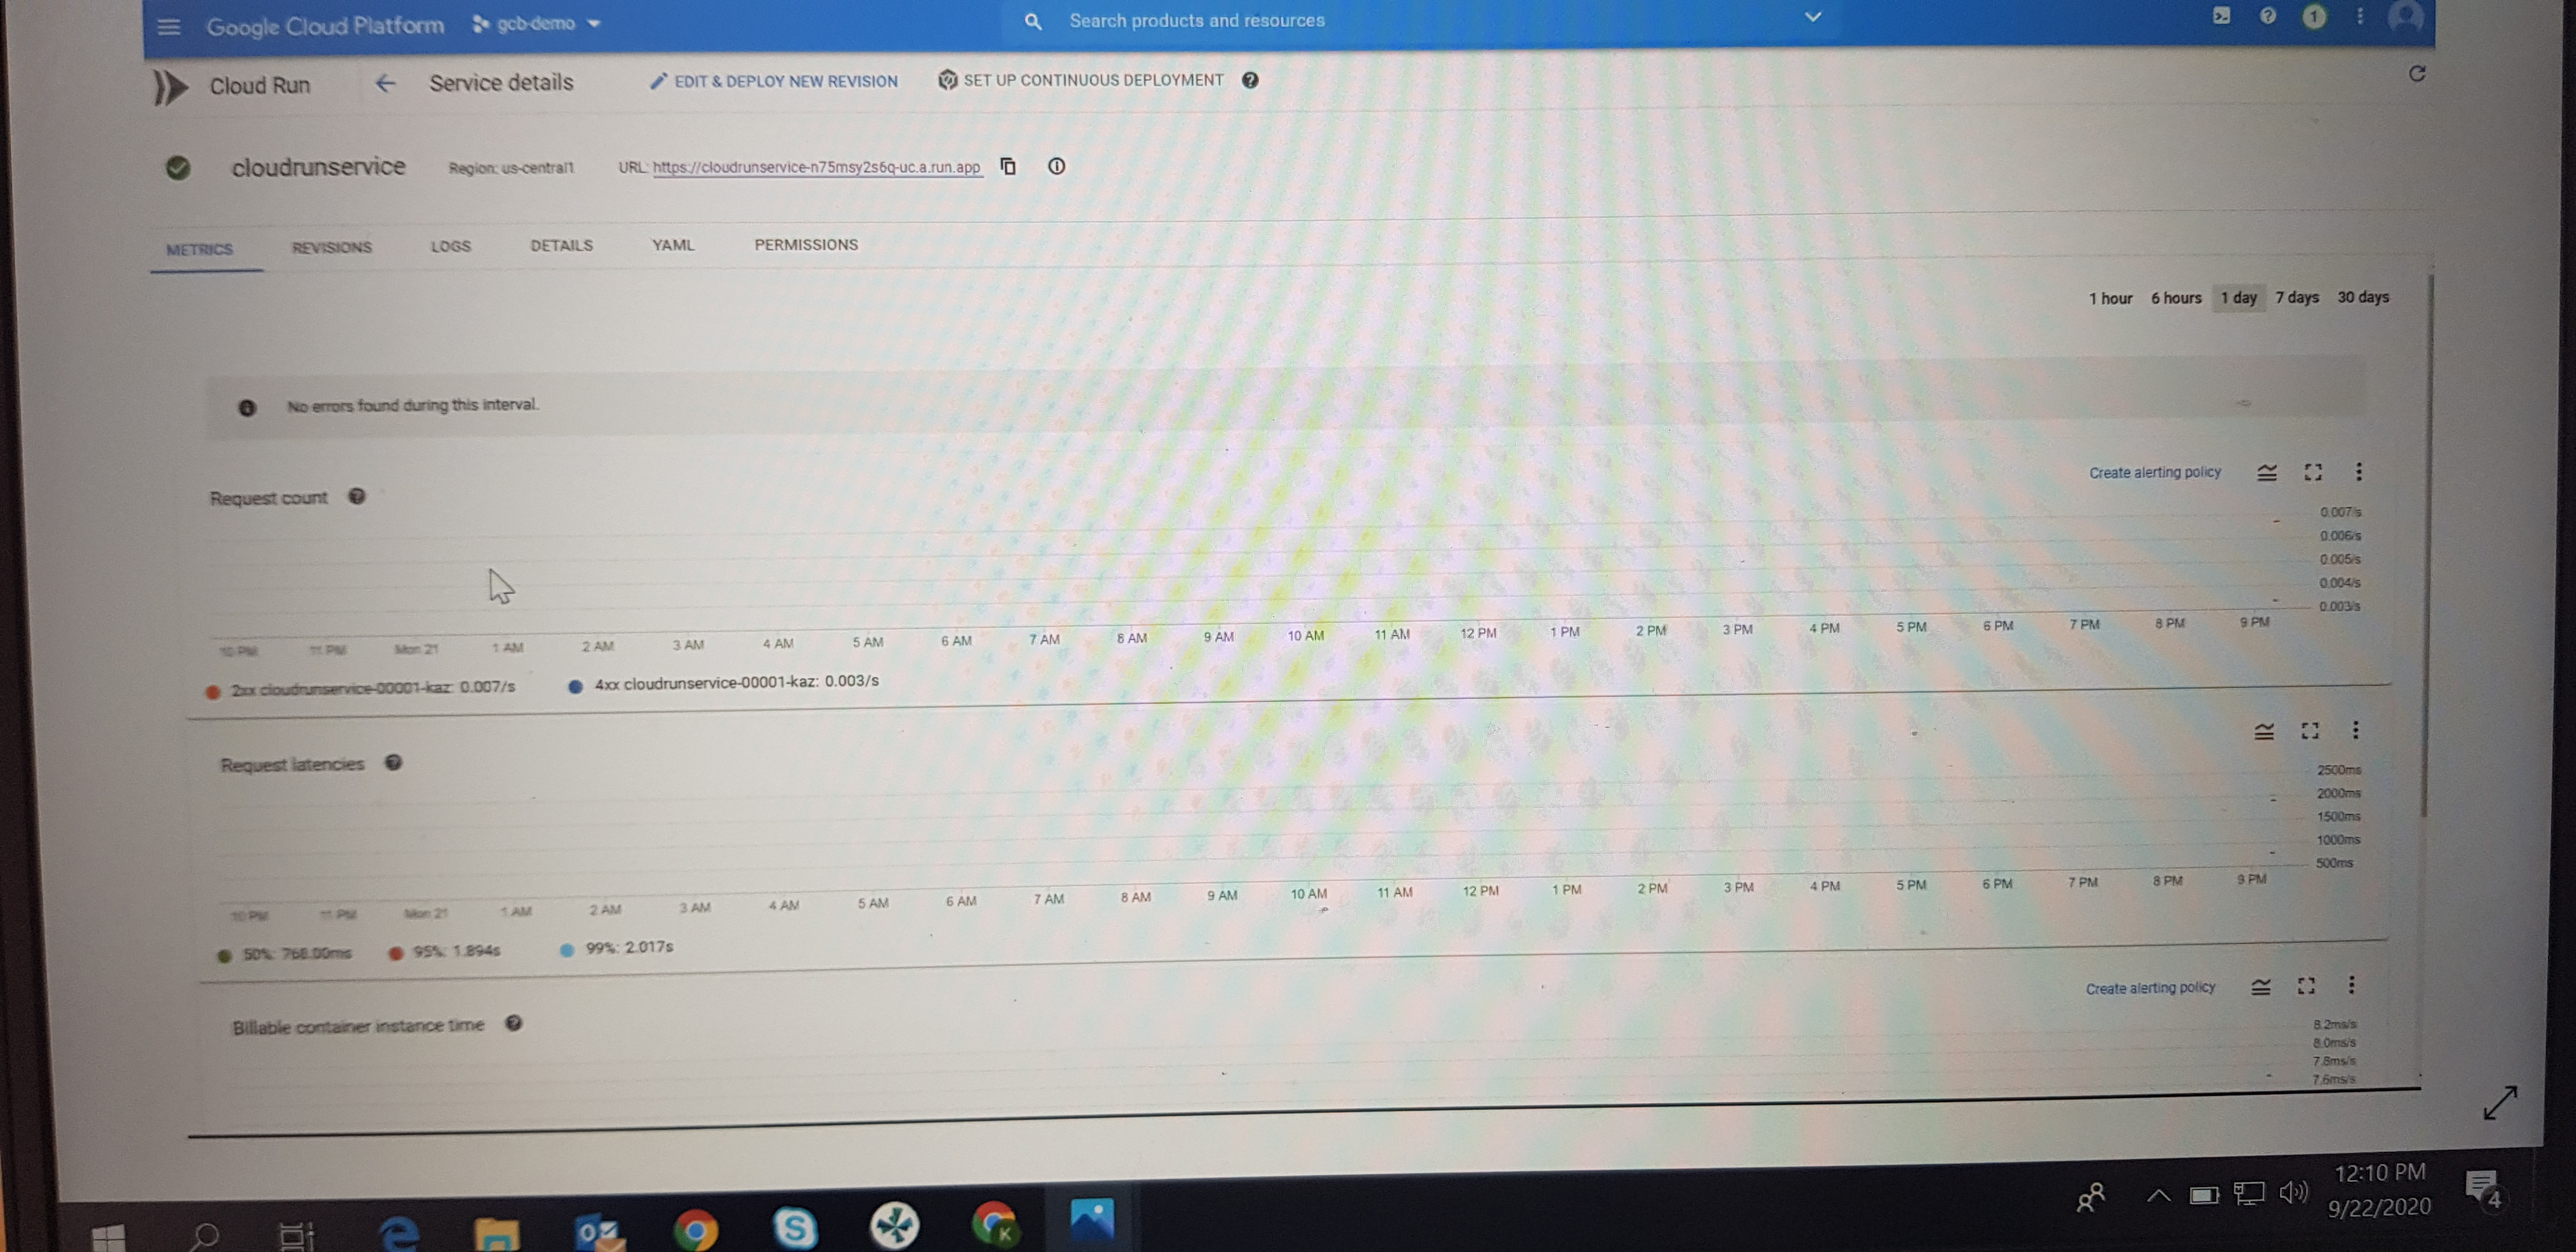
It displays metrics for the service. Click on the URL displayed on top here to run the application.
11. Test Application.
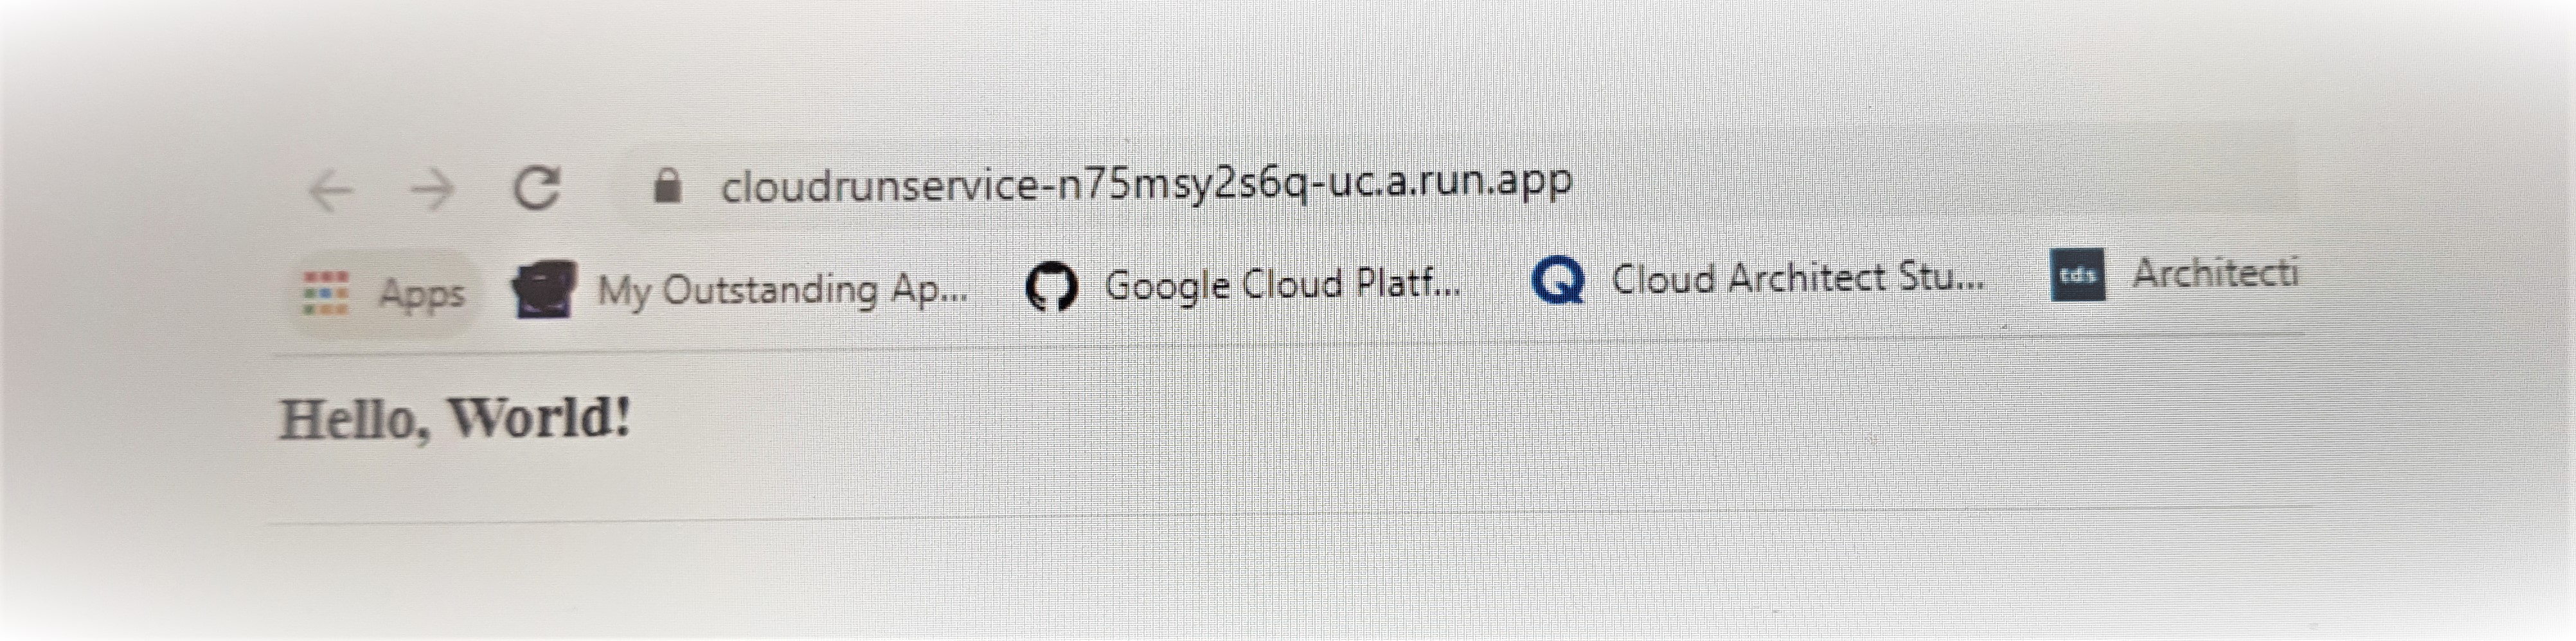
Once you will click the URL in the previous step it will run your application and display like this.
Enjoy!
Next Steps
The next article in this series includes details of each step including the docker step, cloud build step, cloud run step, and various commands. Read the next article to make sure you understand the steps completely.
Opinions expressed by DZone contributors are their own.
Comments