CI/CD Using Google Cloud Build and Google Cloud Run — Part 2
In this article, I have covered steps to set up triggers on the Github repo which will run cloud build and cloud run to deploy the image and run respectively.
Join the DZone community and get the full member experience.
Join For FreeDescription
This article is in continuation of CI/CD using Google Cloud Build and Google Cloud Run - Part 1 where I have discussed steps to set up a pipeline to build and deploy docker image using gcloud commands to Google Cloud Build and Google Cloud Run.
In this article, I have covered steps to set up triggers on the Github repo which will run cloud build and cloud run to deploy the image and run respectively. I will also explain the commands and build files used in the previous article.
Pre-Requisites
- Google Cloud Account - Create a trial account here
- Knowledge of CI/CD and Pipeline Concept
- Github Account - Create a new account here
- CI/CD using Google Cloud Build and Google Cloud Run - Part 1
Problem Statement
- Explain build file from the previous post
- Setup a build pipeline using Google Cloud Build
- Setup a deployment pipeline using Google Cloud Run
- Validate deployment
- Check build history, log, deployment service
Solution
Description of Build File
In step 6 of the previous article, I have created a file "cloud build.YAML"
x
steps
#This command is calling docker image from Google Container Repo "gcr.io/cloud-builders/docker"
#in arguments it is passing "build -t"
#and image name = gcr.io/$PROJECT_ID/hello-app
#and this image is built using contents from current directory "."
name'gcr.io/cloud-builders/docker'
args 'build' '-t' 'gcr.io/$PROJECT_ID/hello-app' '.'
#This command is calling docker image from Google Container Repo "gcr.io/cloud-builders/docker"
#in arguments it is calling "push" action
#and passing image name = gcr.io/$PROJECT_ID/hello-app
#which pushes image to GCR
name'gcr.io/cloud-builders/docker'
args 'push' 'gcr.io/$PROJECT_ID/hello-app'
#This command is calling docker image from Google Container Repo "gcr.io/cloud-builders/docker"
#in arguments it is calling cloud run with deploy action
#and passing service name = cloudrunservice
#and image name = gcr.io/$PROJECT_ID/hello-app
#This image should be there in GCR
#next argument passes region = 'us-central1' where it has to be deployed
#platform is managed and it allows unauthenticated access
name'gcr.io/cloud-builders/gcloud'
args
'run'
'deploy'
'cloudrunservice'
'--image'
'gcr.io/$PROJECT_ID/hello-app'
'--region'
'us-central1'
'--platform'
'managed'
'--allow-unauthenticated'
images
'gcr.io/$PROJECT_ID/hello-app'
Setting Up Continuous Build
Follow Step 1 and Step 2 from the previous article.
Fork repo
https://github.com/KumarAbhishekShahi/gcbdemo-repo.git
Select Cloud Build from Left Panel. On Cloud Build Screen, Select Triggers from Left Panel, Click Connect Repository.

Select Github as source repository, Click Continue

Authenticate for Github and then Select Repo from the list and click Connect Repository

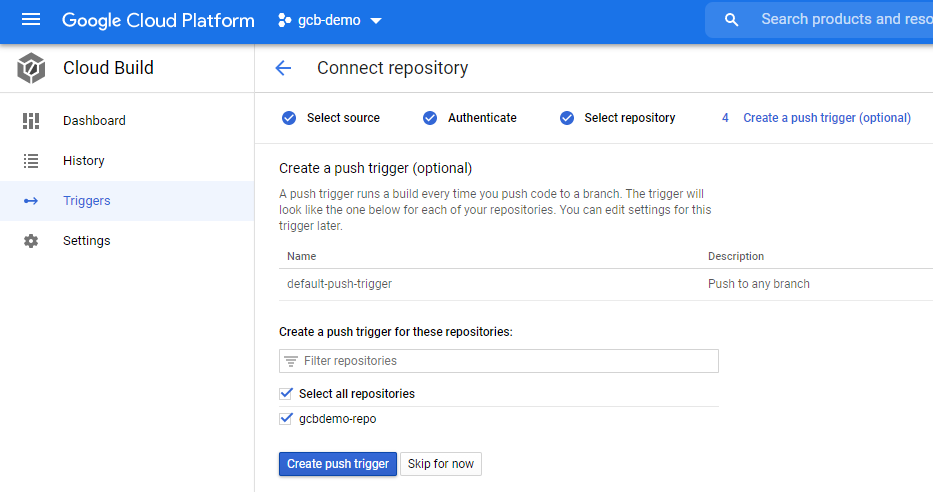
Select Default-Push-Trigger and Repo name,
Setting Up Continuous Deploy
Open Cloud Run from the left panel,
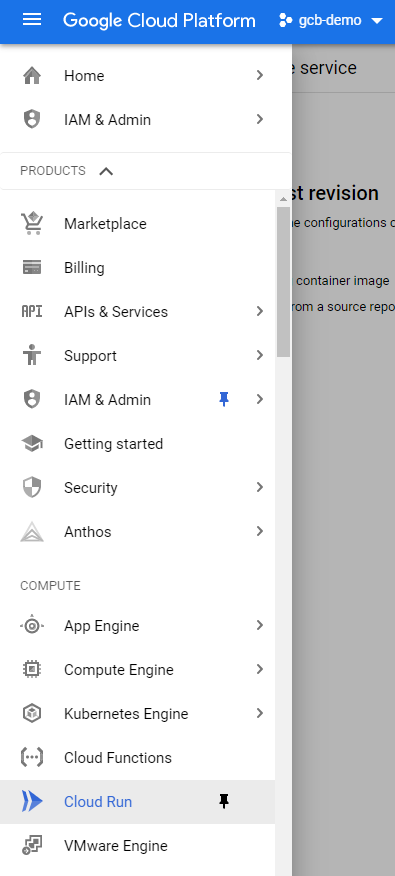
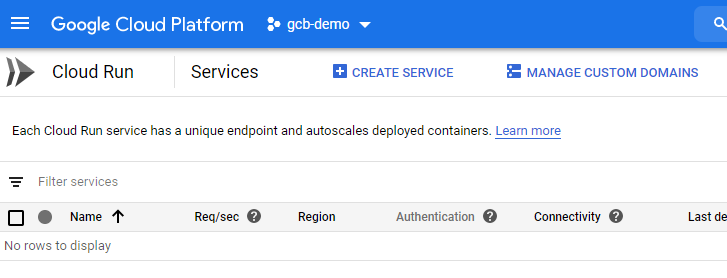
Click on Create Service
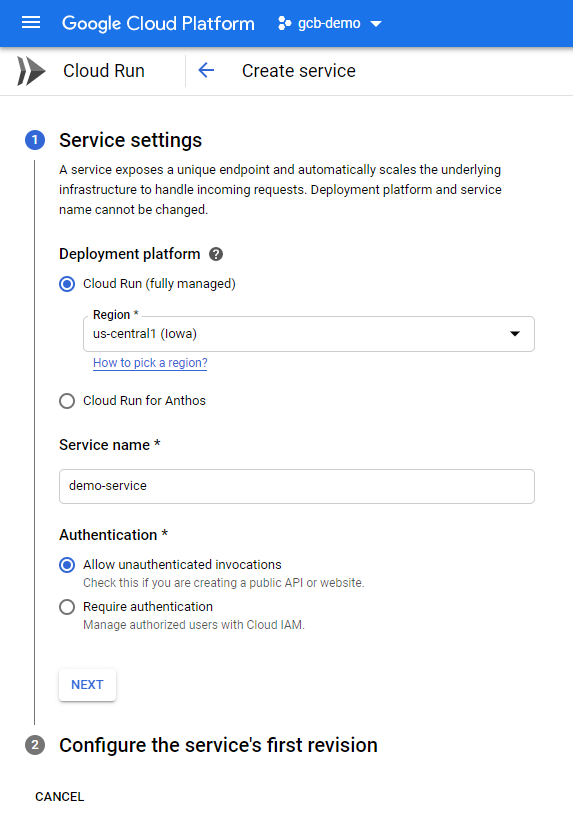
Specify Service Name and Authentication as allow unauthenticated invocations. Leave everything else as default and click Next.
Select Continuous deploy new revisions from a source repository and click on a setup with cloud build.
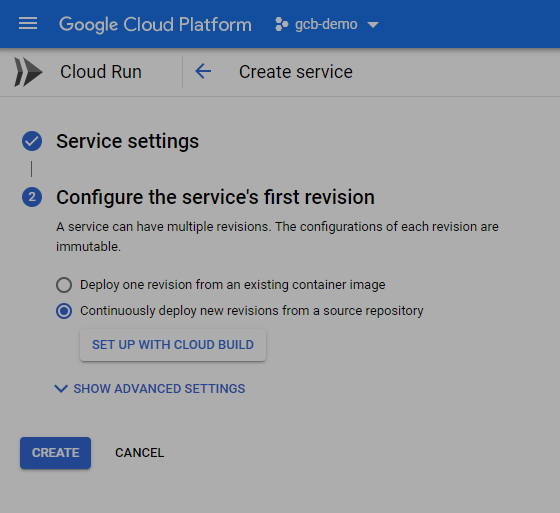
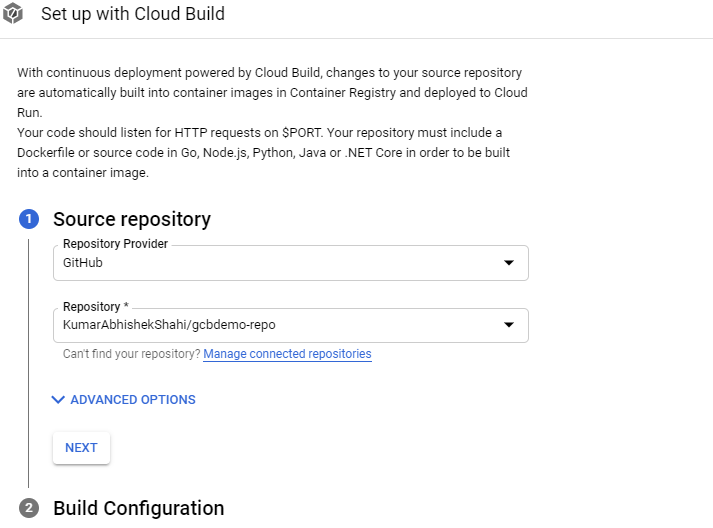
Specify Source Repository Provider as Github and authenticate. After authentication, select your repo from the second drop-down. Click Next.
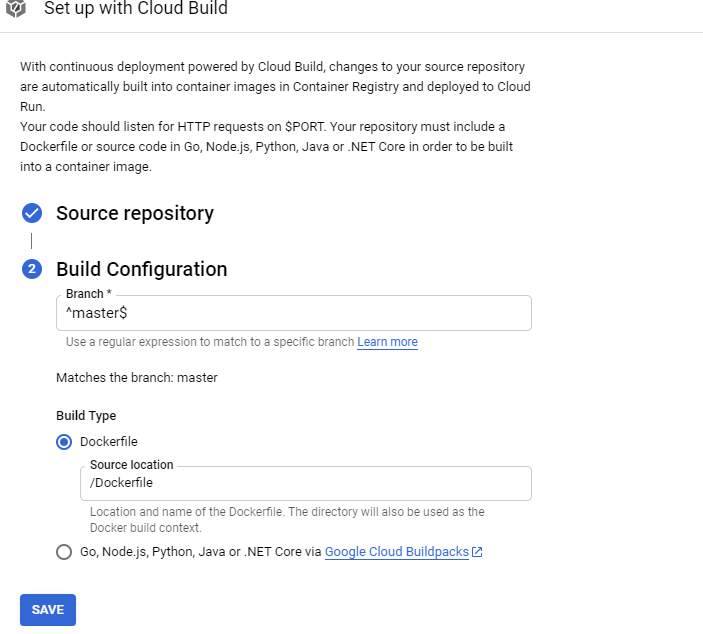
Specify Build Configuration - Branch = Master and Build Type = Dockerfile and click Save
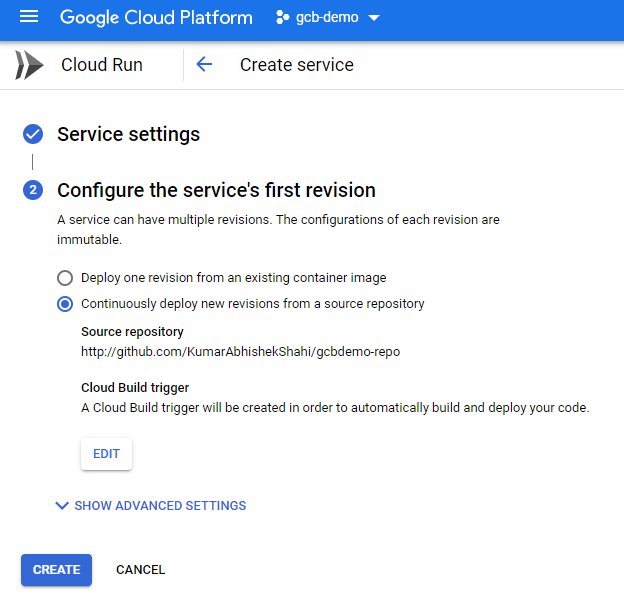
Click Create to create service
Run Pipeline To Build and Deploy
Go to Github Repo you have configured, modify any file and commit. It will trigger build and deploy.
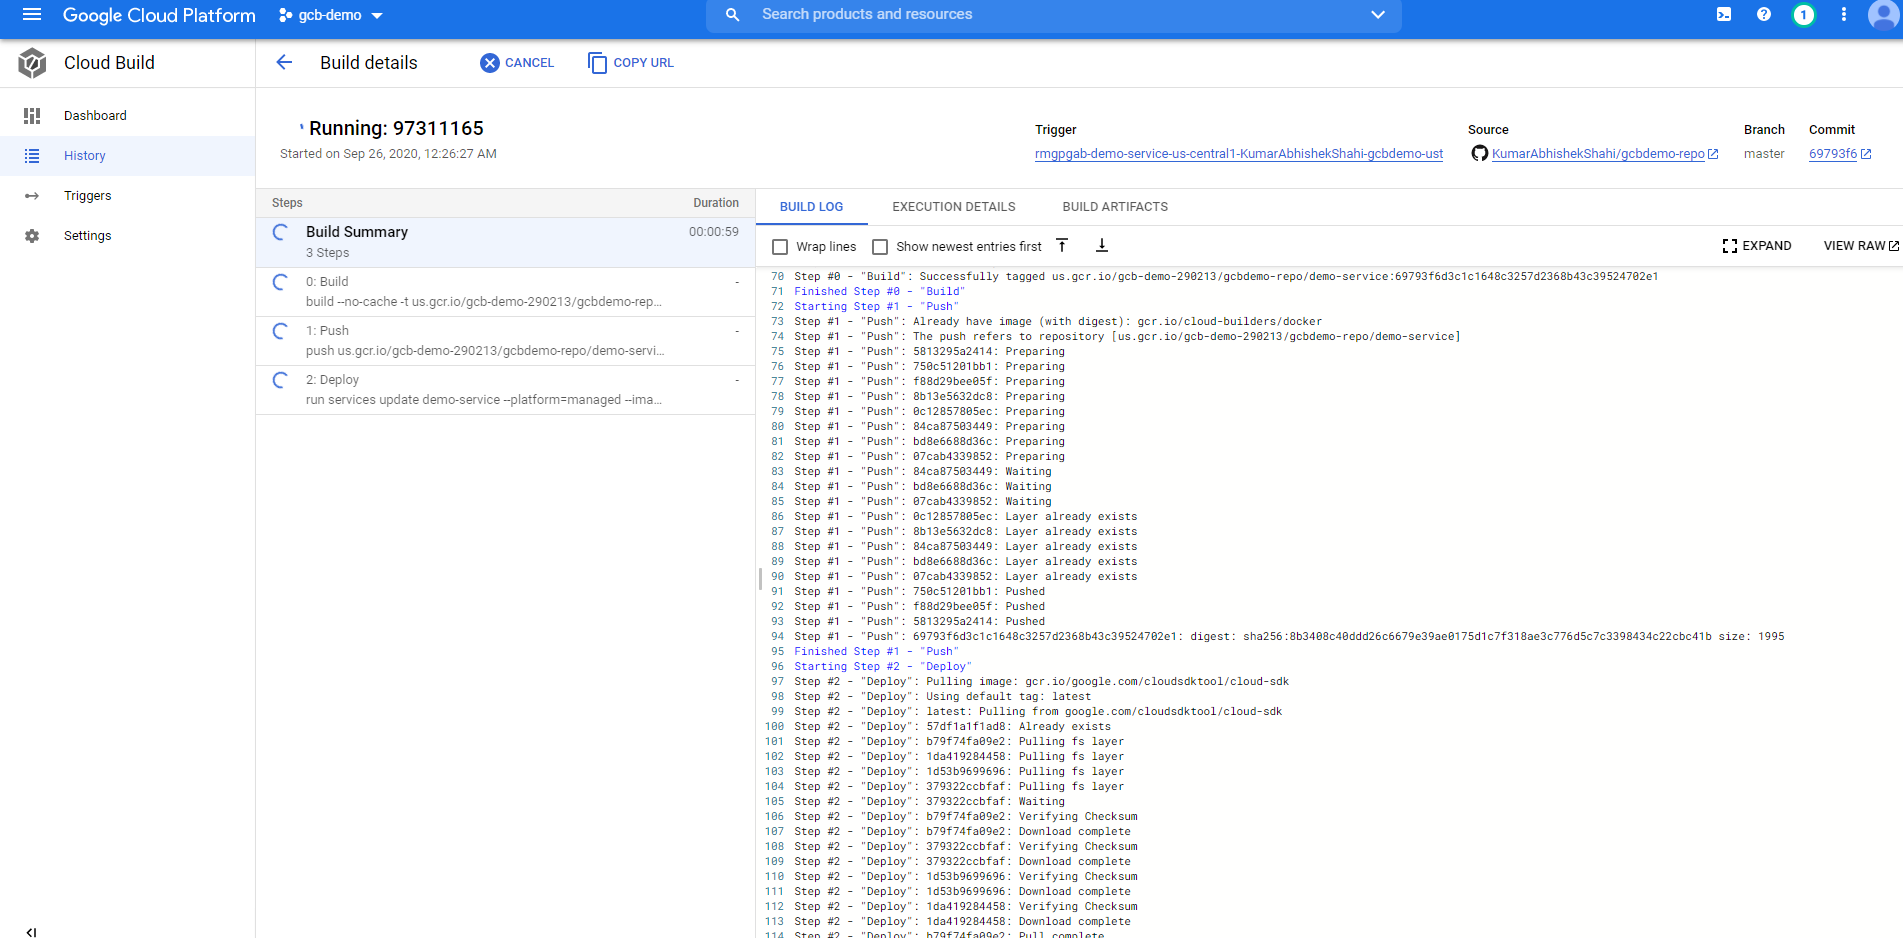
Check Build History
Open cloud build from the left panel, select history from popup,

Check Build Steps and Build Log
Click on any of the builds from the previous step, it will list down steps from the build file and their logs,
Check Cloud Run Service and Deployment
Open Cloud Run from the left panel, select the service you want to see,
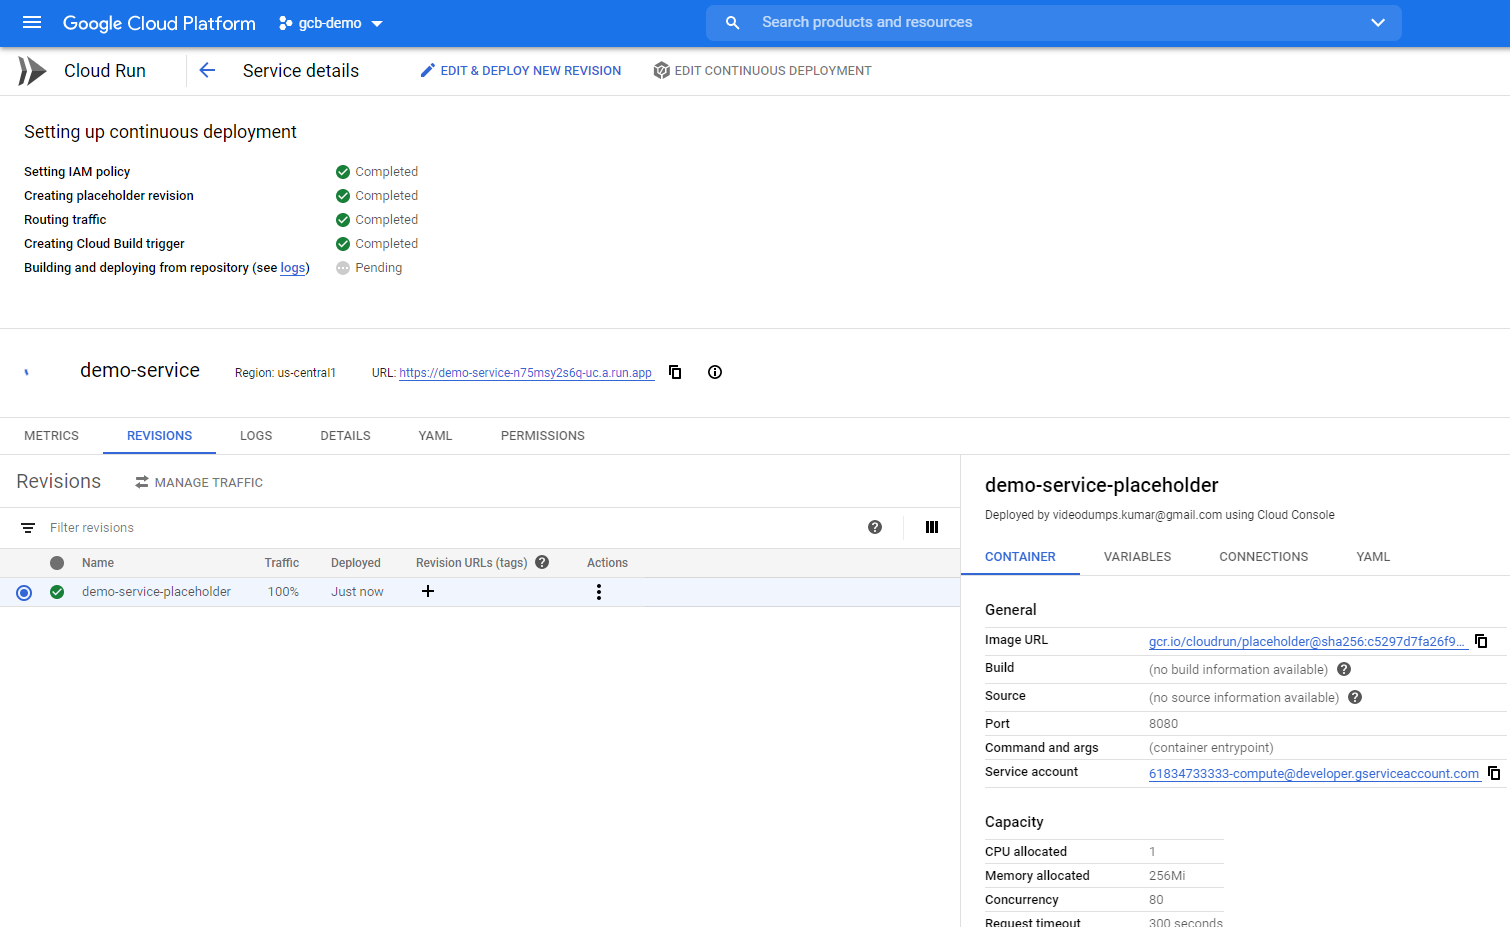
Click the URL listed to run the application

Enjoy!!
I hope you liked this step by step article for beginners. Please drop me a note in the comments with your feedback and any questions you have. Thank you so much for reading and learning!
Opinions expressed by DZone contributors are their own.

Comments