Confluent Kafka Installation and Demo
Learn how to insert rows to SQLite-DB and show those rows on an auto-created topic on Kafka via the JDBC-source connector.
Join the DZone community and get the full member experience.
Join For FreeAbout KAFKA and Confluent
Apache Kafka is an open-source community distributed event streaming platform used by thousands of corporations for high-performance streaming, data pipelines, and critical applications. Kafka was developed by the Apache Software Foundation written in Scala and Java.
Confluent Open Source is a developer-optimized distribution of Apache Kafka. Confluent Platform is a full-scale data streaming platform that enables you to easily access, store, and manage data as continuous, real-time streams. Confluent is a more complete distribution of Apache Kafka. It streamlines the admin operations procedures with much ease.
Confluent Kafka Installation And Demo
The goal is to insert rows to SQLite-DB and show those rows on an auto-created topic on Kafka via the JDBC-source connector.
Environment: Red Hat Linux 7.x
- Download Tarball
1
curl -O http://packages.confluent.io/archive/6.0/confluent-6.0.1.tar.gz - Extract tar.gz
1
tar -xvf tar/confluent-6.0.1.tar.gz - Define Confluent variables
12
export CONFLUENT_HOME=/mydata/myuser/confluent-6.0.1export PATH=$PATH:$CONFLUENT_HOME/bin - Install confluent-hub and kafka connect jdbc
12
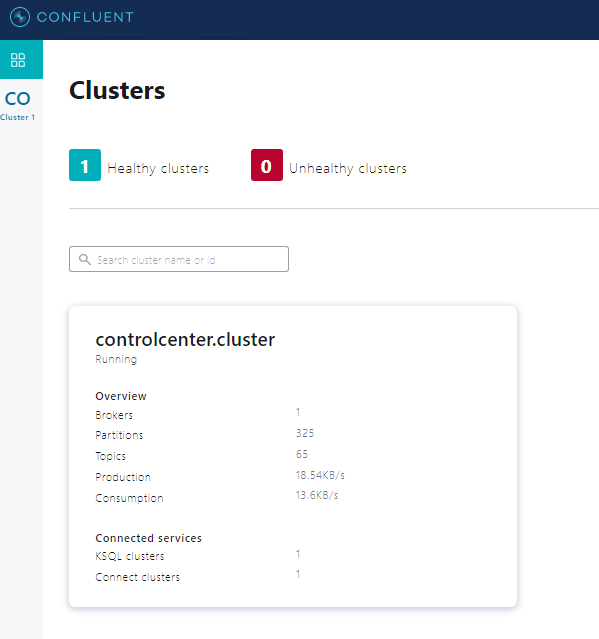
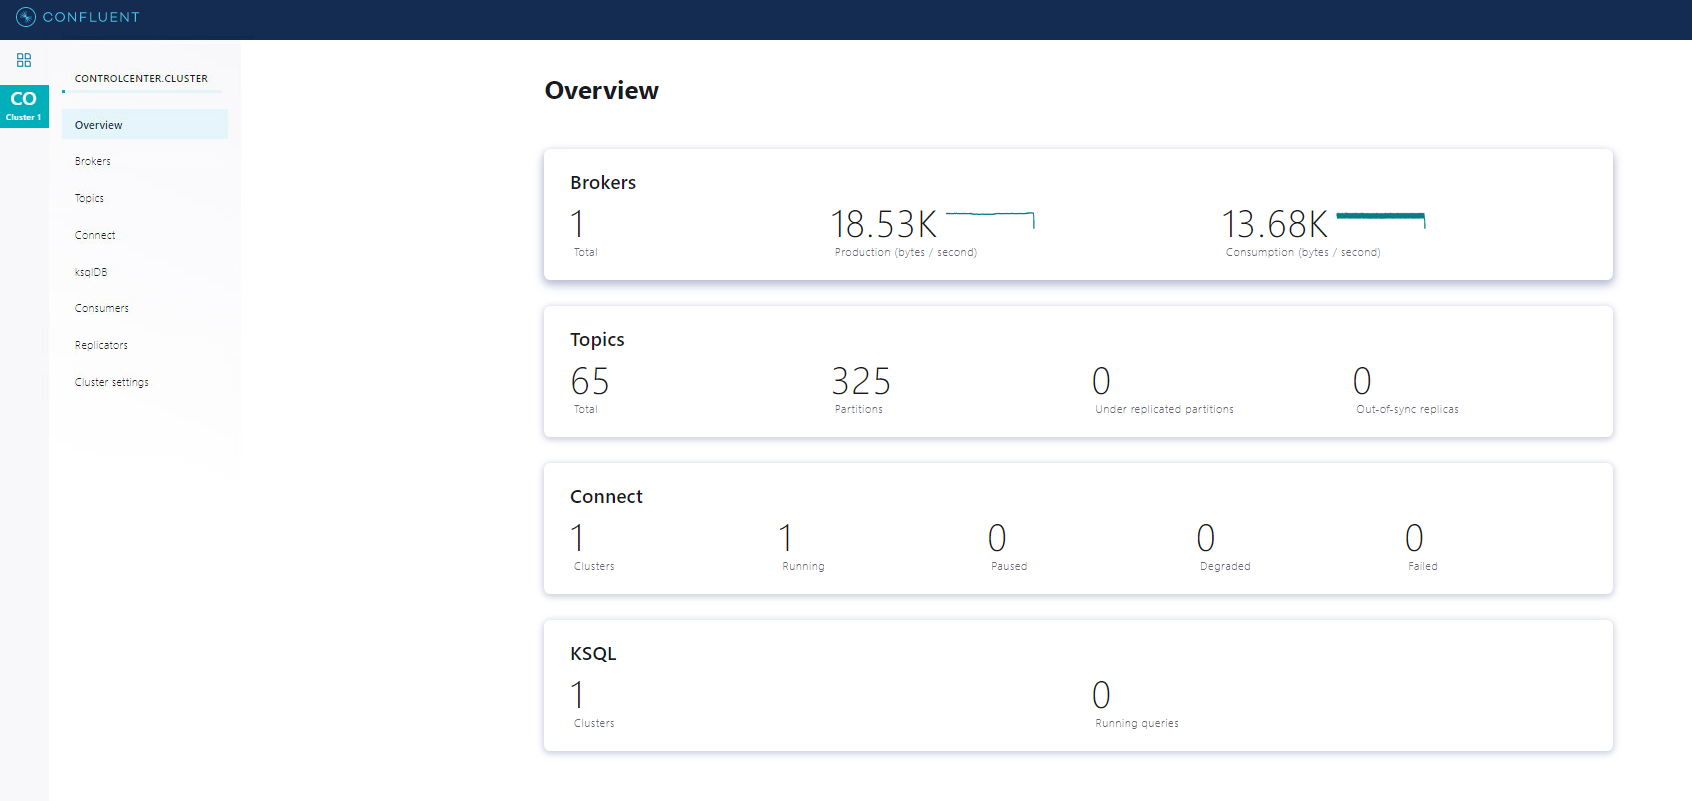
$CONFLUENT_HOME/bin/confluent-hub install --no-prompt confluentinc/kafka-connect-datagen:latestconfluent-hub install confluentinc/kafka-connect-jdbc:10.0.1You can see the confluent hub on your local web.
http://localhost:9021/clusters - Define JDBC-source file to /mydata/myuser/confluent-6.0.1/etc/kafka-connect-jdbc/:
123456789
name=test-sqlite-jdbc-autoincrementconnector.class=io.confluent.connect.jdbc.JdbcSourceConnectorvalue.converter=org.apache.kafka.connect.json.JsonConvertervalue.converter.schemas.enable=falsetasks.max=1connection.url=jdbc:sqlite:test.dbmode=incrementingincrementing.column.name=idtopic.prefix=turkcell.sqlite-jdbc- - Run confluent services up:
1
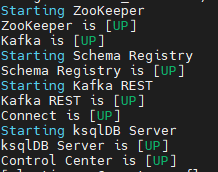
confluent local services connect startThe output like below:
![Kafka zookeeper output]()
- Load jdbc-source to the connector:
1
confluent local services connect connector load jdbc-source -c /mydata/myuser/confluent-6.0.1/etc/kafka-connect-jdbc/source-quickstart-sqlite.properties - You can create SQLite-DB; create a table and insert rows:
1234
cd confluent-6.0.1/sqlite3 test.dbsqlite> CREATE TABLE ttech(id INTEGER PRIMARY KEY AUTOINCREMENT NOT NULL, name VARCHAR(255));sqlite> INSERT INTO ttech(name) VALUES('turkcell');You can see a row like this:
![Kafka row]()
- Look at the connect log to see if Kafka-source-JDBC fails or works successfully:
1
confluent local services connect log - Finally, look at Kafka topic to see your newly-added record. I use Kafka Tool to check:

Some Useful Commands and Screenshots
- See connector list:
confluent local services connect connector --list - See connector content:
confluent local services connect connector config jdbc-source - Unload connector:
confluent local services connect connector unload jdbc-source - See connect log:
confluent local services connect log - Change formatter from Avro to JSON in this file:
/mydata/myuser/confluent-6.0.1/etc/kafka/connect-distributed.properties - If you use schema-registry:
- Add key-value schema:
-
APL
curl -X POST -H "Content-Type: application/vnd.schemaregistry.v1+json" --data '{"schema": "{\"type\":\"record\",\"name\":\"your_table\",\"fields\":[{\"name\":\"ID\",\"type\":\"long\"}]}"}' http://localhost:8091/subjects/your_table-key/versions
-
- Check it is installed:
-
APL
curl -X GET http://localhost:8091/subjects
-
- Add the connector to sync to the Oracle table:
-
APL
curl -XPOST --header "Content-Type: application/json"  localhost:8083/connectors  -d
'{
    "name": "sink_my_table",
    "config": {
        "connector.class": "io.confluent.connect.jdbc.JdbcSinkConnector",
		"tasks.max": 3,
		"connection.url": "jdbc:oracle:thin:@my.db:1961:MYSERVICE",
        "connection.user": "ora_user",
        "connection.password": "XXXXXX",
		"table.name.format": "my_table",
        "topics": "my_table",
        "auto.create": "false",
		"delete.enabled": "true",
		"pk.mode": "record_key",
		"pk.fields": "ID",
		"insert.mode": "upsert",
		"transforms": "TimestampConverter1,TimestampConverter2,TimestampConverter3",
		"transforms.TimestampConverter1.type": "org.apache.kafka.connect.transforms.TimestampConverter$Value",
		"transforms.TimestampConverter1.field": "RECORDDATE",
		"transforms.TimestampConverter1.target.type": "Timestamp",
		"transforms.TimestampConverter2.type": "org.apache.kafka.connect.transforms.TimestampConverter$Value",
		"transforms.TimestampConverter2.field": "STARTDATE",
		"transforms.TimestampConverter2.target.type": "Timestamp",
		"transforms.TimestampConverter3.type": "org.apache.kafka.connect.transforms.TimestampConverter$Value",
		"transforms.TimestampConverter3.field": "ENDDATE",
		"transforms.TimestampConverter3.target.type": "Timestamp"

    }
}'
-
- Look at connector config information:
-
APL
curl -X GET http://localhost:8083/connectors/sink_my_table
-
- Look connector status:
-
APL
curl -X GET http://localhost:8083/connectors/sink_my_table/status
-
- Delete connector:
-
APL
curl -X DELETE http://localhost:8083/connectors/sink_my_table
-
- Add key-value schema:


Hope it helps you!
Opinions expressed by DZone contributors are their own.


Comments