Connecting Snowflake With MuleSoft Database Connector
Snowflake is an analytics data warehouse provided as Software as a Service. Find out how to connect Snowflake with MuleSoft.
Join the DZone community and get the full member experience.
Join For FreeIntroduction
Snowflake is an analytics data warehouse provided as Software as a Service. It is faster, flexible, and easy to use and it is not built on the top of any BigData platform like Hadoop. It has many similarities to the Enterprise data warehouse but also some unique and additional capabilities. As Snowflake is a SaaS application, there is no need for any hardware need to set up virtually or physically, and no additional software required to install, configure, or manage.
MuleSoft Database Connector
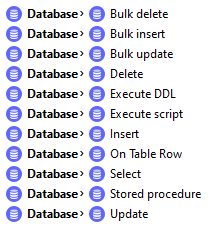
MuleSoft database connectors have capabilities to connect any database like MS SQL, Oracle, MySQL, etc. The database connector provides many operations like Select, Update, Delete, Insert, Calling Stored Procedure, etc.

In this article, we will see how we can connect Snowflake using a Database connector via JDBC.
Connecting the Snowflake With Database Connector
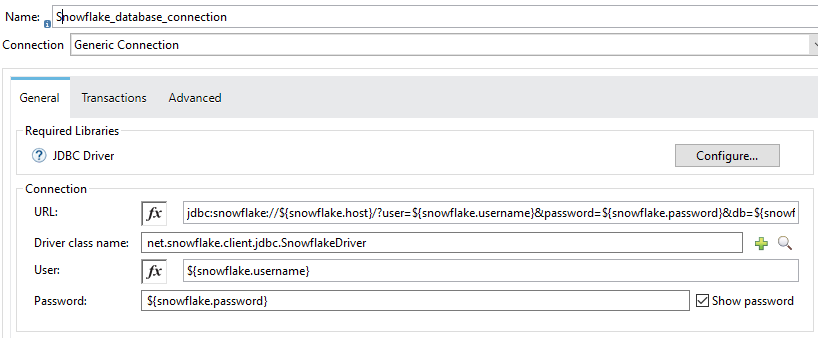
For connecting Snowflake using a Database connector, we need to perform database connection configuration. Select the Connection from the drop-down as a Generic Connection. Provide JDBC URL, Driver class name, username, and password.
JDBC Url must be in format.
x
jdbc:snowflake://<account_name>.snowflakecomputing.com/?<connection_params>
We will be going to use a few connection params like user, password, DB, and schema.
| Connection Param | Description |
| user | Specifies the user for the connection. |
| password | Specifies the user for the connection. |
| DB | Specifies the database name that wants to connect. |
| schema | Specifies the default schema to use for the specified database |
Driver class name will be net.snowflake.client.jdbc.SnowflakeDriver. JDBC Url that needs to be configured on the MuleSoft database connector will look like as shown below.
x
jdbc:snowflake://<account_name>.snowflakecomputing.com/?user=admin&password=test123&db=Product_Summaries&schema=public
We need to provide the username and password in the connector configuration. It will be the same username and password that we have passed in the JDBC URL.

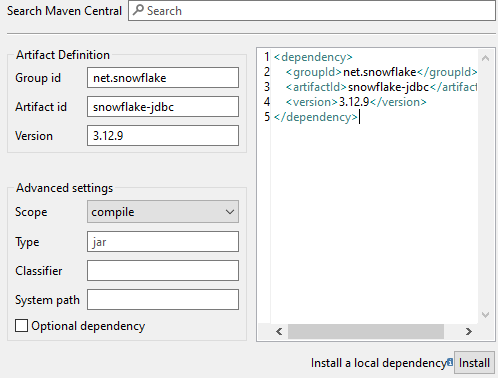
Now, we will be required to install the Snowflake JDBC drive. So we can click Configure JDBC Driver and add maven dependency.

Now, we can add the below-mentioned maven dependency and click on the finish. This will add maven dependency in the Pom.xml and download required libraries.

xxxxxxxxxx
<dependency>
<groupId>net.snowflake</groupId>
<artifactId>snowflake-jdbc</artifactId>
<version>3.12.9</version>
</dependency>
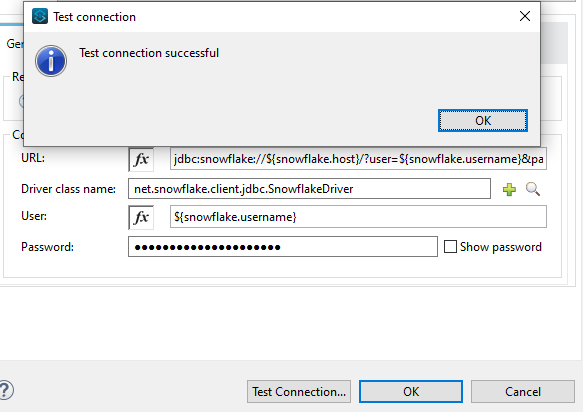
Once all the configuration has been finished, we can simply test the connection.

Now, you know how to connect Snowflake with MuleSoft via JDBC connection.
Opinions expressed by DZone contributors are their own.

Comments