Develop Web Application With Spring Boot in 30 minutes
Spring Boot is a popular Java-based web development framework. This tutorial help to develop the "Hello World" web application.
Join the DZone community and get the full member experience.
Join For FreeSpring boot is one of the most popular Java-based web application development frameworks. It helps develop applications rapidly as most of the application-specific configuration is taken care of by the framework. Spring boot also comes with an in-built servlet container, which helps run and test the application quickly.
The following tutorial will help you quickly learn Spring Boot basics by creating a standard “Hello World” application. Let’s follow the quick tutorials with the basic assumption that Java8, maven, and eclipse are installed, and the reader knows their basic usage.
Prerequisites
Let's install the Spring tools suite(STS) on Eclipse IDE to make development easier.
Install Spring Tool Suite
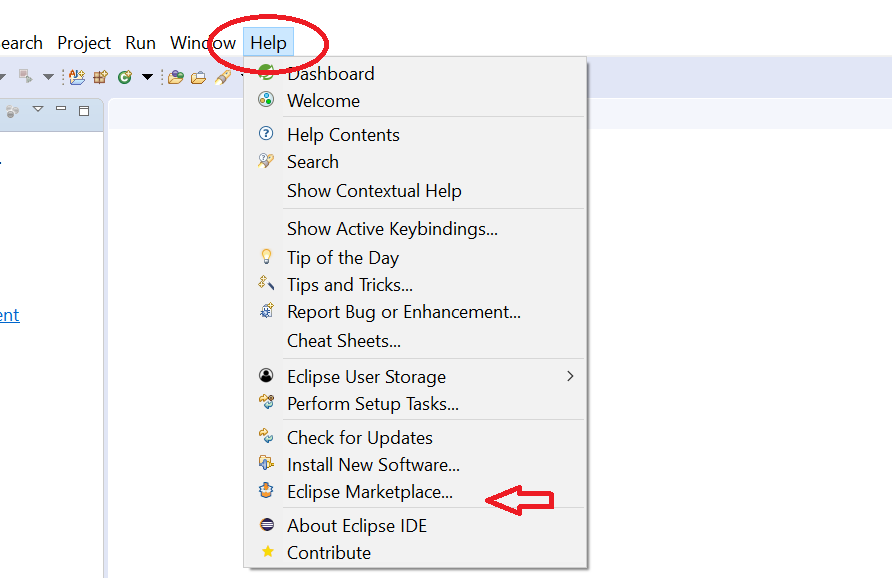
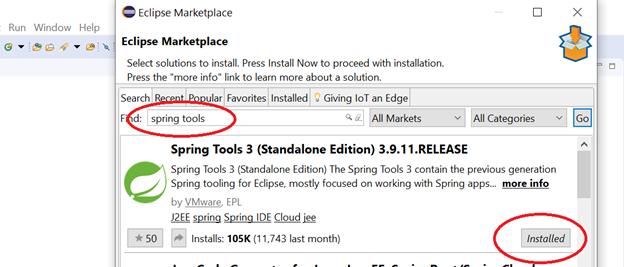
Go to Eclipse -> Help -> Market Place and search “Spring Tools” to install.
Create a Project
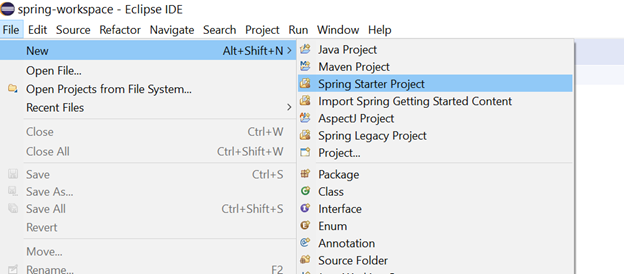
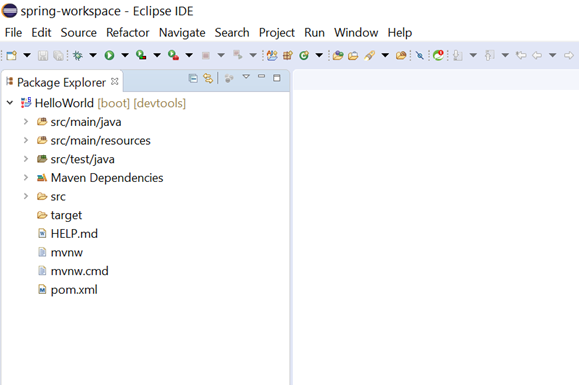
After the Spring Boot tool installation, let us create a spring boot starter project named “HelloWorld” with the below configurations. The reader can give the project name as per their own choice.
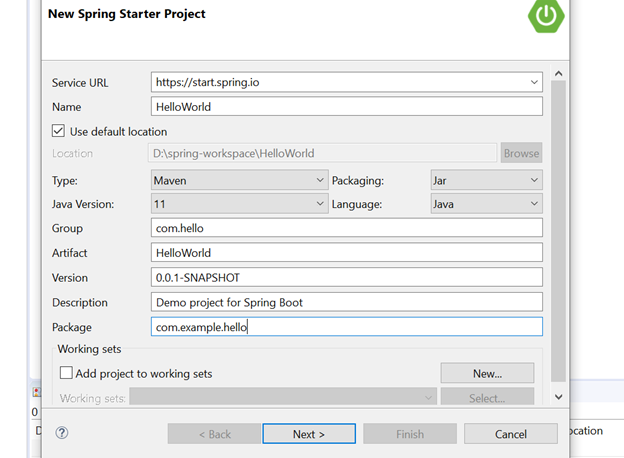
Here latest available Spring Boot version, i.e., 2.4.0, is used with the following dependencies.
- Spring Boot DevTools – This tool helps in quick deployment of change without restart of server/container.
- Thymeleaf – This template tool is used for View component development.
- Spring Web – Required dependency for web application development.

Once the project is created, the project structure will look as below.
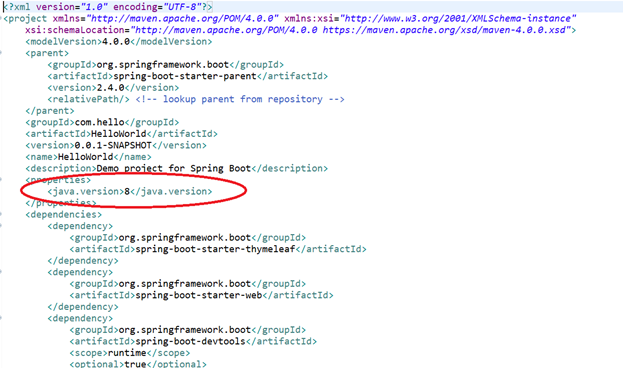
Check Pom.xml
Let’s check the pom.xml and make sure its java version is set to 8.
xxxxxxxxxx
<project xmlns="http://maven.apache.org/POM/4.0.0" xmlns:xsi="http://www.w3.org/2001/XMLSchema-instance"
xsi:schemaLocation="http://maven.apache.org/POM/4.0.0 https://maven.apache.org/xsd/maven-4.0.0.xsd">
<modelVersion>4.0.0</modelVersion>
<parent>
<groupId>org.springframework.boot</groupId>
<artifactId>spring-boot-starter-parent</artifactId>
<version>2.4.0</version>
<relativePath/> <!-- lookup parent from repository -->
</parent>
<groupId>com.hello</groupId>
<artifactId>HelloWorld</artifactId>
<version>0.0.1-SNAPSHOT</version>
<name>HelloWorld</name>
<description>Demo project for Spring Boot</description>
<properties>
<java.version>8</java.version>
</properties>
<dependencies>
<dependency>
<groupId>org.springframework.boot</groupId>
<artifactId>spring-boot-starter-thymeleaf</artifactId>
</dependency>
<dependency>
<groupId>org.springframework.boot</groupId>
<artifactId>spring-boot-starter-web</artifactId>
</dependency>
<dependency>
<groupId>org.springframework.boot</groupId>
<artifactId>spring-boot-devtools</artifactId>
<scope>runtime</scope>
<optional>true</optional>
</dependency>
</dependencies>
<build>
<plugins>
<plugin>
<groupId>org.springframework.boot</groupId>
<artifactId>spring-boot-maven-plugin</artifactId>
</plugin>
</plugins>
</build>
</project>
Check Main Class
Spring Boot framework will create the “HelloWorldApplication.java” class in the "com.example.hello” package. This class will be annotated with @SpringBootApplication. This is the entry point of the spring boot application.
x
package com.example.hello;
import org.springframework.boot.SpringApplication;
import org.springframework.boot.autoconfigure.SpringBootApplication;
public class HelloWorldApplication {
public static void main(String[] args) {
SpringApplication.run(HelloWorldApplication.class, args);
}
}
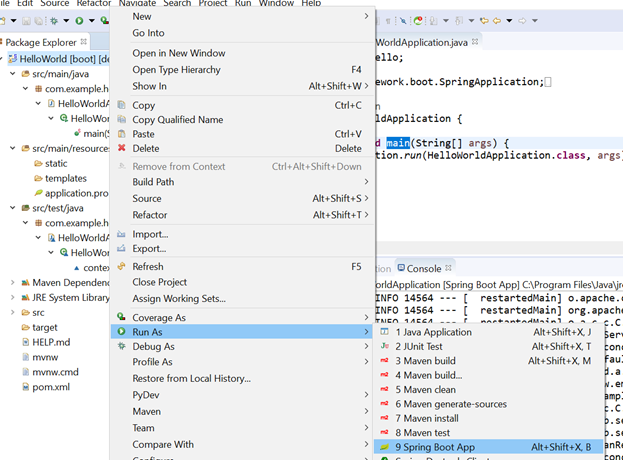
Run Project
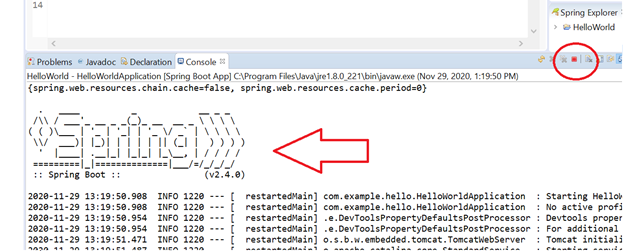
As the "HelloWorld" project is created successfully, let's check it by running project as “Spring Boot App.” This process will start the inbuilt servlet container and run the application. The application can be accessed at 8080 port.
Create Controller
Let’s create a Controller which will accept all the GET request as below.
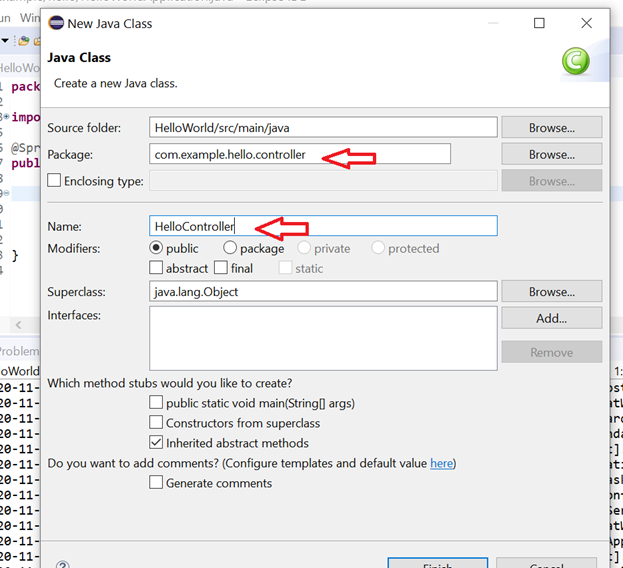
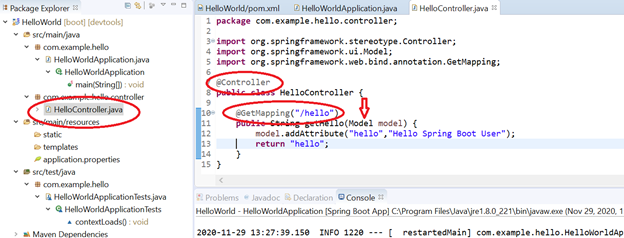
The controller class will have various annotation like @Controller, @GetMapping to handle incoming requests.
- @Controller: To inform Framework that this class is controller
- @GetMapping: To inform framework about GET request mapping for a specific path. Here the path is defined as “hello.”
Model is used to transfer data from Controller to View.
MVC design pattern is very standard pattern to develop the web applications. In this pattern, the Controller will receive the request, it will populate data with the help of the Model and transfer the control to a suitable View.
Create View
In our example, the Controller return “hello” string. This will force framework to redirect control to hello.html file available inside resource/templates directory.
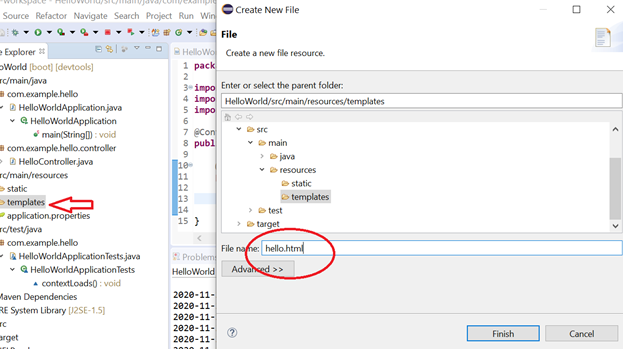
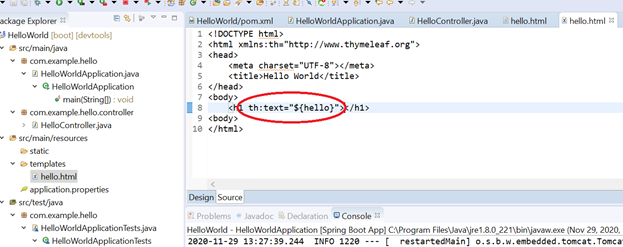
Themeleaf template engine is used to create "hello.html". With the help of Spring Boot DevTool, all changes are deployed to the container, i.e., changes like the creation of controller and view will be automatically pushed to container.
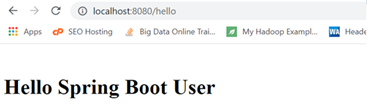
Check "Hello World"
Let’s check the web application http://localhost:8080/hello.. If we observe the below response, then we have successfully completed the tutorials.
 Congratulations.
Hope this quick tutorial helped to develop basic understating of Spring Boot framework.
Code is available at https://github.com/mag1309/spring-boot-hello-world for reference.
Opinions expressed by DZone contributors are their own.
Comments