Elasticsearch Fundamentals and Setup Progress
Explore fundamentals of Elasticsearch, a full-text search engine and analysis tool developed using Java programming language on Apache Lucene infrastructure.
Join the DZone community and get the full member experience.
Join For FreeElasticsearch is a full-text search engine and analysis tool developed using Java programming language on Apache Lucene infrastructure.
Lucene, which was developed to perform searches on huge text files on a single machine, is Elasticsearch, which emerged because it was insufficient in searches on instant data and distributed systems; It has gained popularity in a short time with its flexible structure, ability to work with real-time data in distributed systems.
Elasticsearch Fundamentals and Setup Progress
First, we need to download the installation file from Elasticsearch's official website. Whatever version we need, we need to download this version. What we mean by the version here is that we can download the version used in the project in order not to make an additional development or update in the project we are using.

We can start the download process by pressing the Windows button above. If we want to download a different version, click on the "View past releases" link under the "Summary" heading on the right to see the past versions and download the version we want from there.
As a result of the download, we will have downloaded a zip file. The drive on which we will install the Elasticsearch application is where we need to extract the installation files. You can follow these instructions to set up via the Elastic official website.
Then, by entering the bin folder in the downloaded folder, and running the elasticsearch.bat file, we can see if it gives any errors or warnings by running it before installing the Elasticsearch Windows Service.
We can also see the same result by running the following command:
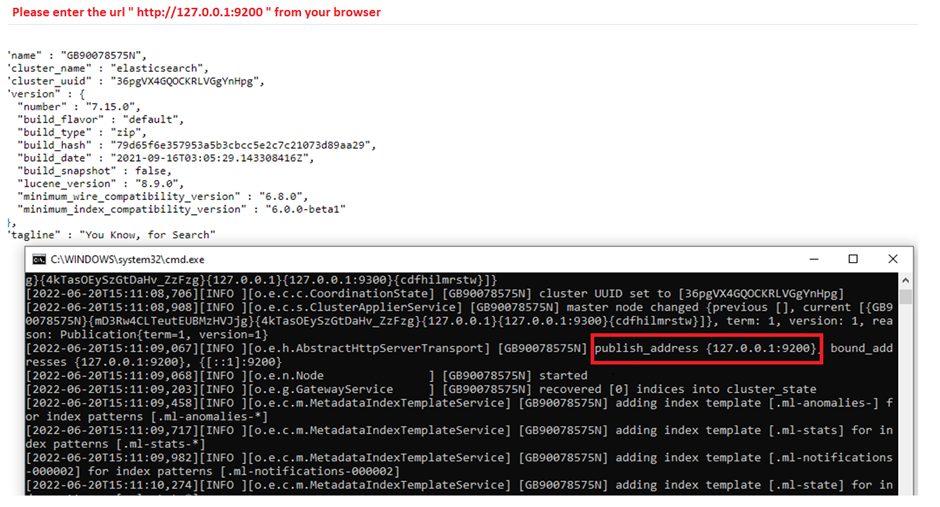
.\bin\elasticsearch.batWith this command, if there is no problem in our configuration or if we do not see any error messages on the command line, we can consider Elasticsearch to be running.
You can see a link that shows where the application is active on the command screen.

If you have any problems during the installation phase or if you think something is wrong, it is best to look directly at the log file. If there is an error, you can clearly see it here (info, warning, and error). If we do not specify any name, this name is usually formed as elasticsearch.log file.
Path of Log File Root and Details

After checking everything and seeing that there are no errors, let's exit the command line that we opened for testing by pressing the Ctrl + C keys.
Start Service Setup
Now we can touch on a few configuration issues and start the service setup:
The name of the configuration file is elasticsearch.yml and it is located in the config folder in the main directory. Relevant settings are made in this file and if the service is running, the service must be restarted for the settings to be active.
- cluster.name: Cluster means that the Elasticsearch we set up consists of one server or more than one server. If we are installing on a server, we create a cluster consisting of a single node; if we are installing on three servers, we create a cluster consisting of three servers. The name we will give here is the name of our set and we need to give the same name on each server.
- node.name: It specifies what the name of the server we will set up will appear in the cluster we will create.
- path.data: This setting specifies the path of the data that the Elasticsearch application will store. We can ensure that our data is collected in a different directory on each server. For this, it is enough to write the path of the data folder.
- path.logs: This setting indicates where to write log files. If we cannot see the log file in the default directory, we can access the log file by following this path from the .yml file.
- network.host: Here we write the address of the server we installed.
- http.port: With this setting, we are actually specifying a port. In other words, after typing the IP address or machine name from the browser, it represents the port that I will write at the end (e.g., http://GBUTFS002:9200). If you do not change it, its default value is 9200.
- discovery.seed_hosts: If there is more than one node (server) in our cluster, we add the addresses of all servers here as an array. Thus, the machines in the cluster will be able to communicate with each other. Ex: ["host1", "host2"] or ["192.10.11.12", "192.19.11.13"]
- cluster.initial_master_nodes: Here we specify which of the nodes in our cluster will be master nodes. Master nodes are important nodes in the cluster that manage synchronization. When we write more than one node, one of them is automatically assigned as the master node. When any of them is passive, another of them automatically becomes the master node: for example: ["node-1", "node-2"].
Windows Service Installation
Now let's start our Windows Service installation.
For this, we open our command line again. Then we enter the bin folder in the home directory from the command line and type the elasticsearch-service install command to run the elasticsearch-service.bat file there, and press enter. If we want to give the service a different name, we can follow the command elasticsearch-service install servicename. After this process, the service will be installed and will be listed in the Windows Service list.


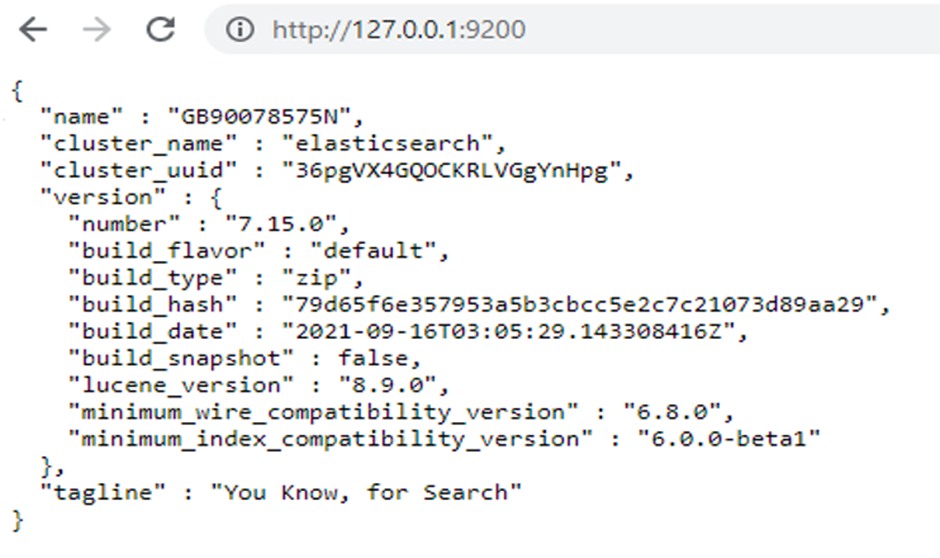
After this step, we can start the service and see that our service is running from the browser:

Opinions expressed by DZone contributors are their own.

Comments