Spring Boot Tutorial for Beginners: Hello World Program
If you're new to Spring Boot or need a refresher, read on to learn how to create a hello world app and run it on a Tomcat server.
Join the DZone community and get the full member experience.
Join For FreeDeveloping your first Spring Boot application is quite easy. As we know, Spring Boot makes it easy to create stand-alone, production-grade Spring-based applications that you can "just run." It's basically used to minimize the configuration or the boiler plate code.
In this example, we have used the below frameworks and tools.
- Maven 3.3.9
- JDK 1.8
- Eclipse IDE
- spring-boot dependency
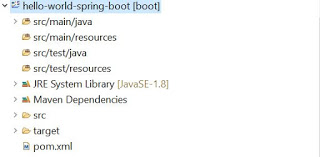
First step - In Eclipse, create a Maven project called "hello-world-spring-boot" as shown below:

Then add the dependency for Spring Boot and plug it into the pom.xml file.
<project xmlns="http://maven.apache.org/POM/4.0.0" xmlns:xsi="http://www.w3.org/2001/XMLSchema-instance" xsi:schemaLocation="http://maven.apache.org/POM/4.0.0 http://maven.apache.org/xsd/maven-4.0.0.xsd">
    <modelVersion>4.0.0</modelVersion>
    <groupId>com.javadevelopersguide.www</groupId>
    <artifactId>hello-world-spring-boot</artifactId>
    <version>0.0.1-SNAPSHOT</version>
    <description>This is a hello world example with Spring Boot.</description>
    <parent>
        <groupId>org.springframework.boot</groupId>
        <artifactId>spring-boot-starter-parent</artifactId>
        <version>1.5.10.RELEASE</version>
    </parent>
    <dependencies>
        <dependency>
            <groupId>org.springframework.boot</groupId>
            <artifactId>spring-boot-starter-web</artifactId>
        </dependency>
    </dependencies>
    <properties>
        <java.version>1.8</java.version>
    </properties>
    <build>
        <plugins>
            <plugin>
                <groupId>org.springframework.boot</groupId>
                <artifactId>spring-boot-maven-plugin</artifactId>
            </plugin>
        </plugins>
    </build>
</project>
Then create a controller class called HelloWorldController with a REST API method, sayHello().
HelloWorldController.java
package com.javadevelopersguide.springboot.example;

import org.springframework.boot.autoconfigure.EnableAutoConfiguration;
import org.springframework.stereotype.Controller;
import org.springframework.web.bind.annotation.RequestMapping;
import org.springframework.web.bind.annotation.ResponseBody;

/**
 *
 * @author manoj.bardhan
 *
 */
@Controller
@EnableAutoConfiguration
public class HelloWorldController {
@RequestMapping("/hello")
@ResponseBody
public String sayHello() {
return "Hello World Developer!!!";
}
}
I have use below annotations in my controller. Here in this example the URI path is /hello.
- @Controller - This is used to specify the controller.
- @EnableAutoConfiguration - This enables auto configuration for the Application Context.
- @RequestMapping - This is used to map to the Spring MVC controller method.
- @ResponseBody - Used to bind the HTTP response body with a domain object in the return type. This annotation works behind the scenes.
Now, our controller is ready. We just need a luncher that can lunch our Spring Boot application. We need to create a "SpringBootApplicationLuncher" file.
SpringBootApplicationLuncher.java
package com.javadevelopersguide.springboot.example;

import org.springframework.boot.SpringApplication;

/**
 * This Luncher for the spring boot application.
 *
 * @author manoj.bardhan
 *
 */
public class SpringBootApplicationLuncher {
public static void main(String[] args) {
SpringApplication.run(HelloWorldController.class, args);
}
}
Now we can run this launcher to start the Spring Boot application. As we know, Spring Boot is embedded with Tomcat feature. Now, the application is up and running.
Try this Tomcat URL, which is running on http://localhost:8080/hello.

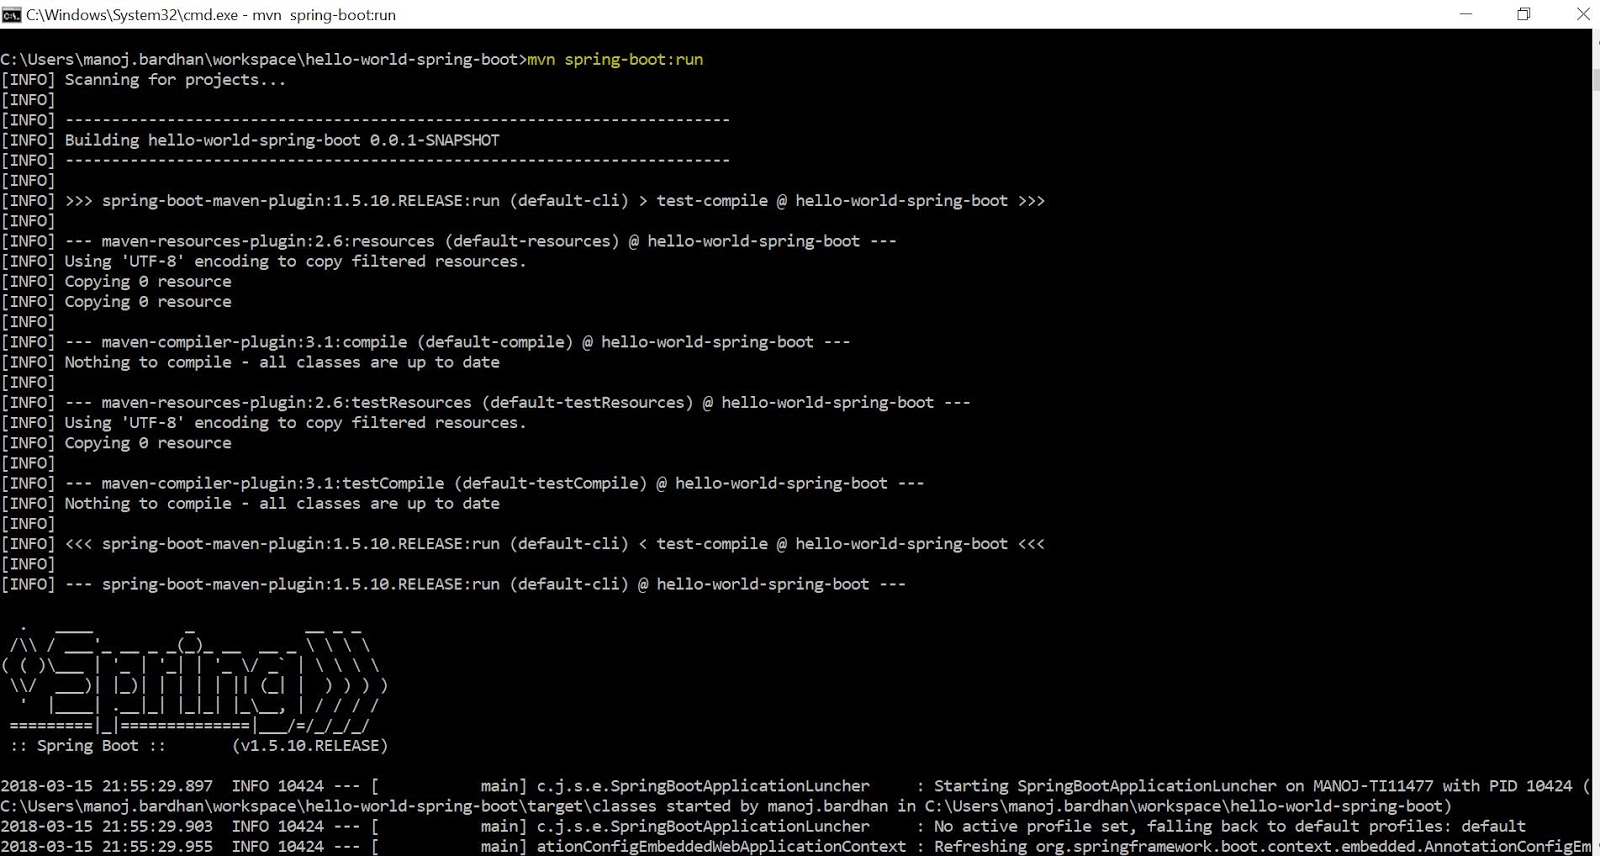
Alternatively, you can also start your Spring Boot application via the command line (Terminal/Console). Here in this example we have used windows OS.
Below is the Maven command to build and run this Spring Boot application:
1. Build the application: mvn clean install
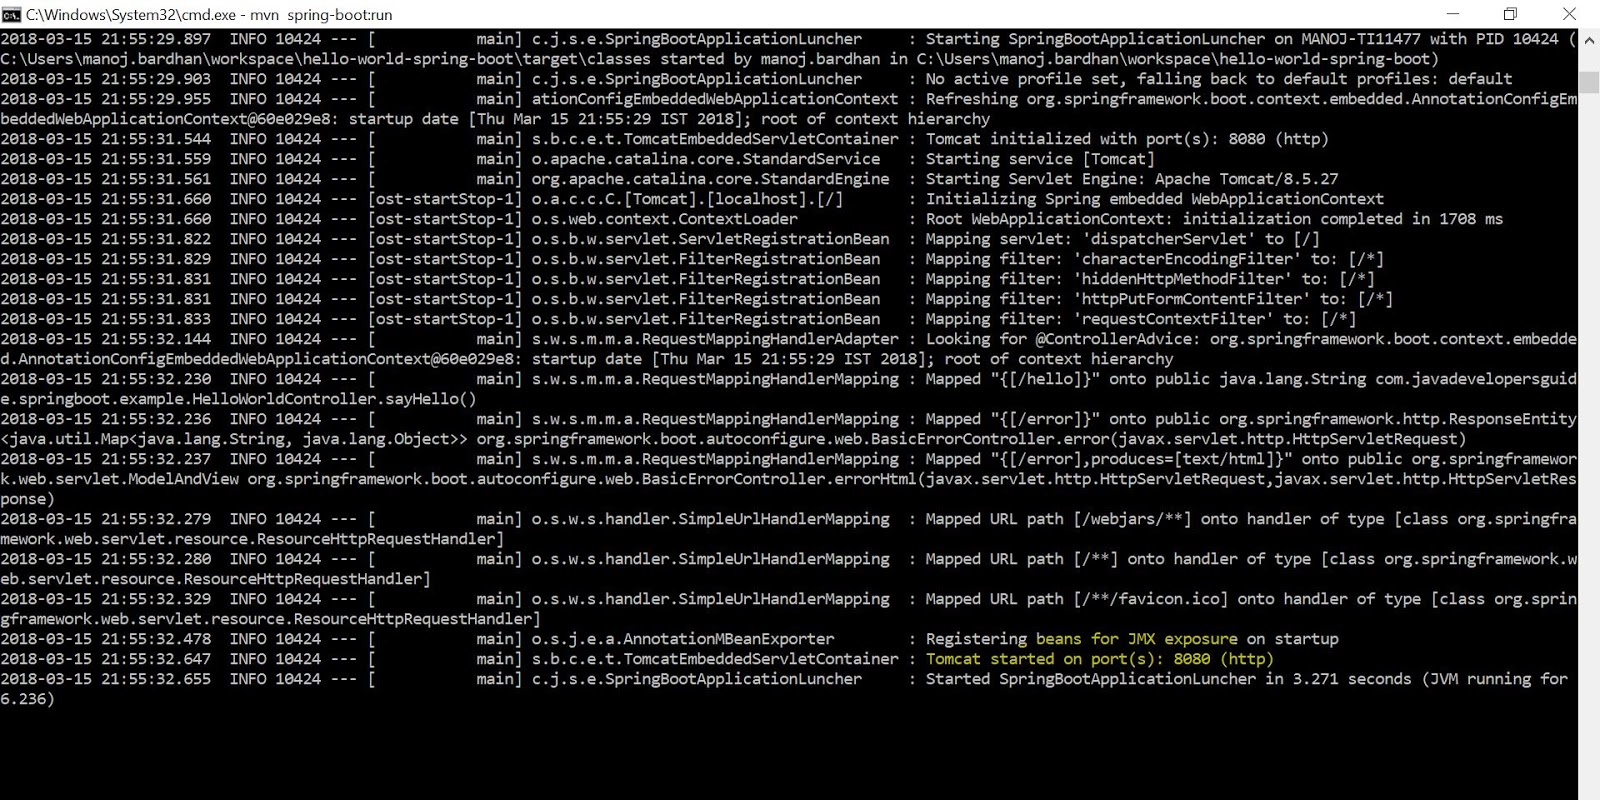
2. Run the application: mvn spring-boot:run


Now the service is running on tomcat port 8080 .Use the below URL to access the sayHello() api.
URL - http://localhost:8080/hello
Published at DZone with permission of Manoj Kumar Bardhan. See the original article here.
Opinions expressed by DZone contributors are their own.

Comments