How to Build a Custom Connector in MuleSoft
In this tutorial, learn how to build and test your own custom Mule Flow connector to send and receive data in Anypoint Studio.
Join the DZone community and get the full member experience.
Join For FreeAnypoint Connectors helps to integrate the Mule applications with third-party APIs and standard integration protocols, providing a means to access web services and resources. Use the connectors within Mule flows to send and receive data over a protocol or using an API. In computer programming, string concatenation is the operation of joining character strings end-to-end. For example, the concatenation of "Hello" and "MuleSoft" is "HelloMuleSoft."
Objective
String concatenation is a binaryinfix operator. The + (plus) operator is often overloaded to denote concatenation for string arguments: "Hello " + "MulesSoft" has the value "Hello MuleSoft."
Prerequisites
- Java JDK Version 8
- Apache Maven-3.3.9
- Anypoint Studio-3.8
- Anypoint Devkit Plugin-1.1.5
- Devkit plugin
Creating a Connector
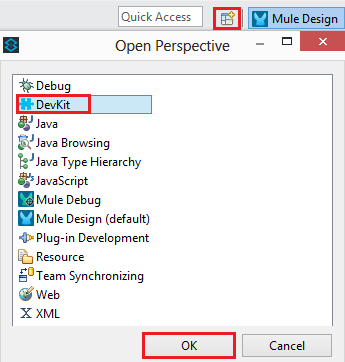
- Click on the Add View icon in the upper right corner of Anypoint Studio, select Devkit and click on OK.
- Now you can see the Devkit view has been enabled.

- Click File>New> and then select Anypoint Connector Project to create a new project to build the connector.

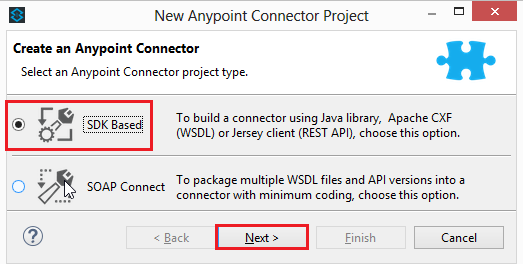
- Select SDK Based, as this connector is built using Java library, and click Next.
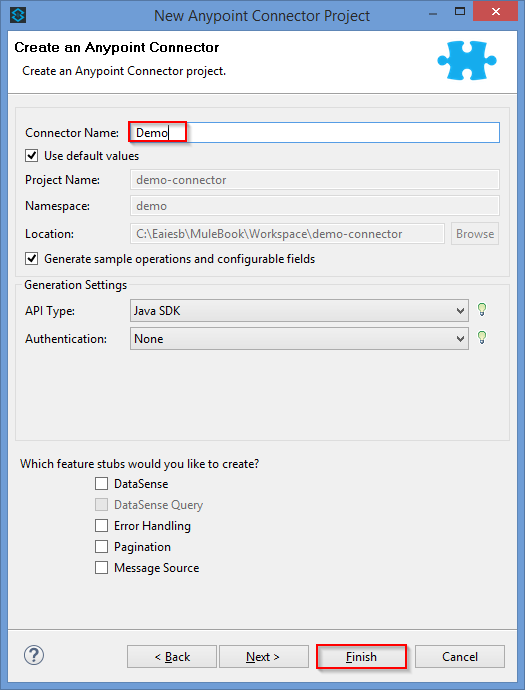
- Give the name for the connector in the Connector name field and click Finish. Upon clicking the Finish button, Anypoint Studio will download all the dependencies that help in building the connector.
- Now the connector project will be created with all the folders and folder structure to develop the connector. After creating the project, the folder structure of the project will be as shown below.
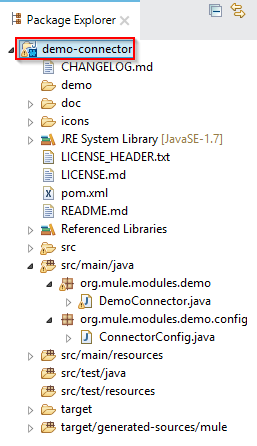
When the project is created, a sample code will be automatically given in the project. This code can be found in DemoConnector.java and ConnectorConfig.java classes. The DemoConnector.java class contains the code that adds the functionality to the connector. The ConnectorConfig.java class contains code that is related to the configuration of the connector, like connection details. If the connector requires the fields for connection, then these two classes will be interlinked. These classes can be found in two separate packages. DemoConnector.java will be present in org.mule.modules.demo and ConnectorConfig.java in the org.mule.modules.demo.config package. Both the packages can be found under the src/main/java folder.
The DemoConnector.java class contains the code that adds the functionality to the connector. You can see the code that is generated in this class when the project is created.
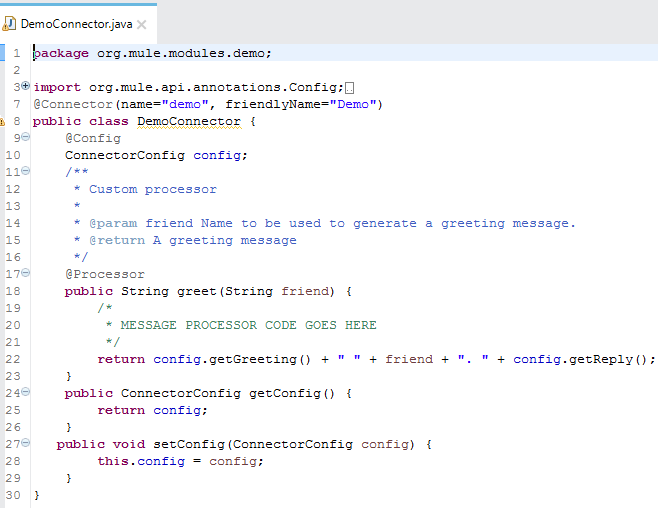
You can edit the code in this class as per the functionality of the connector. In this class, three packages will be automatically imported for the annotations which will be used in the class. The three packages can be seen below:
org.mule.api.annotations.Config;
org.mule.api.annotations.Connector;
org.mule.api.annotations.Processor;
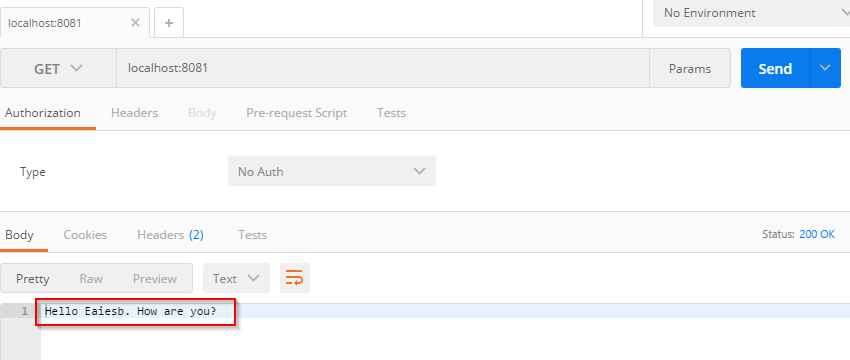
Here, the return statement gives the output as "Hello Eaiesb How are you?"
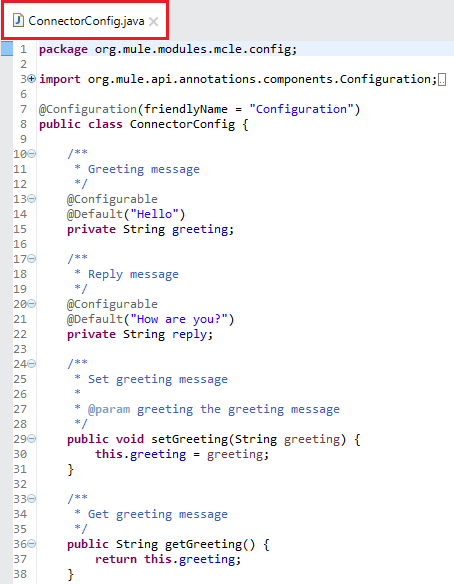
- The ConnectorConfig.java class contains code that is related to the configuration, like connection details. You can see the code that is generated in this class when the project is created. If your connector does not require any configuration, you can remove all the code in this class which will not be used in connector configuration.
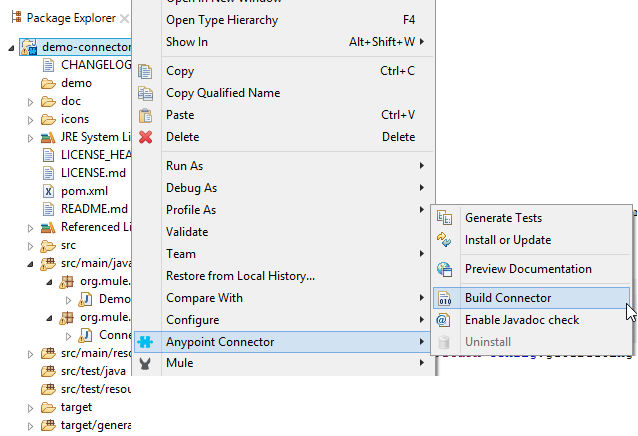
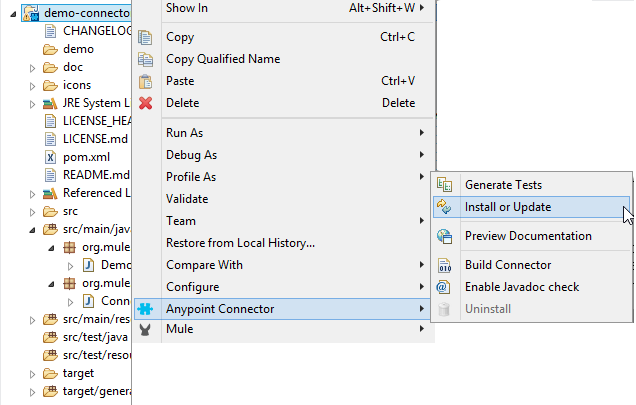
- To build the connector, click on the connector project Demo-connector> select Anypoint Connector and select Build Connector.
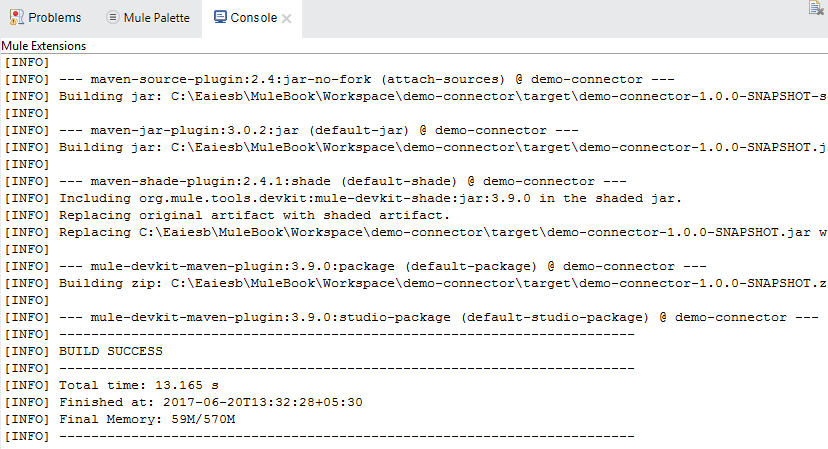
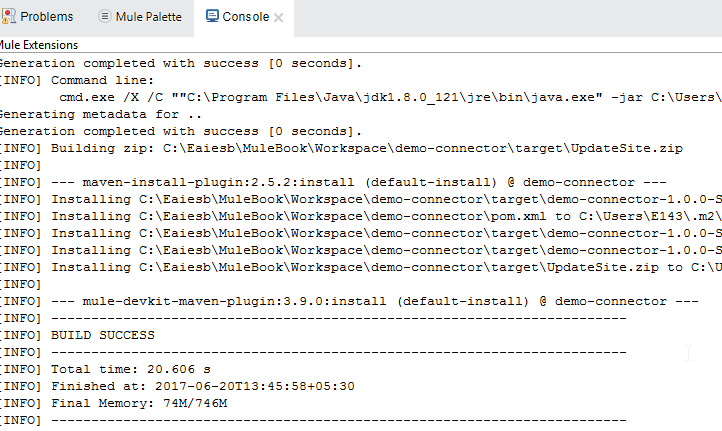
- It will be clear that the connector has been successfully built when you see the BUILD SUCCESS message in the console area.
- Now the connector needs to be installed so that it can be used in Mule flows to build Mule applications. To install the connector, click on connector project Demo-connector> Select
Anypoint Connector and Select Install or Update.
- It will be clear that the connector has been successfully installed when you see the BUILD SUCCESS message in the console area.
- Now go back to Mule Design mode by selecting Mule Design at the upper right corner of Anypoint Studio to test the connector.

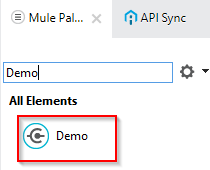
- In Mule Design mode, if you search for the connector with its name, you can find the connector if it is successfully installed.
Connector Testing
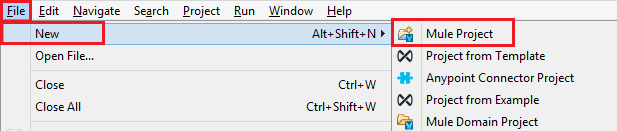
To test the connector, build a Mule application. To create the Mule application, click on File>New> Mule Project.
- Now the Mule project will be created. Drag and drop an HTTP palette onto the process canvas. Here, I am using HTTP as the source, but you can have any process as the source to start the Mule flow. Configure HTTP by providing the port number followed by the demo connector.

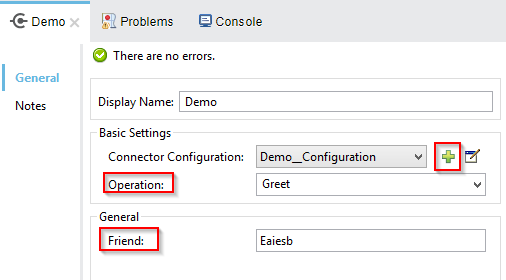
- Now configure the demo connector as shown below.
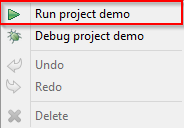
- Run the Mule application. Click on the process canvas and select Run project demo.
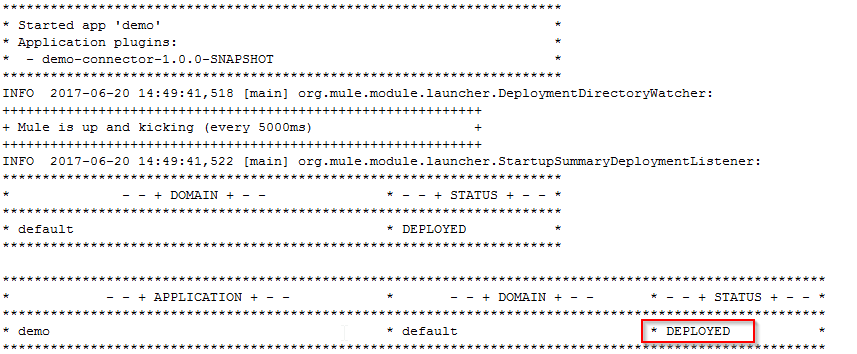
- If the application is successfully deployed, you can see the DEPLOYED message in the console area.
- Now we hit the HTTP connector using Postman and the below message is shown.
In the same way, you can do other Operations on strings as of concatenation.
Thanks for reading this post.
Opinions expressed by DZone contributors are their own.
Comments