How to Build a Real API Gateway With Spring Cloud Gateway and Eureka
Build a real-world API gateway using Spring Cloud Gateway and Eureka Server. Perfect for beginners looking to understand microservices architecture with working code.
Join the DZone community and get the full member experience.
Join For FreeAPI gateways are essential in a microservices architecture.
But building one that's real-world-ready, secure, scalable, and service-aware will require more than just wiring a few annotations.
Let’s be real for a second: Microservices sound exciting, but once you start building them, things get complicated fast.
- Ever wondered how big systems route traffic between dozens of microservices?
- How does the front end know where to call?
- How do services find each other?
- How do you avoid exposing every internal service directly?
- Do we really want to expose every internal service URL to the outside world?
- How do we centralize things like security, logging, and throttling?
The answer to all of that is an API Gateway + Service Discovery.
This tutorial walks you through building a fully working API Gateway using Spring Cloud Gateway and Eureka. We'll cover not just the code but also the why behind each piece, and you'll walk away with a clean, scalable foundation you can build real apps on
Why You Need an API Gateway
Here’s the thing: when your app grows, your front end shouldn’t be worrying about which internal service does what or where it is hosted.
An API gateway helps by:
- Hiding your internal microservice URLs
- Doing service discovery (so things scale and move freely)
- Routing requests to the right service
- Centralizing security, logging, throttling, etc.
It’s like the receptionist of your microservices office. Everything flows through it, and it knows where to direct each call.
What We’re Using
| Part | Tech |
|---|---|
| API Gateway | Spring Cloud Gateway |
| Service Discovery | Netflix Eureka |
| Backend Services | Spring Boot (microservices) |
| Build Tool | Maven |
How It’s Going to Work
Each service registers with Eureka, and the gateway fetches the routing info dynamically. That means zero hardcoded URLs.
What Are We Building?
- Eureka: Our service registry (like Yellow Pages for services)
- API Gateway: The central entry point that knows where to send traffic
- Microservices A and B: Two dummy services that return “hello”
Steps
Step 1: Build the Eureka Server
First, create a Spring Boot project called eureka-server.
This is the directory of all your microservices. Services will register here and discover each other.
Add dependency:
<dependency>
   <groupId>org.springframework.cloud</groupId>
   <artifactId>spring-cloud-starter-netflix-eureka-server</artifactId>
</dependency>
Add annotations:
@SpringBootApplication
@EnableEurekaServer
public class ServerApplication {

 public static void main(String[] args) {
  SpringApplication.run(ServerApplication.class, args);
 }

}
@EnableEurekaServer – Turns your app into an Eureka registry
Config
spring.application.name=server
server.port=8761
eureka.client.register-with-eureka=false
eureka.client.fetch-registry=false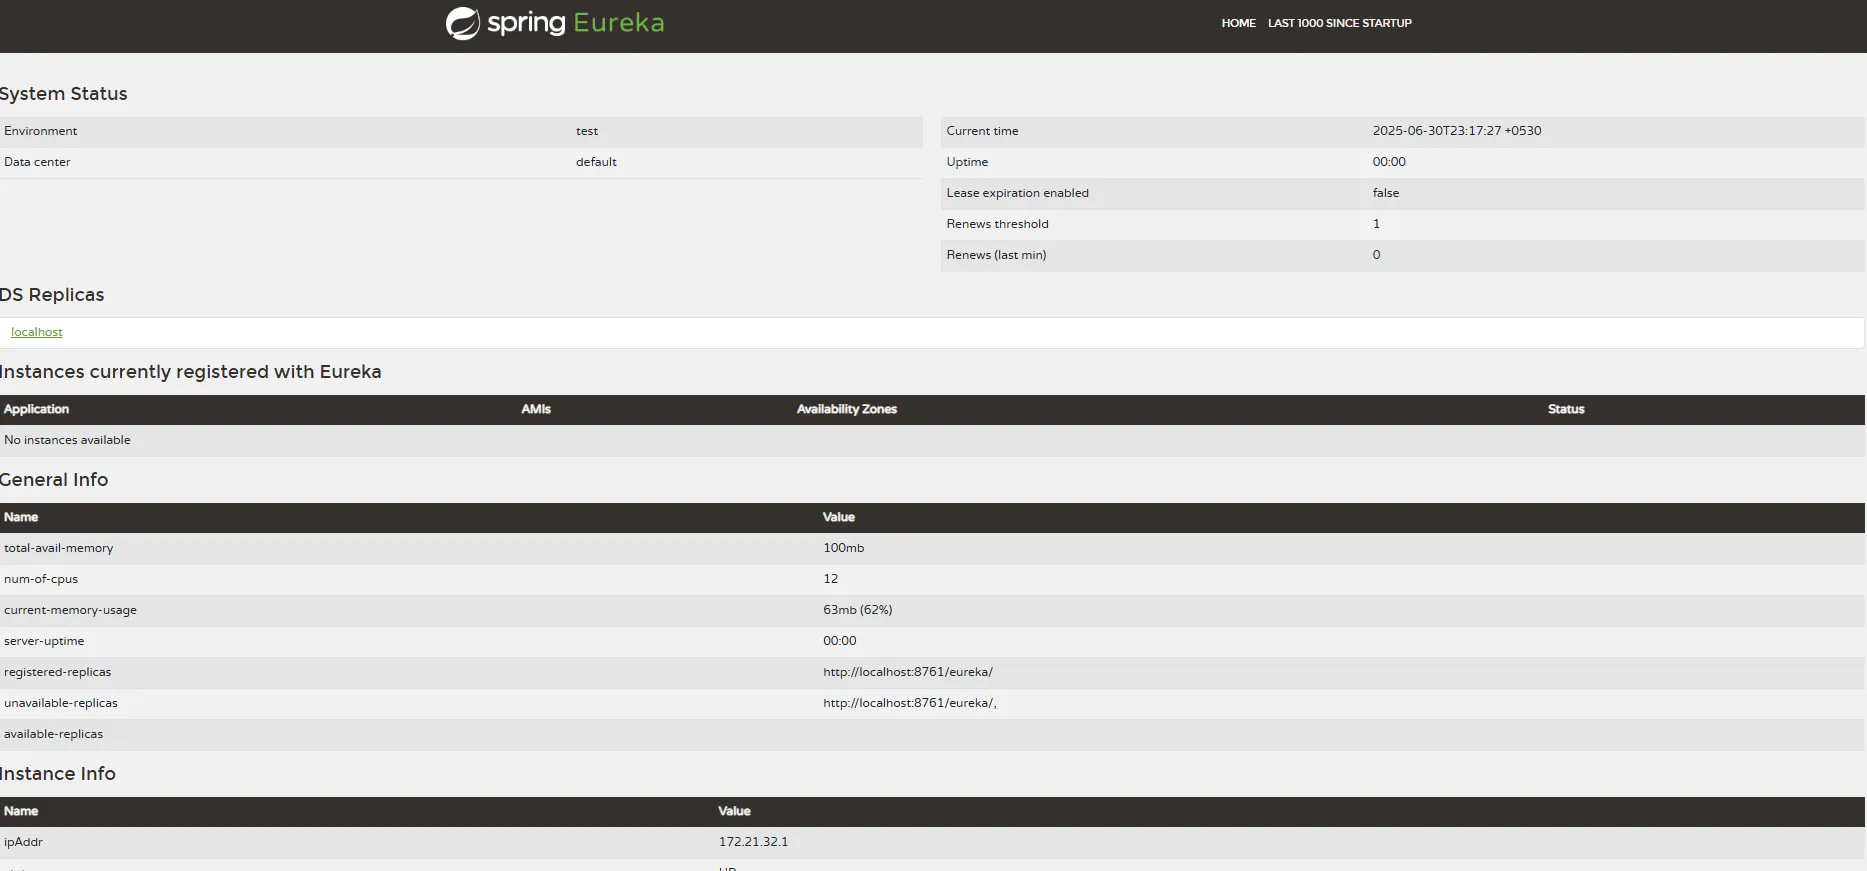
Now run the app and open http://localhost:8761, and your registry is live. Congratulations!
Step 2: Create Two Microservices
Let’s create Service 1 and Service 2. Each one will:
- Register to Eureka
- Expose one endpoint
Add dependencies:
<dependency>
  <groupId>org.springframework.cloud</groupId>
  <artifactId>spring-cloud-starter-netflix-eureka-client</artifactId>
</dependency>
<dependency>
   <groupId>org.springframework.boot</groupId>
   <artifactId>spring-boot-starter-web</artifactId>
</dependency>
Code for Service 1:
@SpringBootApplication
public class Service1Application {

 public static void main(String[] args) {
  SpringApplication.run(Service1Application.class, args);
 }

}

@RestController
class Service1Controller {
 @GetMapping("/app1/hello")
 public String hello() {
  return "Hello From Service 1";
 }
}
Config
spring.application.name=service1
server.port=8081
eureka.client.service-url.defaultZone=http://localhost:8761/eureka
Repeat this process for Service 2 (change port to 8082 and name to service2).
Make sure each service exposes a simple endpoint like /hello just so we can test.
Now start them both — you should see both registered on the Eureka dashboard.
Step 3: Create the API Gateway
Create another Spring Boot app called api-gateway.
This is the front door of your system.
Add dependencies:
<dependency>
  <groupId>org.springframework.cloud</groupId>
  <artifactId>spring-cloud-starter-gateway</artifactId>
</dependency>
<dependency>
  <groupId>org.springframework.cloud</groupId>
  <artifactId>spring-cloud-starter-netflix-eureka-client</artifactId>
</dependency>
Main class:
@SpringBootApplication
public class GatewayApplication {

 public static void main(String[] args) {
  SpringApplication.run(GatewayApplication.class, args);
 }

}
Config
server.port=8080

spring.application.name=api-gateway

spring.cloud.gateway.server.webflux.discovery.locator.enabled=true
spring.cloud.gateway.server.webflux.discovery.locator.lower-case-service-id=true


spring.cloud.gateway.routes[0].id=service1
spring.cloud.gateway.routes[0].uri=lb://SERVICE1
spring.cloud.gateway.routes[0].predicates[0]=Path=/app1/**

spring.cloud.gateway.routes[1].id=service2
spring.cloud.gateway.routes[1].uri=http://SERVICE2
spring.cloud.gateway.routes[1].predicates[0]=Path=/app2/**

eureka.client.service-url.defaultZone=http://localhost:8761/eureka/
Here’s what’s happening:
- You’re telling the gateway to use service discovery via Eureka.
- The lb://service1 means it’ll use Ribbon-style load balancing.
- All traffic hitting /service1/** gets routed to the real service.
Start the gateway and test:
You’ve got routing through an actual gateway, backed by service discovery
And that’s it — you’ve built a discovery-aware, dynamic API Gateway using Spring Cloud Gateway and Eureka.
Most tutorials show you static route setups. But this version is:
- Discovery-aware
- Load-balanced (via service ID)
- Scalable – deploy more instances, Eureka handles it
- Dynamic – add/remove services without code changes
This setup is ideal for real-world projects where services evolve frequently and infrastructure must keep pace without requiring constant redeployment or hard-coded links.
Some Common Errors to Watch Out For
| Problem | Fix |
|---|---|
| Service not found | Check that it’s registered with the right name |
| Wrong path pattern | Use /service-name/**, not /service-name/* |
| Case mismatch in service ID | Use lower-case-service-id: true in the gateway |
| Infinite retries or 500s | Make sure your services are actually running locally |
Possible Next Steps to Go From Here
You now have a working gateway that’s aware of your services and route requests intelligently.
Now, in the following posts, I will expand this tutorial to add the following points to make it a production-grade application:
- Add Spring Security + JWT authentication
- Add circuit breakers using Resilience4j
- Use Docker and Docker Compose for easy setup
- Add config server for centralized properties
If you're building microservices seriously, having a smart, flexible API Gateway isn't a nice-to-have, but it’s a must.
Bonus: Want the full code and a downloadable starter project?
Here is the GitHub link: VivekRajyaguru/spring-api-gateway-eureka-demo.
Opinions expressed by DZone contributors are their own.
Comments