How to Deploy Laravel Application on AWS EC2 the Right Way
Interested in PHP development? Read on to learn how to make a basic Laravel application and deploy to an AWS EC2 server.
Join the DZone community and get the full member experience.
Join For FreeAre you tired of developing your Laravel application on your localhost? Do you want to see your application in the cloud? This might sound scary at the beginning, but in this tutorial, we will cover every step you need to follow up to deploy your app into your ec2 instance, so you can scale to million users with AWS Laravel applications.
Now, let’s start deploying Laravel on AWS!
Laravel Applications on the Cloud
Nowadays, Laravel is one of the most popular PHP frameworks in the world. Developers prefer to use Laravel rather than CodeIgniter, CakePHP, or Yii because of its easy database integration, high customization, ease of development and templating, libraries and excellent documentation. You can read our Laravel 5.6 vs Symfony 4: The Best PHP Framework Battle.
AWS offers us the best Cloud solutions and technologies to put out applications on the cloud such as RDS (Relational Database Service), EC2 (Elastic Compute Cloud), S3 (Simple Storage Service, Cloudfront, AutoScaling, Classic and Application Load Balancers).
To deploy Laravel on AWS, we must have these resources ready to use:
- VPC
- RDS
- EC2 Instance (Check our tutorial about How to launch ec2 on AWS)
Once we have this resources available, we can proceed to install our Laravel stack on our server.
Stack
- Ubuntu 16.04
- Nginx 1.14
- PHP-7.2
- PHP7.2-FP
Steps to Deploy Laravel App on AWS
1. Login to your EC2 instance.
If you don’t know how to do it, check this blog to get help!
2. Update your libraries.
Let’s update our libraries with the latest packages available.
Warning: if your server is new there won’t be any problem with updating libraries. If you do run into issues, be careful not to update a package that is incompatible with your current tech stack.
$ sudo apt-get update3. Install Nginx's latest version.
Before that, let’s get superuser permissions.
$ sudo suLet’s establish a variable for Nginx's latest version
$ nginx=stable Now add the repository using the previous variable.
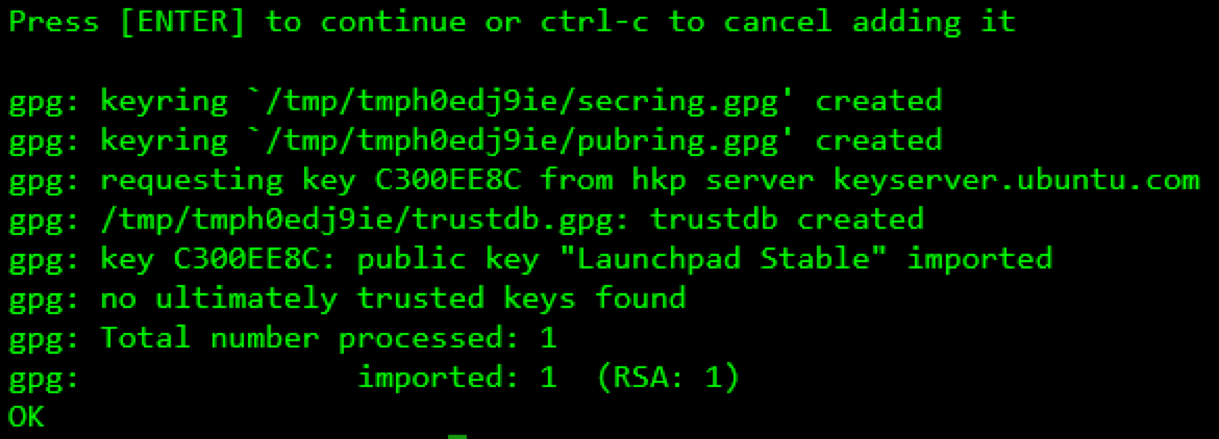
$ add-apt-repository ppa:nginx/$nginx Press enter to confirm this addition.

Now let’s update our libraries again with the latest Nginx version.
$ apt-get update And last but not least, install Nginx.
$ apt-get install nginx Tip: Check the Nginx version with the next command:
$ nginx -v 4. Install PHP 7.2 and php7.2-fpm
First of all, let’s install the next package.
$ apt-get install python-software-properties Now add the repository.
$ add-apt-repository ppa:ondrej/php Press enter to confirm this addition.
Now let’s update our libraries again with php7.2 version.
$ apt-get update And, finally, install PHP 7.2 with php7.2-fpm as well.
$ apt-get install php7.2 php7.2-msql php7.2-mysql php7.2-fpm php7.2-xml php7.2-gd php7.2-opcache php7.2-mbstring Additionally, install these libraries.
$ apt install zip unzip php7.2-zip To verify your installation, check the PHP version.
$ php -V 5. Install Laravel and deploy your code.
In this step, you can send your app to your server using SCP, FTP, or any protocol you want to deploy your code. In this tutorial, Laravel will be installed from zero.
Download Composer:
$ curl -sS https://getcomposer.org/installer | php Move Composer to make it executable.
$ mv composer.phar /usr/local/bin/composer Let’s move to the directory where we want to install/move our Laravel instance.
$ cd /var/www Now let’s install Laravel.
Note: skip this step if you already have your code.
$ composer create-project laravel/laravel test --prefer-dist Set proper ownership for our directory.
$ chown -R www-data:www-data test/ And also set proper permissions
$ chmod -R 775 test/ 6. Configure Virtual Host on Nginx.
Move to the sites-available folder on Nginx.
$ cd /etc/nginx/sites/available Modify the default virtual host file with vim editor; the file should look like this:
server {
listen 80 default_server;
listen [::]:80 default_server;

root /var/www/test/public;

index index.php index.html index.htm index.nginx-debian.html;

server_name _;

location / {
try_files $uri $uri/ =404;
}

location ~ \.php$ {
include snippets/fastcgi-php.conf;

# With php-fpm (or other unix sockets);
fastcgi_pass unix:/var/run/php/php7.2-fpm.sock;
# With php-fpm (or other unix sockets);
}
}
Now save and quit.
$ :wq Tip: Before doing any restart on Nginx, first check the Nginx syntax. If the syntax is okay, then it is safe to perform a restart.
$ nginx -t Now let's restart Nginx to load our changes.
$ service nginx restart Now, go to your web browser and paste your public IP and you should be able to see your Laravel App!
Tip: If you don’t know your public IP, you can use this command to see the IP address quickly. Also, you can go to the AWS dashboard and look for your public IP.
$ curl icanhazip.com Note: If you deployed your custom app, make sure to replace on your .env file, RDS endpoint to enable database connection. You might also like: How to upload files to Amazon s3 using Laravel
What’s Next?
Now that you’ve deployed/installed your Laravel app on AWS, you might be concerned about performance. If you want to scale up your app, you can use Auto Scaling feature to enable high availability on your application. For example, if your app reaches certain use CPU by having many visitors, another exact copy of the server will be launched. To deliver the traffic between two (or as much as needed), we can also use the AWS service Load Balancer. So both servers will be registered on the Load balancer and traffic will be split in both servers.
Published at DZone with permission of Alfonso Valdes. See the original article here.
Opinions expressed by DZone contributors are their own.

Comments