How to Effortlessly Host Your Angular Website on GitHub Pages
We'll build an Angular app from scratch and host it for free on GitHub Pages, providing a platform to showcase your skills.
Join the DZone community and get the full member experience.
Join For FreeAngular is a leading framework for building web applications and a large number of companies use it in their enterprise software building. This makes the ability to showcase your Angular application quite lucrative. It is not always straightforward though to showcase your Angular skills to others. Maybe you work for an application that is internal to your company only, or it is behind a pay subscription or you are an aspiring student who has not yet worked on a real-world application.
It can be very costly to host your sample web application on online cloud hosting platforms or can become hard to maintain if you decide to host it on your local machine. GitHub pages offer a very cost-effective way to host, and with Angular’s GitHub page integration, it becomes a breeze to host your app.
Let's explore step by step how we can create, build, and host our Angular app on GitHub pages. The complete code for this article is available here.
Prerequisites
- Knowledge of Angular and GIT
- GitHub account
- NodeJS and NPM installed on your machine
Setting up the Angular Project
Let’s create a fun Angular project, where we will have a square box on the left and a few color buttons on the right. Clicking on buttons will change the color of the square block.
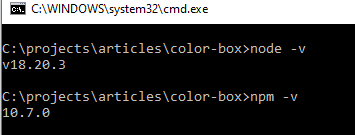
- Verify NodeJS and NPM are installed. Commands to verify:
node -vandnpm -v

- Install Angular CLI. Command to do so:
npm install -g @angular/cli@18 - Create a new Angular app using
ng new color-box - While creating the app, let's select SCSS for our styling

- Once the app is created go to our app using
cd color-box - Let's start our Angular application with
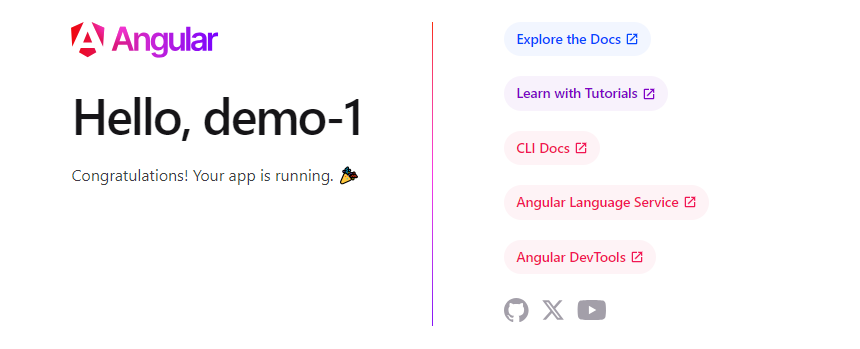
ng serve - Navigate to the localhost in the browser of your choice. You should see your app loaded.
![app loaded]()
Adding Features to Our App
Now we are ready to make changes to our Angular app and add our use case of color-box.
- Open the newly created project in the Code Editor of your choice. I have used Visual Studio Code.
- Let's create our color-box component with
ng generate component components/color-box - This will create a component inside the src/app/components path in your project.
- Update code in component file, SCSS file, and HTML file as per below to include our logic.
/*color-box.component.ts*/
import { Component } from '@angular/core';

@Component({
  selector: 'app-color-box',
  templateUrl: './color-box.component.html',
  styleUrl: './color-box.component.scss'
})
export class ColorBoxComponent {
  colors: string[] = ['red', 'green', 'blue', 'yellow', 'purple'];
  currentColor: string = 'red';

  changeColor(color: string) {
    this.currentColor = color;
  }
}// color-box.component.scss
:host {
.container {
display: flex;
align-items: center;
gap: 2vw;
}
.color-box {
width: 200px;
height: 200px;
transition: background-color 0.5s ease;
}
.button-group {
display: flex;
flex-direction: column;
}
button {
width: 100px;
height: 50px;
margin-bottom: 10px;
border: none;
color: #000;
font-size: 16px;
cursor: pointer;
transition: background-color 0.3s ease;
text-transform: capitalize;
}
button:hover {
opacity: 0.8;
}
}<!-- color-box.component.html -->
<div class="container">
<div class="color-box" [ngStyle]="{'background-color': currentColor}"></div>
<div class="button-group">
<p> Choose color</p>
<button *ngFor="let color of colors" [ngStyle]="{'background-color': color}" (click)="changeColor(color)">
{{ color }}
</button>
</div>
</div>- Let's create a new file alongside app.component.ts and name it app.module.ts and modify its code to be as below.
/* app.module.ts*/
import { NgModule } from '@angular/core';
import { BrowserModule } from '@angular/platform-browser';

import { AppComponent } from './app.component';
import { ColorBoxComponent } from '../app/components/color-box/color-box.component';


@NgModule({
  declarations: [AppComponent, ColorBoxComponent],
  imports: [
    BrowserModule
  ],
  bootstrap: [AppComponent]
})
export class AppModule { }
- Update our app.component component and its HTML file as per below to include our color-box component.
/* app.component.ts */
import { Component } from '@angular/core';

@Component({
  selector: 'app-root',
  templateUrl: './app.component.html',
  styleUrl: './app.component.scss'
})
export class AppComponent {
  title = 'color-box';
}<!-- app.component.html -->
<app-color-box></app-color-box>- Finally, let's modify the main.ts file in the root of the project to bootstrap the newly created app.module file.
/* main.ts */
import { platformBrowserDynamic } from '@angular/platform-browser-dynamic';
import { AppModule } from './app/app.module'

platformBrowserDynamic().bootstrapModule(AppModule)
  .catch(err => console.error(err));
- Navigate again to the localhost to see the updated app, you may need to restart the app again using
ng serve
Setting up the GitHub Repository
We are ready to move to the next phase — hosting our app.
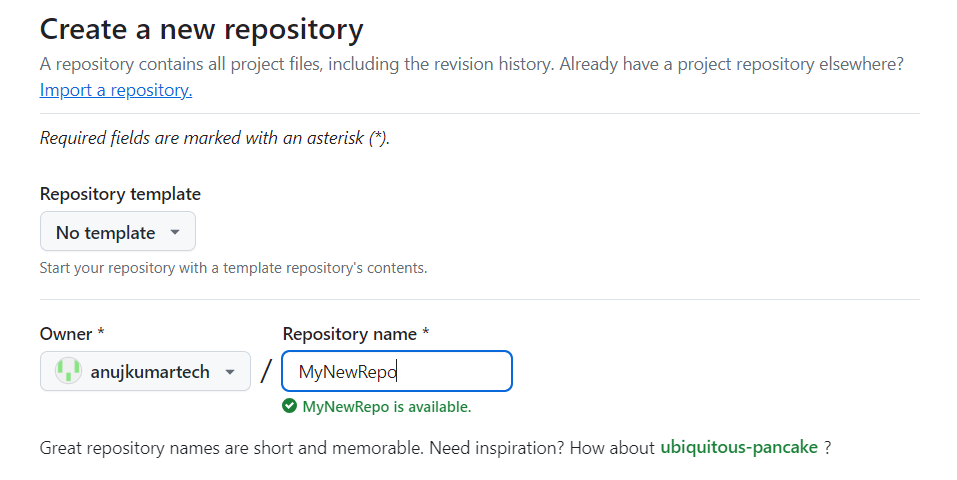
- Go to your GitHub and create a new repository.

- Go back to the terminal and follow the below steps to push your code to GitHub
git commit -am "detailed commit message"
git branch -M main
git remote add origin https://github.com/<your_github_account>/<your_new_repo>.git
git push -u origin main- Once pushed verify your code is present in GitHub by navigating to the new repo page.

Hosting With GitHub Pages
Let's build our app and host it.
- Build the app using command
ng build --configuration=production --base-href "https://<your-github-username>.github.io/<your-repo-name>/"e.g.ng build --configuration=production --base-href "https://anujkumartech.github.io/ColorBoxGHPages/" - Angular ecosystem has a neat tool to host pages on GitHub pages. Install it globally using
npm install -g angular-cli-ghpages angular-cli-ghpageshas some added benefits compare to hosting it manually.angular-cli-ghpagesautomates the creation and management of thegh-pagesbranch in your repository. This branch is specifically used for hosting static sites on GitHub Pages, ensuring that your main codebase remains unaffected by deployment files.- The tool allows you to specify a custom base URL for your application using the
--base-hrefflag during the build process. This is particularly useful for ensuring that your Angular app works correctly when served from a subdirectory on GitHub Pages. angular-cli-ghpagescan be easily integrated into CI/CD pipelines, enabling continuous deployment of your Angular app. By including the deployment command in your pipeline configuration, you can automatically deploy updates to GitHub Pages whenever changes are pushed to your repository.
- Deploy the app to GitHub pages using
npx angular-cli-ghpages --dir=dist/<your_app_name>/browser. Examplenpx angular-cli-ghpages --dir=dist/color-box/browser - Congrats, your app is live. Navigate here to view your app. For example.
Troubleshooting
- If you are unable to push your code, ensure you have set up GitHub properly. Refer to articles such as this one.
- If you see your app code not updating, check the terminal to see if any Angular compilation errors are there.
- If you don’t see new updates to code not visible on GitHub pages, redo the build and deploy as described in the previous section.
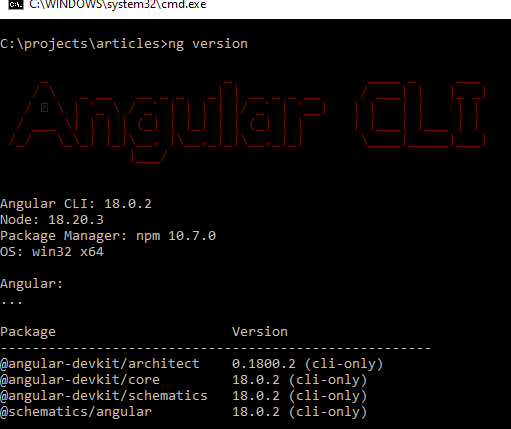
- Ensure your Angular CLI is version 18 if you see build-related issues. Check using ng version

Conclusion
Angular ecosystem provides the right tool to create, build, and host our app on GitHub pages, and this makes the entire process super smooth. If you are feeling excited and want to improve your project deployment more, look for doing continuous integration using GitHub actions. You can also use custom domains and personal URLs for a better showcase of the project.
Opinions expressed by DZone contributors are their own.


Comments