How to Use Spring Boot and JHipster With Reactive Java Microservices
Learn how to create a reactive microservices architecture with Spring Boot, Spring Cloud Gateway, Spring Cloud Config, Spring WebFlux, Java, and JHipster.
Join the DZone community and get the full member experience.
Join For FreeEven though it only came to prominence a few years ago, Java has been at the forefront of microservice architecture. Spring Cloud, Spring Data, and Spring Security, Java are well-known high-quality frameworks.
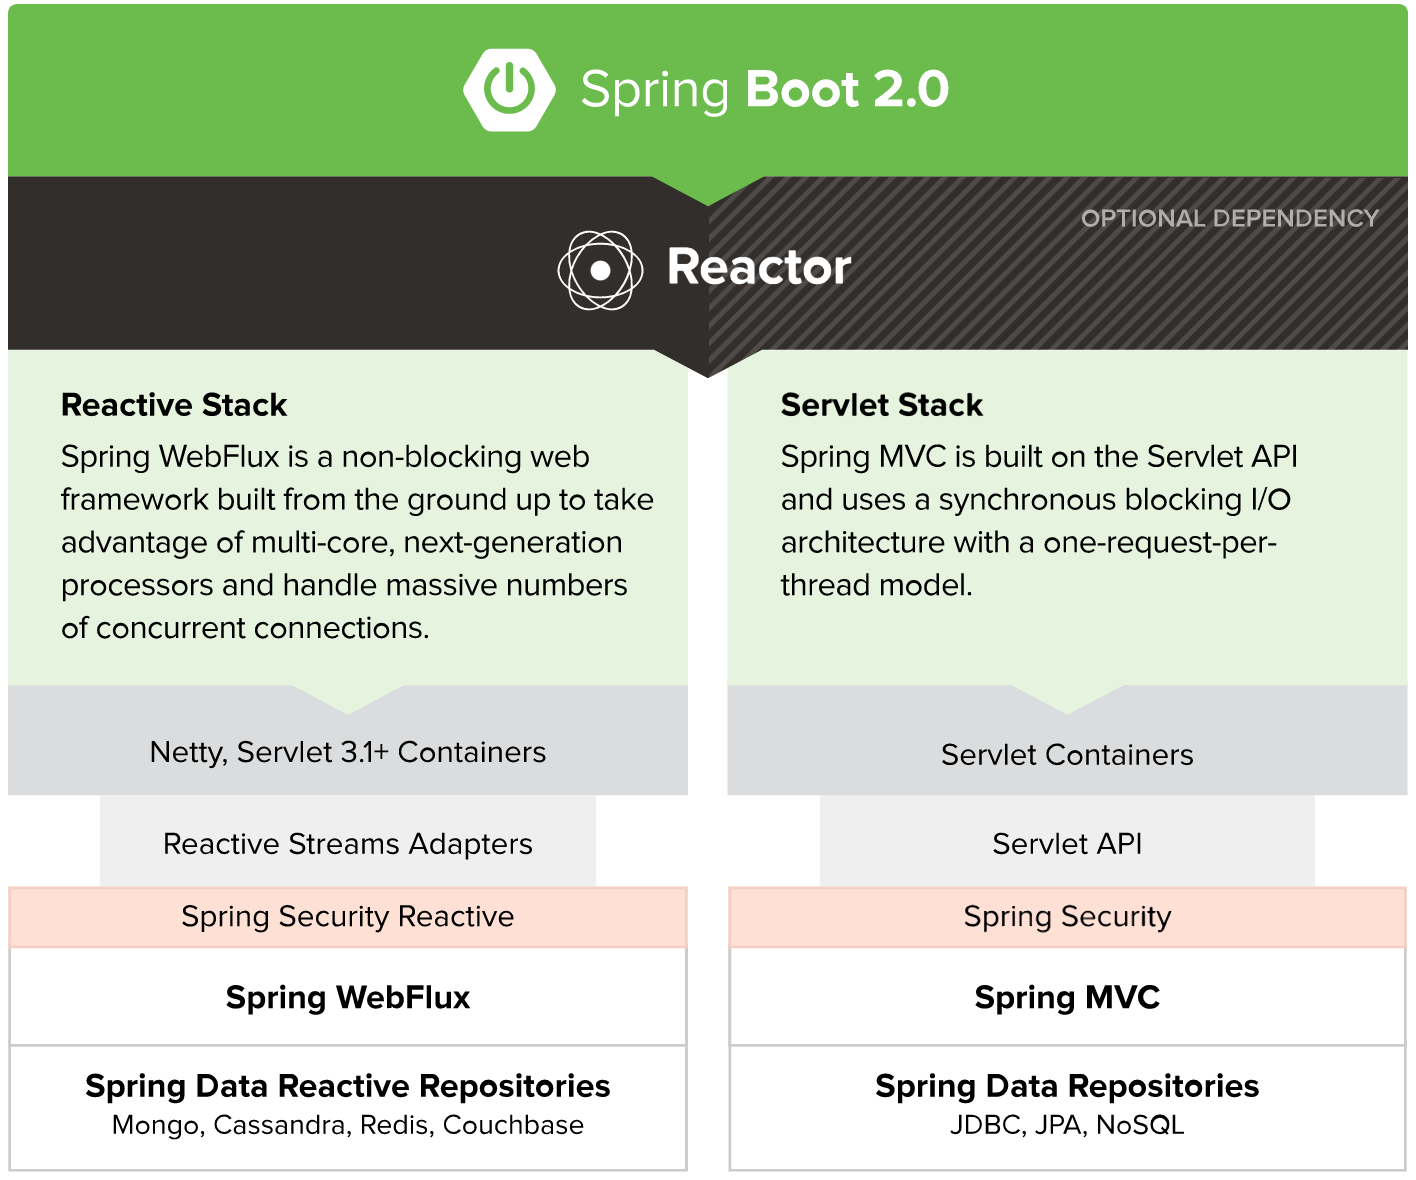
Spring WebFlux is a new web framework introduced by Spring Boot 2.0. While previous versions of Spring Boot only shipped with Spring MVC as an option, WebFlux gives the developers the chance to do reactive programming, meaning you can write your code with familiar syntax. As a result, your app will scale better and use up fewer resources.
Why Reactive Java?
Reactive programming isn’t for every app. The general rule of thumb is it won’t help you if you have < 500 requests/second. Chances are Spring MVC will perform as well as Spring WebFlux up to that point. When your traffic takes off, or if you need to process things faster than 500 requests/second, you should take a look at Spring WebFlux.
Spring WebFlux’s API has a similar syntax to Spring MVC. For example, here’s the Spring MVC code for creating a new Points entity.
/**
* {@code POST /points} : Create a new points.
*
* @param points the points to create.
* @return the {@link ResponseEntity} with status {@code 201 (Created)} and with body the new points, or with status {@code 400 (Bad Request)} if the points has already an ID.
* @throws URISyntaxException if the Location URI syntax is incorrect.
*/
("/points")
public ResponseEntity<Points> createPoints( Points points) throws URISyntaxException {
log.debug("REST request to save Points : {}", points);
if (points.getId() != null) {
throw new BadRequestAlertException("A new points cannot already have an ID", ENTITY_NAME, "idexists");
}
Points result = pointsRepository.save(points);
pointsSearchRepository.save(result);
return ResponseEntity
.created(new URI("/api/points/" + result.getId()))
.headers(HeaderUtil.createEntityCreationAlert(applicationName, true, ENTITY_NAME, result.getId().toString()))
.body(result);
}
The same functionality when implemented with Spring WebFlux returns a Mono and uses a more functional, streaming style to avoid blocking.
xxxxxxxxxx
/**
* {@code POST /points} : Create a new points.
*
* @param points the points to create.
* @return the {@link ResponseEntity} with status {@code 201 (Created)} and with body the new points, or with status {@code 400 (Bad Request)} if the points has already an ID.
* @throws URISyntaxException if the Location URI syntax is incorrect.
*/
("/points")
public Mono<ResponseEntity<Points>> createPoints( Points points) throws URISyntaxException {
log.debug("REST request to save Points : {}", points);
if (points.getId() != null) {
throw new BadRequestAlertException("A new points cannot already have an ID", ENTITY_NAME, "idexists");
}
return pointsRepository
.save(points)
.flatMap(pointsSearchRepository::save)
.map(
result -> {
try {
return ResponseEntity
.created(new URI("/api/points/" + result.getId()))
.headers(HeaderUtil.createEntityCreationAlert(applicationName, true, ENTITY_NAME, result.getId().toString()))
.body(result);
} catch (URISyntaxException e) {
throw new RuntimeException(e);
}
}
);
}
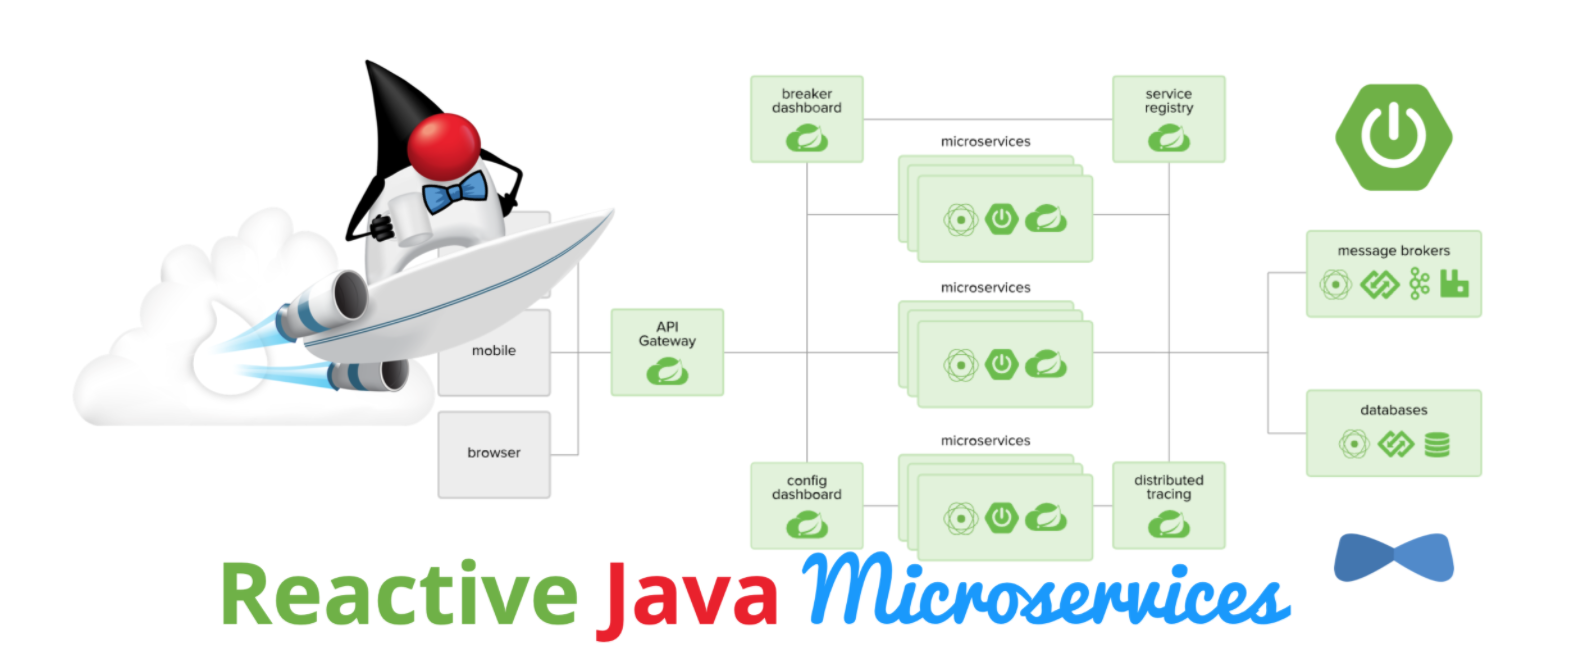
In this guide, I’ll show you how to create a reactive microservices architecture with Spring Boot, Spring Cloud Gateway, Spring Cloud Config, Spring WebFlux, Java, and JHipster.
Prerequisites
You can find the completed source code for this example on GitHub, in the oktadeveloper/java-microservices-examples repository.
xxxxxxxxxx
git clone https://github.com/oktadeveloper/java-microservices-examples.git
cd java-microservices-examples/reactive-jhipster
Build a Reactive Java Microservices Architecture
JHipster is an open-source project that started as an application generator, based on Yeoman. It’s also the most popular Yeoman generator. JHipster initially allowed you to generate AngularJS and Spring apps. In the last five years, it’s become a platform with extensibility, grown a thriving community, and has saved developers many hours of pain and frustration.
You see, JHipster integrates everything for you. Do you want to use Angular with Spring Boot? It’s got that. React? Yep. Microservices with Spring Cloud? Check!
JHipster 7 beta 1 was recently released, and it packs a punch! A couple of slick features that I like are Vue support and reactive microservices with Spring WebFlux. To be fair, WebFlux and Spring Cloud Gateway have been an option since JHipster 6.8.0 in March 2020, but now we have R2DBC support too!
In this tutorial, I’ll show you how to generate a microservice architecture that uses OAuth 2.0, an API gateway, and two microservices (a blog and a store). The gateway will use PostgreSQL with R2DBC, the blog will use Neo4j, and the store will use MongoDB. All persistence options are powered by Spring Data.
Start by installing JHipster using npm:
xxxxxxxxxx
npm i -g generator-jhipster@beta
After installing JHipster, you can run the following command to answer a whole slew of questions and create an app.
xxxxxxxxxx
jhipster
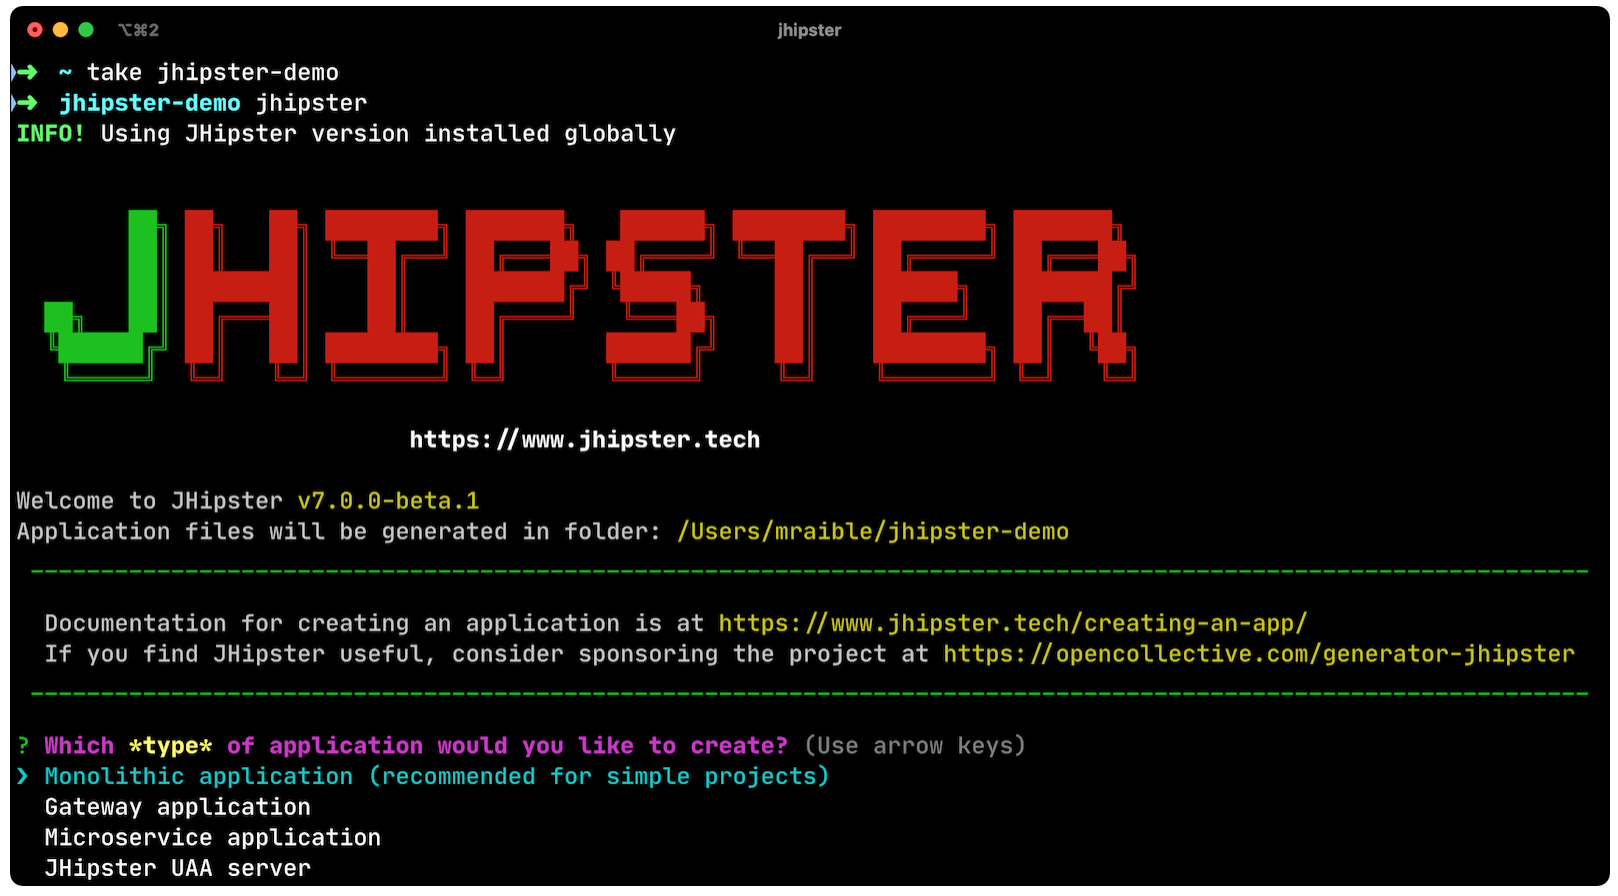
However, there’s an easier way. JHipster has its own domain language!
Define Your Reactive Java Architecture With JDL
JHipster Domain Language (JDL) offers a way to define apps, so you don’t have to worry about fat-fingering your answer to the jhipster command’s questions.
Create a new directory on your machine and navigate into it in your terminal.
xxxxxxxxxx
take reactive-stack # mkdir reactive-stack && cd reactive-stack
git init # initialize git, so apps aren't created with their own .git
Copy the JDL below and put it into a reactive-ms.jdl file.
xxxxxxxxxx
application {
config {
baseName gateway
reactive true
packageName com.okta.developer.gateway
applicationType gateway
authenticationType oauth2
buildTool gradle
clientFramework vue
prodDatabaseType postgresql
serviceDiscoveryType eureka
testFrameworks [protractor]
}
entities Blog, Post, Tag, Product
}
application {
config {
baseName blog
reactive true
packageName com.okta.developer.blog
applicationType microservice
authenticationType oauth2
buildTool gradle
databaseType neo4j
devDatabaseType neo4j
prodDatabaseType neo4j
enableHibernateCache false
serverPort 8081
serviceDiscoveryType eureka
}
entities Blog, Post, Tag
}
application {
config {
baseName store
reactive true
packageName com.okta.developer.store
applicationType microservice
authenticationType oauth2
buildTool gradle
databaseType mongodb
devDatabaseType mongodb
prodDatabaseType mongodb
enableHibernateCache false
serverPort 8082
serviceDiscoveryType eureka
}
entities Product
}
entity Blog {
name String required minlength(3)
handle String required minlength(2)
}
entity Post {
title String required
content TextBlob required
date Instant required
}
entity Tag {
name String required minlength(2)
}
entity Product {
title String required
price BigDecimal required min(0)
image ImageBlob
}
relationship ManyToOne {
Blog{user(login)} to User
Post{blog(name)} to Blog
}
relationship ManyToMany {
Post{tag(name)} to Tag{post}
}
paginate Post, Tag with infinite-scroll
paginate Product with pagination
microservice Product with store
microservice Blog, Post, Tag with blog
deployment {
deploymentType docker-compose
appsFolders [gateway, blog, store]
dockerRepositoryName "mraible"
}
- The first app is an API gateway.
- Because the gateway is reactive, it’ll use Spring Cloud Gateway.
- The gateway and microservice apps must use the same authentication type.
- Use Gradle, because a lot of y’all love it.
- Vue support is new in JHipster 7, let’s use it!
- Make sure and specify
microserviceas the application type for the blog and store apps. - JDL allows you to create Docker Compose and Kubernetes deployments too!
See application configuration options to see the possible values for the above configuration options.
Import this architecture definition and generate gateway, blog, and store apps.
xxxxxxxxxx
jhipster jdl reactive-ms.jdl
As part of this process, several Docker Compose files are generated for you. These allow you to run databases, the JHipster Registry (for service discovery), Keycloak (for identity), all with Docker.
Run Your Reactive Java Microservices
After JHipster finishes generating your apps, you can run them with Gradle. Assuming you’re in the same top-level directories you ran jhipster jdl from, you can run the following commands to start all the backend services for each microservice.
JHipster has a Oh My ZSH! plugin that I highly recommend. It provides aliases for starting Docker containers and is a real time-saver. I’ve included these commands as comments below.
xxxxxxxxxx
cd gateway
docker-compose -f src/main/docker/keycloak.yml up -d #jhkeycloakup
docker-compose -f src/main/docker/postgresql.yml up -d #jhpostgresqlup
docker-compose -f src/main/docker/jhipster-registry.yml up -d #jhregistryup
./gradlew

The JHipster Registry is a Netflix Eureka server that handles service discovery. When the gateway and microservices start up, they register with Eureka. This allows communication between services using logical names, rather than IP address or host names. JHipster Registry also contains a Spring Cloud Config server that can distribute configuration between apps. You can learn more about Spring Cloud Config in Spring Cloud Config for Shared Microservice Configuration.
Open a new terminal window, start the blog app’s Neo4j database, and then the app itself.
xxxxxxxxxx
cd ../blog
docker-compose -f src/main/docker/neo4j.yml up -d #jhneo4jup
./gradlew
Then, open another terminal window, start the store app’s MongoDB database, and the microservice.
xxxxxxxxxx
cd ../store
docker-compose -f src/main/docker/mongodb.yml up -d #jhmongoup
./gradlew
To make Keycloak work, you need to add the following line to your hosts file (/etc/hosts on Mac/Linux, c:\Windows\System32\Drivers\etc\hosts on Windows).
127.0.0.1 keycloak
This is because you will access your application with a browser on your machine (which is named localhost, or 127.0.0.1), but inside Docker, it will run in its own container, which is named keycloak.
Test Your Reactive Java Microservices
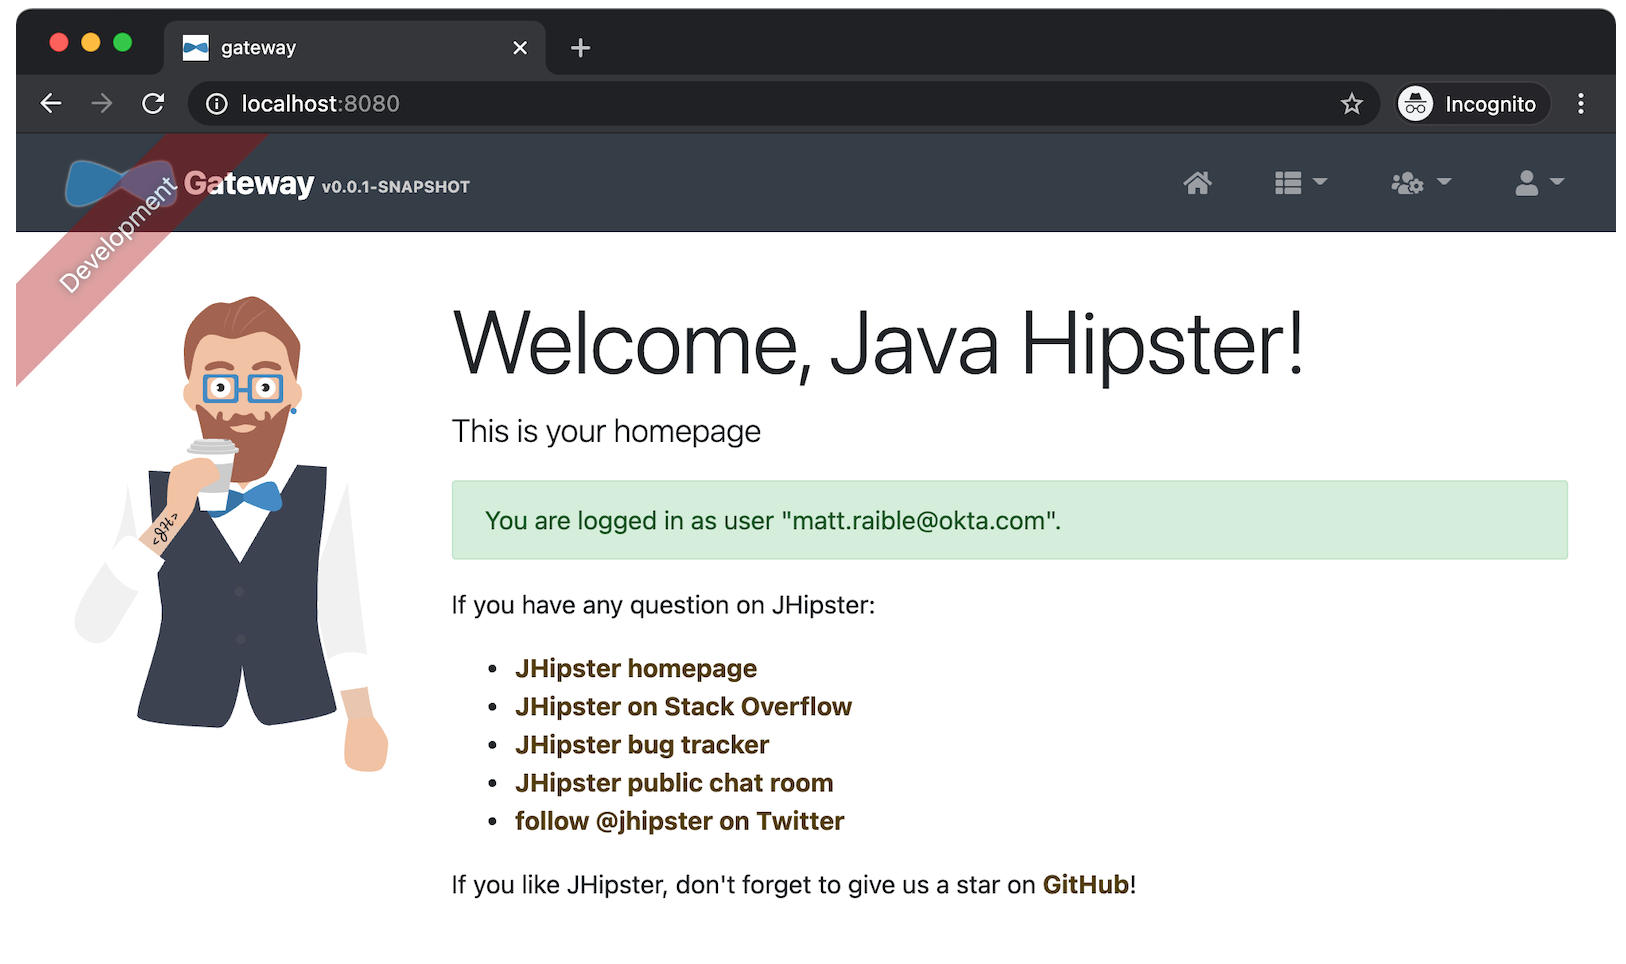
Open http://localhost:8080 in your favorite browser. You should be able to login with admin/admin as credentials.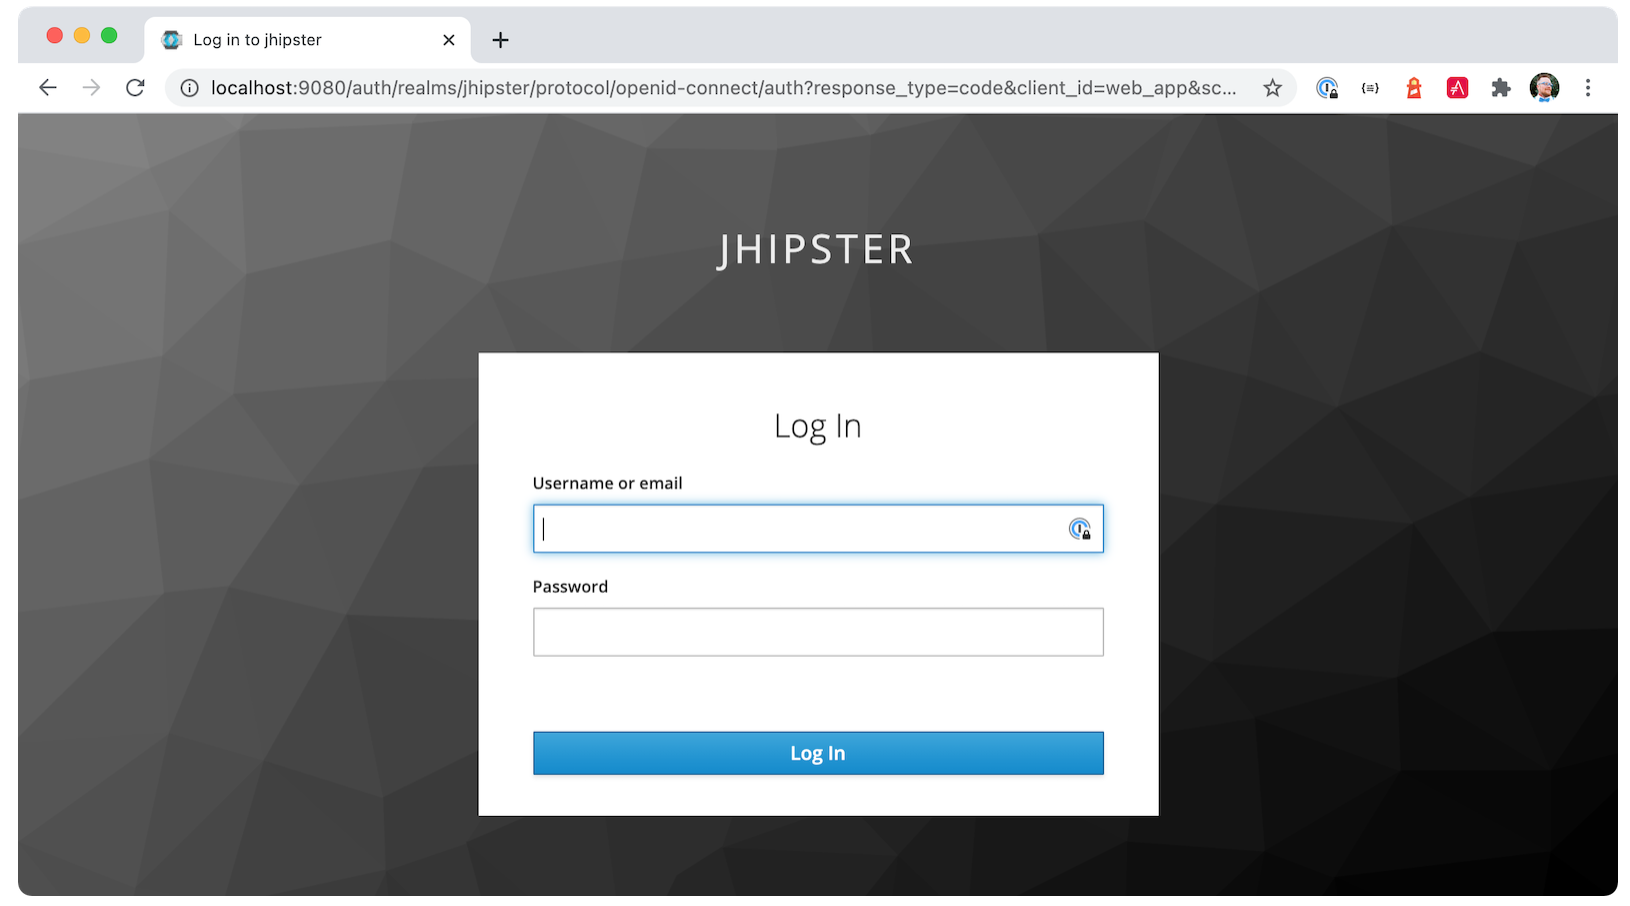
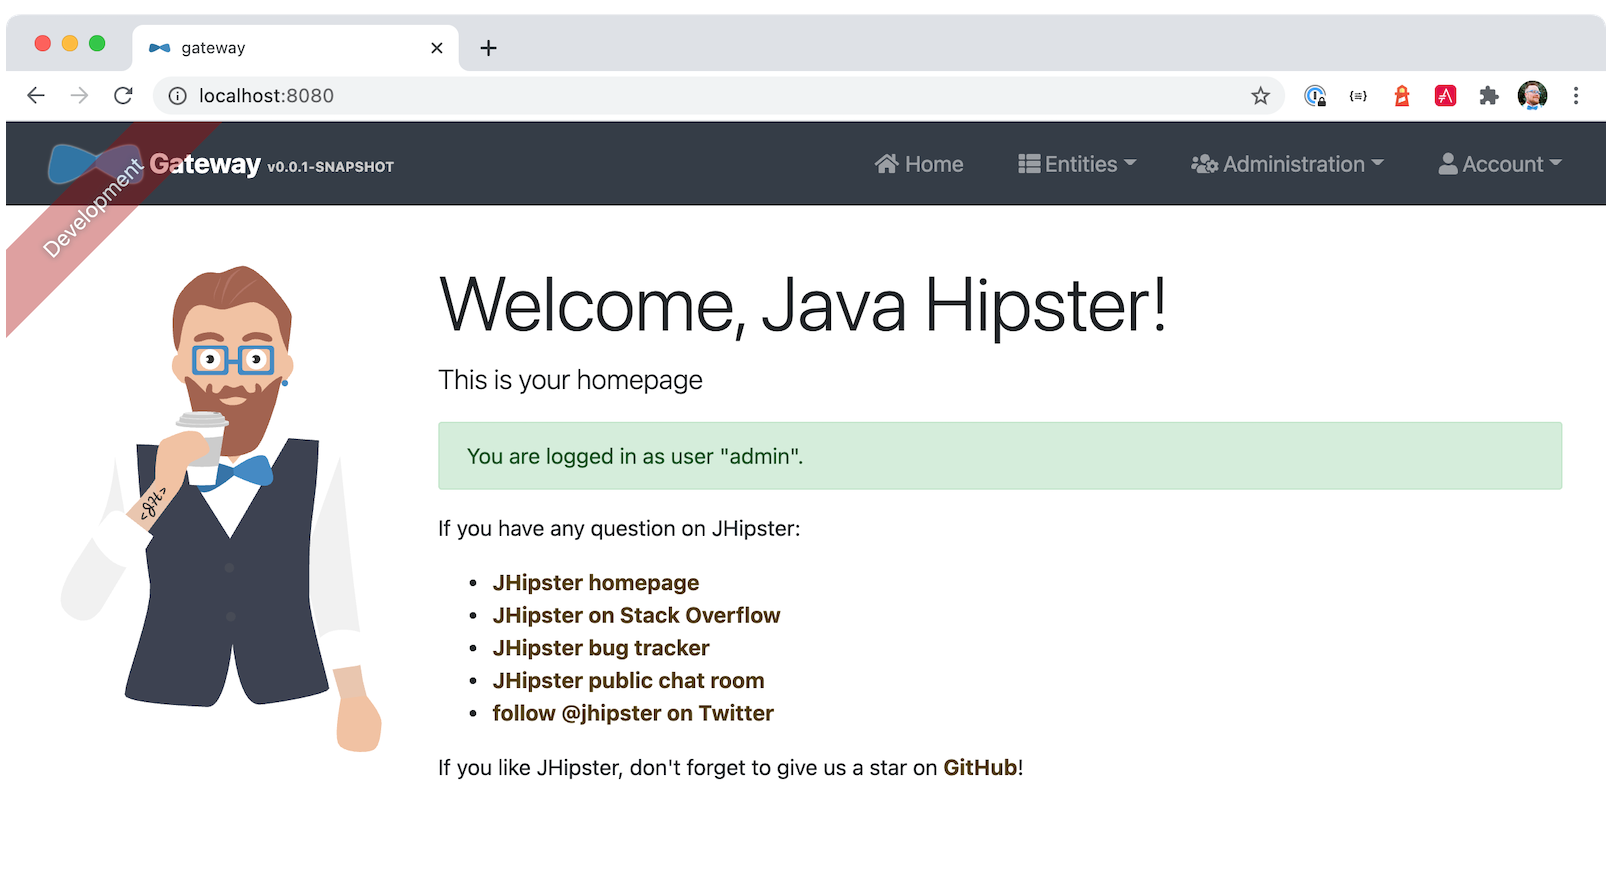
Make sure you can add a new blog, edit existing posts, and add new products.
To prove everything works in an automated fashion, you can run npm run e2e in the gateway project’s directory. This will run a number of end-to-end tests with Protractor.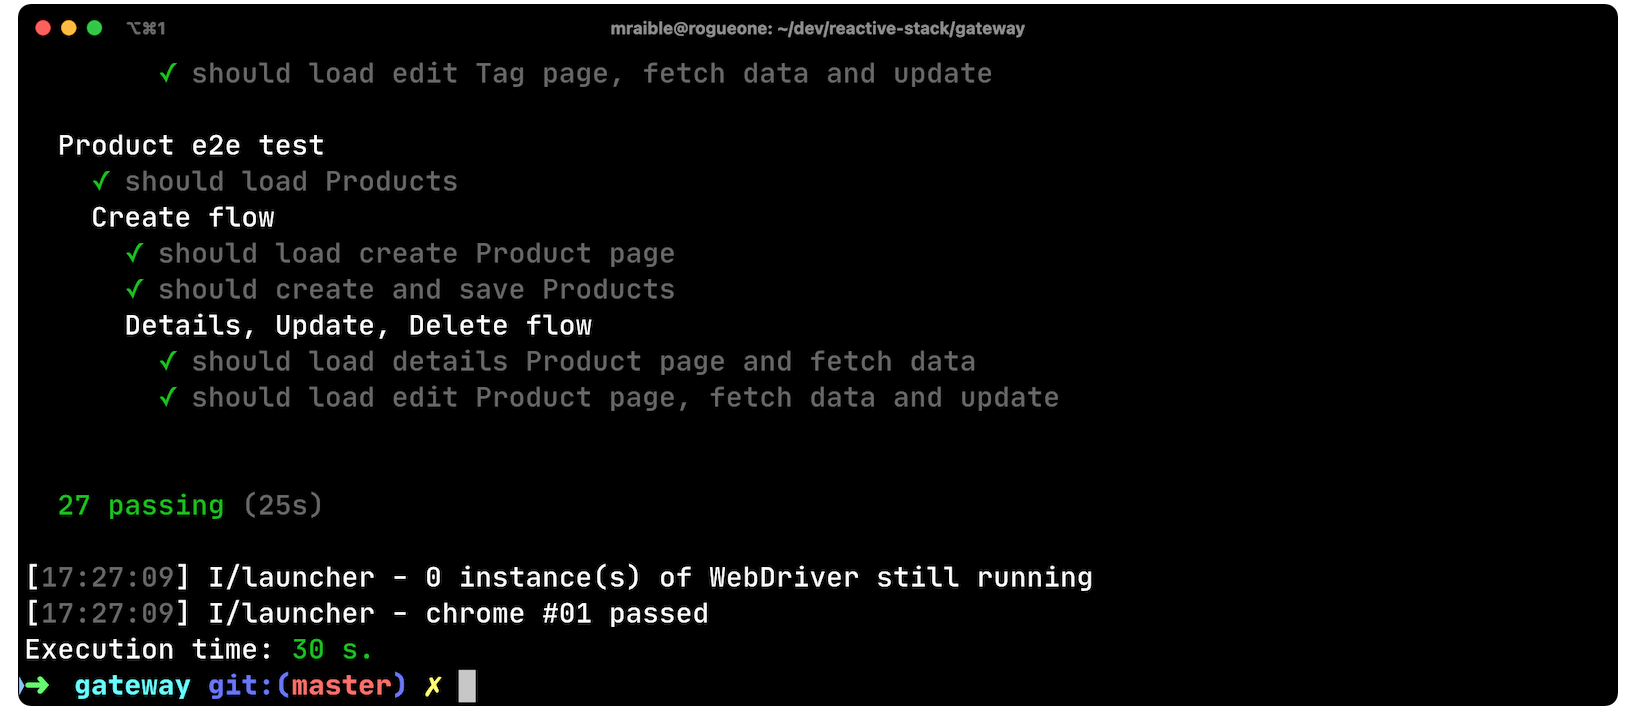 JHipster has support for Cypress, but it doesn’t work with Okta yet.
Prepare Your Reactive Java Stack for Production
Keycloak is a superb open source identity provider. It has excellent support for OAuth 2.0 and OpenID Connect (OIDC) and easily runs in a Docker container. I greatly appreciate Keycloak’s ease-of-use. I also appreciate Spring Security’s OAuth and OIDC support.
Spring Security makes it so you only need to override three properties to switch from Keycloak to Okta!
In production, you might not want to manage your own identity provider instance. That’s where Okta comes in. We’re a developer-friendly SaaS company that provides OAuth and OIDC support as a service. You can create a developer account and use it for free. Our Okta CLI makes it super easy.
Install the Okta CLI using the aforementioned website and come back here when you’re done. If you don’t have an Okta developer account, run okta register.
You can also use your browser and Okta’s developer console to register an app. See JHipster’s security documentation for those instructions.
Then, from the gateway project’s directory, run okta apps create jhipster. Accept the default redirect URIs.
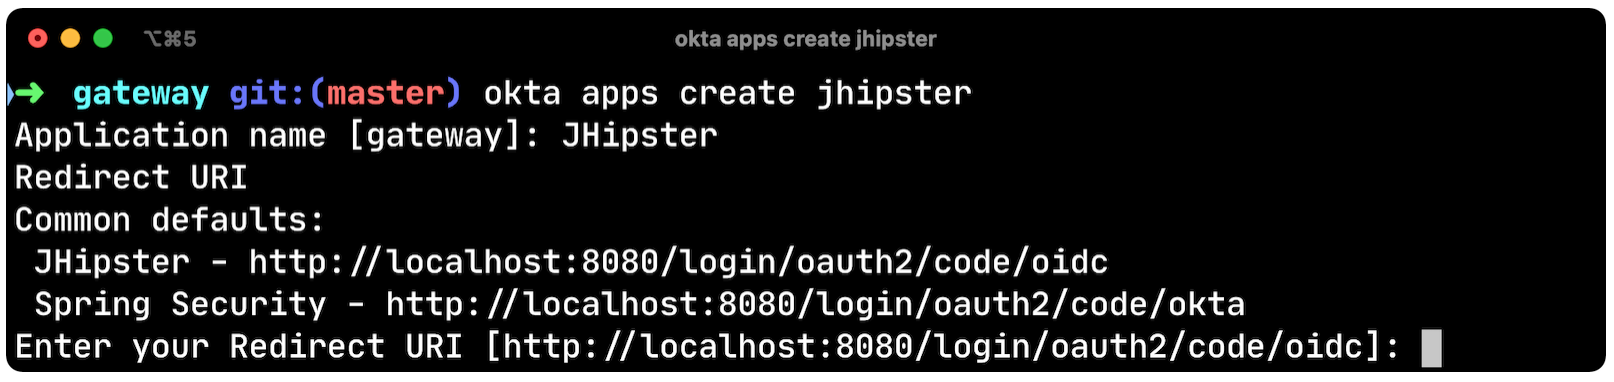
This process does several things:
- Registers an OIDC app in Okta with JHipster’s configured redirect URIs.
- Creates
ROLE_ADMINandROLE_USERgroups and adds your user to both. - Creates a
groupsclaim and adds it to ID tokens. - Creates a
.okta.envfile with the values you’ll need to talk to Okta.
Update the JHipster Registry to Distribute OIDC Configuration
I mentioned earlier that Spring Cloud Config allows you to distribute Spring’s configuration between apps. In this section, you’ll configure JHipster’s Spring Security settings to use Okta across all your services.
Add the following YAML to gateway/src/main/docker/central-server-config/localhost-config/application.yml. You can find the values for each property in the .okta.env file.
xxxxxxxxxx
spring
security
oauth2
client
provider
oidc
issuer-urihttps//<your-okta-domain>/oauth2/default
registration
oidc
client-id<client-id>
client-secret<client-secret>
Save your changes. These values will be distributed to the JHipster Registry, gateway, blog, and store apps. Restart the JHipster Registry by running the following commands:
xxxxxxxxxx
docker-compose -f src/main/docker/jhipster-registry.yml down #jhregistrydown
docker-compose -f src/main/docker/jhipster-registry.yml up -d #jhregistryup
Use Ctrl+C to kill all your ./gradlew processes and start them again.
Now, open a new incognito browser window, go to http://localhost:8080, and sign in. Rejoice that using Okta for authentication works!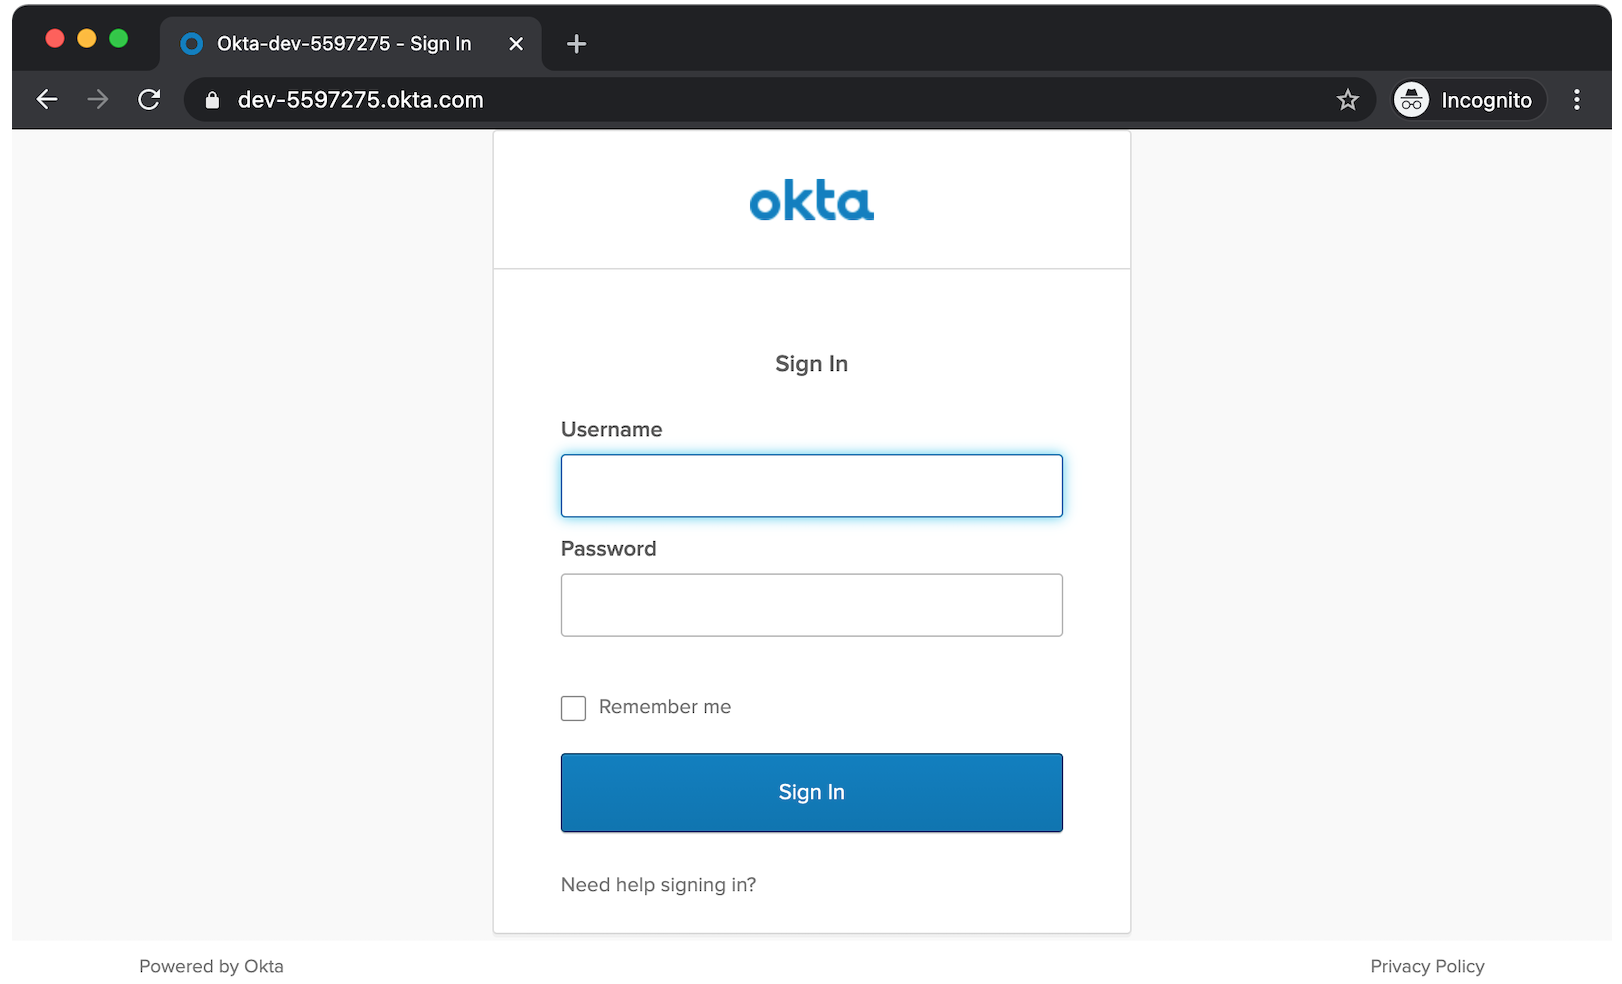
If you’re feeling lucky, you can set your Okta credentials as environment variables and run end-to-end tests (from the gateway directory).
xxxxxxxxxx
export E2E_USERNAME=<your-username>
export E2E_PASSWORD=<your-password>
npm run e2e
Your JHipster Registry is now configured to use Okta for authentication. You’ll need to add redirect URIs in your Okta app for http://localhost:8761. After making these changes, you should be able to sign in to it.
Create Docker Images for Your Microservice Apps
The JDL you used to create this reactive stack contains Docker configuration, so you can run everything with Docker Compose.
Stop all your apps with Ctrl+C. Stop all your Docker instances too.
xxxxxxxxxx
docker stop $(docker ps -a -q)

To run your reactive stack with Docker Compose, you need to create Docker images for each app. In your three different app directories, run the following Gradle command:
xxxxxxxxxx
./gradlew -Pprod bootJar jibDockerBuild
Run Your Microservices Stack with Docker Compose
Once your Docker containers are finished building, you’ll want to add your Okta settings to Spring Cloud Config in JHipster Registry.
Switch Identity Providers With Spring Cloud Config
Open docker-compose/docker-compose.yml in your favorite IDE (I like IntelliJ IDEA) and remove the Keycloak image at the bottom. You can leave it if you like, but it won’t be used in this example.
Update docker-compose/central-server-config/application.yml to contain your OIDC settings that you want to share with all your microservices.
xxxxxxxxxx
spring
security
oauth2
client
provider
oidc
issuer-urihttps//<your-okta-domain>/oauth2/default
registration
oidc
client-id<client-id>
client-secret<client-secret>
Prove Your Reactive Java Stack Works
In the docker-compose directory, run the following command to start all your containers.
xxxxxxxxxx
docker-compose up

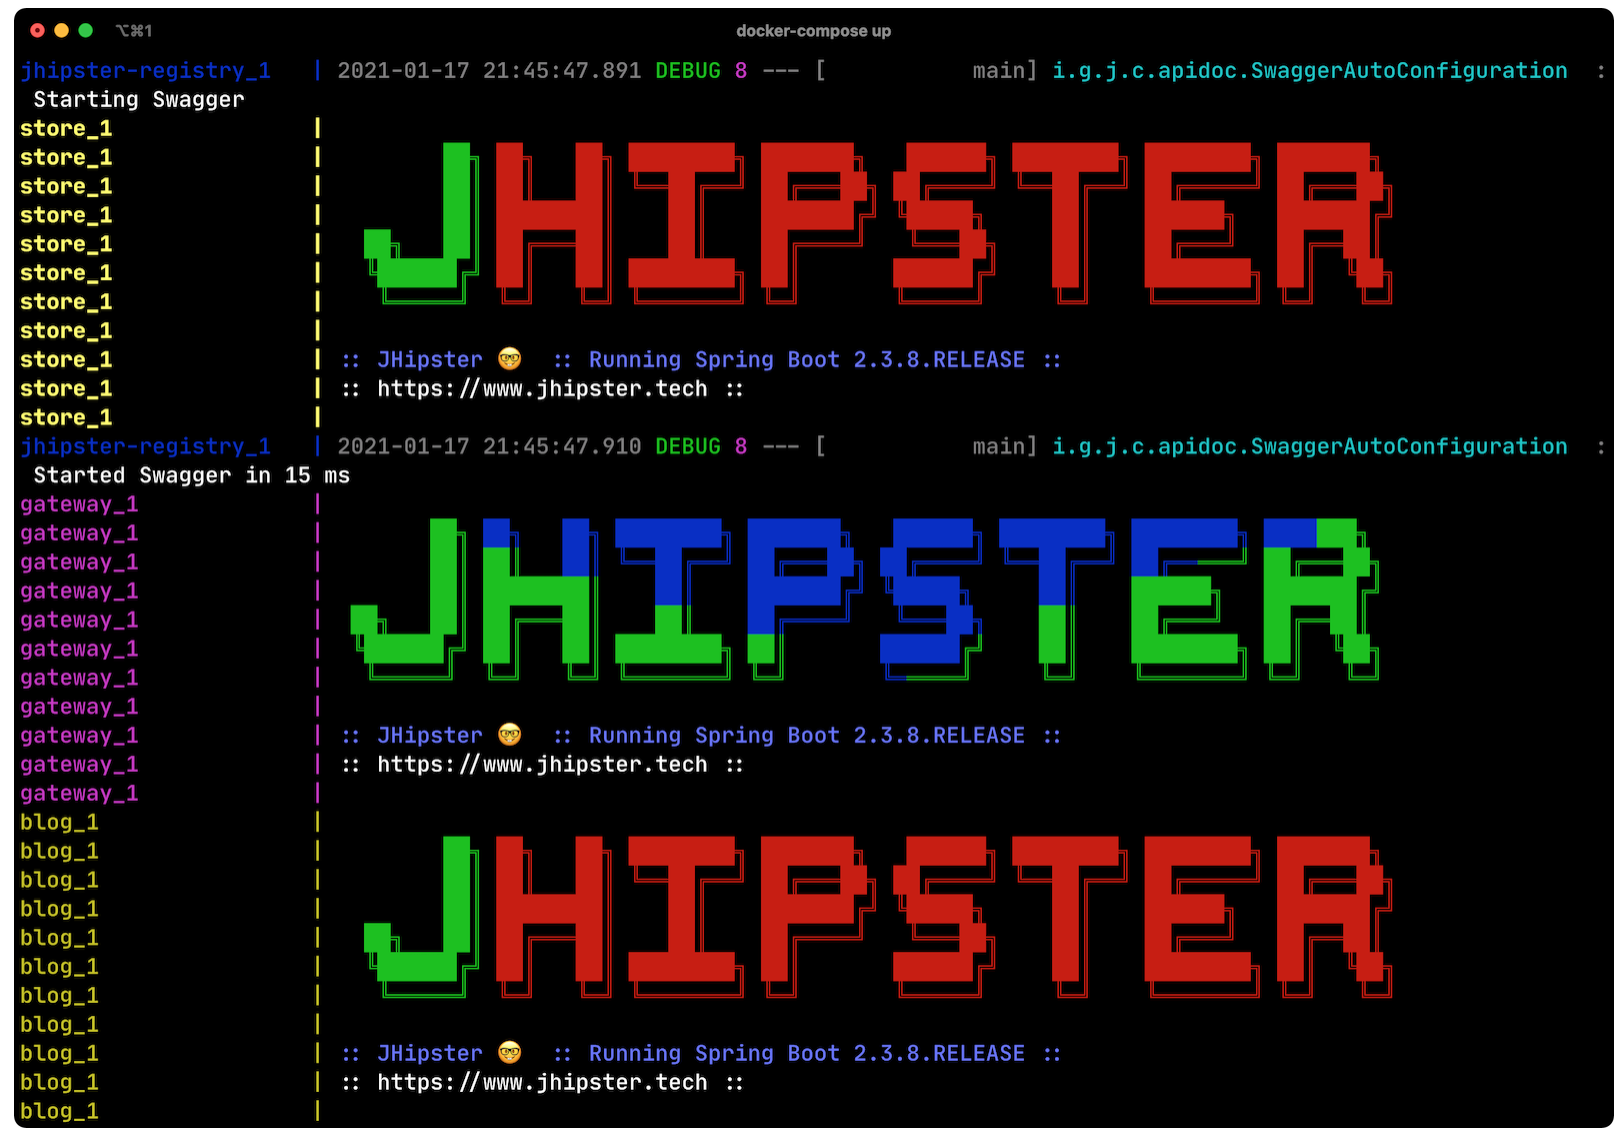
You should be able to open http://localhost:8080, sign in, and access all of your microservices. Pretty slick, eh?!
What About Kotlin Microservices?
JHipster supports Kotlin-based microservices thanks to its Kotlin blueprint, supported by Sendil Kumar N.
You can install it using npm:
xxxxxxxxxx
npm install -g generator-jhipster-kotlin
Then, use khipster jdl reactive-ms to create the same stack you did above with Kotlin.

How Do I Deploy to the Cloud?
JHipster creates a cloud-native microservices architecture that can be deployed to many cloud providers. There’s specific support for AWS, Microsoft Azure, Heroku, and Google Cloud Platform.
However, if you’re doing microservices, you’ll probably want to leverage Docker as you did in this tutorial. When your apps are containerized, they can be orchestrated with Kubernetes.
JHipster has a Kubernetes sub-generator that you can use to deploy it to the cloud. I’ll cover this in a future tutorial.
In the meantime, you can watch a presentation that Ray Tsang and I did recently that shows how to deploy JHipster microservices with Kubernetes. If you start watching from 46:18, you’ll see Ray show how to deploy to Google Cloud using Kubernetes.
Should You Go Reactive?
As with most software architecture decisions, it depends. Are you building CRUD apps? Then no, Spring MVC is good enough.
Are you dealing with massive amounts of steaming data and millions of customers? Then yes, reactive frameworks like Spring WebFlux might just save you $$$ on your monthly cloud bill.
What about Project Loom? Will it allow you to write regular non-reactive code that performs as good as reactive frameworks? I’m not sure. I’m betting on reactive for now. I think it’s a good skill to have for Java developers.
If you want to learn more about Project Loom, I recommend listening to Episode 8 "Project Loom" with Ron Pressler from the Inside Java Podcast.
Learn More About Reactive Java and Microservices
This tutorial isn’t an in-depth guide to programming reactive Java microservices. That’s because it doesn’t have to be! With JHipster, you can generate high-quality reactive Java code (~70% test coverage) that’s based on fantastic frameworks like Spring Boot, Spring Cloud, Spring WebFlux, and Spring Security.
JHipster also implements most of the patterns in my Security Patterns for Microservice Architectures. You can add dependency scanning with Snyk (based on Brian Vermeer’s blog post), use HTTPS locally, adopt OAuth, add CI/CD, and generate secure Docker containers, just to name a few.
The Spring Cloud Gateway implementation in JHipster is largely based on what I learned when researching and writing Secure Reactive Microservices with Spring Cloud Gateway. Spring Cloud Gateway makes it trivial to relay an access token between a gateway and microservices. It’s just five lines of YAML:
xxxxxxxxxx
spring
cloud
gateway
default-filters
TokenRelay
You can find the completed source code for this example on GitHub, in the oktadeveloper/java-microservices-examples repository.
xxxxxxxxxx
git clone https://github.com/oktadeveloper/java-microservices-examples.git
cd java-microservices-examples/reactive-jhipster
If you want to learn more about reactive programming’s nitty-gritty details, we have a few posts on this blog.
- Get Started with Reactive Programming in Spring
- Build Reactive APIs with Spring WebFlux
- Full Stack Reactive with Spring WebFlux, WebSockets, and React
I’m proud to say that parts of this series were Josh Long’s initial drafts for his Reactive Spring book.
Keep in touch! If you have questions about this post, please ask them in the comments below. Follow @oktadev on Twitter, subscribe to our YouTube channel, and follow us on LinkedIn
Published at DZone with permission of Matt Raible. See the original article here.
Opinions expressed by DZone contributors are their own.
Comments