

Importing a Maven Project in Eclipse
 CORE
·
CORE
·
Join the DZone community and get the full member experience.
Join For Free This tutorial explains how to import an existing Maven project into Eclipse and how to create a run configuration for a Maven goal. This is useful, for example, when using the Jetty Maven plugin that allows you to quickly deploy and run a Java web application using this popular server.
Maven is a project management tool that goes beyond dependency management. See Learning Maven Concepts for more.
Download an Existing Maven Project
This tutorial uses a Maven archetype that generates a Java web application with a preconfigured Jetty Maven Plugin in it:
mvn -B archetype:generate -DarchetypeGroupId=com.vaadin -DarchetypeArtifactId=vaadin-archetype-application -DarchetypeVersion=LATEST -DgroupId=org.test -DartifactId=webapp -Dversion=1.0-SNAPSHOT
If you prefer, you can generate a ZIP file with the project at https://vaadin.com/start/latest or https://start.vaadin.com. Make sure you select the Plain Java Servlet option before downloading the project.
You may also like: Building Java Applications With Maven.
The project should include a directory with a Maven project in it:
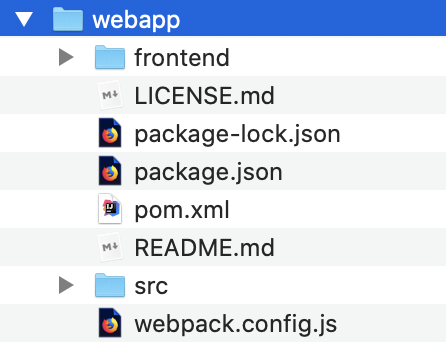
You need Node.js installed on your computer to compile the example application.
Import the Project
- In Eclipse, select File > Import…
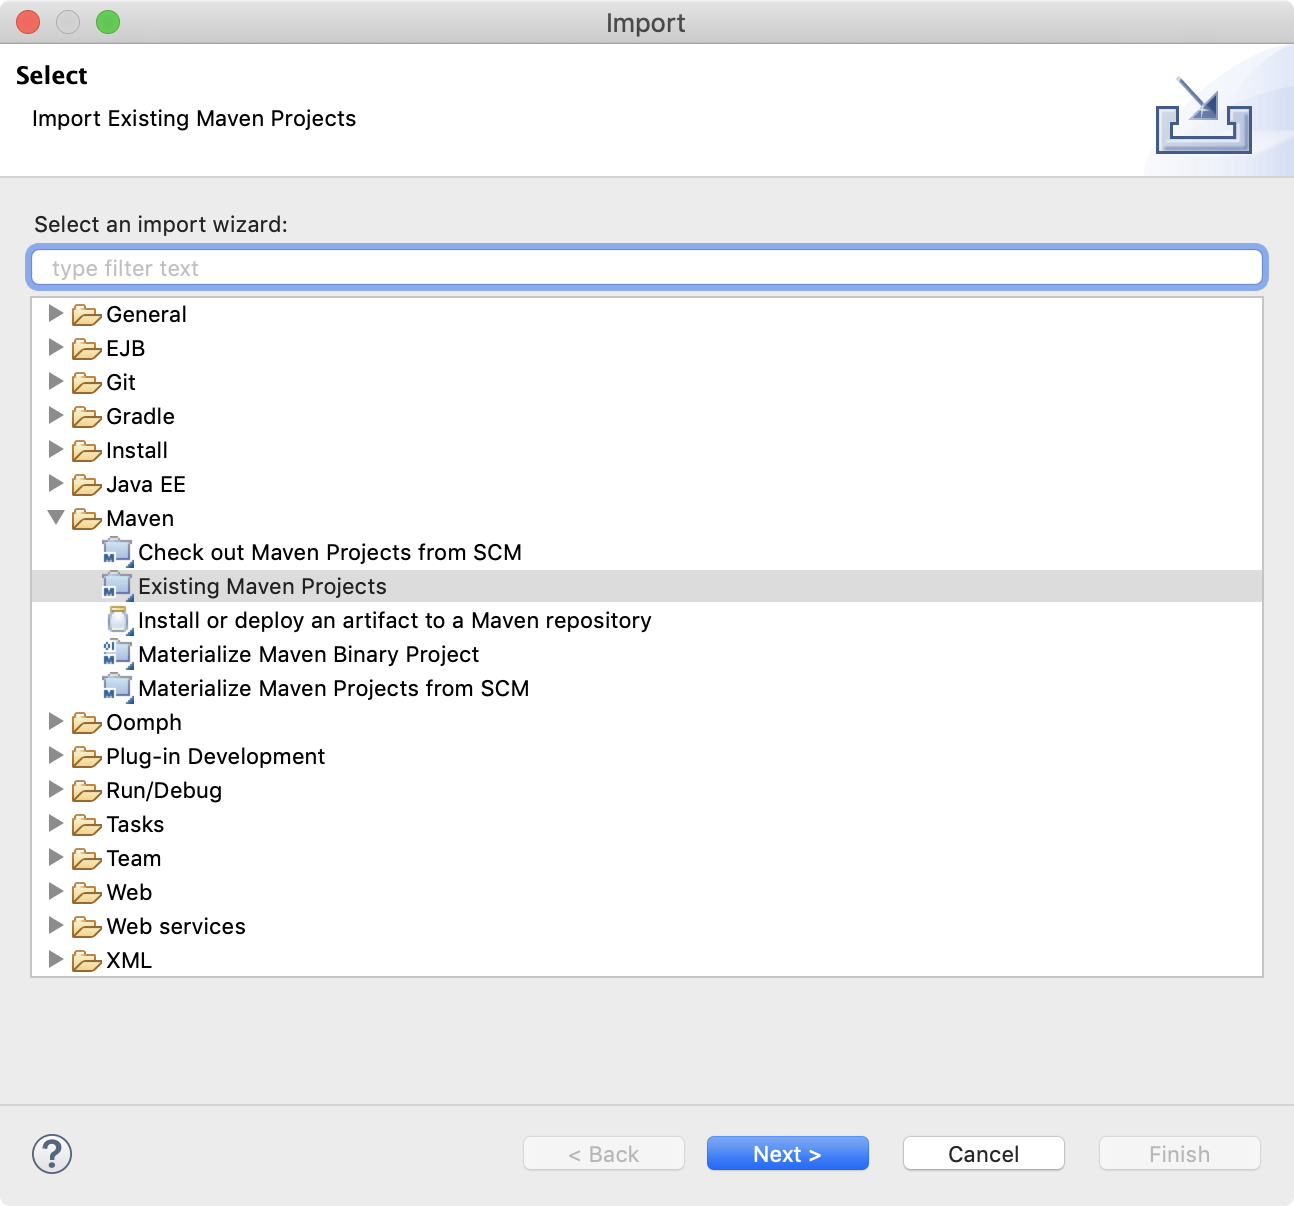
- In the import window, expand Maven, select Existing Maven Projects, and click Next:
- Click Browse, and select the directory that contains the pom.xml file of the project you want to import:
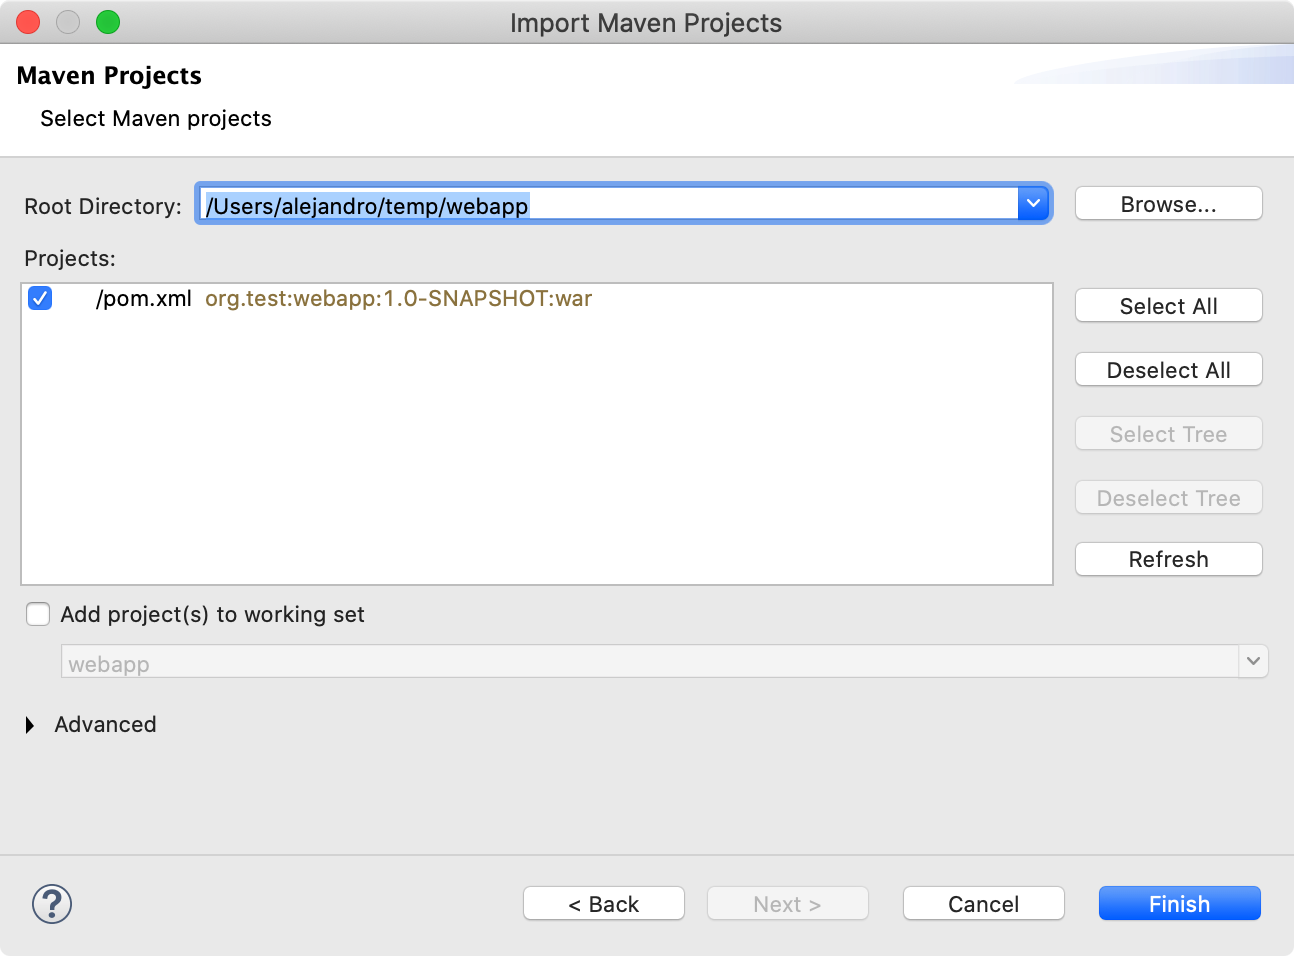
If you are importing a multi-module Maven project, make sure you select the correct project to import. You will typically want to select all the projects. - Click Finish. Eclipse will import the project and start downloading the required resources.
Running Maven goals
Eclipse has built-in integration with Maven. You can run common commands, such as mvn install or mvn jetty:run without having to leave the IDE.
The most common commands are available in the Run As and Debug As folders when you right-click the project in Project Explorer view. For example, to run mvn install, right-click the project and select Run As > Maven install:
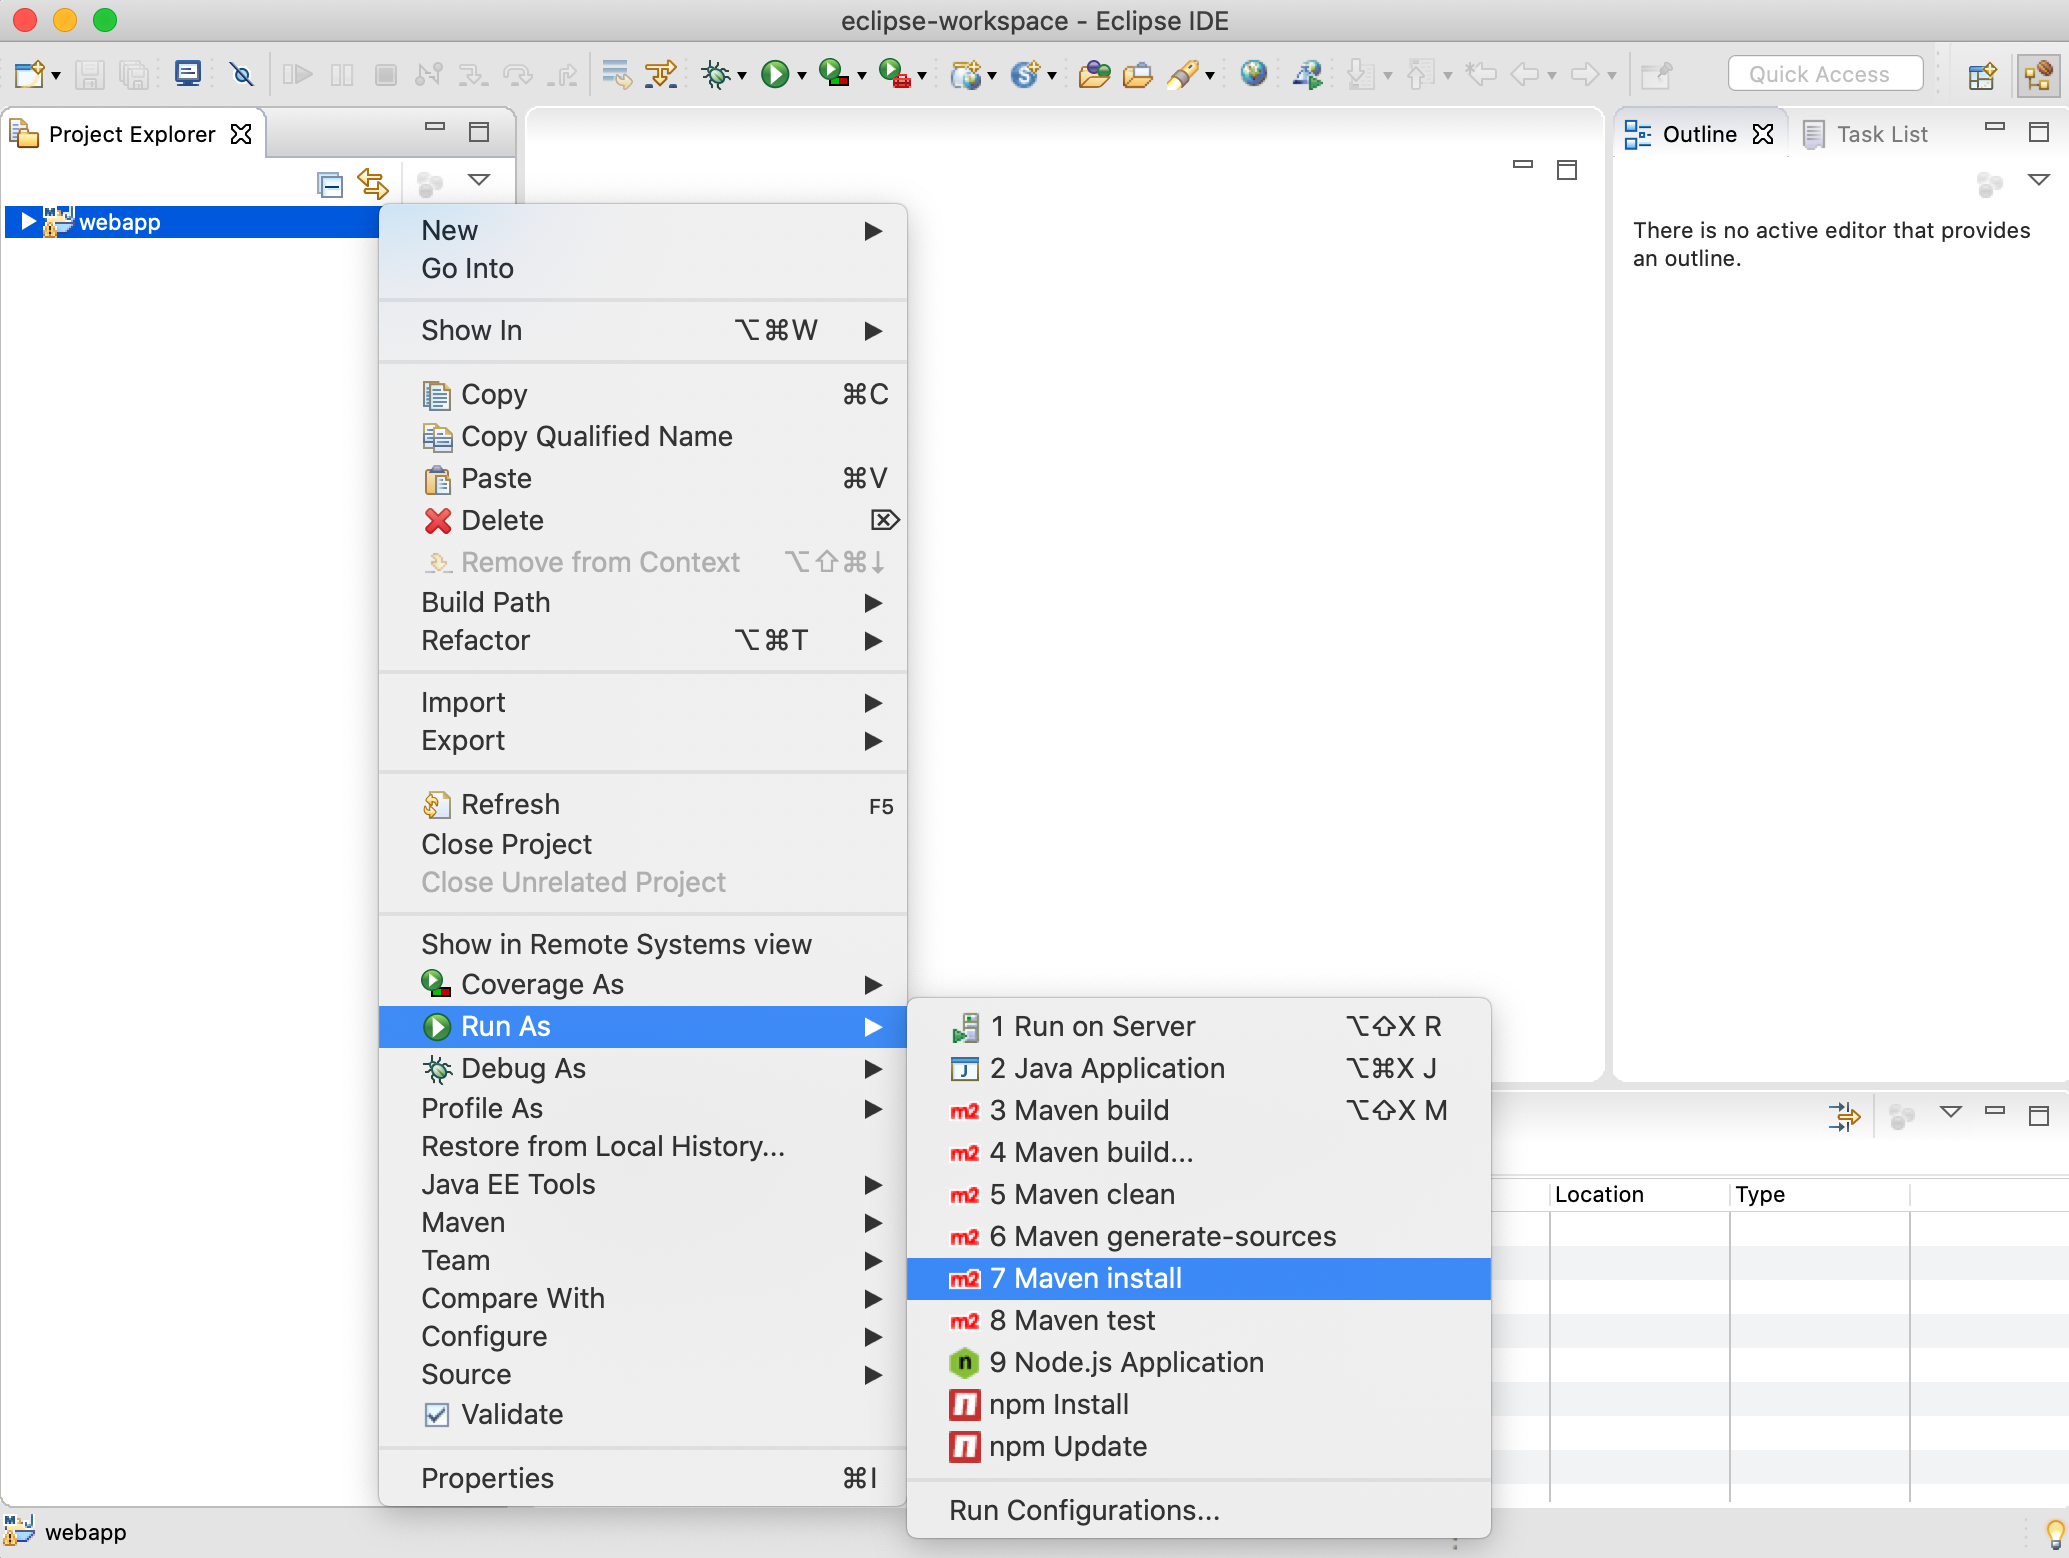
You can find additional useful options in the Maven submenu.
You’ll see how Eclipse executes the install build phase (and all the previous phases in the Maven’s default lifecycle) that download dependencies from the repositories and copies the generated artifacts into your local Maven repository among other things.
Creating a Run Configuration
A run configuration is a shortcut to run a specific task from within the IDE. Let’s create a run configuration for the jetty:run Maven goal to make it simpler to run the web application from the IDE.
If you are using Spring Boot, use the spring-boot:run goal.
- Right-click the project in the Project Explorer view and select Run As > Maven build.
- In the Edit Configuration window, for Goals type
jetty:runand optionally give the run configuration a new name: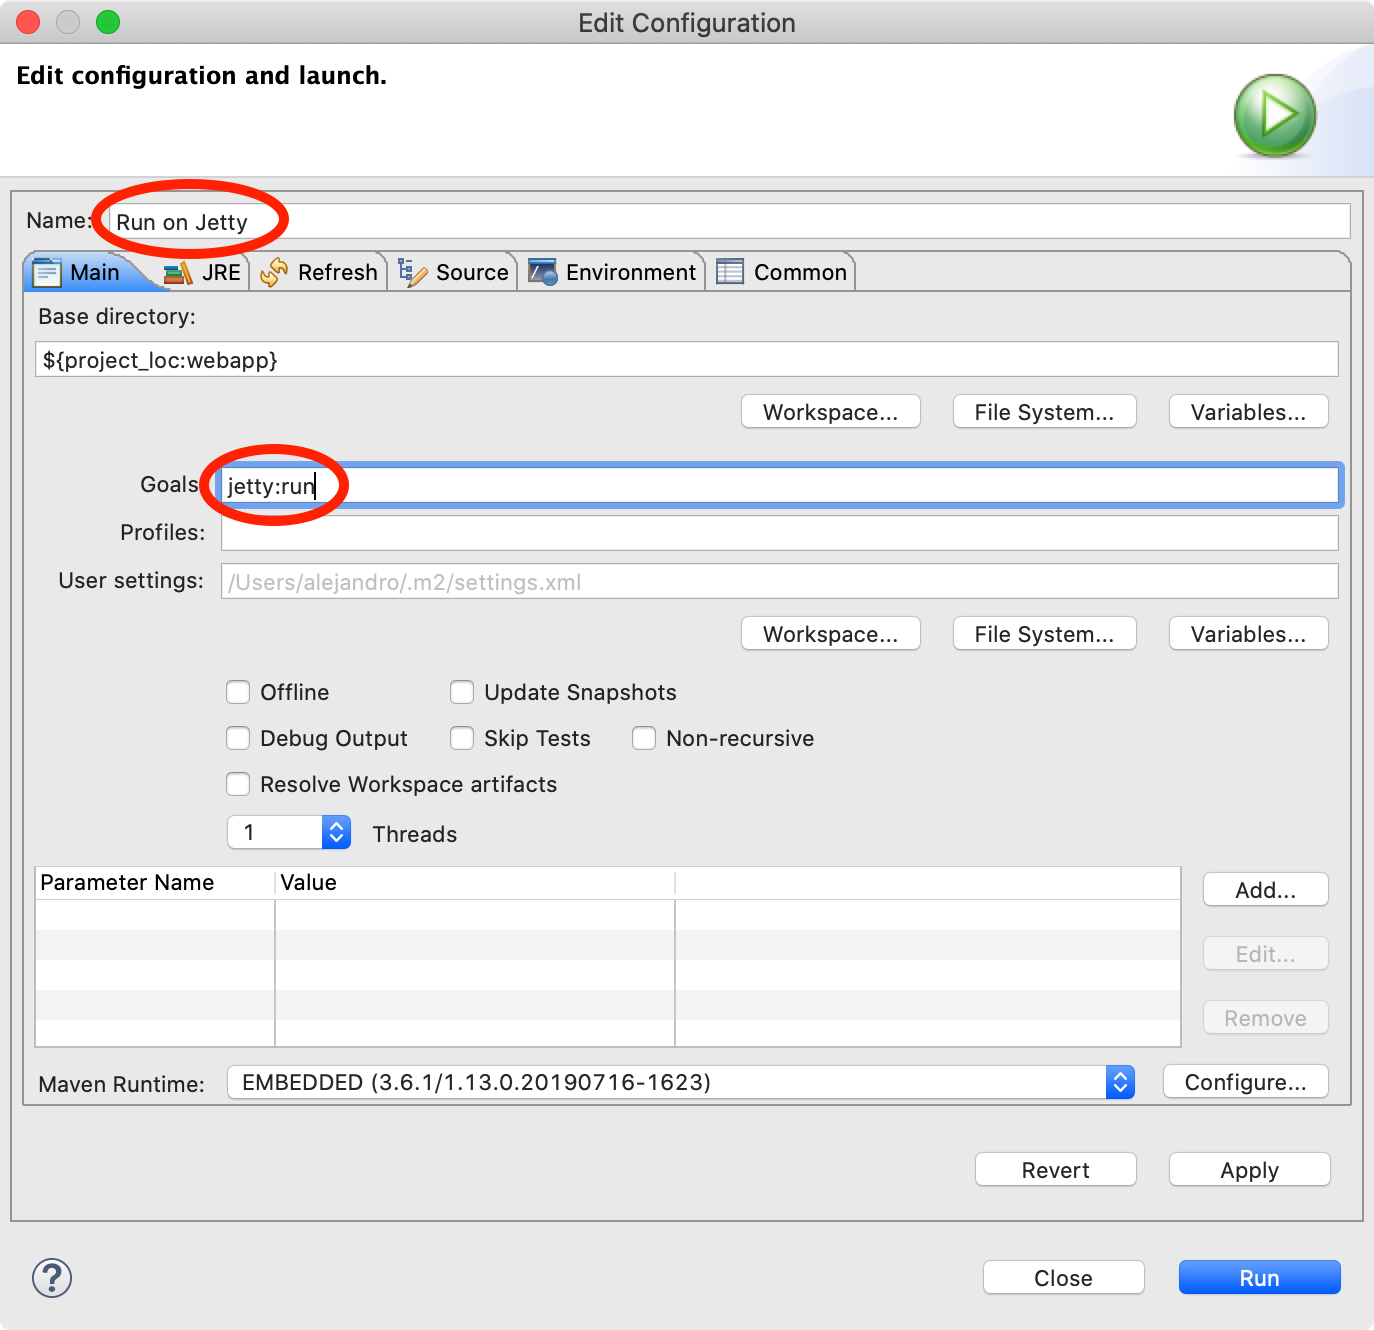
- Click Run to save the new configuration and execute it. You should see the Console view with the log generated by the application and the Jetty server.
- To stop the server, click the Terminate icon in the Console view:
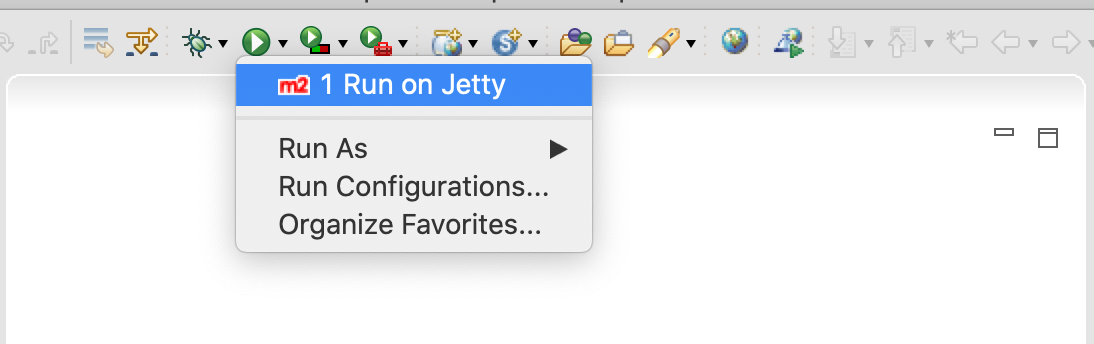
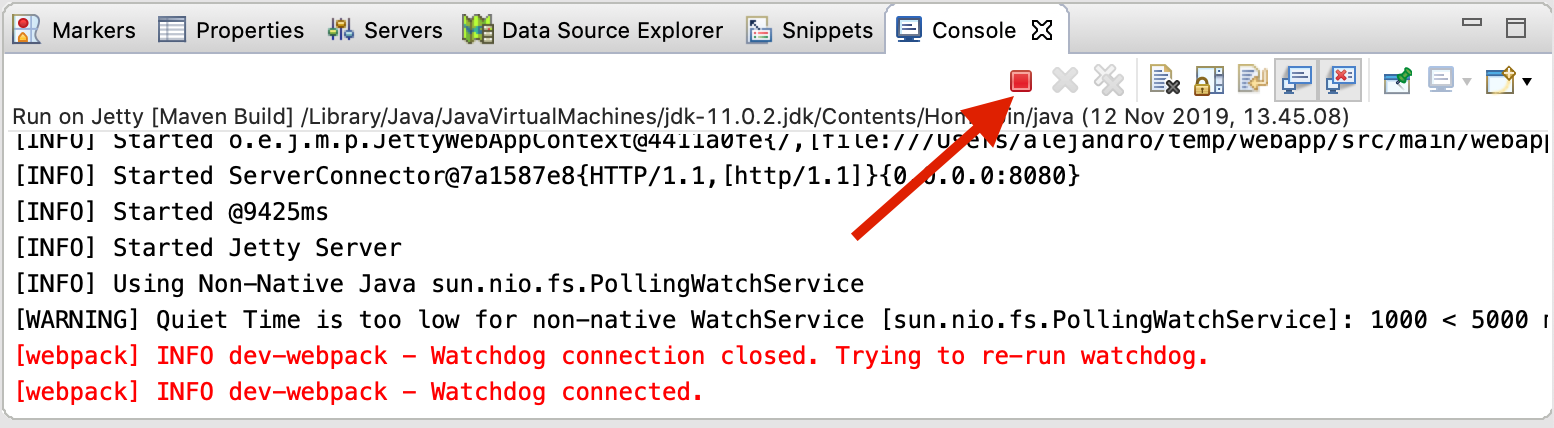 You can deploy and run the web application by clicking the run (or the debug) icon in the toolbar and selecting the corresponding run or debug configuration:
If you use the Vaadin project used in the tutorial, you can invoke the web application at http://localhost:8080.
That’s it. Now you can use Eclipse to develop your Maven application. To learn more about:
- How to develop a Java web application without coding JavaScript or HTML, see Vaadin quick start tutorial.
Further Reading
Published at DZone with permission of Alejandro Duarte. See the original article here.
Opinions expressed by DZone contributors are their own.
Comments