Install Docker, Kubernetes and Minikube on Linux Mint
Docker container packages up the code of an application and all its dependencies so that the application can run unchanged in any environment.
Join the DZone community and get the full member experience.
Join For Free1. Install Docker
Docker container packages up the code of an application and all its dependencies so that the application can run unchanged in any environment. A Docker container includes everything needed to run an application: code, runtime, system tools, system libraries, and settings. More about Docker here and here.
In Linux Mint, open a terminal and type:
sudo apt update
sudo apt install docker*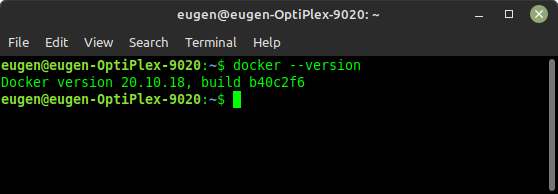
If you want to execute the docker commands with the non-root user, you must add the user to the docker group by issuing the below-mentioned command:
sudo usermod -aG docker $USER
2. Install Kubernetes
Containers vs. virtual machines vs. traditional infrastructure
Kubernetes, also known as “k8s” or “Kube,” is an open-source container orchestration platform that automates the deployment, management, and scaling of containerized applications.
Containers, like Docker, are lightweight, executable application components that combine application source code with all the operating system (OS) libraries and dependencies required to run the code in any environment and allow multiple applications to share a single instance of an OS by isolating processes and controlling the amount of CPU, memory, and disk those processes can access.
To install Kubernetes in Linux Mint, run the following commands in a terminal:
sudo apt-get update
sudo apt-get install -y ca-certificates curl
Download the Google Cloud public signing key:
sudo curl -fsSLo /usr/share/keyrings/kubernetes-archive-keyring.gpg https://packages.cloud.google.com/apt/doc/apt-key.gpgAdd the Kubernetes apt repository:
echo "deb [signed-by=/usr/share/keyrings/kubernetes-archive-keyring.gpg] https://apt.kubernetes.io/ kubernetes-xenial main" | sudo tee /etc/apt/sources.list.d/kubernetes.listUpdate apt package index with the new repository and install kubectl:
sudo apt-get update
sudo apt-get install -y kubectl
3. Install Minikube
To manage a local development Kubernetes cluster, Minikube can be used.
To install the latest minikube stable release on x86-64 Linux using binary download: To install the latest minikube stable release on x86-64 Linux using binary download:
curl -LO https://storage.googleapis.com/minikube/releases/latest/minikube-linux-amd64
sudo install minikube-linux-amd64 /usr/local/bin/minikube
From a terminal, run:
minikube start --driver=dockerTo make docker the default driver:
minikube config set driver docker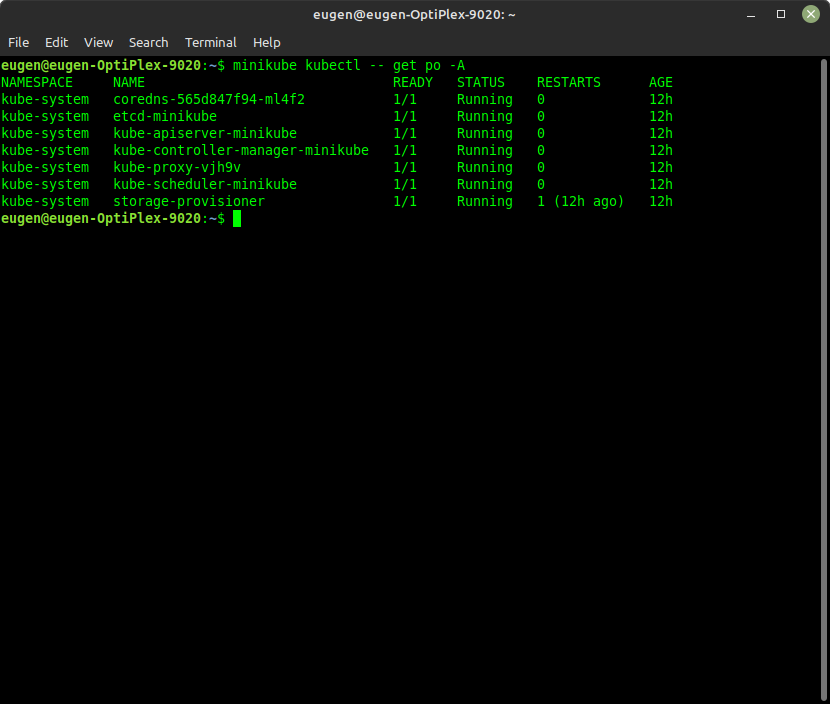
4. Minikube Profiles
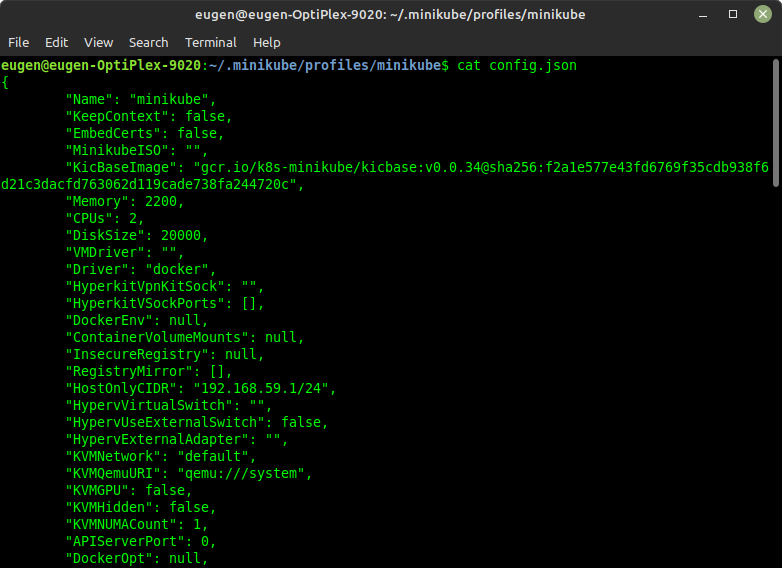
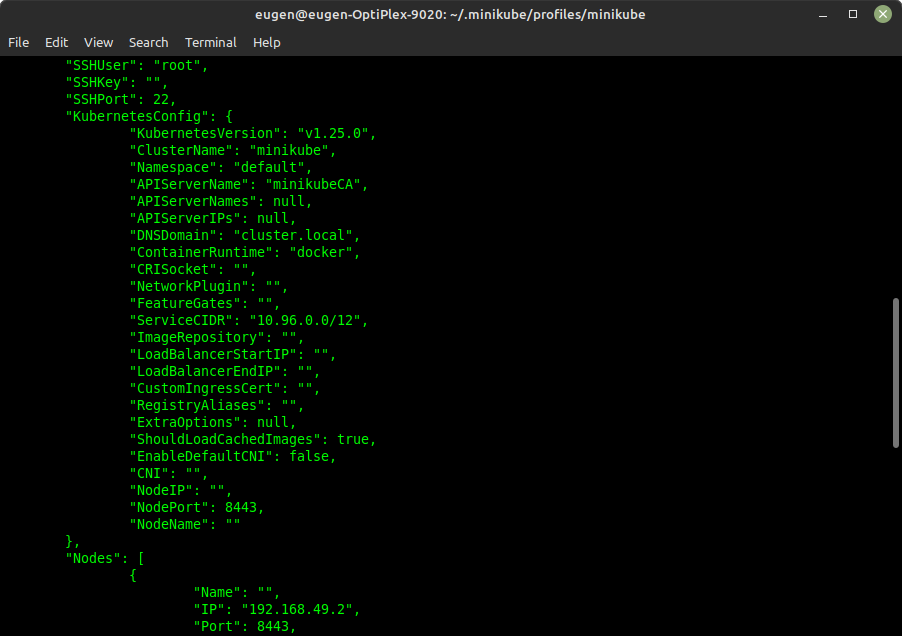
All the profiles configuration can be found in the ~/.minikube/profiles folder.
When we start a new Minikube instance without providing a profile name, a default profile named minikube will be created. Each profile is used for the configuration of a new Kubernetes cluster.
Suppose we cat the config.json file in that subfolder. In that case, we will see a MachineConfig block with information about the VM instance and a KubernetesConfig block providing information on the associated Kubernetes cluster.
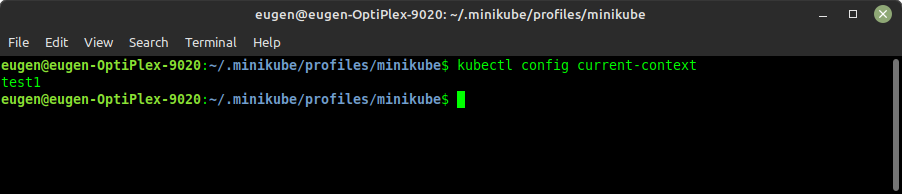
Once the start command is completed, kubectl automatically targets the new cluster. A new k8s context with the same name as the profile is also added to the~/.kube/config file.
Let’s spin up another Minikube instance with 2 CPUs and 2048 MB of memory.
minikube start --driver=docker -p test1 --cpus=2 --memory=2048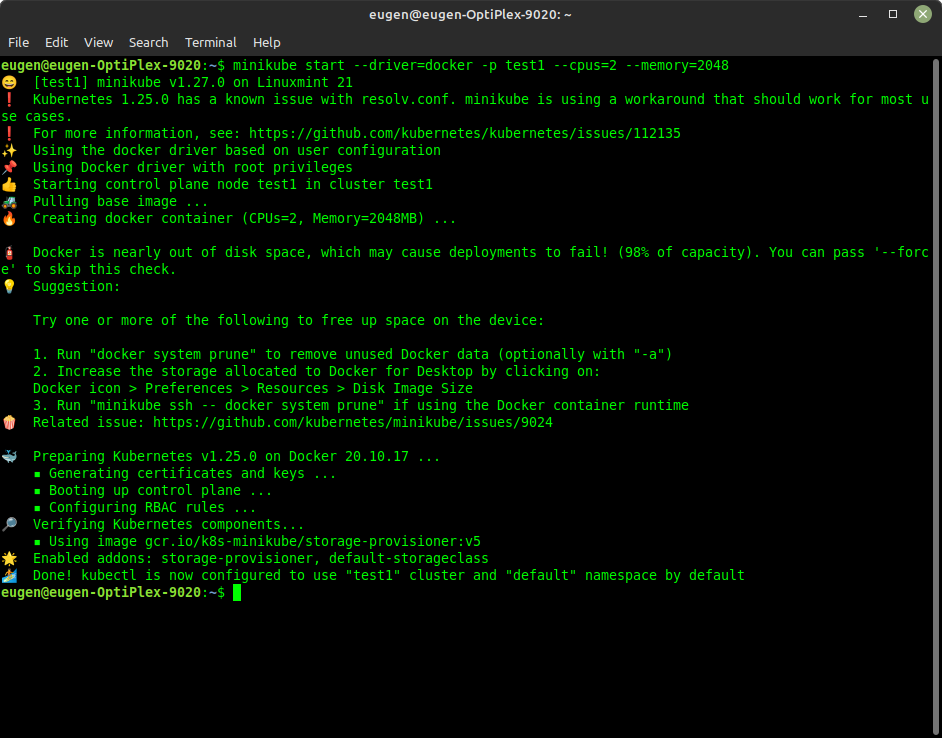
A new subfolder named test1 now appears under the ~/.minikube/profiles folder. The config.json in the subfolder contains information about the new VM and Kubernetes cluster.
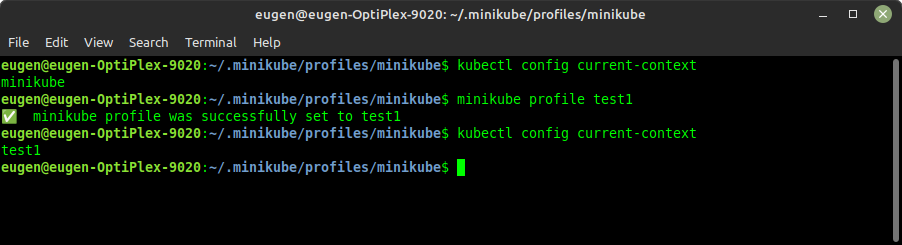
5. Switching Minikube Profiles
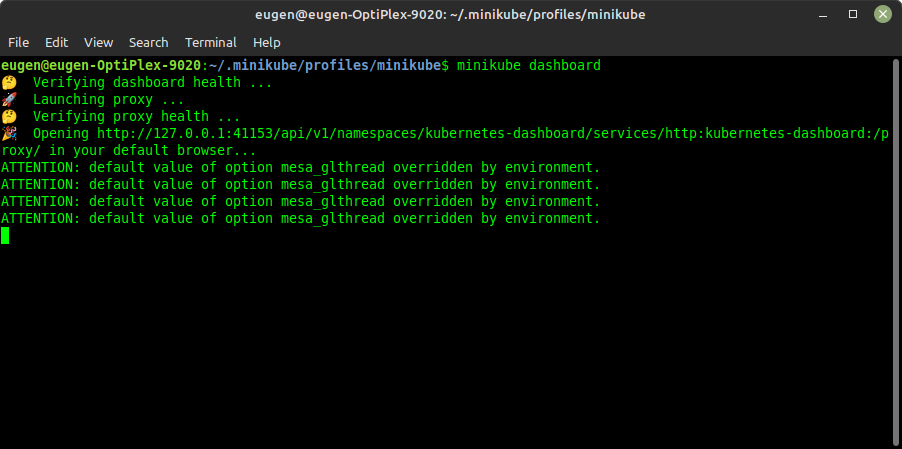
6. Minikube Dashboard
Before deploying any application.

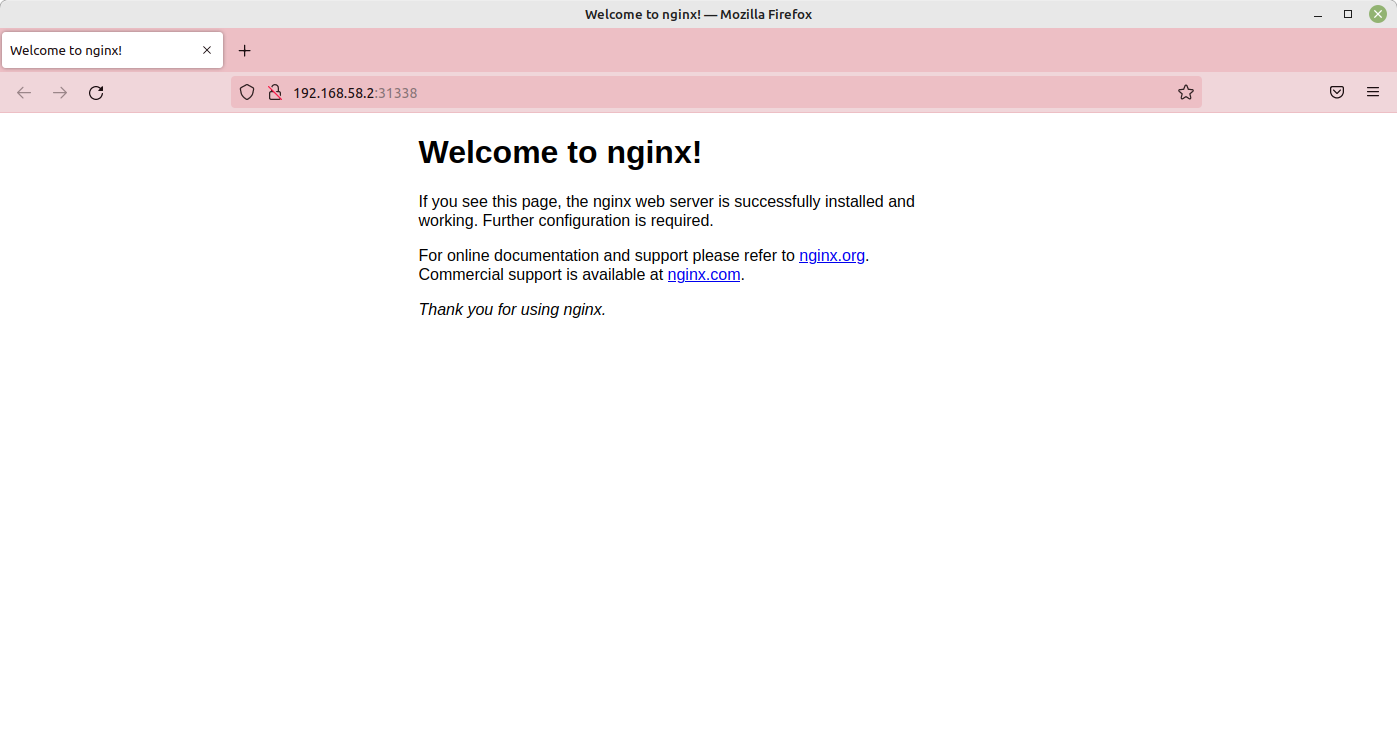
After deploying ngix inside a docker container.
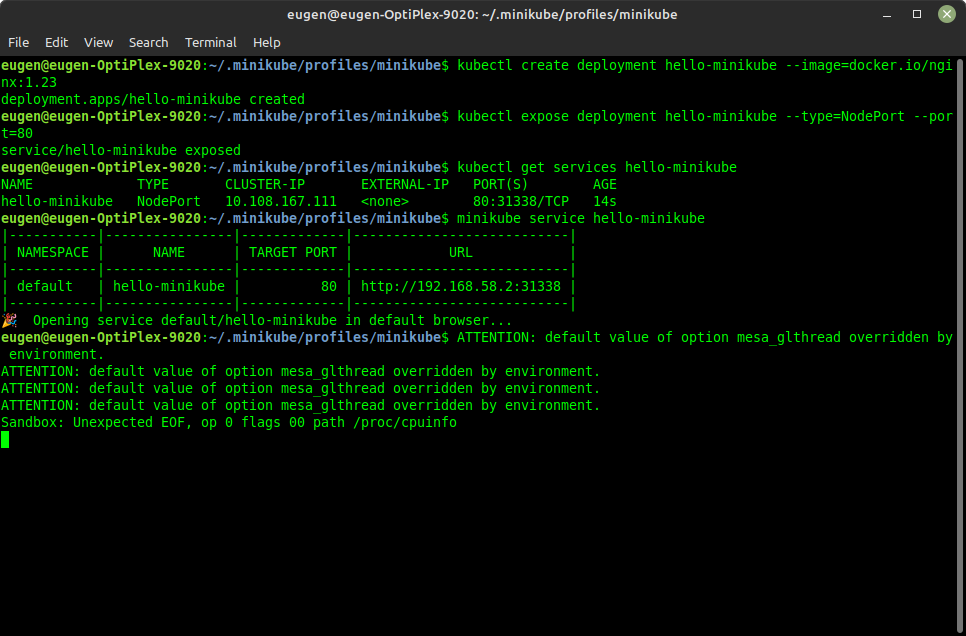
If we want to forward the port, use:
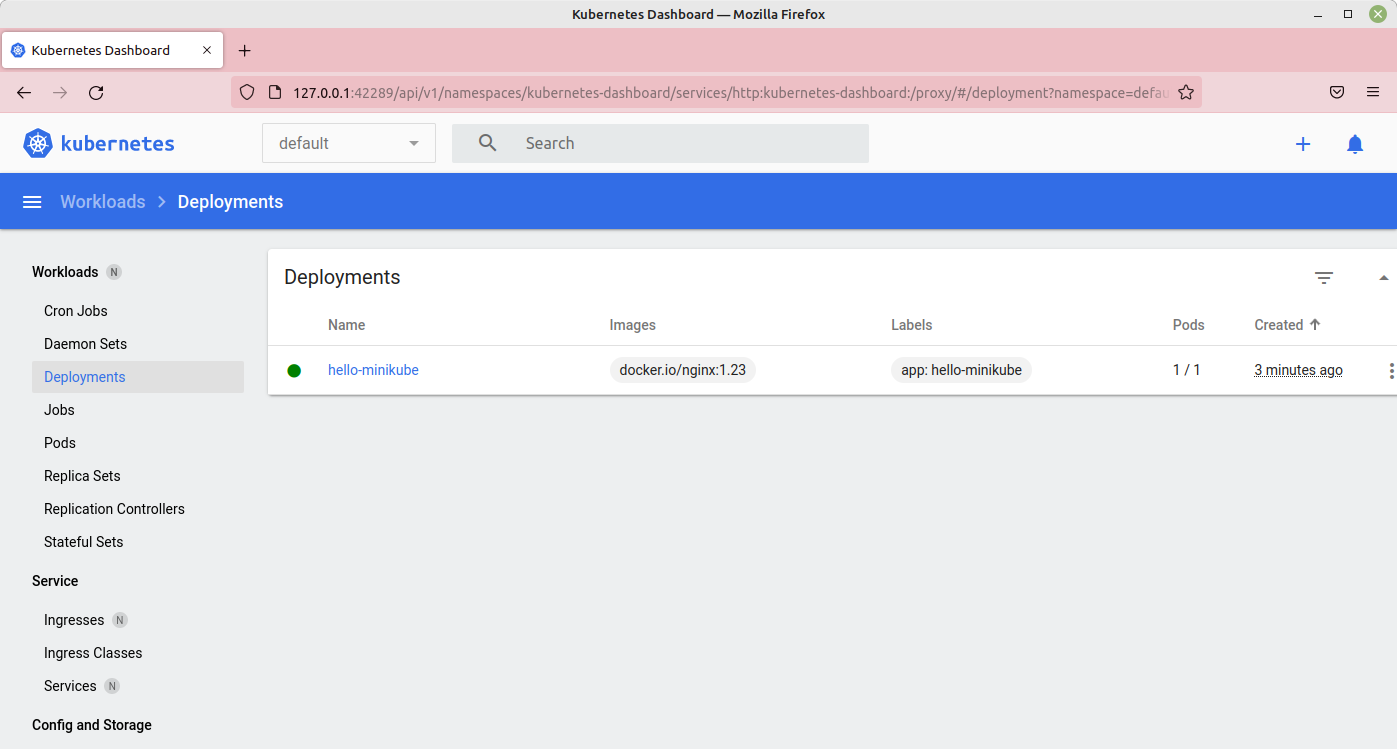
kubectl port-forward service/hello-minikube 7080:80Minikube dashboard will now show the ngxi deployed:
More Minikube tutorials are here.
Opinions expressed by DZone contributors are their own.
Comments