How to Install and Set Up Jenkins With Docker Compose
A complete step-by-step guide to install and run Jenkins using Docker Compose with detailed explanation and walk-through.
Join the DZone community and get the full member experience.
Join For FreeJenkins is an open-source CI/CD tool written in Java that is used for organising the CI/CD pipelines. Currently, at the time of writing this blog, it has 24k stars and 9.1k forks on GitHub. With over 2000 plugin support, Jenkins is a well-known tool in the DevOps world.
The following are multiple ways to install and set up Jenkins:
- Using the
Jenkins Installer packagefor Windows - Using
Homebrewfor macOS - Using the Generic Java Package (
war) - Using
Docker - Using
Kubernetes - Using
aptfor Ubuntu/Debian Linux OS
In this tutorial blog, I will cover the step-by-step process to install and setup Jenkins using Docker Compose for an efficient and seamless CI/CD experience.
Using Dockerwith Jenkins allows users to set up a Jenkins instance quickly with minimal manual configuration. It ensures portability and scalability, as with Docker Compose, users can easily set up Jenkins and its required services, such as volumes and networks, using a single YAML file. This allows the users to easily manage and replicate the setup in different environments.
Installing Jenkins Using Docker Compose
Installing Jenkins with Docker Compose makes the setup process simple and efficient, and allows us to define configurations in a single file. This approach removes the complexity and difficulty faced while installing Jenkins manually and ensures easy deployment, portability, and quick scaling.
Prerequisite
As a prerequisite, Docker Desktop needs to be installed, up and running on the local machine. Docker Compose is included in Docker Desktop along with Docker Engine and Docker CLI.
Jenkins With Docker Compose
Jenkins could be instantly set up by running the following docker-compose command using the terminal:
docker compose up -dThis docker-compose command could be run by navigating to the folder where the Docker Compose file is placed. So, let’s create a new folder jenkins-demo and inside this folder, let’s create another new folder jenkins-configuration and a new file docker-compose.yaml.
The following is the folder structure:
jenkins-demo/
├── jenkins-configuration/
└── docker-compose.yaml
The following content should be added to the docker-compose.yaml file.
# docker-compose.yaml
  version: '3.8'
  services:
    jenkins:
      image: jenkins/jenkins:lts
      privileged: true
      user: root
      ports:
       - 8080:8080
       - 50000:50000
      container_name: jenkins
      volumes:
      - /Users/faisalkhatri/jenkins-demo/jenkins-configuration:/var/jenkins_home
      - /var/run/docker.sock:/var/run/docker.sock
Decoding the Docker Compose File
The first line in the file is a comment. The services block starts from the second line, which includes the details of the Jenkins service.
The Jenkins service block contains the image, user, and port details. The Jenkins service will run the latest Jenkins image with root privileges and name the container as jenkins.
The ports are responsible for mapping container ports to the host machine. The details of these ports are as follows:
8080:8080:This will map the port8080inside the container to the port8080on the host machine. It is important, as it is required for accessing the Jenkins web interface. It will help us in accessing Jenkins in the browser by navigating tohttp://localhost:808050000:50000:This will map the port50000inside the container to port50000on the host machine. It is theJNLP (Java Network Launch Protocol)agent port, which is used for connecting Jenkins build agents to the Jenkins Controller instance. It is important, as we would be using distributed Jenkins setups, where remote build agents connect to the Jenkins Controller instance.
The privileged: true setting will grant the container full access to the host system and allow running the process as the root user on the host machine. This will enable the container to perform the following actions :
- Access all the host devices
- Modify the system configurations
- Mount file systems
- Manage network interfaces
- Perform admin tasks that a regular container cannot perform
These actions are important, as Jenkins may require permissions to run specific tasks while interacting with the host system, like managing Docker containers, executing system commands, or modifying files outside the container.
Any data stored inside the container is lost when the container stops or is removed. To overcome this issue, Volumes are used in Docker to persist data beyond the container’s lifecycle. We will use Docker Volumes to keep the Jenkins data intact, as it is needed every time we start Jenkins.
Jenkins data would be stored in the jenkins-configuration folder on the local machine. The /Users/faisalkhatri/jenkins-demo/jenkins-configuration on the host is mapped to /var/jenkins_home in the container. The changes made inside the container in the respective folder will reflect on the folder on the host machine and vice versa.
This line /var/run/docker.sock:/var/run/docker.sock, mounts the Docker socket from the host into the container, allowing the Jenkins container to directly communicate with the Docker daemon running on the host machine. This enables Jenkins, which is running inside the container, to manage and run Docker commands on the host, allowing it to build and run other Docker containers as a part of CI/CD pipelines.
Installing Jenkins With Docker Compose
Let’s run the installation process step by step as follows:
Step 1 — Running Jenkins Setup
Open a terminal, navigate to the jenkins-demo folder, and run the following command:
docker compose up -d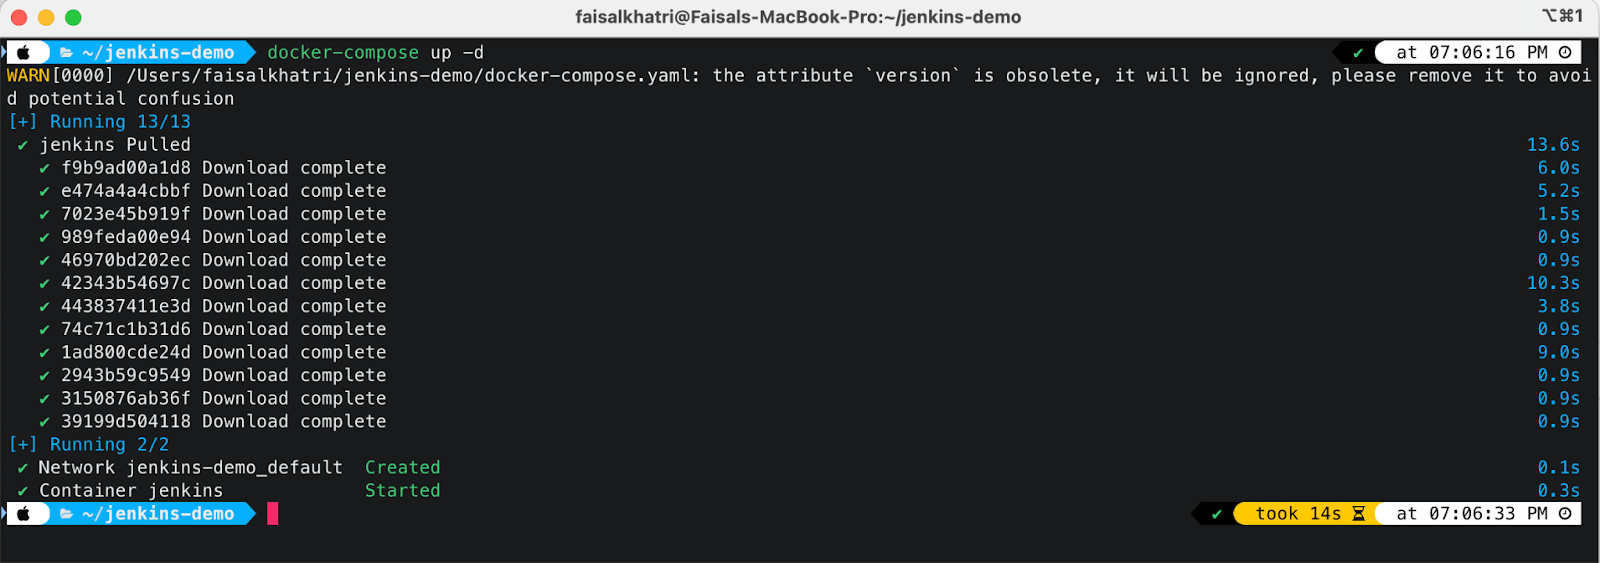
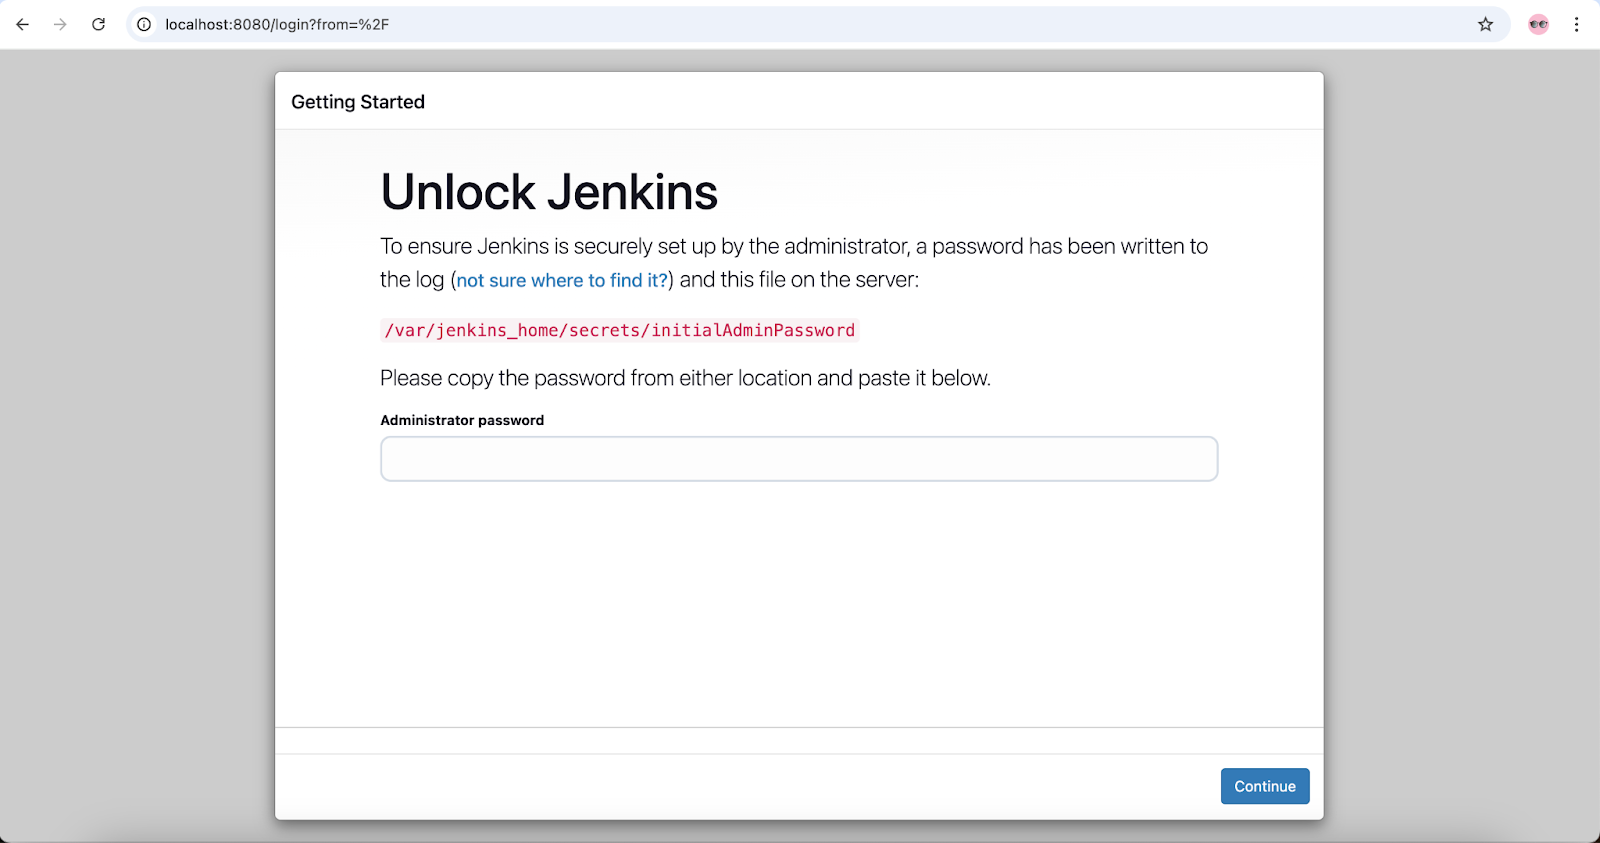
After the command is successfully executed, open any browser on your machine and navigate to https://localhost:8080, you should be able to find the Unlock Jenkins screen as shown in the screenshot below:
Step 2 — Finding the Jenkins Password From the Docker Container
The password to unlock Jenkins could be found by navigating to the jenkins container (remember we had given the name jenkins to the container in the Docker Compose file) and checking out its logs by running the following command on the terminal:
docker logs jenkins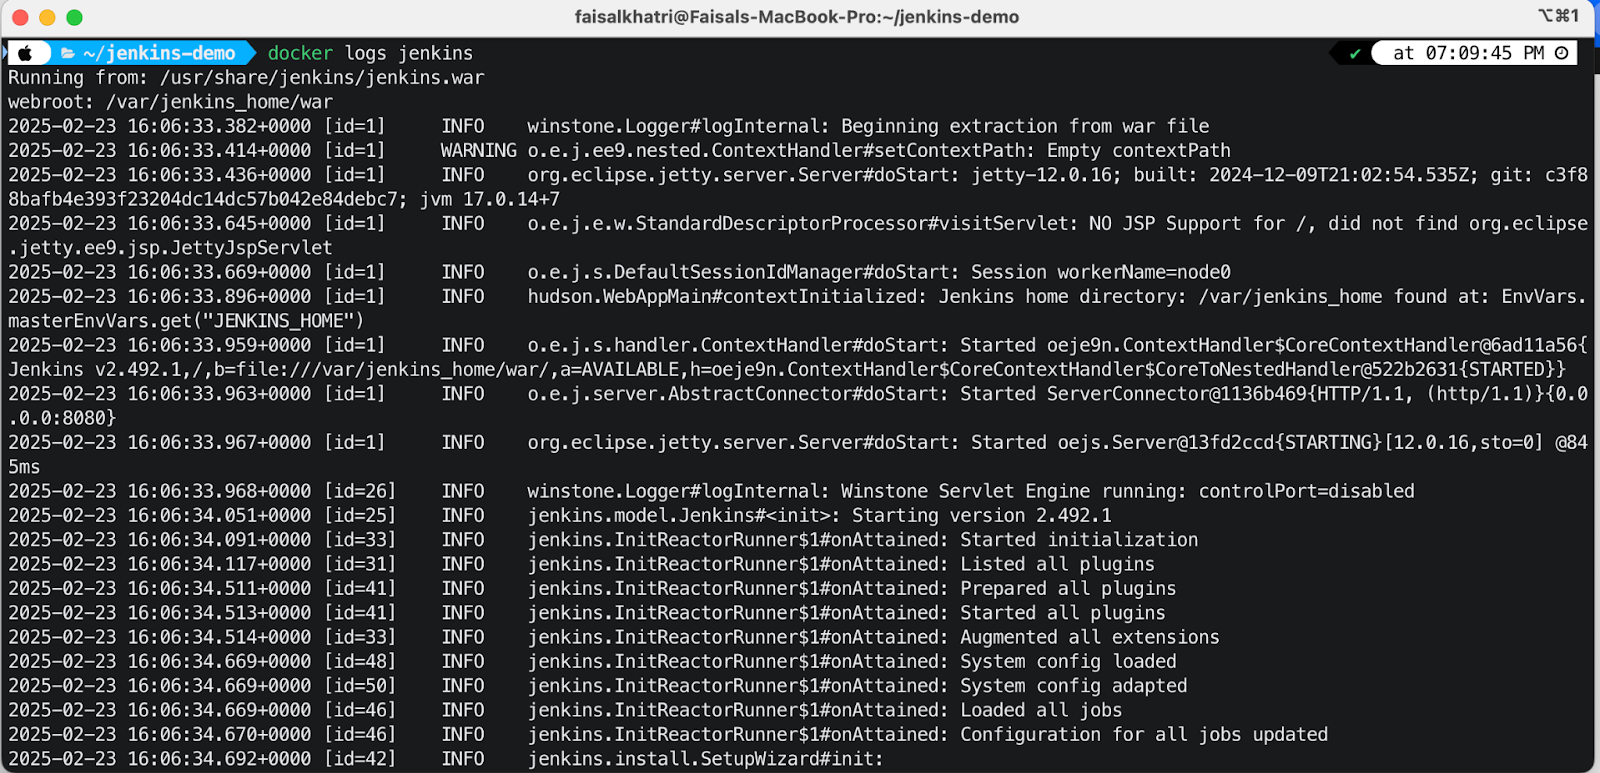
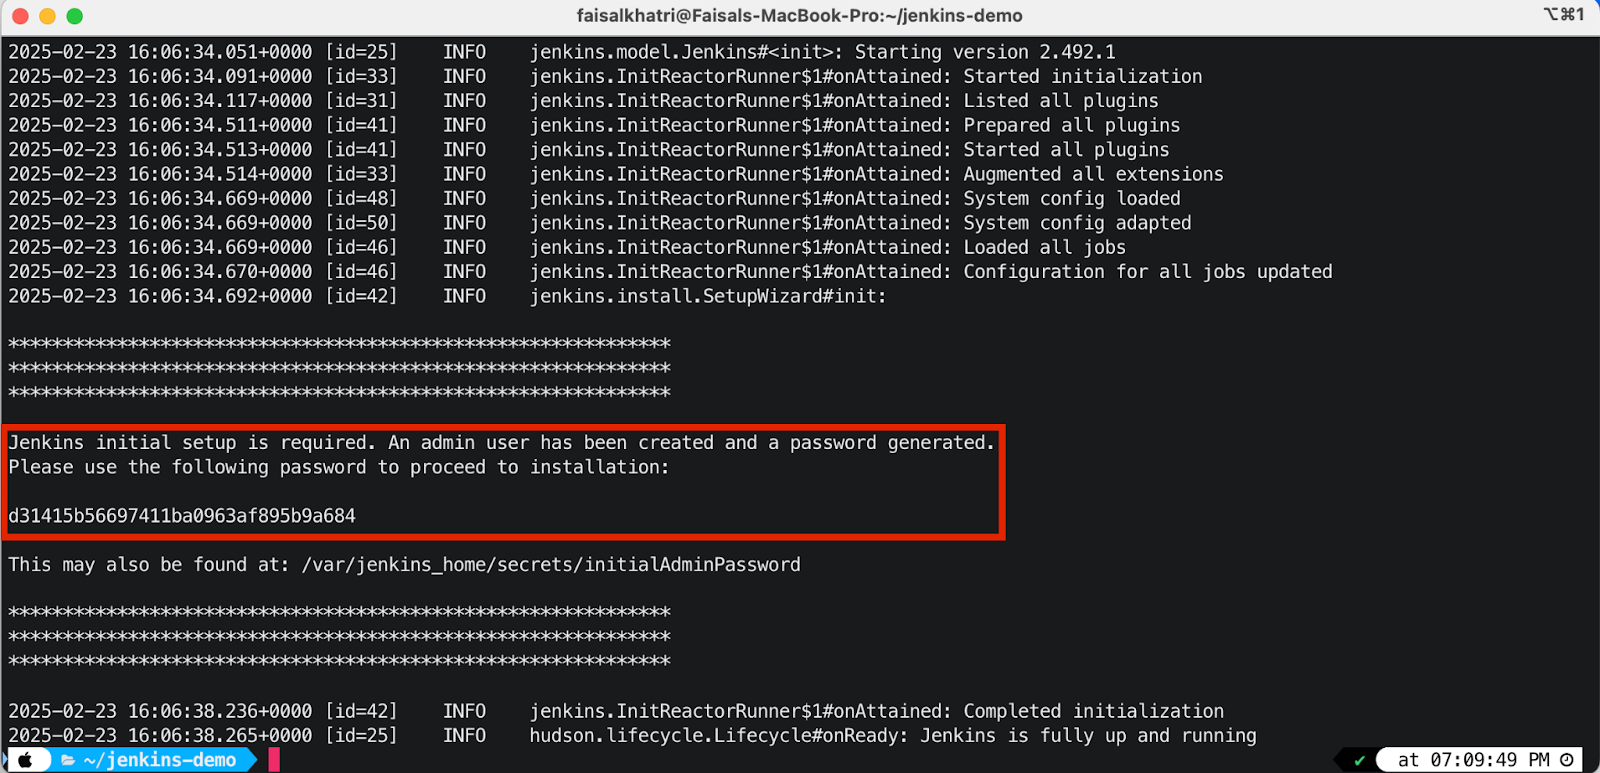
Copy the password from the logs, paste it in the Administrator password field on the Unlock Jenkins screen in the browser, and click on the Continue button.
Step 3 — Setting up Jenkins
The “Getting Started” screen will be displayed next, which will prompt us to install plugins to set up Jenkins.
Select the Install suggested plugins and proceed with the installation.

It will take some time for the installations to complete.
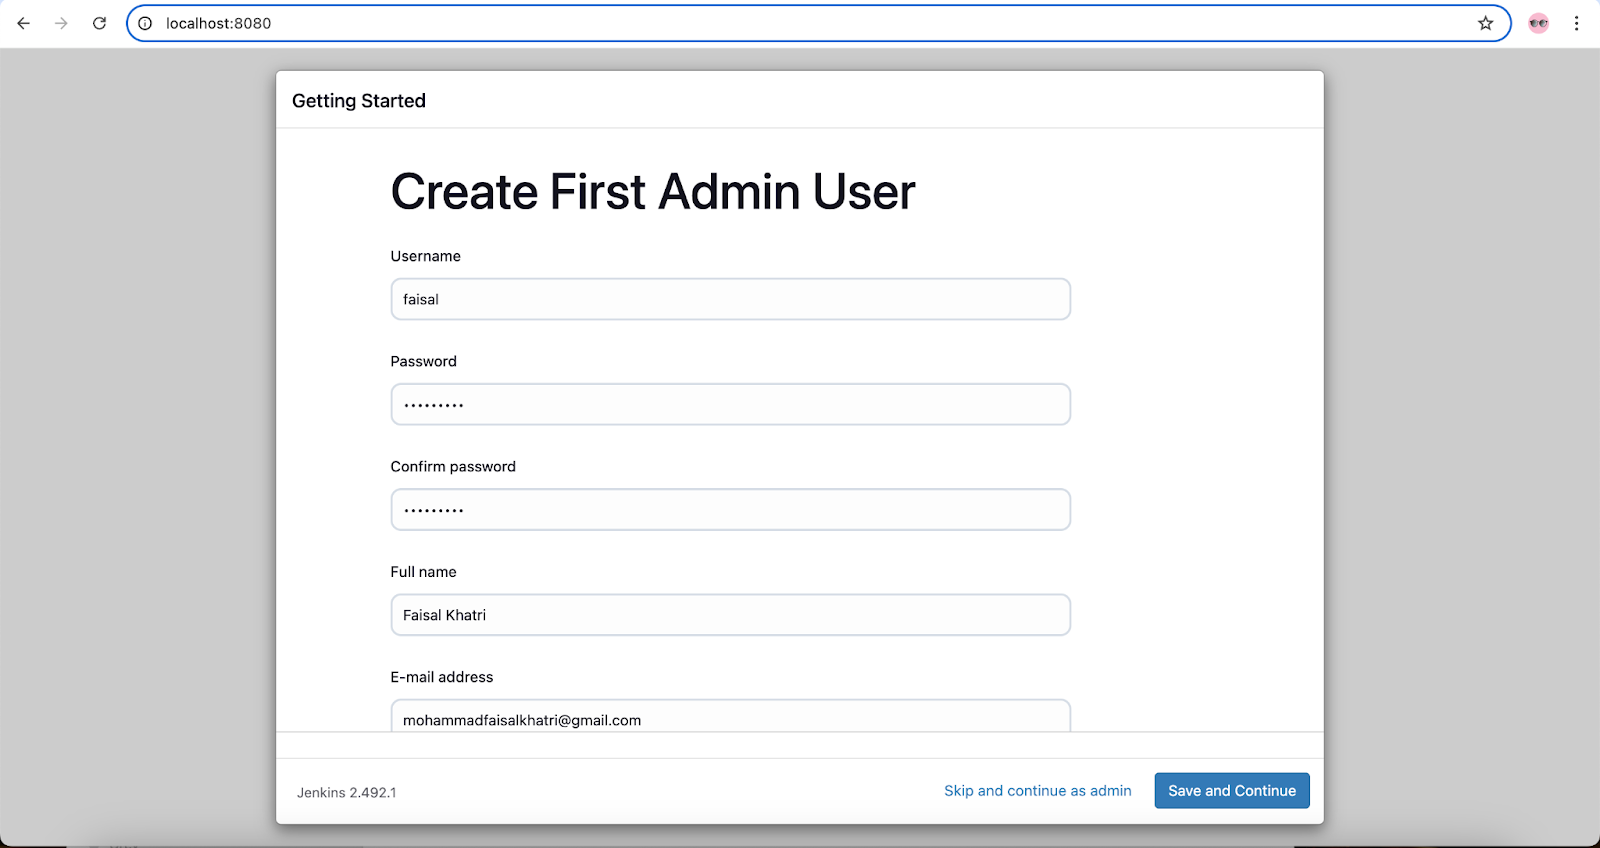
Step 4 — Creating Jenkins user
After the installation is complete, Jenkins will show the next screen to update the user details. It is recommended to update the user details with a password and click on Save and Continue.
This username and password can then be used to log in to Jenkins.
Step 5 — Instance Configuration
In this window, we can update the Jenkins accessible link so it can be further used to navigate and run Jenkins.
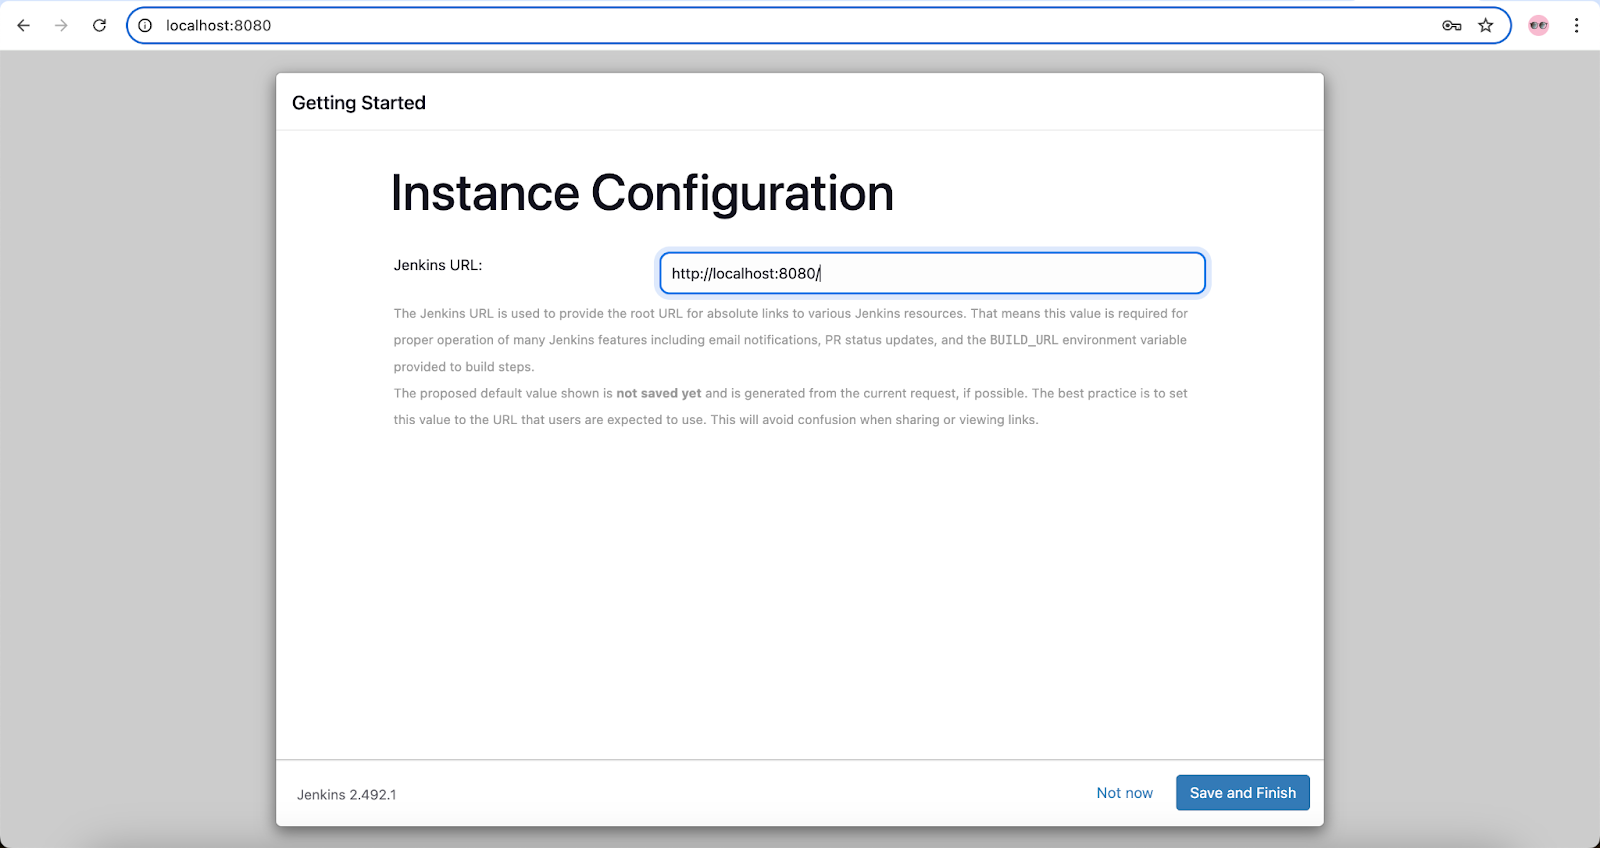
However, we can leave it as it is now — http://localhost:8080. Click on the Save and Finish button to complete the set up.
With this, the Jenkins installation and set up are complete; we are now ready to use Jenkins.
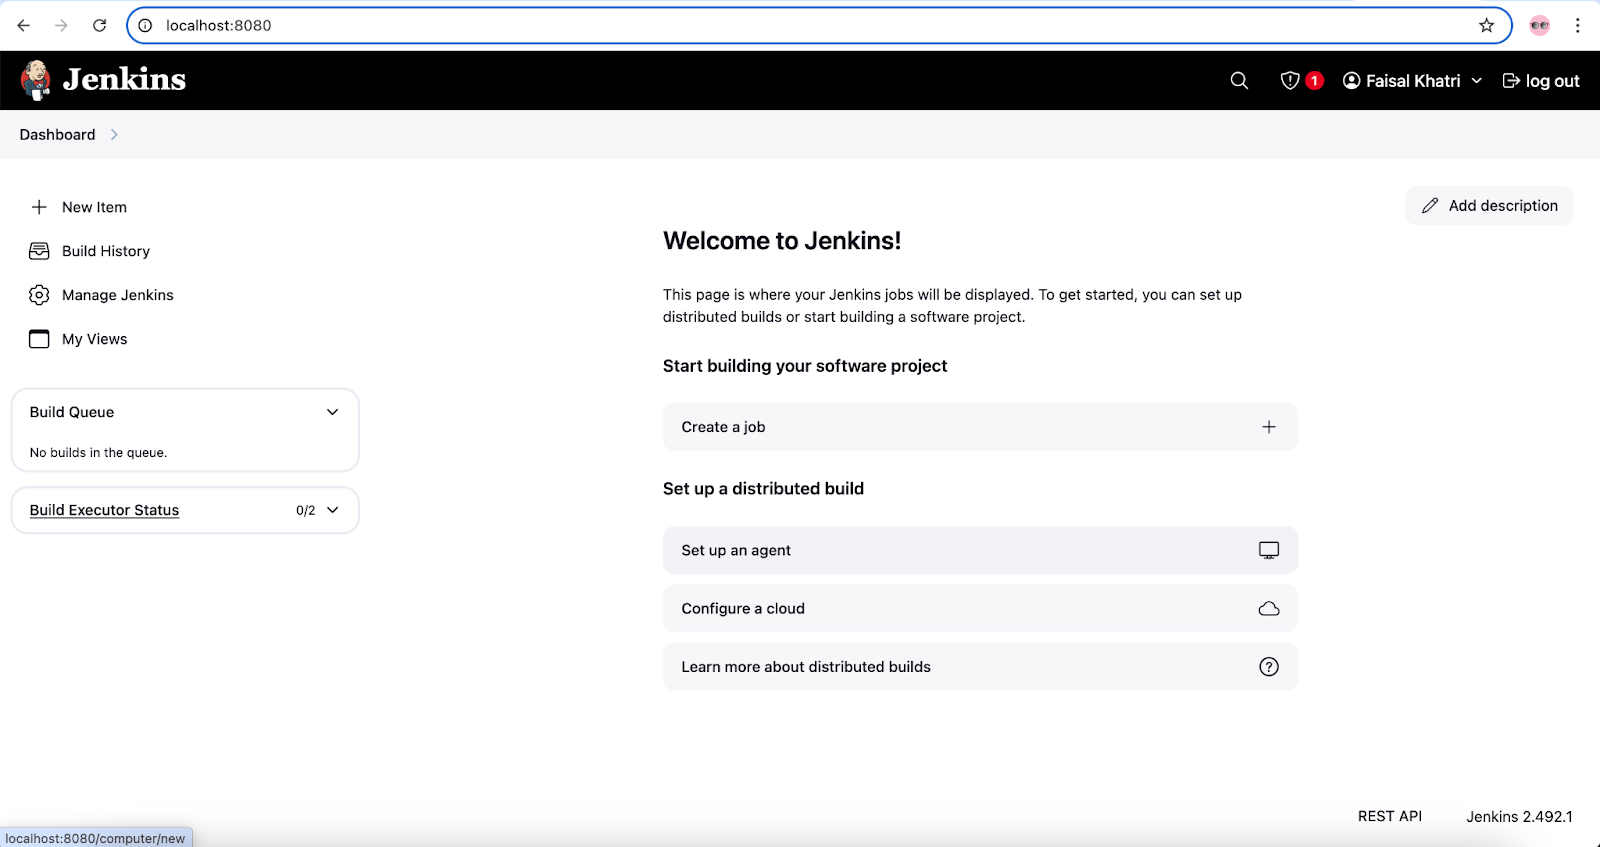
Summary
Docker is the go-to tool for instantly spinning up a Jenkins instance. Using Docker Compose, we installed Jenkins successfully in just 5 simple steps. Once Jenkins is up and started, we can install the required plugin and set up CI/CD workflows as required.
Using Docker Volumes allows us to use Jenkins seamlessly, as it saves the instance data between restarts.
In the next tutorial, we will learn about installing and setting up Jenkins agents that will help us run the Jenkins jobs.
Published at DZone with permission of Faisal Khatri. See the original article here.
Opinions expressed by DZone contributors are their own.
Comments