Overwrite CSS Styles Using addClass In jQuery
A step-by-step guide with code samples to overwrite CSS styles dynamically with jQuery
Join the DZone community and get the full member experience.
Join For FreeIn this post we will see how we can overwrite CSS styles using the addClass method in jQuery. We have so many options to change the styles of a particular element, such as editing the style sheet manually. But what if you want to do the same dynamically? If you need to change a CSS property dynamically, I suggest you read how here: CSS Important . In this post we are applying more CSS rules to the same element.
I am using jQuery 2.0.2 version, you can use whichever version you like.
Background
Recently I was required to change a CSS property of an element which is common for element. I wanted to change the CSS property only if my condition becomes true. In this situation, I used jQuery addClass to do this requirement.
Using the Code
First thing you need to do is create a page.
<!DOCTYPE html>
<html>
<head>
    <title>AddClass JQuery Demo - Sibeesh Passion</title>
</head>
<body>
   AddClass JQuery Demo - Sibeesh Passion
</body>
</html>
Then you need to include the required script.
<script src="http://sibeeshpassion.com/content/scripts/jquery-2.0.2.min.js"></script>Next you need to write the scripts.
<script>
        $(document).ready(function () {
            setTimeout(function () {
$('.first').addClass('second');
}, 5000);
        });

</script>
We are adding a new CSS style second to a class first. We will add this after five seconds of the document being ready. So now we need to create the styles, right?
<style>
.first {
width: 100px;
height: 100px;
border: 1px solid #ccc;
border-radius: 5px;
padding: 10px;
margin: 10px;
box-shadow: 1px 1px 1px #999;
font-style: oblique;
text-align: center;
background:green;
}
.second {
width: 200px;
height: 200px;
border: 1px solid #ccc;
border-radius: 5px;
padding: 10px;
margin: 10px;
box-shadow: 1px 1px 1px #999;
background: blue;
font-style: oblique;
text-align: center;
}
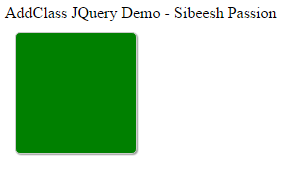
</style>When you run your browser, you can see the following output.
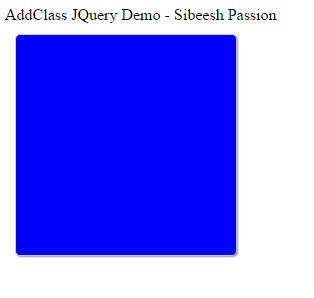
Now after five seconds, the same element will look as follows.
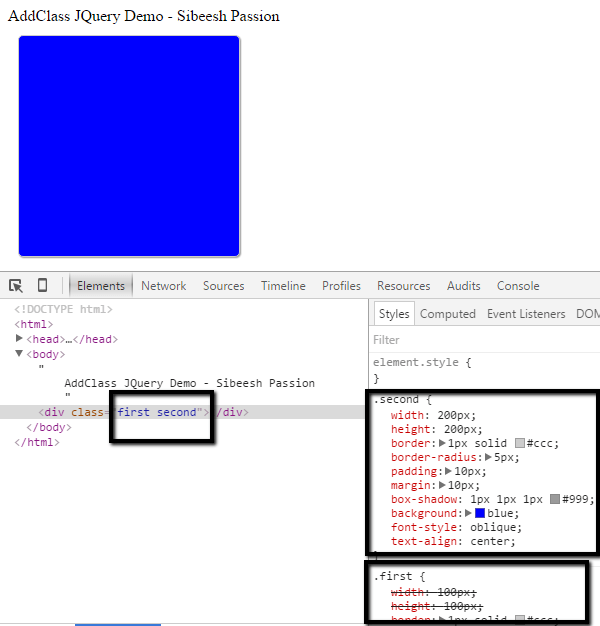
If you look at your browser console, you can see both of the styles are applied to the element.
Now we can see the complete code here.
I am using setTimeout as my condition, you can use any condition according to your requirement.
Complete Code
<!DOCTYPE html>
<html>
<head>
    <title>AddClass JQuery Demo - Sibeesh Passion</title>
    <script src="http://sibeeshpassion.com/content/scripts/jquery-2.0.2.min.js"></script>
    <script>
        $(document).ready(function () {
            setTimeout(function () {
$('.first').addClass('second');
}, 5000);
        });
    </script>
    <style>
        .first {
            width: 100px;
height: 100px;
            border: 1px solid #ccc;
            border-radius: 5px;
            padding: 10px;
            margin: 10px;
            box-shadow: 1px 1px 1px #999;
            font-style: oblique;
            text-align: center;
background:green;
        }
.second {
            width: 200px;
height: 200px;
            border: 1px solid #ccc;
            border-radius: 5px;
            padding: 10px;
            margin: 10px;
            box-shadow: 1px 1px 1px #999;
            background: blue;
            font-style: oblique;
            text-align: center;
        }
    </style>
</head>
<body>
    AddClass JQuery Demo - Sibeesh Passion
<div class="first"></div>
</body>
</html>Published at DZone with permission of Sibeesh Venu. See the original article here.
Opinions expressed by DZone contributors are their own.
Comments