Performance Capture I - Export HAR Using Selenium and BrowserMob-Proxy
Capture network data in a few, simple steps.
Join the DZone community and get the full member experience.
Join For Free
Have you ever faced a situation to automate the way you inspect the network calls of a webpage? Have you ever thought about automating the process of capturing the HTTP content and export the performance data as a HAR file?
Well! In this article, we are going to see about how to capture all network calls and capture every resource loaded on a browser and export them as a HAR file using selenium and BrowserMob-Proxy in Python.
You may also like: How To Use HAR File To Find The Hidden Performance Bottlenecks In Your App.
What Is a HAR file?
HAR, HTTP Archive, is a file format used for tracking information between a web browser and a website. A HAR file is primarily used for identifying 1) performance issues such as bottlenecks and slow load times and 2) page rendering problems.
The HAR file keeps track of each resource loaded by the browser along with timing information for each resource.
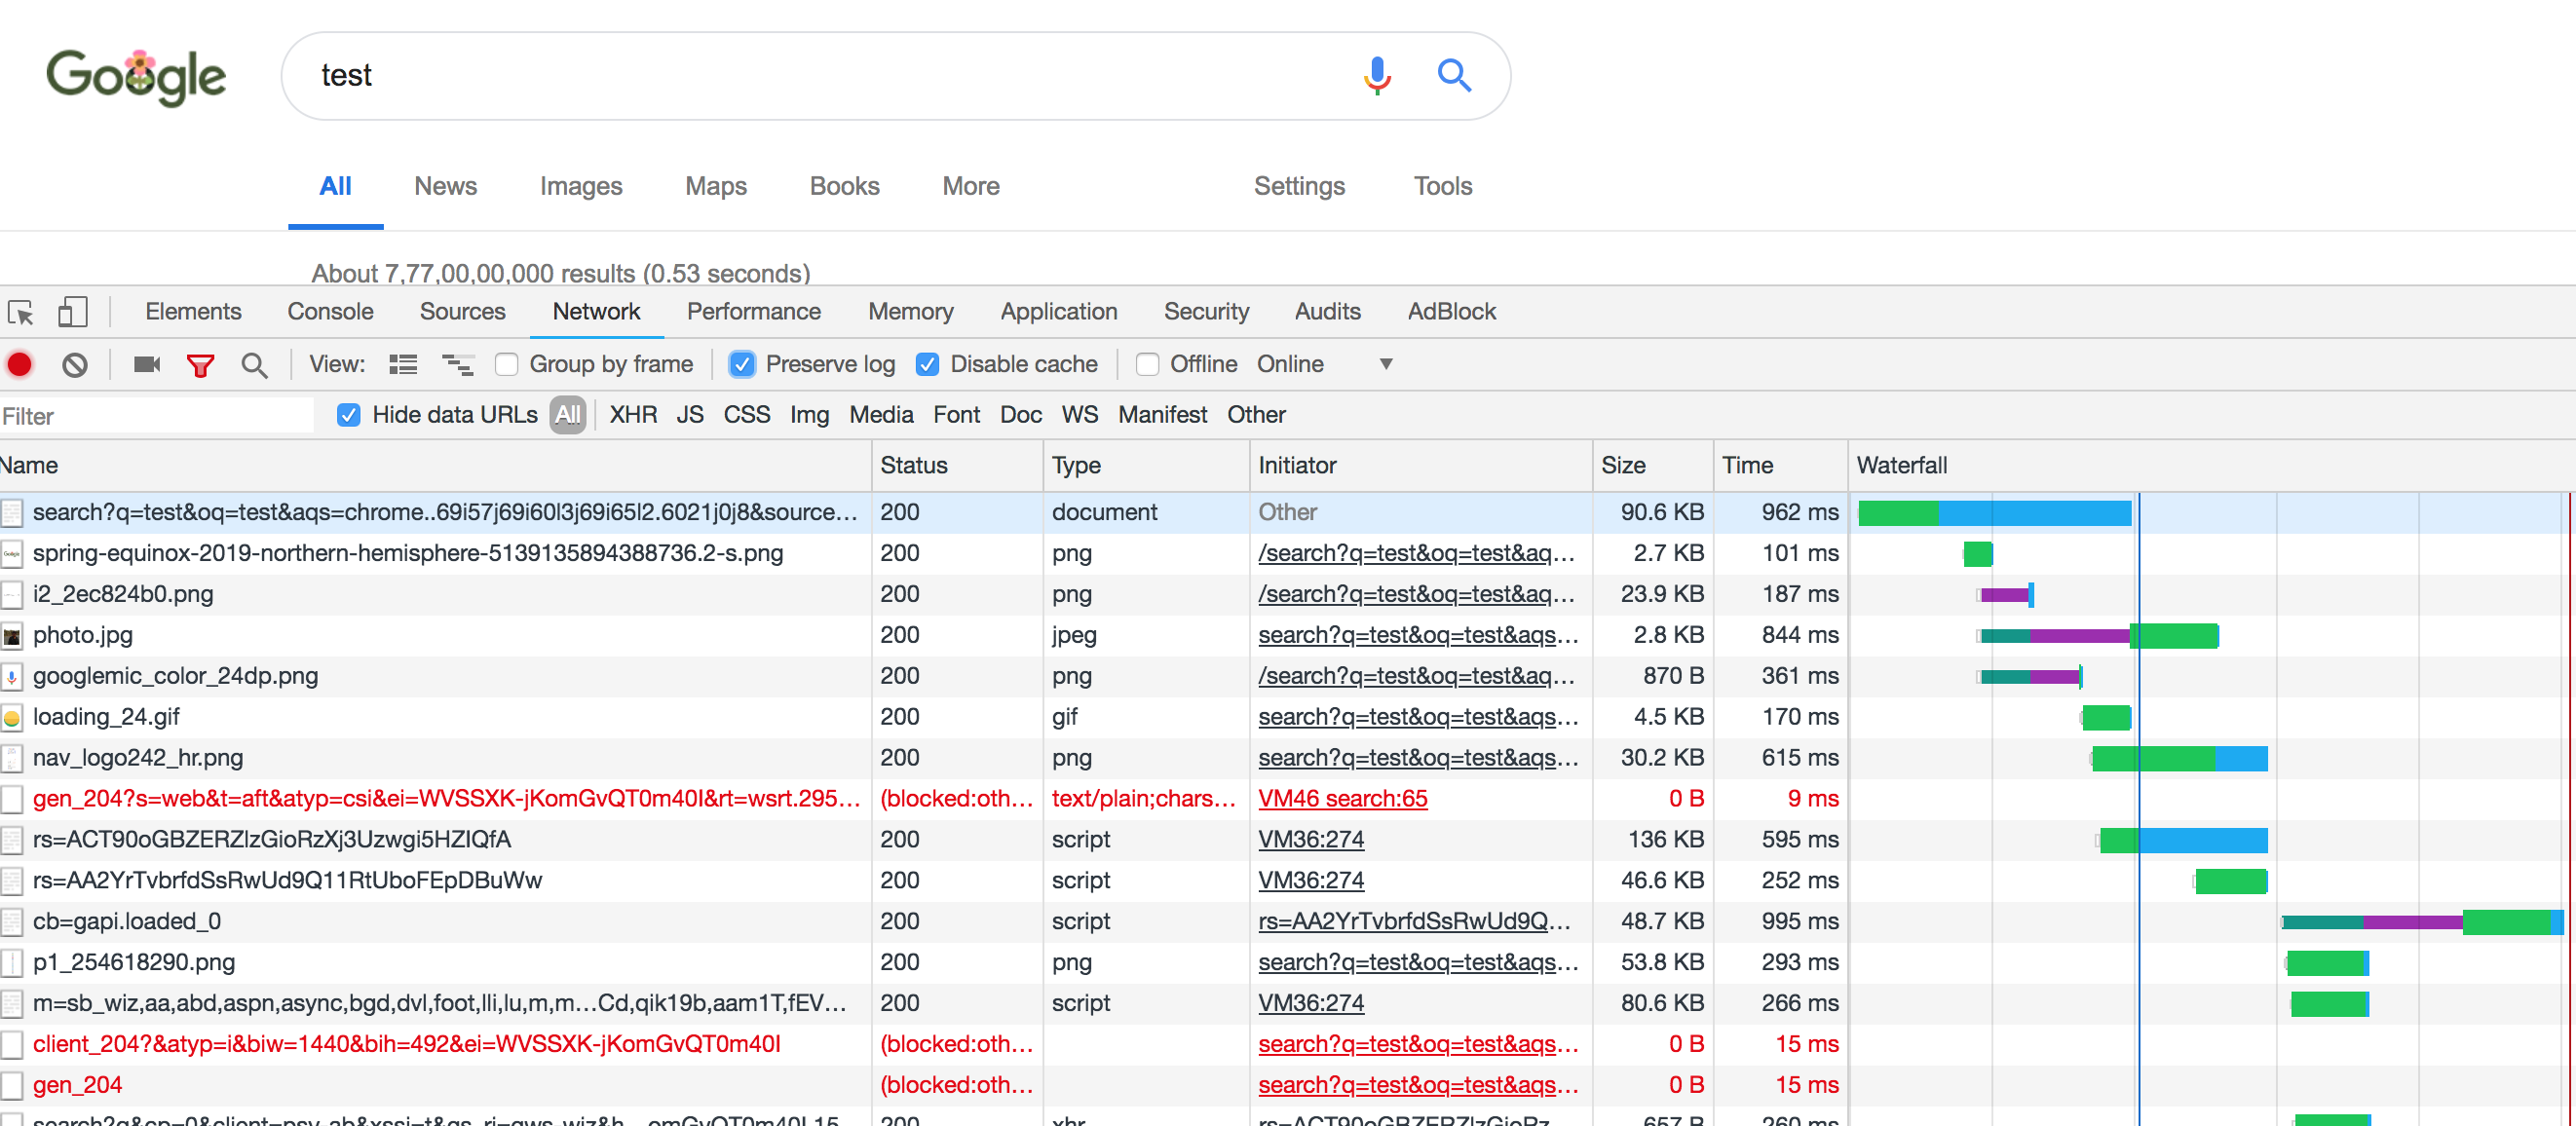
The following image shows all the network calls made and the resources that are loaded along with the time taken to load and size of each resource. Exporting these information in a file is a HAR file.

Open a Page Using Selenium
As in every web automation process, first open a web page using selenium. Below code will do it our beloved brosers — Chrome and Firefox. Note: Selenium must be installed before.
#firefox
profile  = webdriver.FirefoxProfile()
driver = webdriver.Firefox(firefox_profile=profile)
driver.maximize_window()

#chrome
chrome_options = webdriver.ChromeOptions()
chrome_options.add_argument("window-size=400,1000")
driver = webdriver.Chrome(options=chrome_options)

driver.get("https://url")
This will just open the page in a browser. Now, how to capture the network calls? This can be achieved by an open-sourced utility called Browsermob proxy.
BrowserMob Proxy
BrowserMob proxy is a free utility developed on selenium to manipulate HTTP requests and responses, capture HTTP content, and export performance data as a HAR file.
Now, we will see how to configure our selenium driver to use this BMP proxy and capture netowork calls.
Note: Make sure browsermob-proxy is installed.
Once you are ready with your selenium code, first step is to download browsermob-proxy client and keep it in your project.
Start the server
Then start the server by pointing to the BMP client and create a proxy as below:
server = Server("path_to_your_browsermob-proxy",  options={'port': 8090})
server.start()
proxy = self.server.create_proxy()
Make Selenium Driver to Run on Proxy
Now, you should set the proxy to the selenium driver. Lets tweak the driver initialization code to run on the proxy that we started using BMP as below:
#firefox
profile  = webdriver.FirefoxProfile()
profile.set_proxy(proxy.selenium_proxy())
driver = webdriver.Firefox(firefox_profile=profile)

#chrome
chrome_options = webdriver.ChromeOptions()
chrome_options.add_argument("--proxy-server={}".format(proxy.proxy))
driver = webdriver.Chrome(options=chrome_options)
With this we made our selenium driver to run on the BMP proxy. Now we will see how to export the HAR file.
Export HAR File
After opening the web page, initialize a har using proxy object and write the entire content into a HAR file as below:
proxy.new_har("myhar")
with open('myhar.har', 'w') as har_file:
json.dump(proxy.har, har_file)
Now, you will be having the enitre network calls in myhar.har file.
Capture Requests From a Mobile Device
Sometimes a webpage in desktop loads different resources that of a mobile. In those cases, whatever we captured using above becomes invalid. This case can be handled just by resizing the windows size. Lets say you want to open the page in a mobile of 600*1000 dimensions. The following code will do it for you:
# firefox
driver = webdriver.Firefox()
driver.set_window_size(600, 1000)

#chrome
chrome_options = webdriver.ChromeOptions()
chrome_options.add_argument("window-size=600,1000")
driver = webdriver.Chrome(options=chrome_options)
That's all!! We have HAR file now. It can be viewed better here.
In the next follow-up article, I will be sharing how to limit the network speed of the client to simulate network latencies and how to transform a HAR file to locust file.
Enjoy reading!!
Further Reading
Opinions expressed by DZone contributors are their own.

Comments