DZone
Thanks for visiting DZone today,
Edit Profile
  • Manage Email Subscriptions
  • How to Post to DZone
  • Article Submission Guidelines
Sign Out View Profile
  • Post an Article
  • Manage My Drafts
Over 2 million developers have joined DZone.
Log In / Join
Refcards Trend Reports
Events Video Library
Refcards
Trend Reports

Events

View Events Video Library

Related

  • Stop Poisoning Your Models: How I Built a CV Dataset Quality Toolkit I Can Reuse Forever
  • Advanced Auto Loader Patterns for Large-Scale JSON and Semi-Structured Data
  • From 13,000 to 20,000+ Endpoints: Architecting Forensics for the Remote Workforce
  • Architecting Scalable JSON Pipelines: The Power of a Single PySpark Schema

Trending

  • Runtime Formula Evaluation With MVEL Library in Spring Boot
  • AI-Driven RAG Systems: Practical Implementation With LangChain
  • Alternative Structured Concurrency
  • 7 Technology Waves I’ve Seen in 30 Years of Software — Will AI Be the Next Real Transformation?
  1. DZone
  2. Data Engineering
  3. Data
  4. Posting JSON Data to a Mule Flow

Posting JSON Data to a Mule Flow

There are only 11 steps to POSTing JSON data to a Mule flow. JSON data can be sent directly to a Mule flow. The reason for doing this is to access data from a payload.

By 
Danish Sheikh user avatar
Danish Sheikh
·
Mar. 08, 17 · Tutorial
Likes (1)
Comment
Save
Tweet
Share
26.9K Views

Join the DZone community and get the full member experience.

Join For Free

This is an example that showcases how data in JSON format can be sent directly to a Mule flow. The JSON data can be accessed using the Mule expression language inside the flow.

We will keep the flow simple, as accessing the data from the payload is the reason for this example.

11 Steps to POSTing JSON Data to a Mule Flow

  1. Open Anypoint Studio.

  2. Create a new Mule project. Click File > New > Mule Project.

  3. Name the project JsonAccess and click Finish.

  4. Drag the HTTP Connector from the palette onto the canvas. Click HTTP connector to open the properties window as shown below:Connector Setting Initial

  5. Click + to enter the connector settings.Connector Configuration Detail

  6. Click OK. Now add POST against Method so that only POST is allowed on /.Connector Setting

  7. Drag Logger from the palette next to the HTTP connector on the canvas. Click Logger the on canvas and enter #[json:productid] as the value for the Message.logger details

  8. Save and your run project.

  9. Open Postman. Prepare the request as shown in the image below:
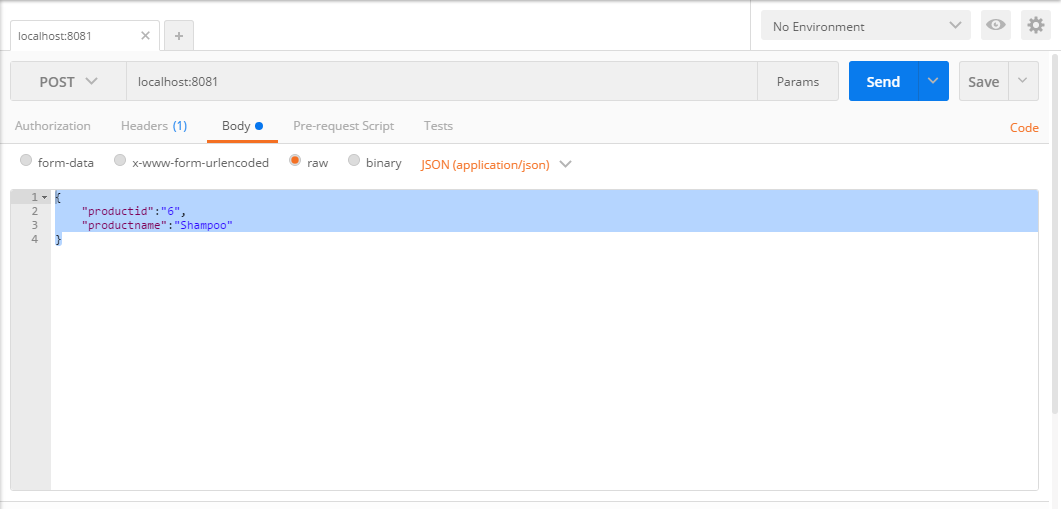
Image titleMake sure POST is selected as the method. Under the Body tab, choose raw and change mime to JSON (application/json). The content which we willPOST is {"productid":"6","productname":"Shampoo"}.

  10. Click Send. Go back to Anypoint Studio.

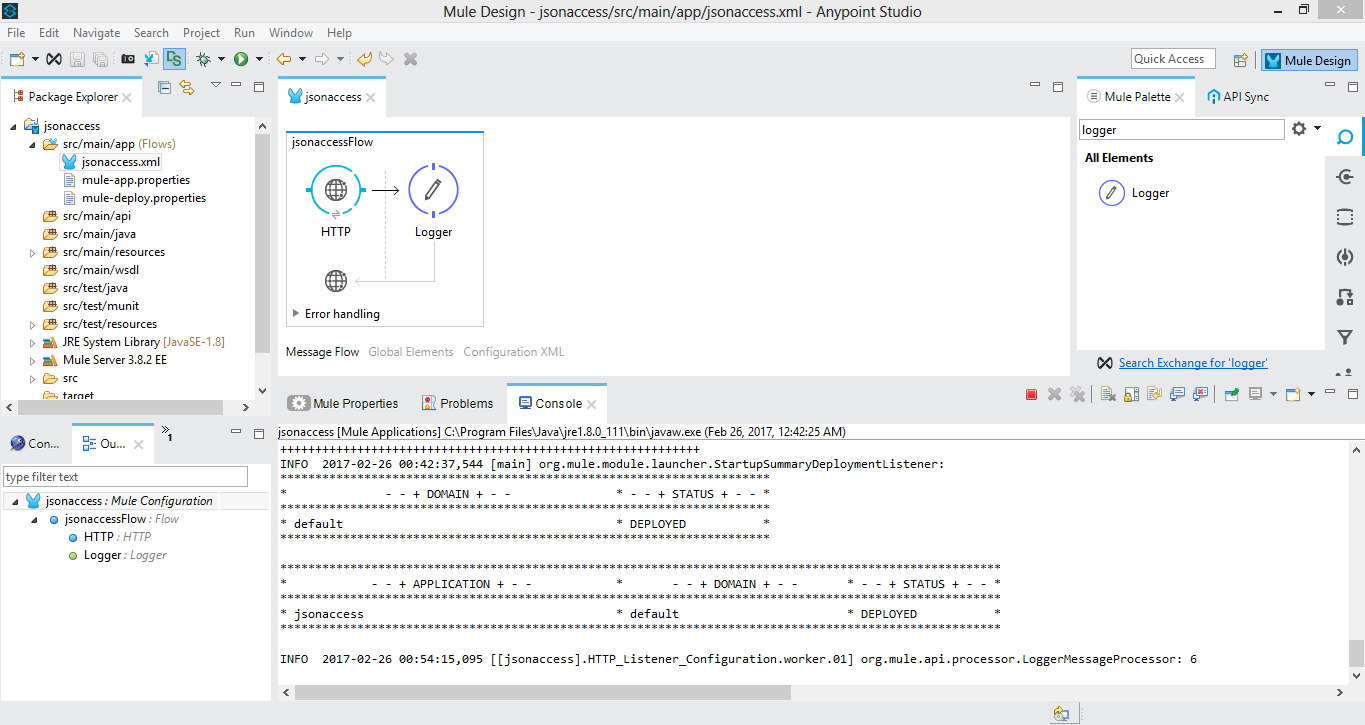
  11. Under Console, we can see the logger output as 6:Image title

Conclusion

We have successfully POSTed JSON data in the request body from Postman to the Mule application!

JSON Data (computing) Flow (web browser)

Opinions expressed by DZone contributors are their own.

Related

  • Stop Poisoning Your Models: How I Built a CV Dataset Quality Toolkit I Can Reuse Forever
  • Advanced Auto Loader Patterns for Large-Scale JSON and Semi-Structured Data
  • From 13,000 to 20,000+ Endpoints: Architecting Forensics for the Remote Workforce
  • Architecting Scalable JSON Pipelines: The Power of a Single PySpark Schema

Partner Resources

×

Comments

The likes didn't load as expected. Please refresh the page and try again.

  • RSS
  • X
  • Facebook

ABOUT US

  • About DZone
  • Support and feedback
  • Community research

ADVERTISE

  • Advertise with DZone

CONTRIBUTE ON DZONE

  • Article Submission Guidelines
  • Become a Contributor
  • Core Program
  • Visit the Writers' Zone

LEGAL

  • Terms of Service
  • Privacy Policy

CONTACT US

  • 3343 Perimeter Hill Drive
  • Suite 215
  • Nashville, TN 37211
  • [email protected]

Let's be friends:

  • RSS
  • X
  • Facebook