Kubernetes-Based Private Container Registry in Alibaba Cloud With Harbor and ARC CLI
This tutorial demonstrates how to set up a private open-source container registry with Harbor on top of a managed Kubernetes cluster in Alibaba Cloud.
Join the DZone community and get the full member experience.
Join For FreeThis article demonstrates how to install a managed Kubernetes cluster in Alibaba Cloud with ARC CLI and deploy a private container registry using Harbor and Helm.
Harbor is an open-source registry that stores artifacts with role-based access control and policies and ensures images are scanned and free from vulnerabilities.
AlibabaCloud Resourcification CLI (ARC) is a new command-line interface (CLI) that provides multiple CLI tools for resource management in Alibaba Cloud.
Helm charts help you define, install, and upgrade even the most complex Kubernetes application.
Requirements Before Starting
- Access to Alibaba Cloud account
Setup ARC CLI
Let's start by setting up ARC CLI, which we will use for provisioning managed Kubernetes cluster.
We need to install Node.js before we can install ARC CLI. Let's run the command below to get the Node.js:
brew install nodeWith Node.js ready, we can install ARC CLI:
npm i @alicloud/arc -gTo use ARC CLI we need to create an Alibaba Cloud user with Console Logon enabled. For this user to be able to provision Kubernetes cluster and supplement resources, you need to grant permissions. In this tutorial, we will grant AdministratorAccess policy permissions to the user. However, in the real world, I suggest you follow the principle of the least privileged and provide as little permission as minimally needed for your purpose.
We must set the AccessKey pair and region before we can use ARC. During the setup process, some of the questions will be in Chinese. It will ask you for the following parameters:
access-key-id<access-key-id>access-key-secret<access-key-secret>
Then you can use arrows to select the next thing to configure:
language <en>region <us-west-1>
After that, you will need to select one of the two parameters written in Chinese. Here is a translation from a Google translator:
- 显示并执行命令 = display and execute commands. Select this one to apply your configuration.
- 显示但不执行命 = display, but do not execute the command.
arc-tool config
Create Managed Kubernetes Cluster
At this point, access to the Alibaba Cloud with CLI is sorted and we can continue with deploying managed Kubernetes cluster.
There are many approaches you can follow to get the Kubernetes cluster. We can use arc-cs CLI interactive mode to create a managed Kubernetes cluster. This method requires you to go through all options available for the ACK cluster in your console.
arc-cs cluster create-managed -iAlternatively, you can set up a cluster in the Alibaba Cloud web interface. For more details on how to do that with a browser, check out this tutorial.
I would suggest you use the command below to provision the cluster since that way you don't need to go through all Alibaba Cloud Container Service parameters available.
In this command, we will specify the following parameters:
- Password for ssh access to the worker nodes
- Parameter of an ACK cluster — standart
- CIDR range
- Enabling public endpoint
- Define the name of the cluster
- Provide the ID of the pre-created VPC and vSwitch
- Define the type and number of the worker's VM
- Specify the size of the worker's system disks
arc-cs cluster create-managed \
--login-password "NTQwNDczZTY1NjQ1ODUzNiAgLQo=" \
--name my-managed-cluster \
--vswitch-ids '["vsw-rj9ccg2a9dgj8eipqxza8"]' \
--worker-instance-types '["ecs.c6.xlarge"]' \
--worker-system-disk-category cloud_ssd \
--worker-system-disk-size 40 \
--vpcid vpc-rj9hbptkvx59k80ly5nuf \
--cluster-spec ack.standard \
--endpoint-public-access true \
--container-cidr 10.151.0.0/16 --service-cidr 172.16.0.0/16  --num-of-nodes 2
Expected output:
{
"clusterId": "c307b7d05ccc445faab9607c59f96e757",
"requestId": "96BEE38D-A8BC-32E7-A26E-181E7796D46E",
"taskId": "T-62499aef71b85c04520002ad"
}
To get info about created a Kubernetes cluster, we can run the command below:
arc-cs cluster get <clusterId>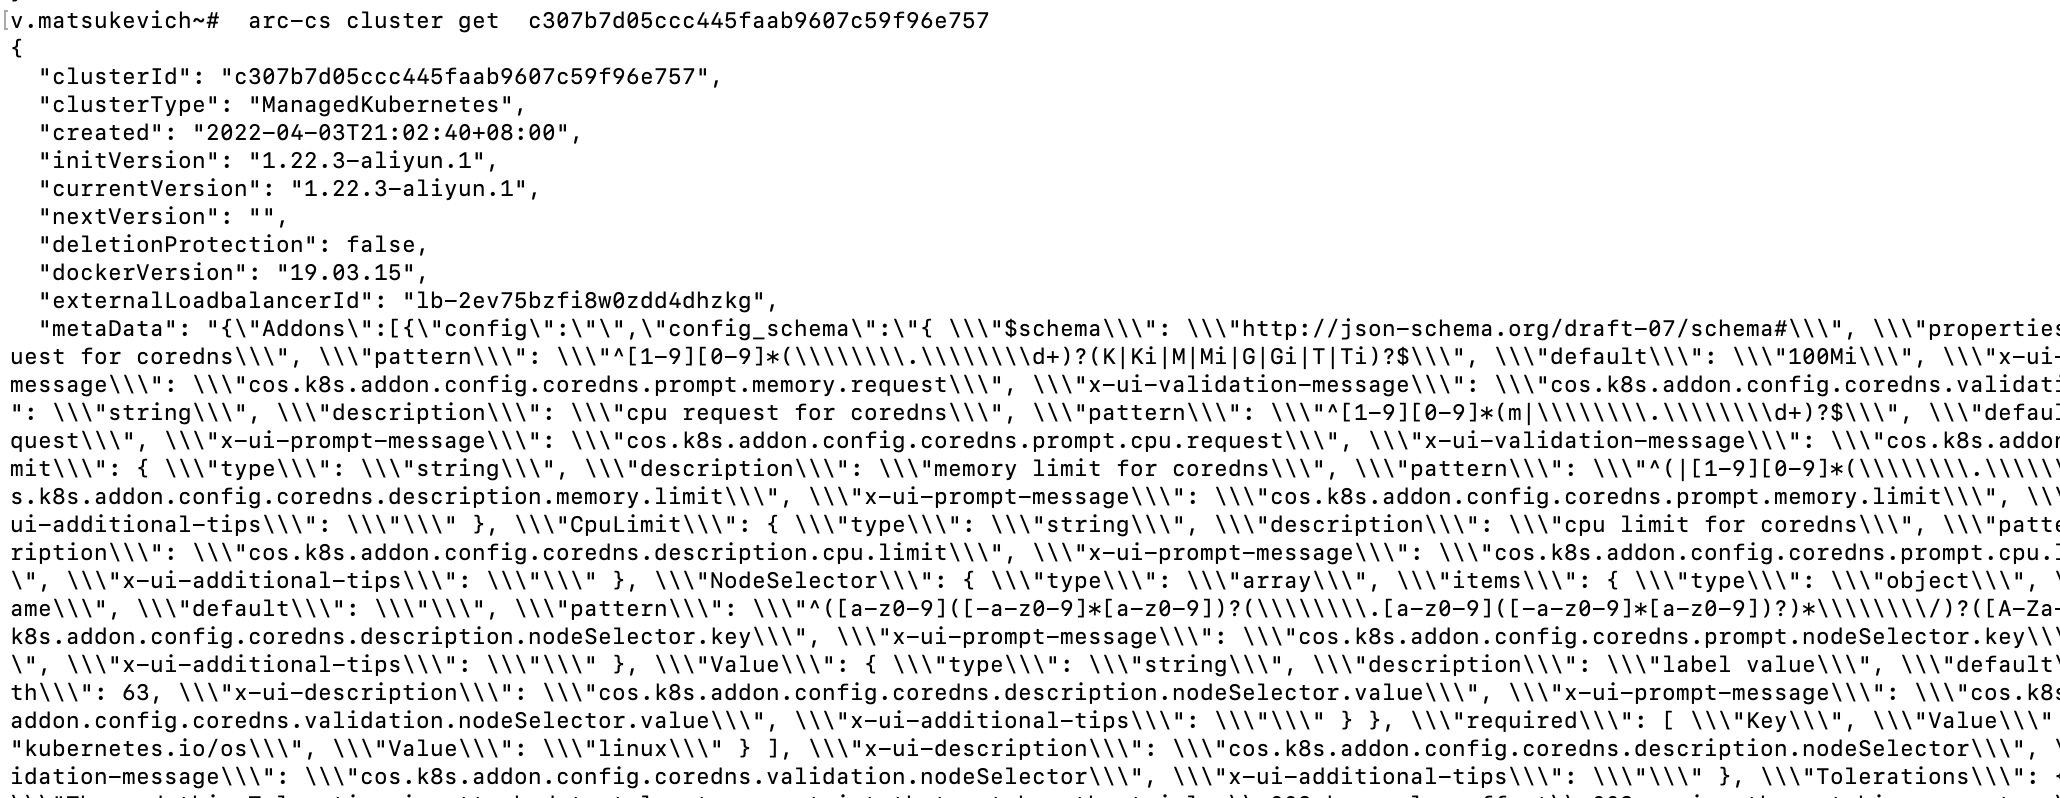
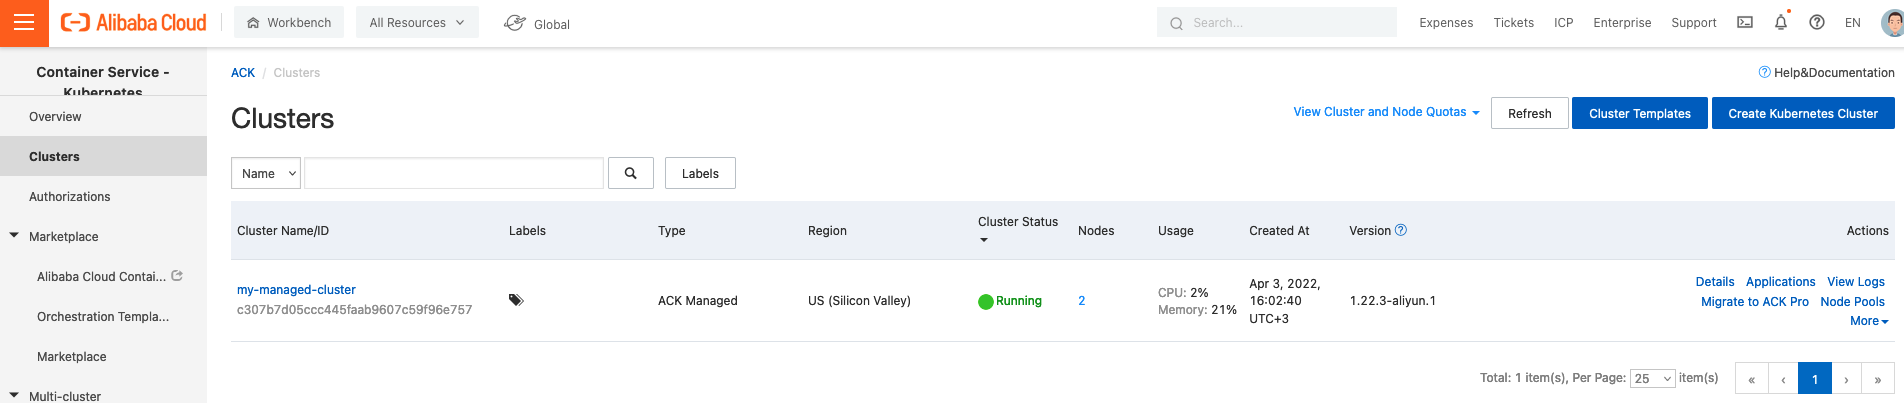
In the Alibaba Cloud web console, the new cluster will look like this:
Access to the Cluster
To get kubectl access to the newly created cluster, navigate to the Cluster\my-managed-cluster\Connection information and copy the Public Access Kubernetes config. Paste it to the local ~/.kube/config file.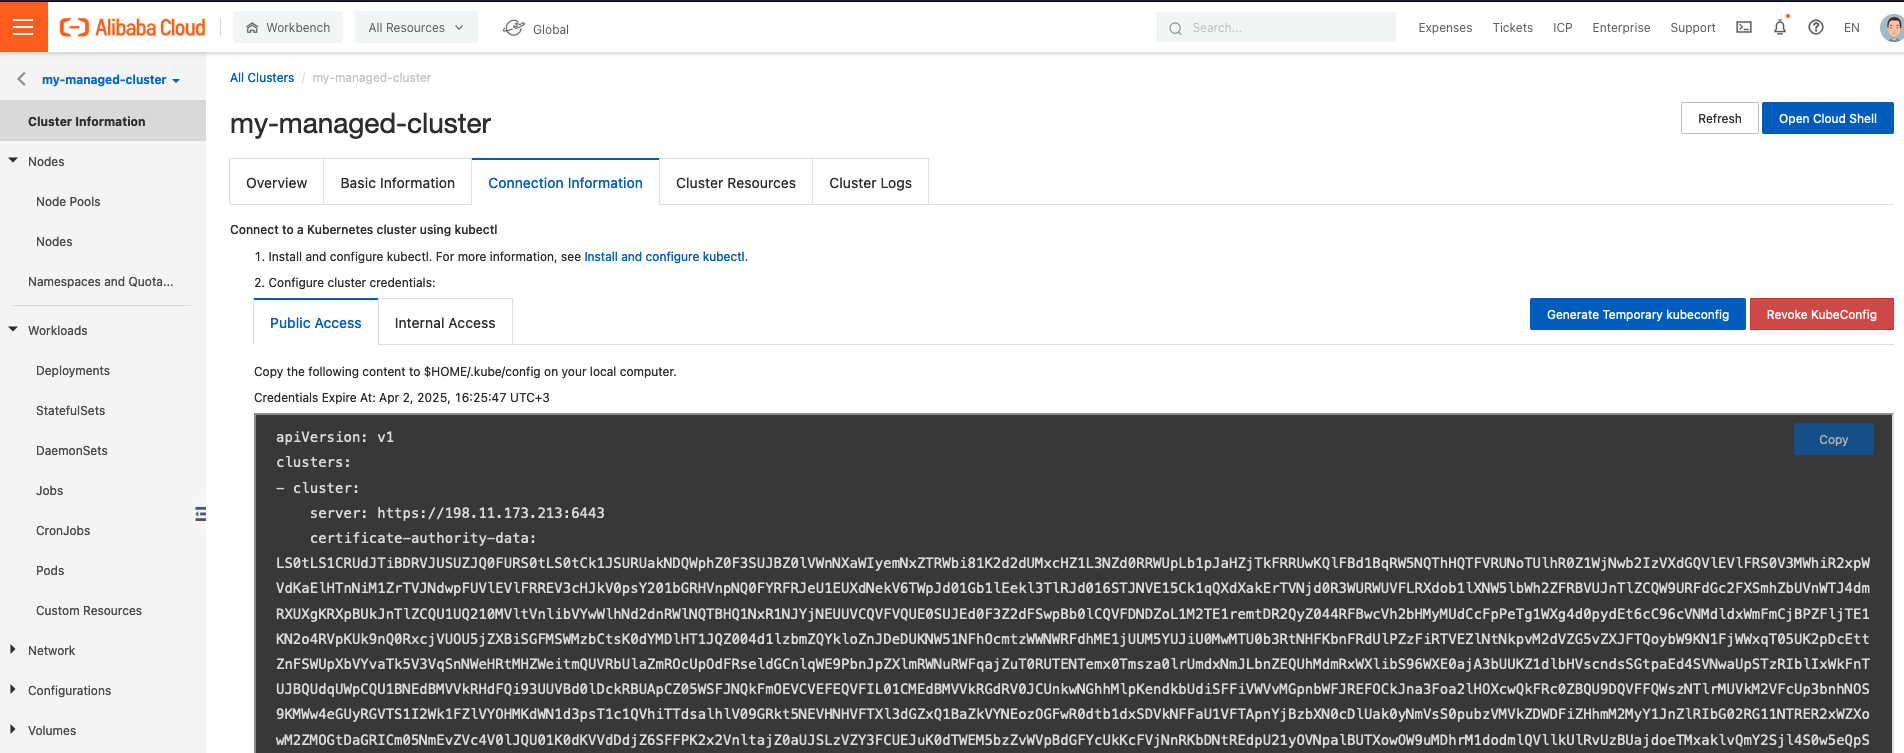
Check access to the my-managed-cluster by running the kubectl command:
kubectl get nodes
Install Harbor
Once the Kubernetes cluster is up and running, we need to install Helm CLI, which we will use later for deploying the Harbor Helm chart. We can use brew to get helm:
brew install helmThe next step is to add Harbor helm repo:
helm repo add harbor https://helm.goharbor.ioThere is a limitation on the Alibaba Cloud side and it cannot provision disks smaller than 20 GB, which means that to make the Harbor helm chart work, we need to adjust some of its default parameters. We also need to specify one of the storage classes existing in Alicloud. In this example, we are using the alicloud-disk-ssd type. We will use the command below to install the Harbor Helm chart:
helm install my-private-registry harbor/harbor \
--set expose.type=loadBalancer \
--set persistence.persistentVolumeClaim.registry.size=20Gi \
--set persistence.persistentVolumeClaim.registry.storageClass=alicloud-disk-ssd \
--set persistence.persistentVolumeClaim.chartmuseum.size=20Gi \
--set persistence.persistentVolumeClaim.chartmuseum.storageClass=alicloud-disk-ssd \
--set persistence.persistentVolumeClaim.jobservice.size=20Gi \
--set persistence.persistentVolumeClaim.jobservice.storageClass=alicloud-disk-ssd \
--set persistence.persistentVolumeClaim.database.size=20Gi \
--set persistence.persistentVolumeClaim.database.storageClass=alicloud-disk-ssd \
--set persistence.persistentVolumeClaim.redis.size=20Gi \
--set persistence.persistentVolumeClaim.redis.storageClass=alicloud-disk-ssd \
--set persistence.persistentVolumeClaim.trivy.size=20Gi \
--set persistence.persistentVolumeClaim.trivy.storageClass=alicloud-disk-ssd \
--set expose.tls.enabled=false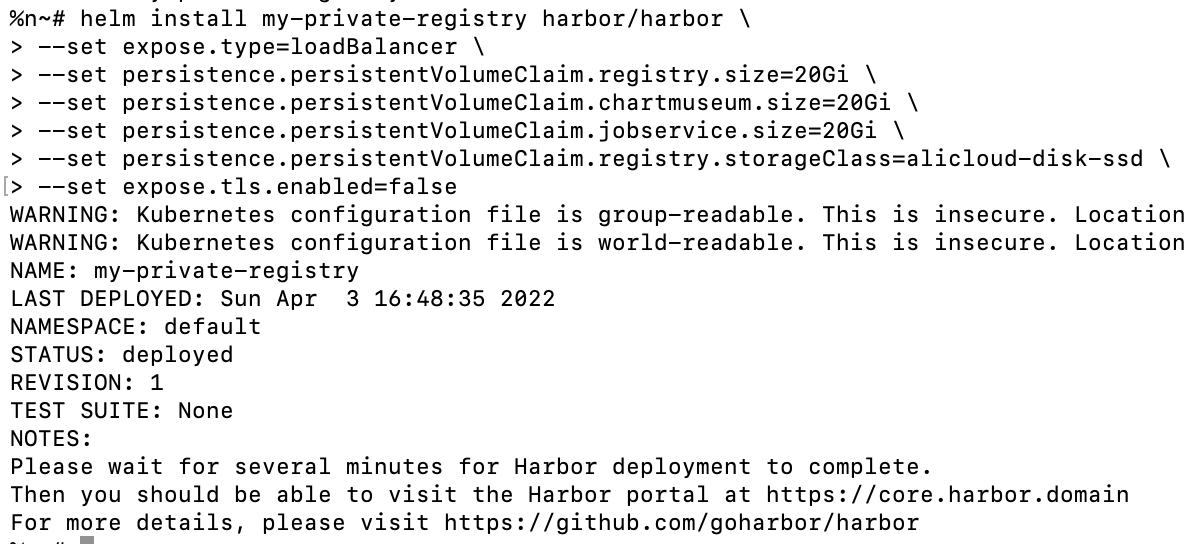
For this tutorial, we installed Harbor with the LoadBalancer service type. To get the URL for the deployed Harbor server, run the following command:
kubectl get svc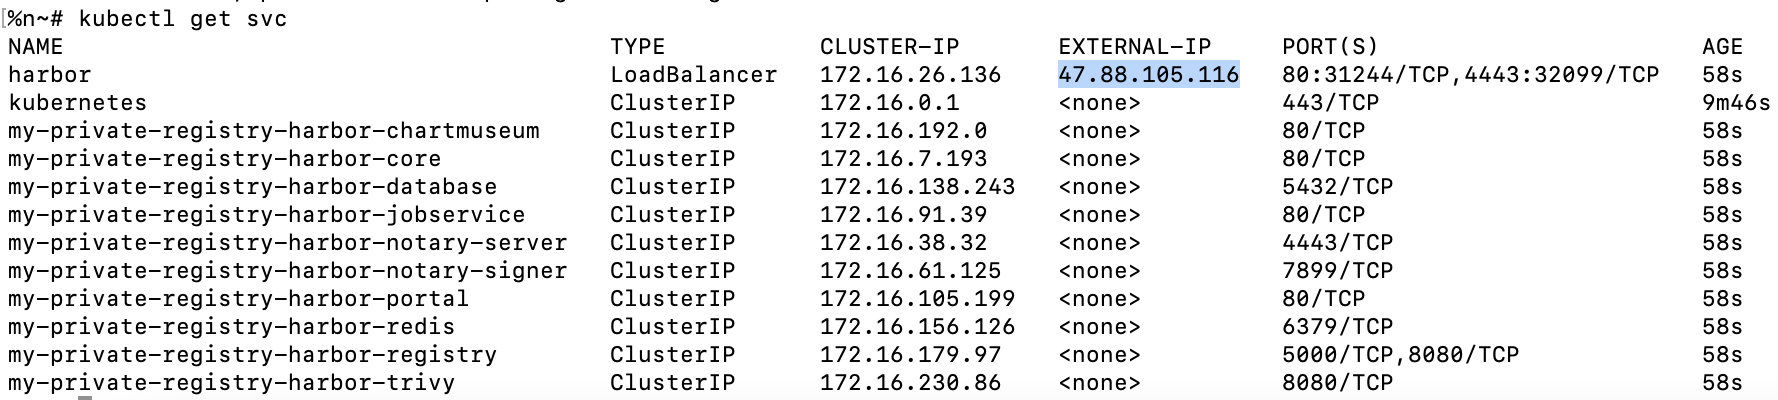
In the EXTERNAL-IP column of the Kubernetes services list, you will find the IP address which we will use to access Harbor.
To check the Harbor admin's user password in Kubernetes secrets, we can navigate to the cluster menu\my-managed-cluster-Secrets\my-private-registry-harbor-core and check the HARBOR_ADMIN_PASSWORD key.
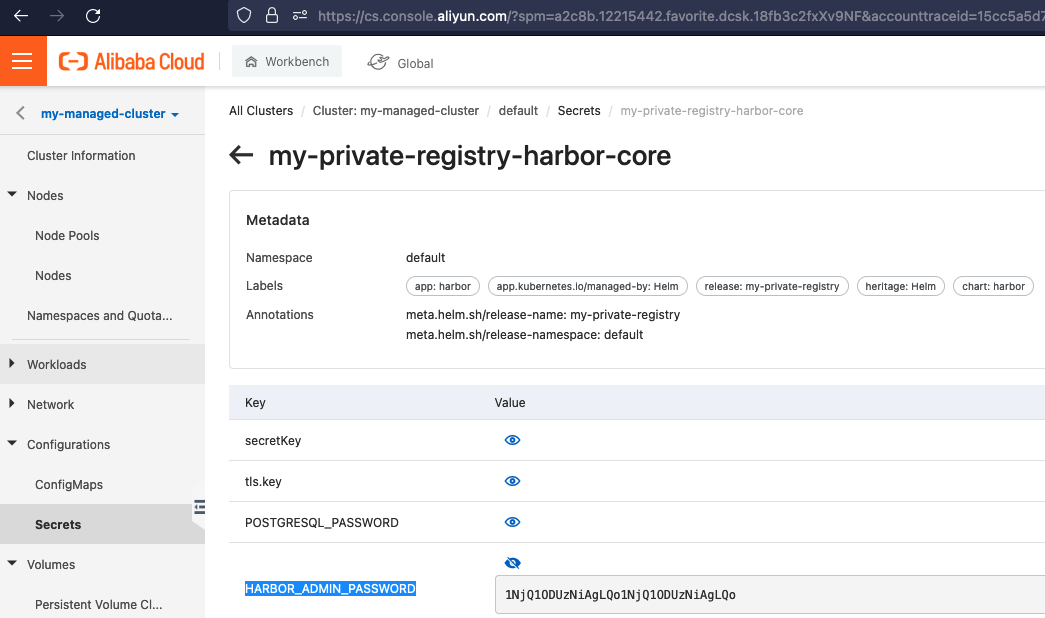
The default username is admin and the password is Harbor12345.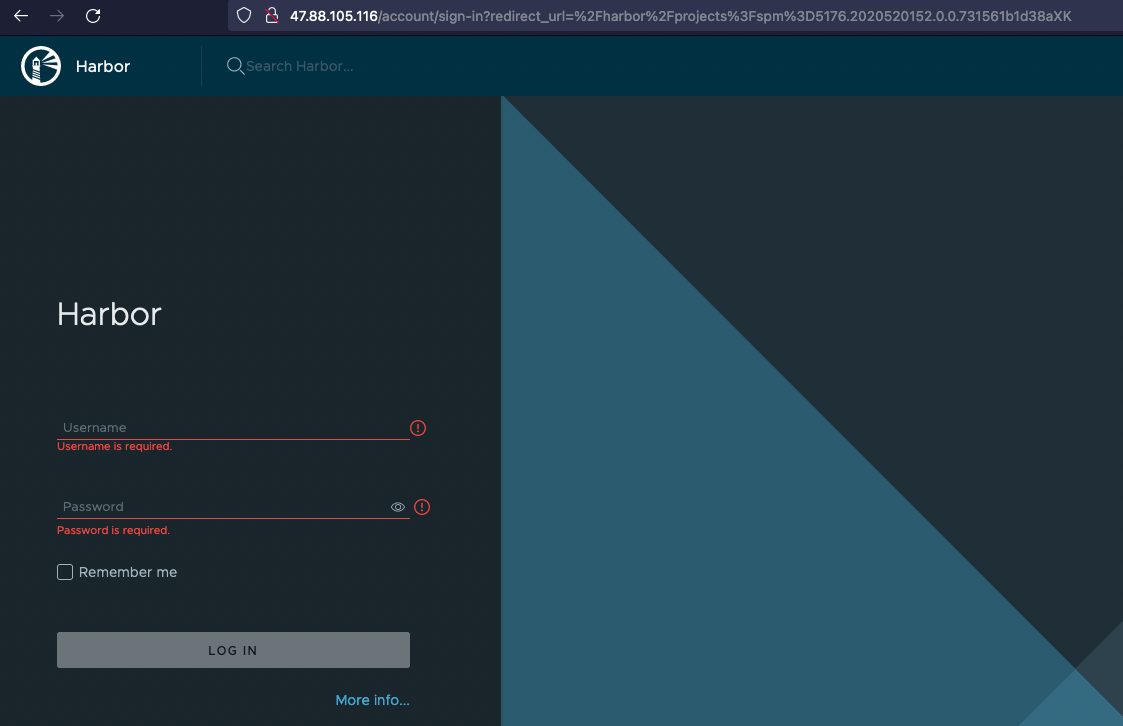
To demonstrate that the new registry is working and we can push Docker images to the Harbor UI, we need to create a new project.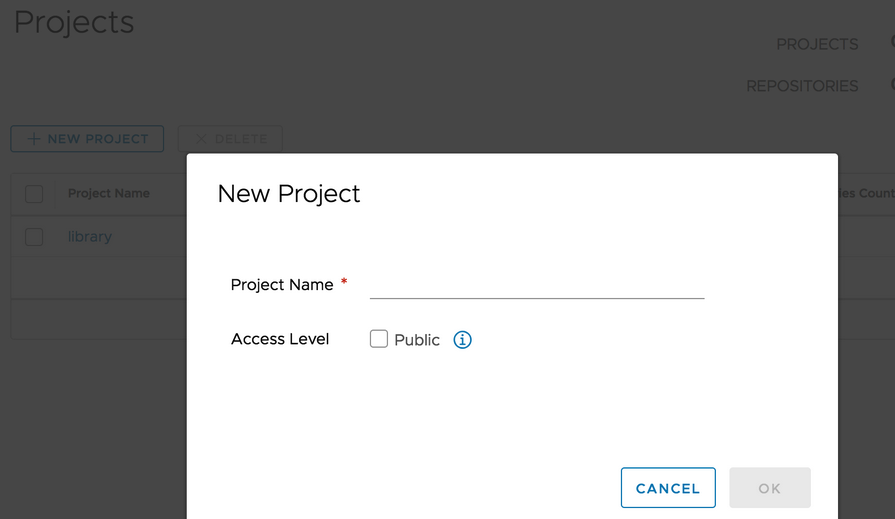
Click New Project to create your project. A project in Harbor contains all repositories of an application. We will not be able to push container images to the Harbor server before a project is created.
Push Images
Now that our private container registry is up and running we can create a custom Docker image and push it to the new project in Harbor.
Install Docker locally with the command below:
brew install dockerLog in to the Harbor server with the Docker CLI:
docker login <harbor_ip>Let's create a simple custom Dockerfile locally with one line in it:
FROM busybox:latestThen we can build an image from that Dockerfile and tag it with the following command:
docker build -t <harbor_ip>/your-project/my-test-image .Push the newly created image to your private registry
docker push <harbor_ip>/your-project/my-test-imageIn the Harbor UI, navigate to the Projects\ your_project\ Repositories to view the Docker image repository that you pushed to your Harbor project.
Summary
In this tutorial, with the help of the ARC CLI, we provisioned Alibaba Cloud with a managed Kubernetes cluster, set up local access with kubectl, and deployed a Harbor container registry on top of it. We created a new project in Harbor and pushed a custom Docker image to the registry.
Cleanup Resources
To delete your Harbor installation, run the command below:
helm uninstall my-private-registry
To get rid of the managed Kubernetes along with dependent resources with ARC CLI, run the following:
arc-cs cluster delete c307b7d05ccc445faab9607c59f96e757Opinions expressed by DZone contributors are their own.
Comments