Spring Cloud Streams ETL
Check out how o use Spring Cloud Streams for real-time data processing.
Join the DZone community and get the full member experience.
Join For Free
Spring Cloud Data Flow is a cloud-native toolkit for building real-time data pipelines and batch processes. Spring Cloud Data Flow is ready to be used for a range of data processing use cases like simple import/export, ETL processing, event streaming, and predictive analytics.
We can categorize SCDF applications as Streams and Tasks. Generally, Streams are long-running applications and continue processing data as long as desired; on the other hand, Tasks are short-lived applications which are created, executed and terminated within a relatively short span of time. Our focus in this article is the former.
SCDF Streams typically consists of three parts in order:
- Source
- Processor
- Sink
I will elaborate on all three of them in detail and also build a small project along the way. In this demo project, we will be watching a directory for incoming files, do some arbitrary processing of a file, and eventually write the file to the disk.
You may also enjoy: Building Data Pipelines With Spring Cloud Data Flow
Another crucial part of this architecture is the message-queueing system, applications deployed on SCDF which form a Stream, talk to each other via message-queues. This architecture allows us micro applications to exist independently.
We will be using RabbitMQ in our demo project for messaging. RabbitMQ is a message-queueing software, it's also called message-broker. RabbitMQ must be up and running on your system when you are running SCDF applications.
Complete source code for this project is available here:
Let's start with creating a parent Maven project that will contain our modules for Source, Processor and Sink. All three will be Spring Boots applications. I am using the Eclipse IDE, but the same can be done using any Java IDE. See the example below for the pom file of the parent project.
<project xmlns="http://maven.apache.org/POM/4.0.0" xmlns:xsi="http://www.w3.org/2001/XMLSchema-instance" xsi:schemaLocation="http://maven.apache.org/POM/4.0.0 http://maven.apache.org/xsd/maven-4.0.0.xsd">
  <modelVersion>4.0.0</modelVersion>
  <parent>
<groupId>org.springframework.boot</groupId>
<artifactId>spring-boot-starter-parent</artifactId>
<version>2.1.7.RELEASE</version>
<relativePath /> <!-- lookup parent from repository -->
</parent>
  <groupId>com.genius</groupId>
  <artifactId>scdf-file-processing-demo</artifactId>
  <version>0.0.1-SNAPSHOT</version>
  <name>scdf-file-processing-demo</name>
  <description>Spring Cloud Dataflow file processor</description>
  <packaging>pom</packaging>
  <modules>
  <module>file-source</module>
  <module>file-processor</module>
  <module>file-sink</module>
  </modules>
</project>
Be mindful of setting the packing type as pom for the parent project. Add three modules in the parent project as file-source, file-processor and file-sink.
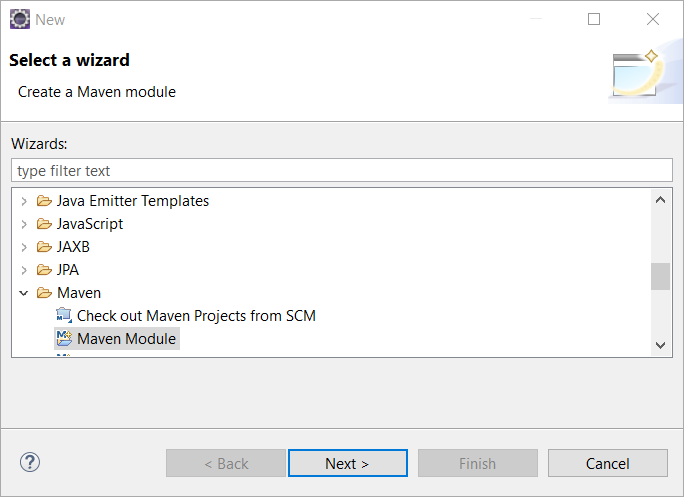
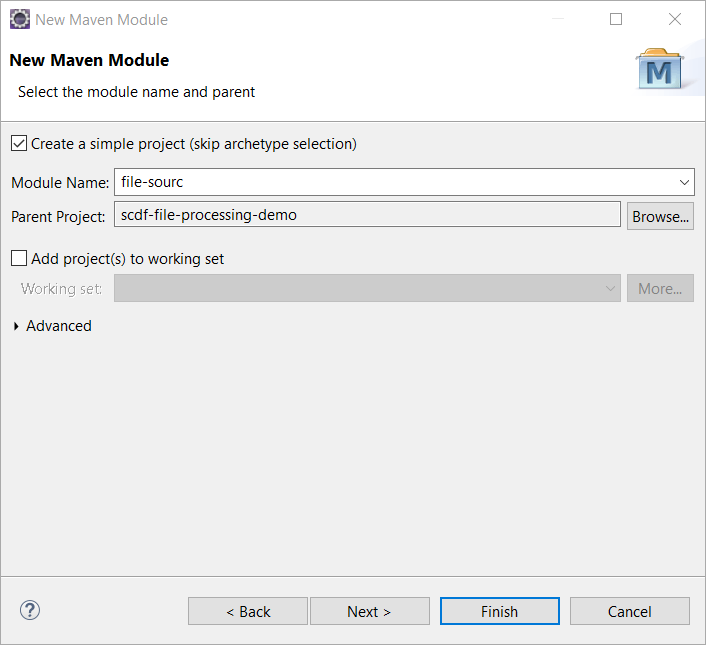
Coding File Source
Just like any other Spring Boot application we will create a class by name ofFileSourceApplicationin file-source module this will contain main method and annotated with @SpringBootApplication.
Now create another class by the name of SourceBean. This class will contain a single method, fileReadingMessageSource. Upon running the application this method will create a Bean which will do polling for incoming file in a directory.
@EnableBinding(Source.class)
public class SourceBean {

@Value("${local.source.dir}")
    private String localSourceDir="C:\\work\\sample";
    private static final Logger logger = LogManager.getLogger(SourceBean.class);

@Bean
@InboundChannelAdapter(value = Source.OUTPUT, poller = @Poller(fixedDelay = "1000", maxMessagesPerPoll = "1"))
public MessageSource<File> fileReadingMessageSource() throws IOException {
logger.info("Polling file from directory: " + localSourceDir);
FileReadingMessageSource source = new FileReadingMessageSource();
source.setDirectory(new File(localSourceDir));

CompositeFileListFilter filter = new CompositeFileListFilter<>(
                Arrays.asList(new AcceptOnceFileListFilter<>(),
                new SimplePatternFileListFilter("*.txt"))
        );

source.setFilter(filter);
        return source;
}
}
Ok, let's dissect the code. For file-source, SCDF requires us to bind our application to a channel of messaging broker @EnableBinding allows us to do exactly that. Source is an interface which contains the Output message channel.
Therefore, upon execution SCDF will create an output channel in the message broker and all the messages generated from our Source application will be pushed to this particular queue.
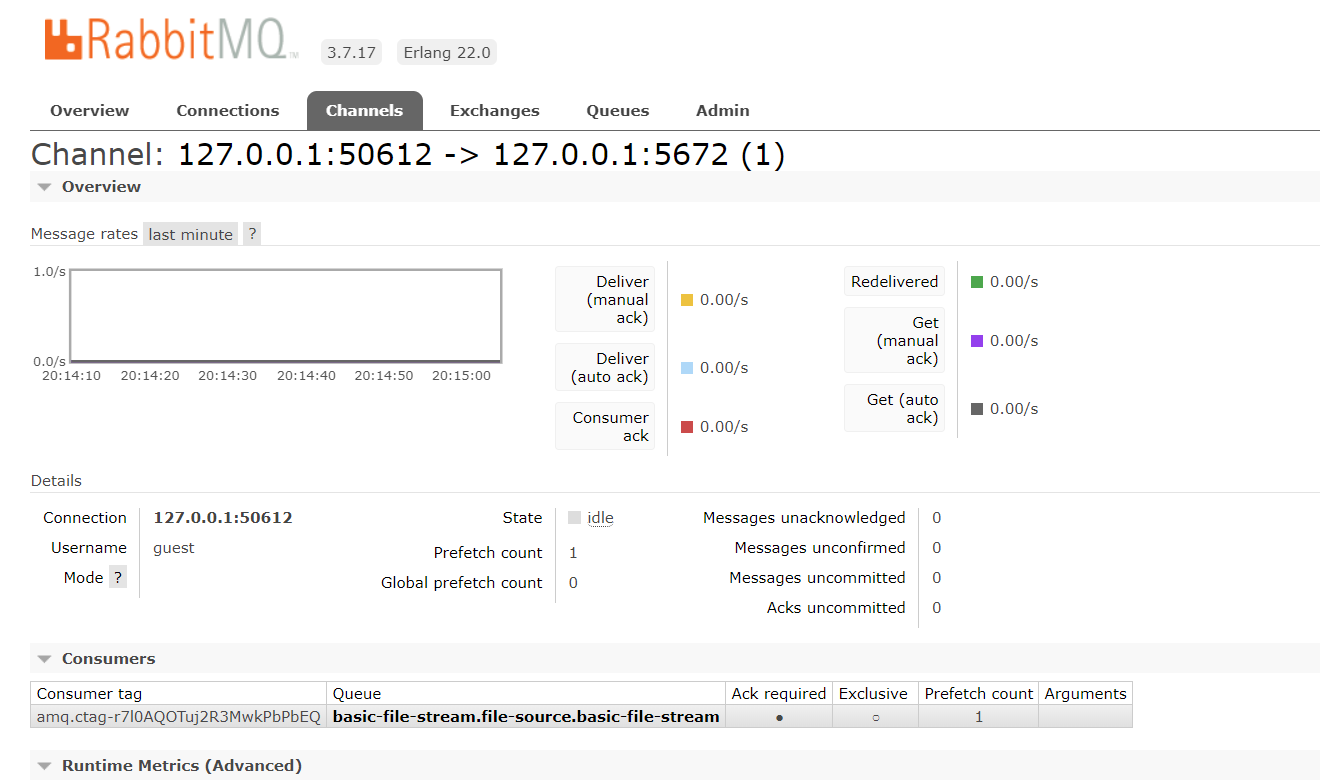
The next important annotation here is @InboundChannelAdapter. Inbound Adapters are used to receive messages from external systems. @InboundChannelAdapterhelps in setting up the bean configuration as an adaptor. Over here we are also configuring a channel to which adapter will push its messages which is Source.output. After running the application, if we check RabbitMQ, we can find out the channel which has been created for file-source.
We are also configuring the file poller here, which will poll the specified directory at a fixed interval.
Coding file-processor
To process files that are being polled by the file-source app, we will use file-processor. Just like file-source, file-processor is also, in essence, a Spring Boot application.
Our file processor will read messages containing file information, from the output queue and after processing add it to the input channel which is, in fact, an input channel for out Sink application.
Create FileProcessorApplication class this will contain main method and annotated with @SpringBootApplication.
To process file contents create class FileProcessorBean , this class contains a single method transformMessage . We are going to annotate FileProcessorBean with @EnableBinding(Processor.class) , this helps in binding FileProcessor bean to output and input channels. We will also annotate the transformMessage method with @Transformer and pass the desired input and output queue as arguments.
@EnableBinding(Processor.class)
public class FileProcessorBean {
private static final Logger logger = LogManager.getLogger(FileProcessorBean.class);

@Value("${local.output.dir}")
    private String localOutputeDir="C:\\work\\processed-files";

@Transformer(inputChannel = Processor.INPUT, outputChannel = Processor.OUTPUT)
public Object transformMessage(File fileToProcess) {
List<String> lines = null;
logger.info("Processing file: " + fileToProcess.getName());
try {
lines = enrichFileContents(readFileIntoStringArray(fileToProcess.getAbsolutePath()));
} catch (IOException e) {
e.printStackTrace();
}

try (Writer writer = new BufferedWriter(new OutputStreamWriter(
new FileOutputStream(localOutputeDir + "\\" + fileToProcess.getName() + "-enriched.txt"),
"utf-8"))) {
for (String line : lines) {
writer.write(line);
}
} catch (UnsupportedEncodingException e) {
e.printStackTrace();
} catch (FileNotFoundException e) {
e.printStackTrace();
} catch (IOException e) {
e.printStackTrace();
}
return fileToProcess;
}

}
If you observe, within the transformMessage, method we are doing very simple enrichment of incoming file and writing the enriched data to a new file.
At the end, we are returning the orignal incoming file, which will be added to input queue of file-sink.
Coding file-sink
The final part of file processing stream is the file-sink application. Just like file-processor, file-sink will receive a file object as a message, but instead of creating another message output, it will simply acknowledge RabbitMQ and we are free to do whatever we want with the message reveived.
Since we have already created an output file in file-processor, we will simply delete original file here so it may not be picked up again by file source and archive it for the record.
We create a class OutputBean and annotate it with @EnableBinding(Sink.class) so that it is bound to the Input channel.
Within OutputBean we create a method output annotated with @StreamListener(Sink.INPUT) . Observe code snippet below.
@EnableBinding(Sink.class)
public class OutputBean {
private static final Logger logger = LogManager.getLogger(OutputBean.class);

@Value("${local.source.dir}")
    private String outDir="C:\\work\\sink-output";

@StreamListener(Sink.INPUT)
public void output(File outFile) throws IOException {

logger.info("File Recived in sink " + outFile.getName());
String outFileName = outFile.getName() + "-archived" + "." + FilenameUtils.getExtension(outFile.getName());


File dest = new File(outDir + "\\" + outFileName);
FileUtils.copyFile(outFile, dest);
//Remove File from source directory
FileUtils.forceDelete(outFile);
logger.info("File moved successfully");
}
}
Building the parent project will give you three artifacts:
- file-source-0.0.1.jar
- file-processor-0.0.1.jar
- file-sink-0.0.1.jar
Spring Cloud Data Flow Server
We can compare Spring Cloud Data Flow Server to a web server, since we can deploy an application on it. To interact with the SCDF Server we will use Spring Cloud Data Flow Shell.
Download following JAR files for SCDF Server and Shell.
spring-cloud-dataflow-server-local-1.1.2.RELEASE.jar
spring-cloud-dataflow-shell-1.0.0.RELEASE.jar
Run both of the JARs on two separate terminals in order.
SCDF Shell will look like this:
Creating Stream on SCDF
Creating and deploying a stream on Spring Cloud requires you to follow these steps:
- Registering applications on SCDF which will form Stream.
- Creating a Stream
- Deploying a Stream
Let's execute each of the steps and understand how it all hangs together.
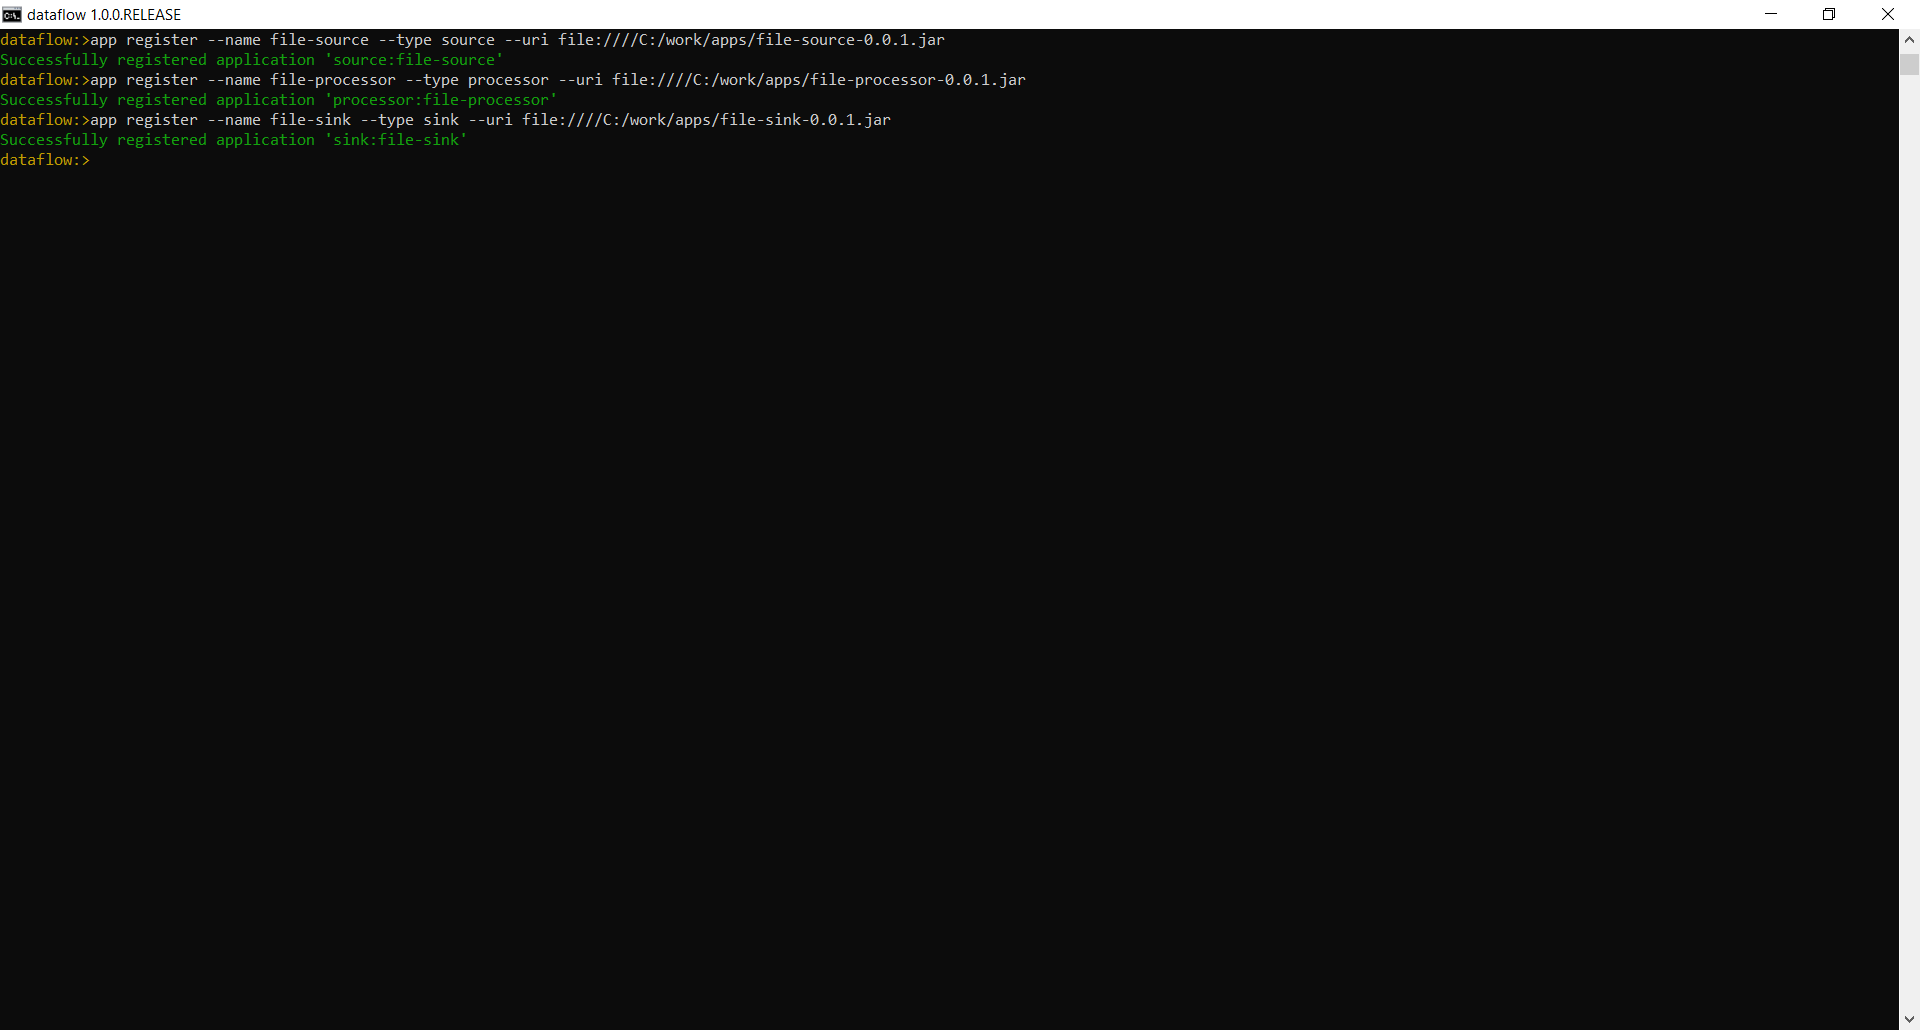
Go to Spring Cloud Dataflow Shell run following to register the source, processor, and sink.
app register --name file-source --type source --uri file:////C:/work/apps/file-source-0.0.1.jar
app register --name file-processor --type processor --uri file:////C:/work/apps/file-processor-0.0.1.jar
app register --name file-sink --type sink --uri file:////C:/work/apps/file-sink-0.0.1.jar
Replace the file path as needed. You should get following output on SCDF Shell.
You can run theapp list command if you want to see list of registered applications.
Since the applications are in place we can move forward to creating and deploying the Stream.
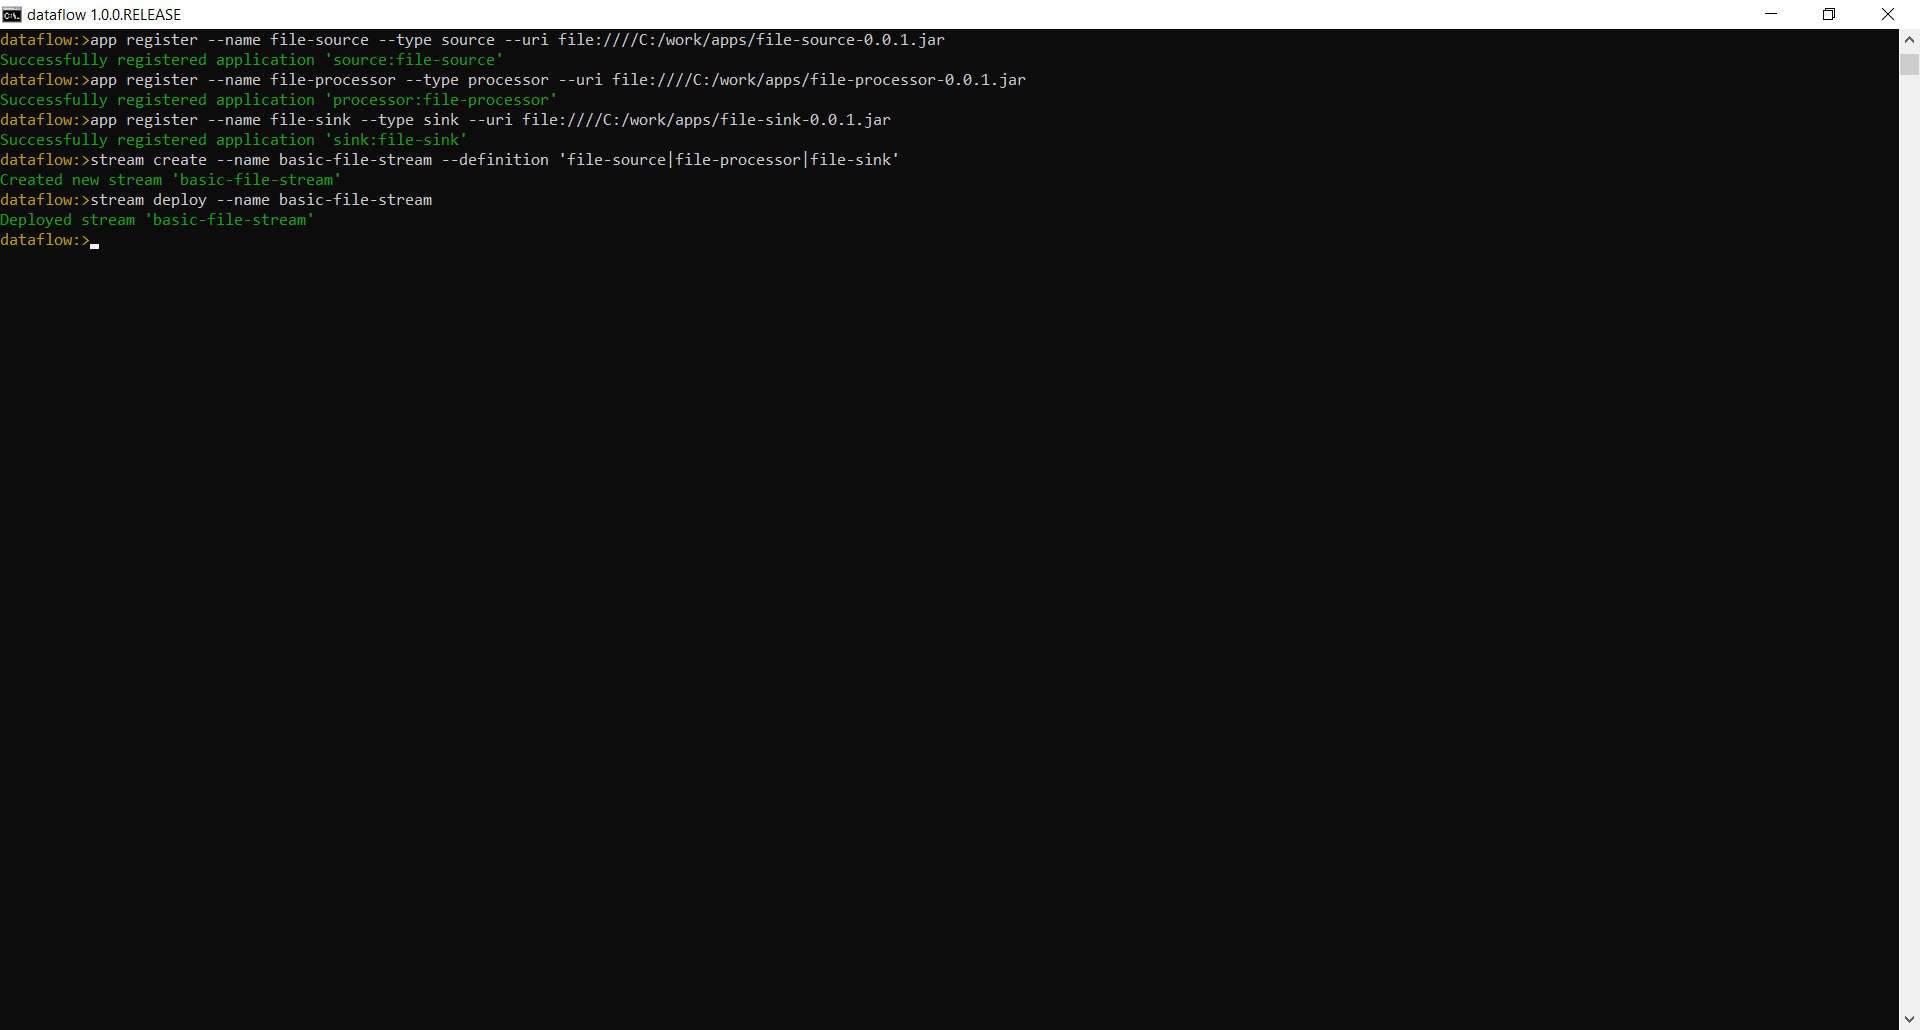
Run the following commands to create and deploy the Stream.
stream create --name basic-file-stream --definition 'file-source|file-processor|file-sink'

stream deploy --name basic-file-stream
I have named the Stream "basic-file-stream," but you can use name of your choice. If everything goes well you will see following output.
Let's test the Stream which we just created. Drop any random text file in source directory, but the file must have a .txt extension as we are filtering this file type in file-source.
Successful execution will create a file named "<file name>-enriched.txt" in the C:\\work\\processed-files directory. If you open this file you should be able to see -abc appended to each line.
Spring Cloud Data Flow is a new addition to the Spring family of projects and is relatively more complex to understand due to many different elements that makes up its ecosystem.
I have written this blog with the intention of helping developers understand concepts and practical implementation of Spring Cloud.
I also have a plan to write part 2 of this tutorial, in which I will make a few important improvements to the application flow and add another external source of data.
I would love to have your feedback in the comment.
Further Reading
Opinions expressed by DZone contributors are their own.

Comments