Standalone Runtime Server in Mule 4
The application has an embedded Mule runtime server and we are deploying it on Anypoint Studio. But in production, we need to start a standalone Mule Runtime.
Join the DZone community and get the full member experience.
Join For FreeWhy Do We Need a Standalone Runtime Server?
We can deploy our application on Anypoint Studio. The application has an embedded Mule runtime server and we are deploying it on Anypoint Studio. But in production, we won’t do that. We need to start a standalone Mule Runtime.
How to Start a Standalone Runtime Server?
1. We need to download Mule Runtime Server from the link:
https://www.mulesoft.com/lp/dl/mule-esb-enterprise
2. Extract the downloaded zip file in your root directory.
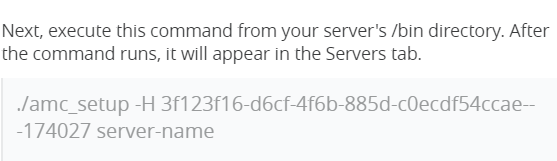
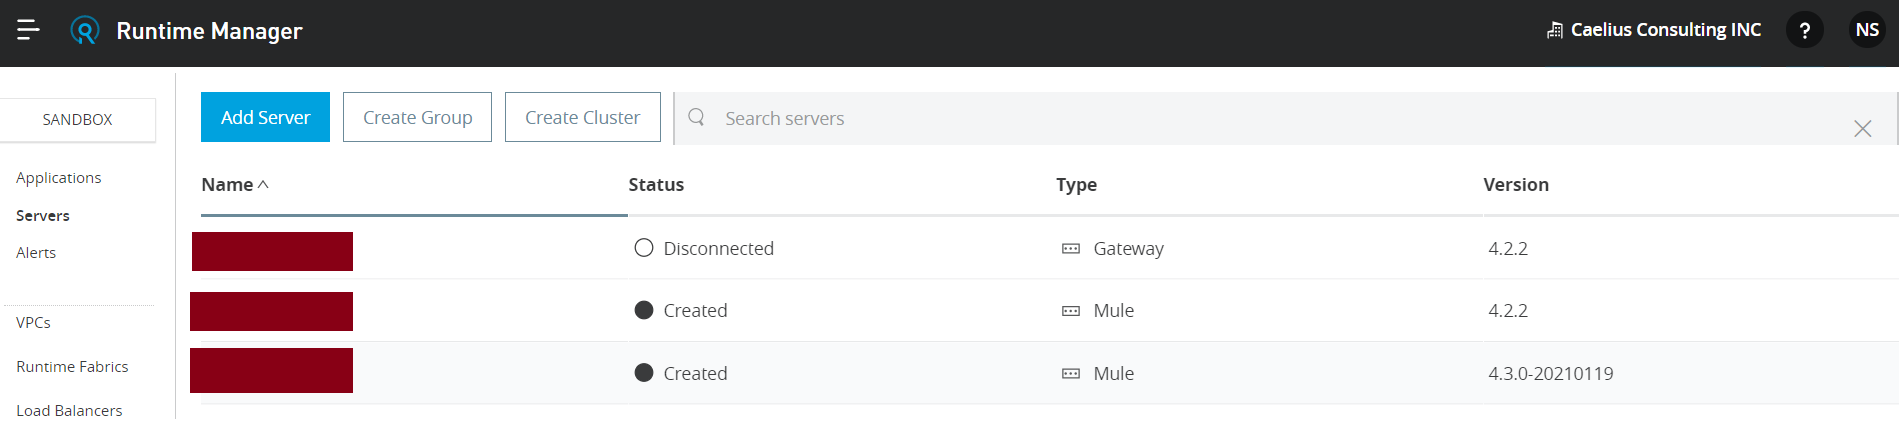
3. Login to your Anypoint Platform -> Runtime Manager -> Servers -> Add Server.

4. Popup window will be displayed as shown below.
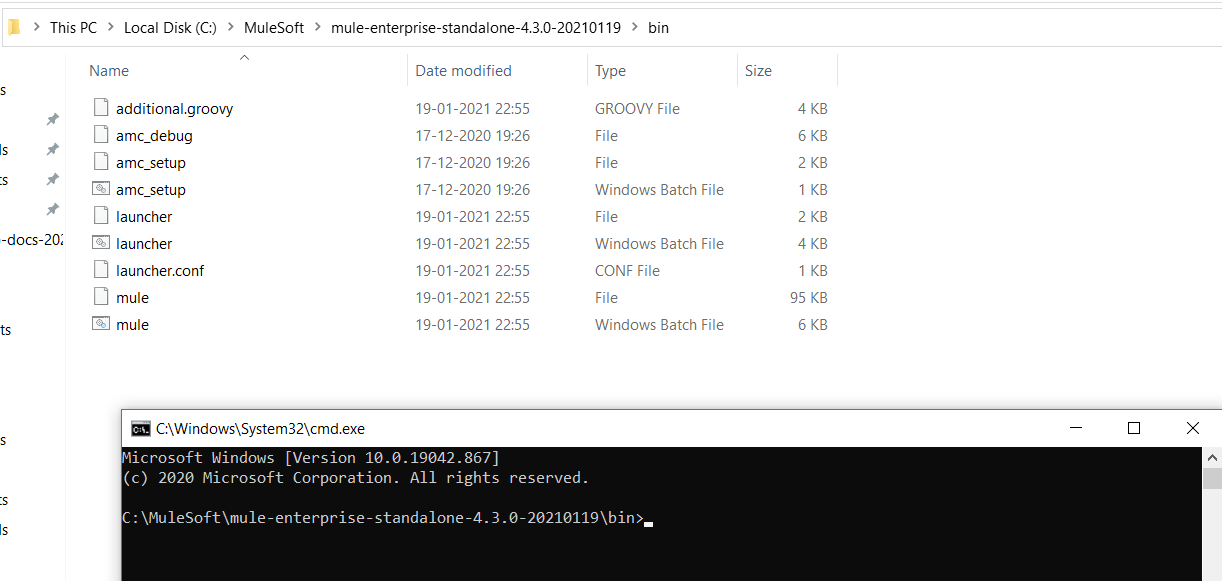
5. Go to the directory where you have extracted your Standalone Runtime zip. Go to the bin directory and open the command prompt.
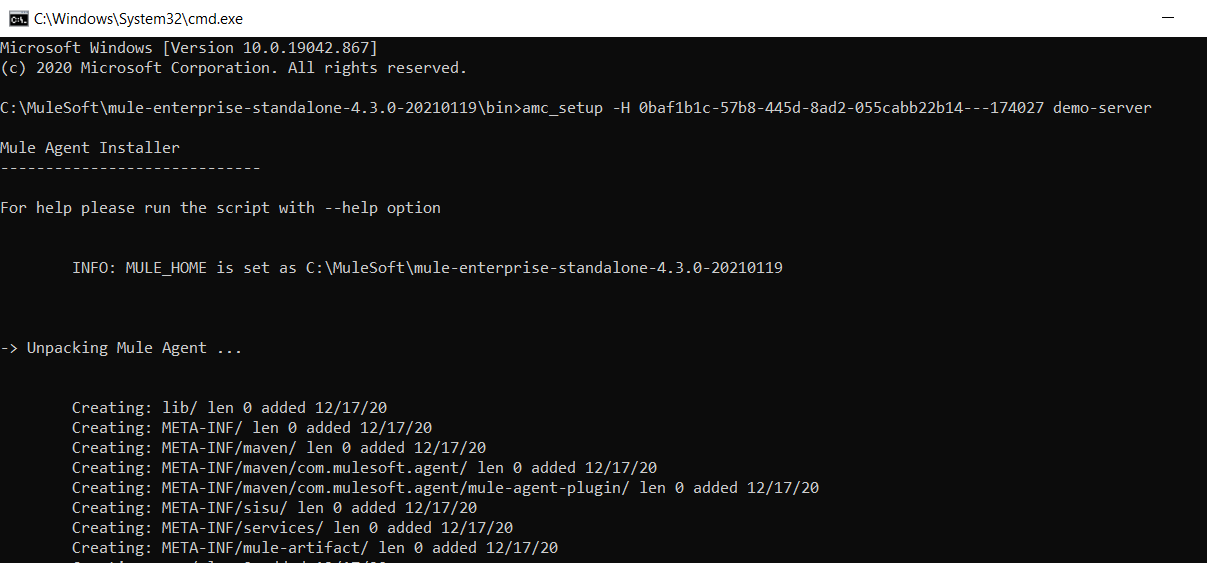
6. Execute the command that you have copied from the above popup window. You can replace the server name with the name that you want to give to a server. Remove (./ )from the command before executing the command. Mule runtime agent will get installed after executing the above command.
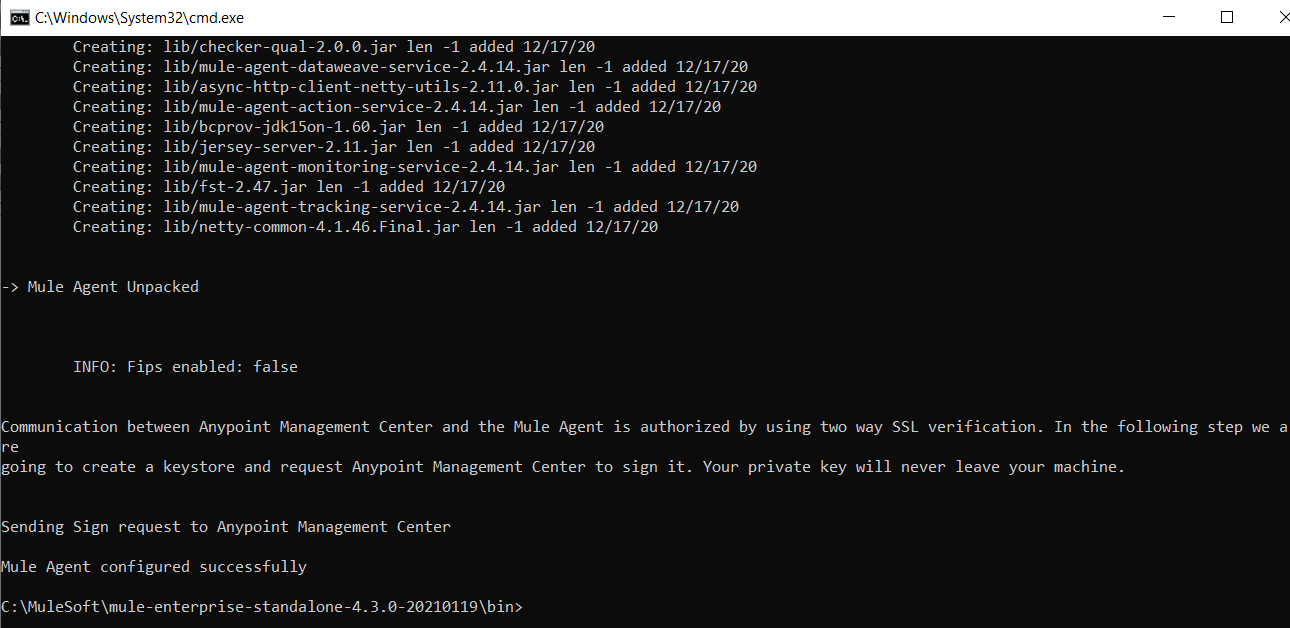
7. Once the Mule runtime agent is installed, you will see the server with your given name is created in runtime manager with status CREATED.
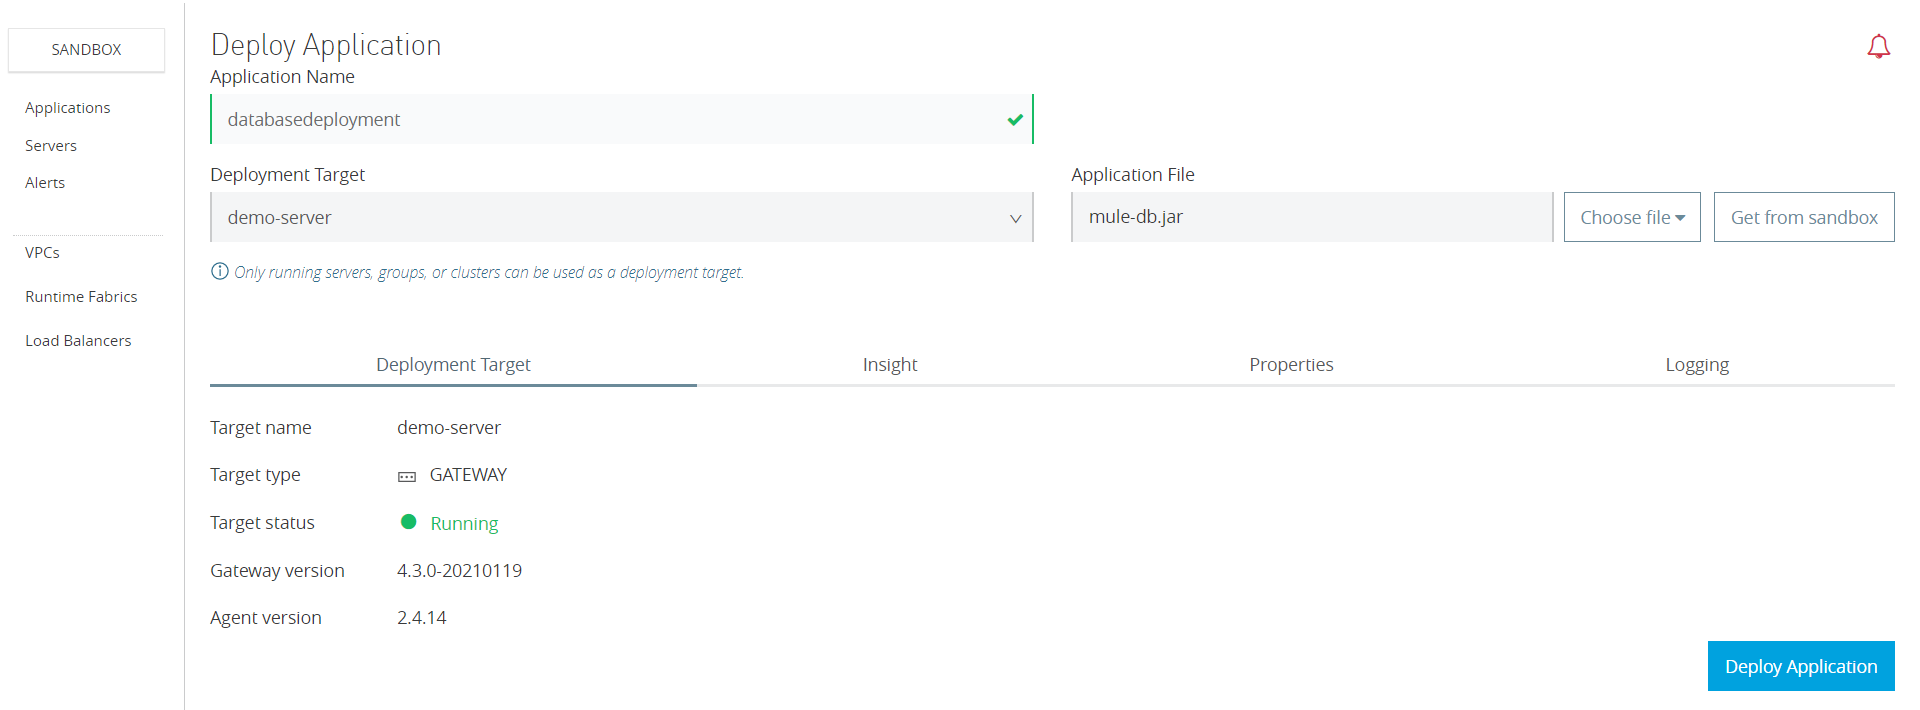
8. Now, go to Applications -> Deploy Application.

9. Upload the jar file and deploy the application.
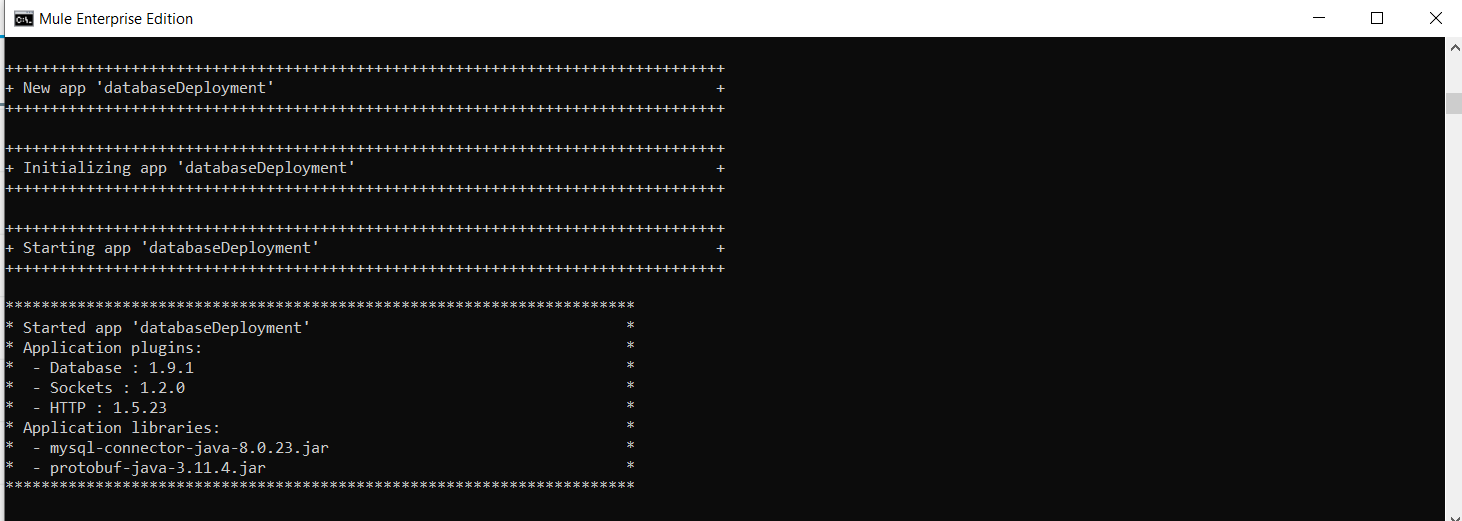
BAT Files
10. Check the application status.

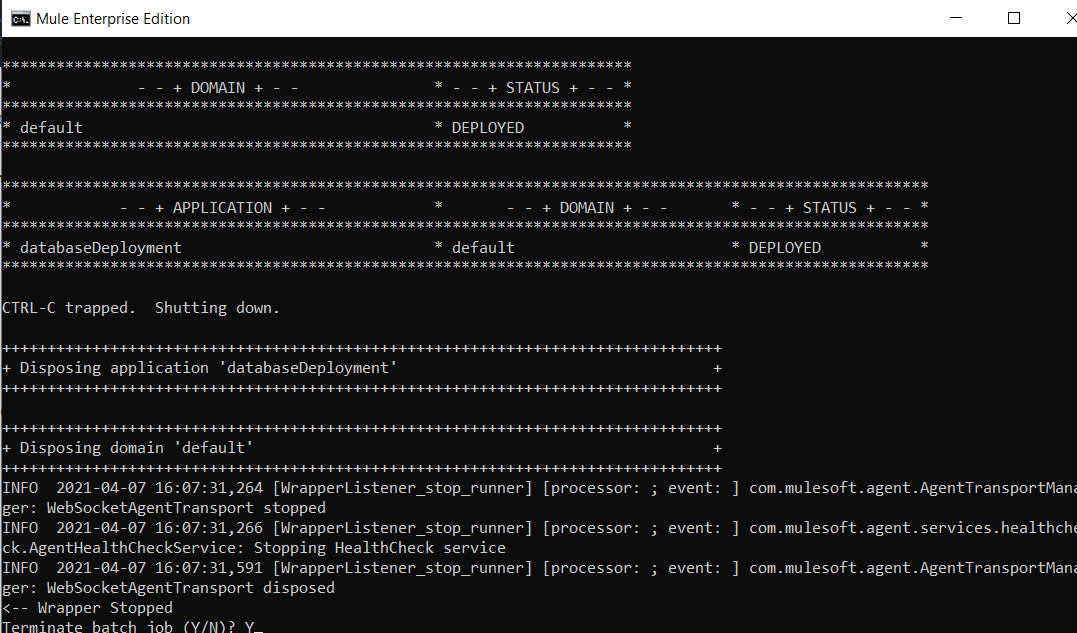
11. We can check the status of the application in the BAT file.
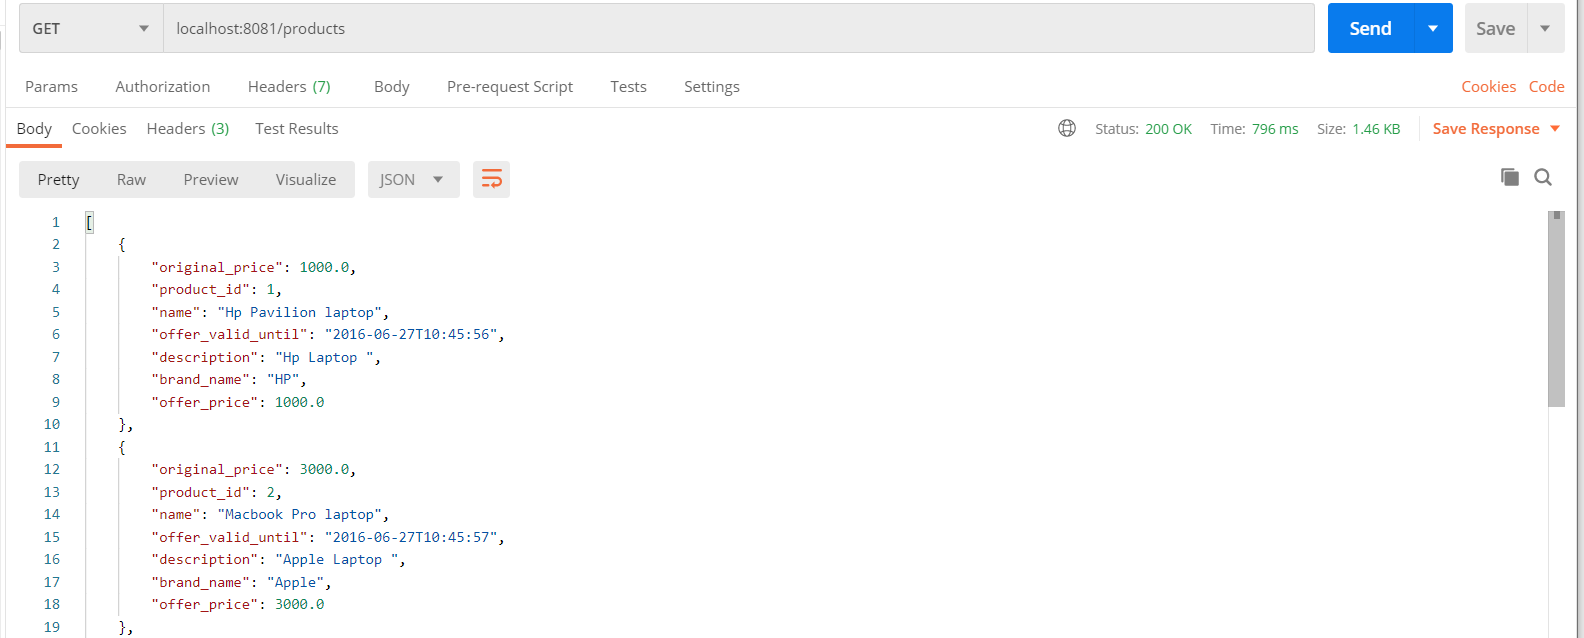
12. Now put a get request, and we would be able to get the results.
13. Use Ctrl+C in the Mule BAT file to disconnect the application.
Published at DZone with permission of Kiranjot Kaur. See the original article here.
Opinions expressed by DZone contributors are their own.
Comments